
Waterless tomato growing might sound like something out of a sci-fi movie, but trust me, it’s a real, and increasingly popular, method for cultivating delicious tomatoes right in your own backyard! Forget lugging around heavy watering cans and constantly worrying about drought – this DIY guide is your ticket to a thriving tomato harvest with minimal water usage.
The concept of conserving water in agriculture isn’t new. Indigenous cultures around the world have long practiced ingenious methods of dryland farming, adapting to arid climates with techniques that minimize water waste. While not strictly “waterless,” these historical approaches laid the groundwork for modern water-efficient gardening practices. Today, with growing concerns about water scarcity and the rising cost of water bills, the need for innovative solutions like waterless tomato growing has never been greater.
I know what you’re thinking: “Can you really grow juicy, flavorful tomatoes without constantly watering them?” The answer is a resounding YES! This DIY trick isn’t just about saving water; it’s about creating a healthier, more resilient plant that’s less susceptible to disease. Plus, who doesn’t want to spend less time watering and more time enjoying the fruits (or should I say, vegetables!) of their labor? Let’s dive in and discover how you can transform your garden into a water-wise tomato paradise!
DIY Waterless Tomato Growing: A Guide to Self-Sufficient Gardening
Hey there, fellow gardening enthusiasts! Are you tired of constantly watering your tomato plants, especially during those scorching summer months? Or maybe you live in an area with water restrictions? Well, I’ve got a fantastic solution for you: waterless tomato growing! This method, also known as self-watering or olla irrigation, is a game-changer. It’s not entirely *waterless* in the strictest sense, but it drastically reduces the amount of watering you need to do, saving you time, water, and a whole lot of effort. Let’s dive in!
What is Waterless Tomato Growing?
The basic principle behind waterless tomato growing is using a porous clay pot (an olla) buried in the soil near your tomato plants. You fill the olla with water, and the water slowly seeps out through the clay walls, directly irrigating the roots of your plants. This method is incredibly efficient because it minimizes water loss through evaporation and runoff, delivering moisture exactly where it’s needed.
Benefits of Waterless Tomato Growing
* Water Conservation: This is the biggest advantage! You’ll use significantly less water compared to traditional watering methods.
* Healthier Plants: Consistent moisture levels promote stronger root growth and healthier, more productive plants.
* Reduced Weed Growth: By delivering water directly to the roots, you’re less likely to water the surrounding soil, which can reduce weed germination.
* Less Time Watering: Say goodbye to daily watering! You’ll only need to refill the ollas every few days, depending on the weather.
* Environmentally Friendly: Conserving water is always a win for the environment!
Materials You’ll Need
* Clay Ollas: These are unglazed clay pots specifically designed for irrigation. You can find them online, at garden centers, or even make your own (more on that later!). The size of the olla will depend on the size of your tomato plants and the area you’re irrigating. For a single tomato plant, a 1-2 gallon olla is usually sufficient.
* Tomato Plants: Choose your favorite tomato varieties!
* Potting Soil: A good quality potting mix is essential for healthy tomato growth.
* Mulch: Organic mulch, such as straw, wood chips, or shredded leaves, helps retain moisture in the soil and suppress weeds.
* Shovel or Trowel: For digging holes for the ollas and tomato plants.
* Water: Obviously, you’ll need water to fill the ollas!
* Optional: A lid or cover for the olla to prevent evaporation and keep out debris. A small plate or even a piece of burlap will work.
Making Your Own Ollas (Optional)
If you’re feeling crafty, you can make your own ollas using two unglazed terracotta pots of different sizes. Here’s how:
1. Find Your Pots: You’ll need one larger pot and one smaller pot that can fit inside the larger one, leaving a small gap around the sides. Make sure both pots are unglazed terracotta.
2. Seal the Drain Hole: Use waterproof sealant or epoxy to seal the drain hole in the smaller pot. This will prevent water from leaking out the bottom.
3. Glue the Pots Together: Apply a generous amount of waterproof adhesive to the rim of the smaller pot. Carefully center the smaller pot inside the larger pot and press them together firmly.
4. Let it Dry: Allow the adhesive to dry completely according to the manufacturer’s instructions. This may take 24-48 hours.
5. Test for Leaks: Once the adhesive is dry, fill the olla with water and check for any leaks. If you find any leaks, seal them with more sealant.
Step-by-Step Instructions for Waterless Tomato Growing
Okay, let’s get down to the nitty-gritty! Here’s how to set up your waterless tomato garden:
1. Prepare the Planting Area
* Choose a Sunny Location: Tomatoes need at least 6-8 hours of sunlight per day.
* Prepare the Soil: Dig a hole that’s twice as wide and as deep as the root ball of your tomato plant. Amend the soil with compost or other organic matter to improve drainage and fertility.
2. Bury the Ollas
* Dig a Hole for the Olla: Dig a hole deep enough to bury the olla up to its neck, leaving the top exposed. The olla should be positioned close to where you’ll be planting your tomato plant – about 6-12 inches away is ideal.
* Place the Olla: Carefully place the olla in the hole.
* Backfill with Soil: Backfill the hole around the olla with soil, packing it firmly to secure the olla in place.
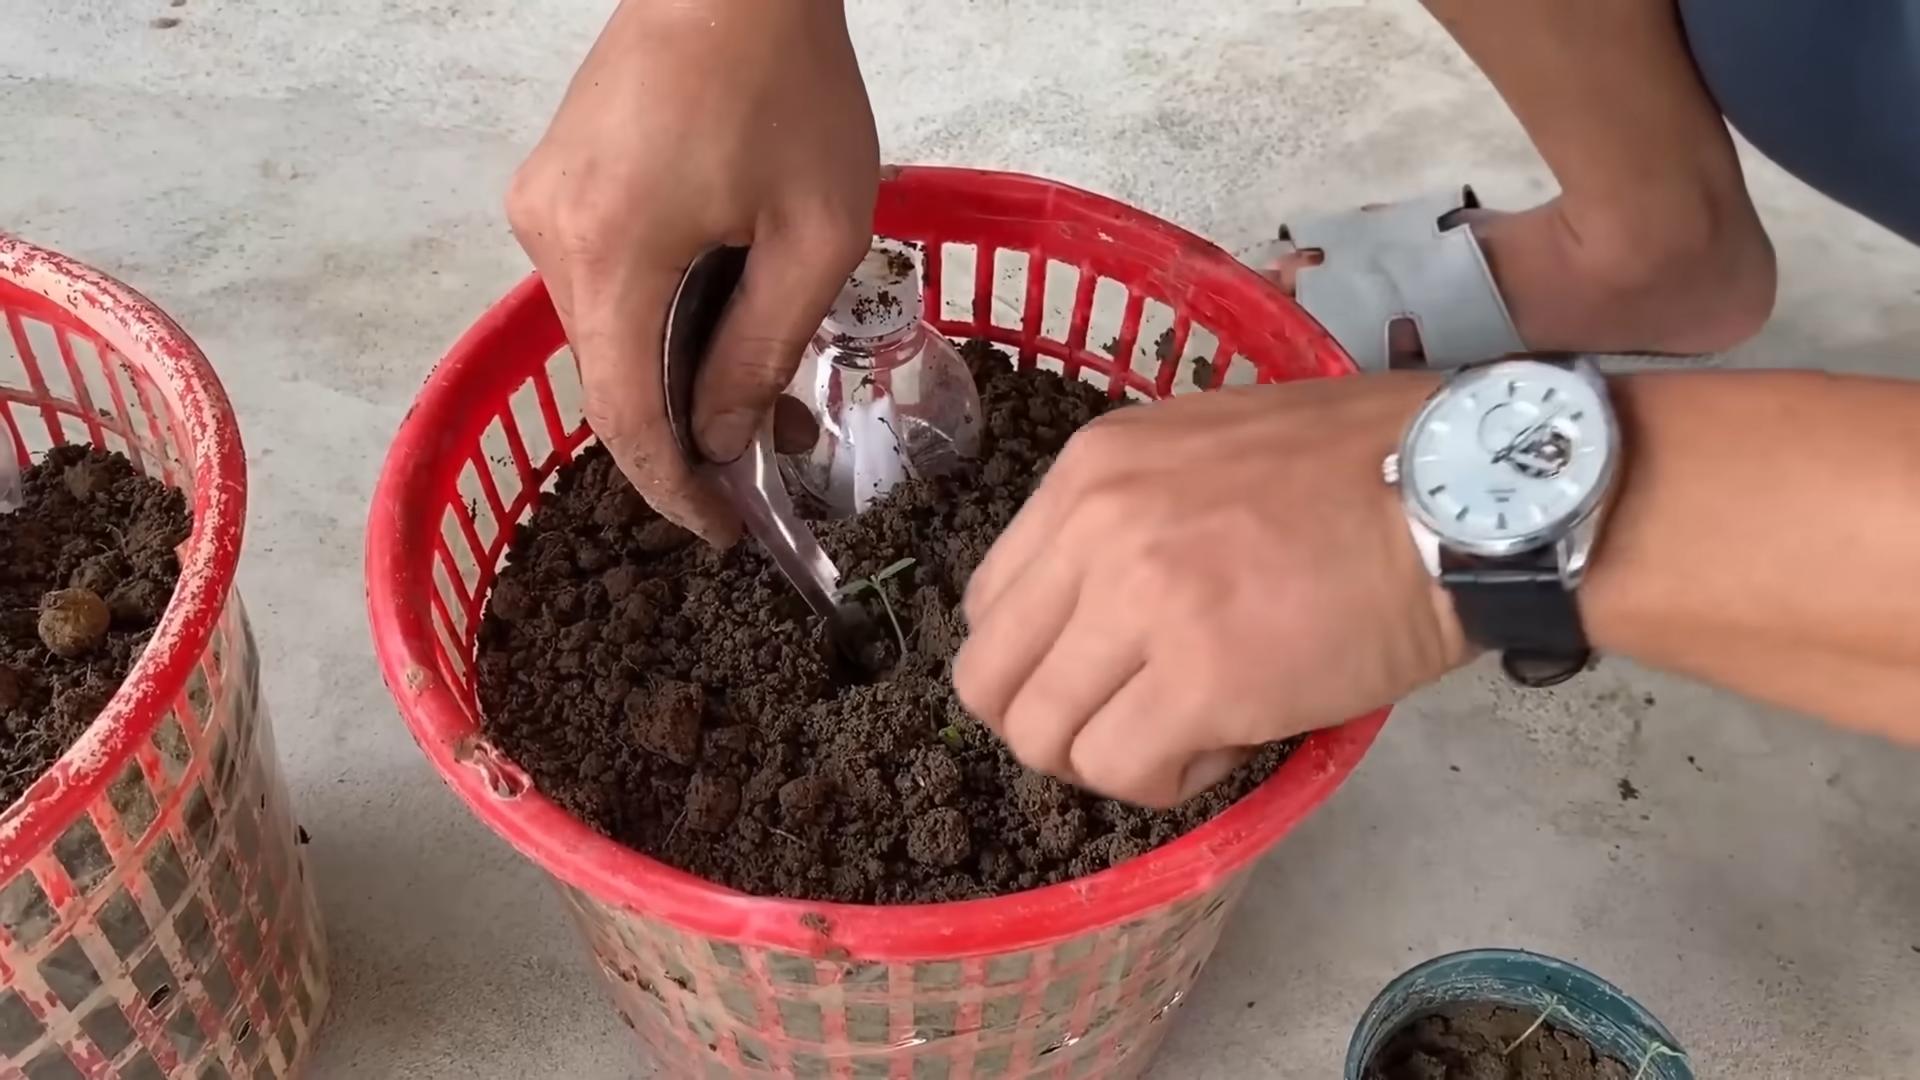
3. Plant Your Tomato Plants
* Remove the Tomato Plant from its Container: Gently remove the tomato plant from its container, being careful not to damage the roots.
* Loosen the Root Ball: Gently loosen the root ball with your fingers.
* Plant the Tomato Plant: Place the tomato plant in the prepared hole. The top of the root ball should be level with the surrounding soil.
* Backfill with Soil: Backfill the hole around the tomato plant with soil, packing it firmly.
* Water Thoroughly: Water the tomato plant thoroughly after planting to help it settle in.
4. Mulch the Area
* Apply Mulch: Spread a layer of organic mulch around the tomato plant and the olla, being careful not to cover the stem of the plant. The mulch should be about 2-3 inches thick.
5. Fill the Ollas
* Fill the Ollas with Water: Slowly fill the ollas with water. You may need to add water several times as the soil absorbs it.
* Cover the Ollas: Cover the ollas with a lid or cover to prevent evaporation and keep out debris.
6. Ongoing Maintenance
* Check the Ollas Regularly: Check the ollas every few days to see if they need refilling. The frequency will depend on the weather and the size of your plants.
* Fertilize Your Plants: Tomatoes are heavy feeders, so you’ll need to fertilize them regularly. You can use a liquid fertilizer or a slow-release fertilizer. Follow the instructions on the fertilizer label.
* Prune Your Plants: Prune your tomato plants regularly to remove suckers and improve air circulation.
* Provide Support: Tomato plants need support to prevent them from falling over. You can use stakes, cages, or trellises.
* Watch for Pests and Diseases: Keep an eye out for pests and diseases and take action promptly if you notice any problems.
Troubleshooting
* Olla Dries Out Too Quickly: If your olla is drying out too quickly, it could be due to several factors:
* Hot Weather: In hot weather, the soil will dry out more quickly, so you’ll need to refill the olla more often.
* Large Plants: Larger plants will require more water, so you may need to use a larger olla or refill it more frequently.
* Poor Soil: If your soil is sandy or doesn’t retain water well, the olla will dry out more quickly. Amend the soil with compost or other organic matter to improve its water-holding capacity.
* Leaks: Check the olla for leaks. If you find any leaks, seal them with waterproof sealant.
* Tomato Plants are Wilting: If your tomato plants are wilting, it could be due to several factors:
* Insufficient Water: Make sure the olla is full and that the soil around the plant is moist.
* Heat Stress: In hot weather, tomato plants can experience heat stress. Provide shade during the hottest part of the day.
* Disease: Wilting can also be a symptom of certain diseases. Check your plants for other signs of disease and take action promptly.
* Olla is Clogged: Over time, the pores of the olla can become clogged with minerals or algae. To clean the olla, remove it from the soil and scrub it with a brush and water. You can also soak it in a solution of vinegar and water.
Tips for Success
* Choose the Right Size Olla: The size of the olla will depend on the size of your tomato plants and the area you’re irrigating. For a single tomato plant, a 1-2 gallon olla is usually sufficient.
* Bury the Olla Deep Enough: The olla should be buried up to its neck, leaving the top exposed.
* Position the Olla Correctly: The olla should be positioned close to your tomato plant – about 6-12 inches away is ideal.
* Use Good Quality Soil:
Conclusion
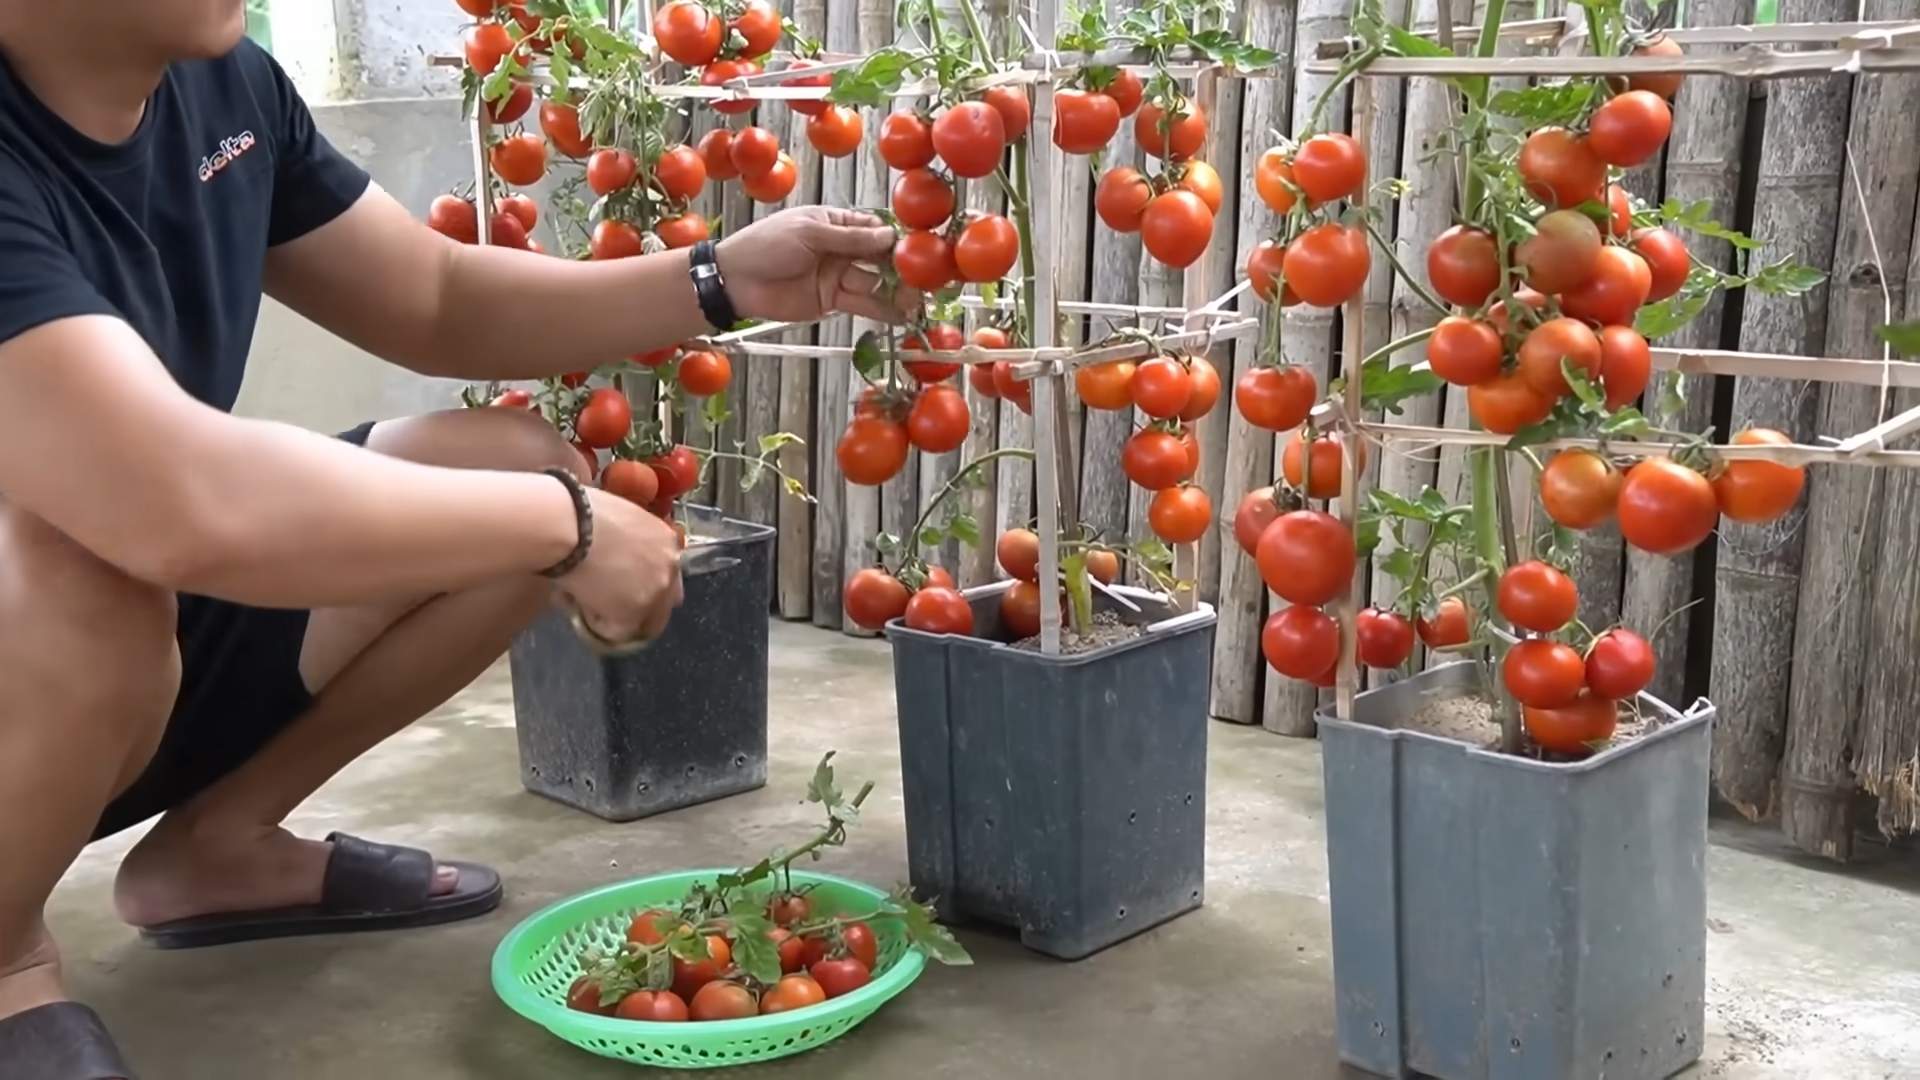
So, there you have it! The waterless tomato growing method – a game-changer for anyone looking to cultivate delicious, vibrant tomatoes with minimal water usage. This isn’t just a gardening trend; it’s a sustainable solution that addresses water scarcity while still delivering a bountiful harvest. We’ve walked you through the process, highlighting the key steps and benefits, and hopefully, dispelled any initial doubts you might have had.
Why is this a must-try? Because it’s efficient, eco-friendly, and ultimately, incredibly rewarding. Imagine sinking your teeth into a juicy, sun-ripened tomato that you grew yourself, knowing you did so responsibly and with minimal environmental impact. The flavor concentration you achieve with this method is truly remarkable, resulting in tomatoes that are intensely sweet and bursting with flavor. Forget those bland, watery supermarket tomatoes – waterless tomato growing unlocks a whole new level of taste.
But the beauty of this method lies in its adaptability. Feel free to experiment with different tomato varieties. Cherry tomatoes, Roma tomatoes, and even larger beefsteak varieties can thrive using this technique. Consider adding a layer of mulch, such as straw or wood chips, to further conserve moisture and suppress weeds. You can also incorporate companion planting, such as basil or marigolds, to deter pests and enhance the overall health of your tomato plants. Another variation is to use different types of containers. While we’ve focused on using buckets, you can also use raised beds or even repurposed containers like old tires. Just ensure that the container is large enough to accommodate the root system of your tomato plant.
Don’t be afraid to tweak the process to suit your specific climate and growing conditions. If you live in a particularly hot and dry area, you might need to provide some supplemental watering during the hottest part of the day, especially during the initial establishment phase. Conversely, if you live in a cooler, more humid climate, you might need to ensure adequate drainage to prevent root rot.
We wholeheartedly encourage you to give this waterless tomato growing method a try. It’s a simple, effective, and sustainable way to grow your own delicious tomatoes, regardless of your gardening experience. The satisfaction of harvesting your own homegrown tomatoes, knowing you’ve conserved water and reduced your environmental footprint, is truly unparalleled.
Once you’ve tried it, we’d love to hear about your experience! Share your tips, tricks, and successes in the comments below. Let’s build a community of water-conscious gardeners who are passionate about growing delicious, sustainable food. Your insights could help others discover the joys of waterless tomato growing and contribute to a more sustainable future. So, grab your seeds, prepare your soil, and get ready to experience the magic of waterless tomato growing! Happy gardening!
Frequently Asked Questions (FAQ)
What exactly is waterless tomato growing, and how does it work?
Waterless tomato growing, despite its name, doesn’t mean completely eliminating water. It refers to a method that significantly reduces water consumption by focusing on deep watering during planting and then relying on the plant’s ability to develop a deep root system to access moisture deep within the soil. The key is to create a moisture reservoir at the bottom of the planting container or hole, which the roots can tap into as needed. This encourages the plant to become more drought-tolerant and less reliant on frequent watering. The soil mix is also crucial, as it needs to retain moisture effectively without becoming waterlogged. This method is particularly beneficial in areas with water restrictions or for gardeners who want to minimize their environmental impact.
What type of soil is best for waterless tomato growing?
The ideal soil mix for waterless tomato growing should be well-draining but also have excellent water retention capabilities. A good starting point is a mix of equal parts of the following:
* **Garden soil:** Provides essential nutrients and structure.
* **Compost:** Adds organic matter, improves drainage, and retains moisture.
* **Peat moss or coco coir:** Enhances water retention.
* **Perlite or vermiculite:** Improves drainage and aeration.
You can also add a slow-release fertilizer to provide a steady supply of nutrients to your tomato plants. Avoid using heavy clay soils, as they tend to retain too much water and can lead to root rot. The goal is to create a soil mix that is both moisture-retentive and well-draining, allowing the roots to access water when needed without becoming waterlogged.
How often do I need to water my tomato plants using this method?
The beauty of waterless tomato growing is that you water significantly less frequently than with traditional methods. After the initial deep watering at planting, you should only need to water when the top inch or two of soil feels dry to the touch. This could be as infrequent as once a week or even less, depending on your climate and the size of your container. The key is to monitor the soil moisture regularly and water only when necessary. Overwatering can be just as detrimental as underwatering, so it’s important to err on the side of caution. During periods of extreme heat or drought, you may need to water more frequently, but generally, the waterless method significantly reduces the need for constant watering.
What are the signs that my tomato plants are not getting enough water?
Several signs can indicate that your tomato plants are not getting enough water, even with the waterless method. These include:
* **Wilting leaves:** This is the most obvious sign of dehydration. The leaves will droop and appear limp.
* **Curling leaves:** The leaves may curl inward or upward as the plant tries to conserve moisture.
* **Dry soil:** The soil will feel dry to the touch, even several inches below the surface.
* **Stunted growth:** The plant may not grow as quickly as it should, and the leaves may be smaller than normal.
* **Blossom end rot:** This condition, characterized by a dark, leathery spot on the bottom of the tomato, can be caused by inconsistent watering.
If you notice any of these signs, it’s important to water your tomato plants immediately. However, avoid overwatering, as this can lead to other problems.
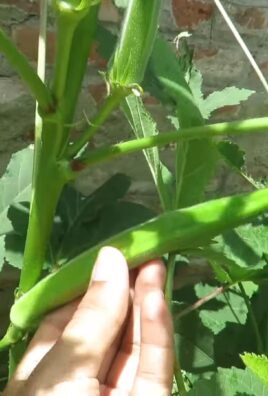
Can I use this method for other vegetables besides tomatoes?
While the waterless method is particularly well-suited for tomatoes, it can also be adapted for other vegetables that prefer well-drained soil and can tolerate periods of drought. Some good candidates include:
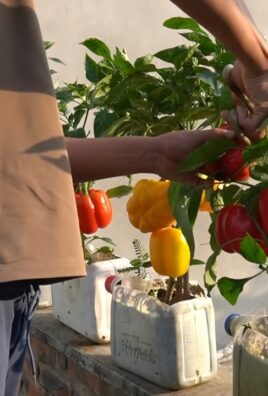
* **Peppers:** Similar to tomatoes, peppers thrive in well-drained soil and can tolerate infrequent watering.
* **Eggplant:** Eggplant also benefits from deep watering and can be grown using a similar method.
* **Squash:** Summer squash and zucchini can also be grown using this technique, but they may require more frequent watering than tomatoes.
* **Cucumbers:** Cucumbers can be grown using a modified version of the waterless method, but they generally require more consistent moisture than tomatoes.
When adapting the waterless method for other vegetables, it’s important to consider their specific water requirements and adjust the watering schedule accordingly.
What if I live in a very hot and dry climate? Will this method still work?
Yes, the waterless tomato growing method can still work in hot and dry climates, but you may need to make some adjustments to ensure success. Here are some tips:
* **Choose heat-tolerant tomato varieties:** Some tomato varieties are more tolerant of heat and drought than others. Look for varieties that are specifically bred for hot climates.
* **Provide shade during the hottest part of the day:** If possible, provide some shade for your tomato plants during the hottest part of the day to reduce water loss.
* **Use mulch:** Apply a thick layer of mulch around your tomato plants to help conserve moisture and keep the soil cool.
* **Water deeply but infrequently:** Water deeply when you do water, but allow the soil to dry out slightly between waterings.
* **Monitor your plants closely:** Pay close attention to your tomato plants and water them if they show signs of stress.
In extremely hot and dry climates, you may need to provide some supplemental watering, especially during the hottest part of the summer. However, the waterless method can still significantly reduce your water consumption compared to traditional methods.
How do I prevent blossom end rot when using the waterless method?
Blossom end rot is a common problem in tomatoes, and it’s often caused by inconsistent watering. To prevent blossom end rot when using the waterless method, it’s important to:
* **Maintain consistent soil moisture:** Avoid letting the soil dry out completely between waterings.
* **Use a well-draining soil mix:** Ensure that your soil mix is well-draining to prevent waterlogging.
* **Add calcium to the soil:** Calcium deficiency can also contribute to blossom end rot. Add calcium to the soil by incorporating bone meal or crushed eggshells.
* **Avoid over-fertilizing with nitrogen:** Excessive nitrogen can interfere with calcium uptake.
By following these tips, you can minimize the risk of blossom end rot and enjoy a healthy harvest of tomatoes.

Leave a Comment