
Strawberry Growing Hack: Unlock the secrets to a bountiful harvest right in your backyard! Imagine plucking juicy, sun-ripened strawberries straight from your own garden – a taste of summer that’s fresher and more flavorful than anything you can buy in a store. For centuries, strawberries have been cherished not only for their delicious taste but also for their vibrant color and symbolism of love and abundance. From ancient Roman gardens to modern-day farms, the allure of the strawberry has endured.
But let’s be honest, sometimes growing these ruby red gems can feel like a challenge. Pests, diseases, and limited space can all stand in the way of your strawberry dreams. That’s where this DIY article comes in! I’m going to share some simple yet incredibly effective strawberry growing hack that will transform your gardening game. Whether you’re a seasoned gardener or just starting out, these tips will help you maximize your yield, protect your plants, and enjoy a continuous supply of delicious strawberries all season long. Get ready to ditch the store-bought berries and embrace the satisfaction of growing your own!
DIY Strawberry Tower: Grow More Berries in Less Space!
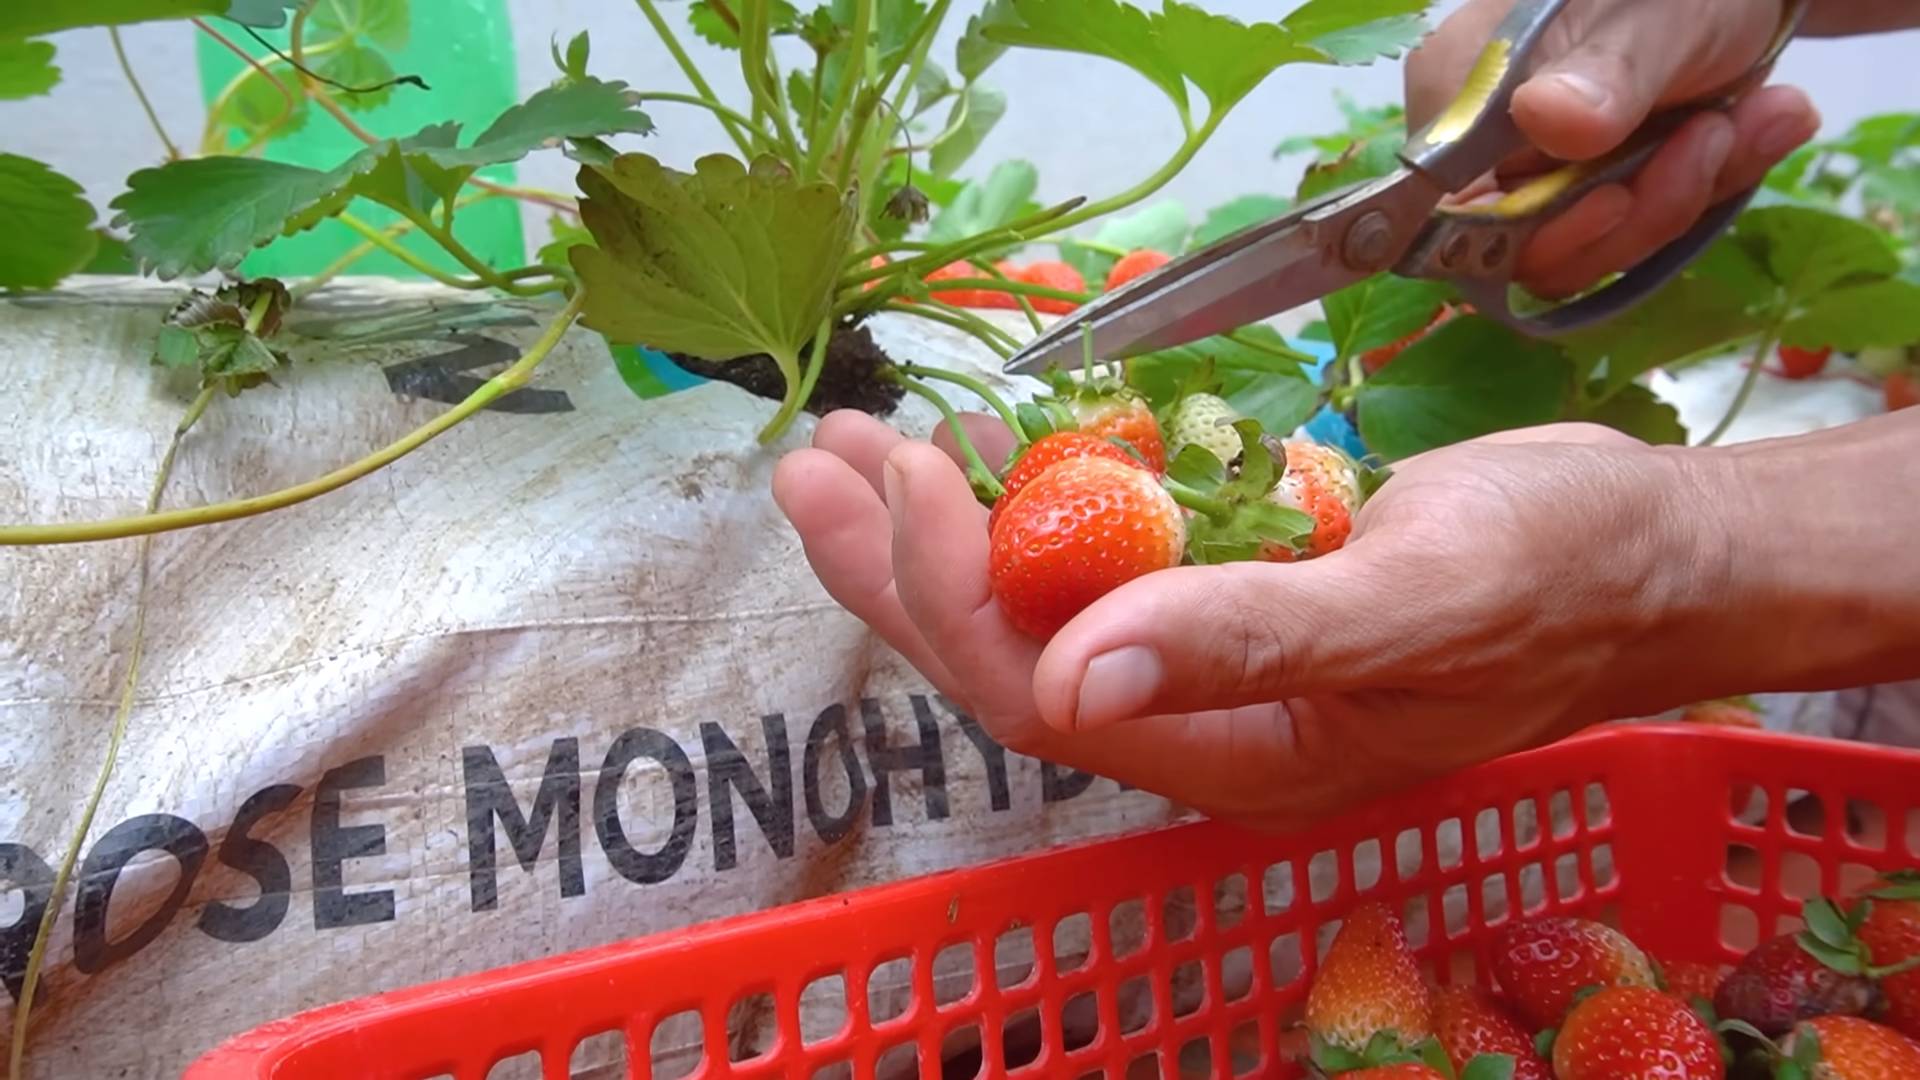
Hey there, fellow gardening enthusiasts! Are you dreaming of juicy, sun-ripened strawberries but short on garden space? Well, I’ve got just the project for you: a DIY strawberry tower! This vertical gardening solution is not only a space-saver but also a beautiful addition to any patio, balcony, or garden. Plus, it keeps those delicious berries off the ground, away from slugs and other critters. Let’s get started!
Materials You’ll Need
Before we dive in, let’s gather our supplies. This is what I used, but feel free to adapt it to what you have available or prefer:
* Two Plastic Buckets: One large (about 5-gallon) and one smaller (about 2-gallon). The smaller one needs to fit inside the larger one with some space around it.
* Drill with Various Sized Drill Bits: For creating drainage holes and planting pockets.
* Utility Knife or Hole Saw: For cutting larger planting holes.
* Landscape Fabric or Burlap: To line the inner bucket and prevent soil erosion.
* Potting Soil: A good quality potting mix is crucial for healthy strawberry plants.
* Gravel or Small Rocks: For drainage at the bottom of the tower.
* Strawberry Plants: Choose everbearing varieties for a continuous harvest throughout the season. I usually go for around 10-15 plants.
* Measuring Tape or Ruler: For accurate hole placement.
* Gloves: To protect your hands.
* Safety Glasses: Always a good idea when using power tools!
* Watering Can or Hose: For watering your strawberry tower.
Building the Strawberry Tower: Step-by-Step Instructions
Okay, let’s get our hands dirty! Here’s how I built my strawberry tower:
1. Prepare the Inner Bucket (Drainage):
* First, grab your smaller bucket. This will be the inner core of our tower, providing drainage and support.
* Using a drill with a medium-sized drill bit (around 1/4 inch), drill plenty of drainage holes in the bottom and sides of the smaller bucket. I’m talking lots of holes! This is super important to prevent waterlogging, which strawberries hate.
* Line the inside of the smaller bucket with landscape fabric or burlap. This will help prevent soil from washing out through the drainage holes. Cut the fabric slightly larger than the bucket and fold it over the top edge.
2. Prepare the Outer Bucket (Planting Pockets):
* Now, take your larger bucket. This is where the magic happens – the planting pockets!
* Decide how many rows of planting pockets you want. I usually go for 3-4 rows, depending on the height of the bucket.
* Using your measuring tape or ruler, mark the locations for your planting pockets. Space them evenly around the bucket and stagger them between rows for a visually appealing and functional design. I usually space them about 6-8 inches apart.
* Using your utility knife or hole saw, carefully cut out the planting pockets. Make them large enough to easily insert a strawberry plant, but not so large that soil will spill out. I find that 3-4 inch diameter holes work well.
* Safety First! Be extra careful when using the utility knife or hole saw. Work slowly and steadily to avoid accidents.
3. Assemble the Tower:
* Place a layer of gravel or small rocks at the bottom of the larger bucket. This will further improve drainage.
* Carefully insert the smaller bucket (the one with the drainage holes and landscape fabric) into the center of the larger bucket.
* Make sure the smaller bucket is centered and stable.
4. Fill with Soil:
* Now comes the fun part: filling the tower with soil!
* Start by adding potting soil to the space between the two buckets. As you add soil, gently pack it down to eliminate air pockets.
* Continue filling the space between the buckets until you reach the first row of planting pockets.
5. Plant the Strawberries (First Row):
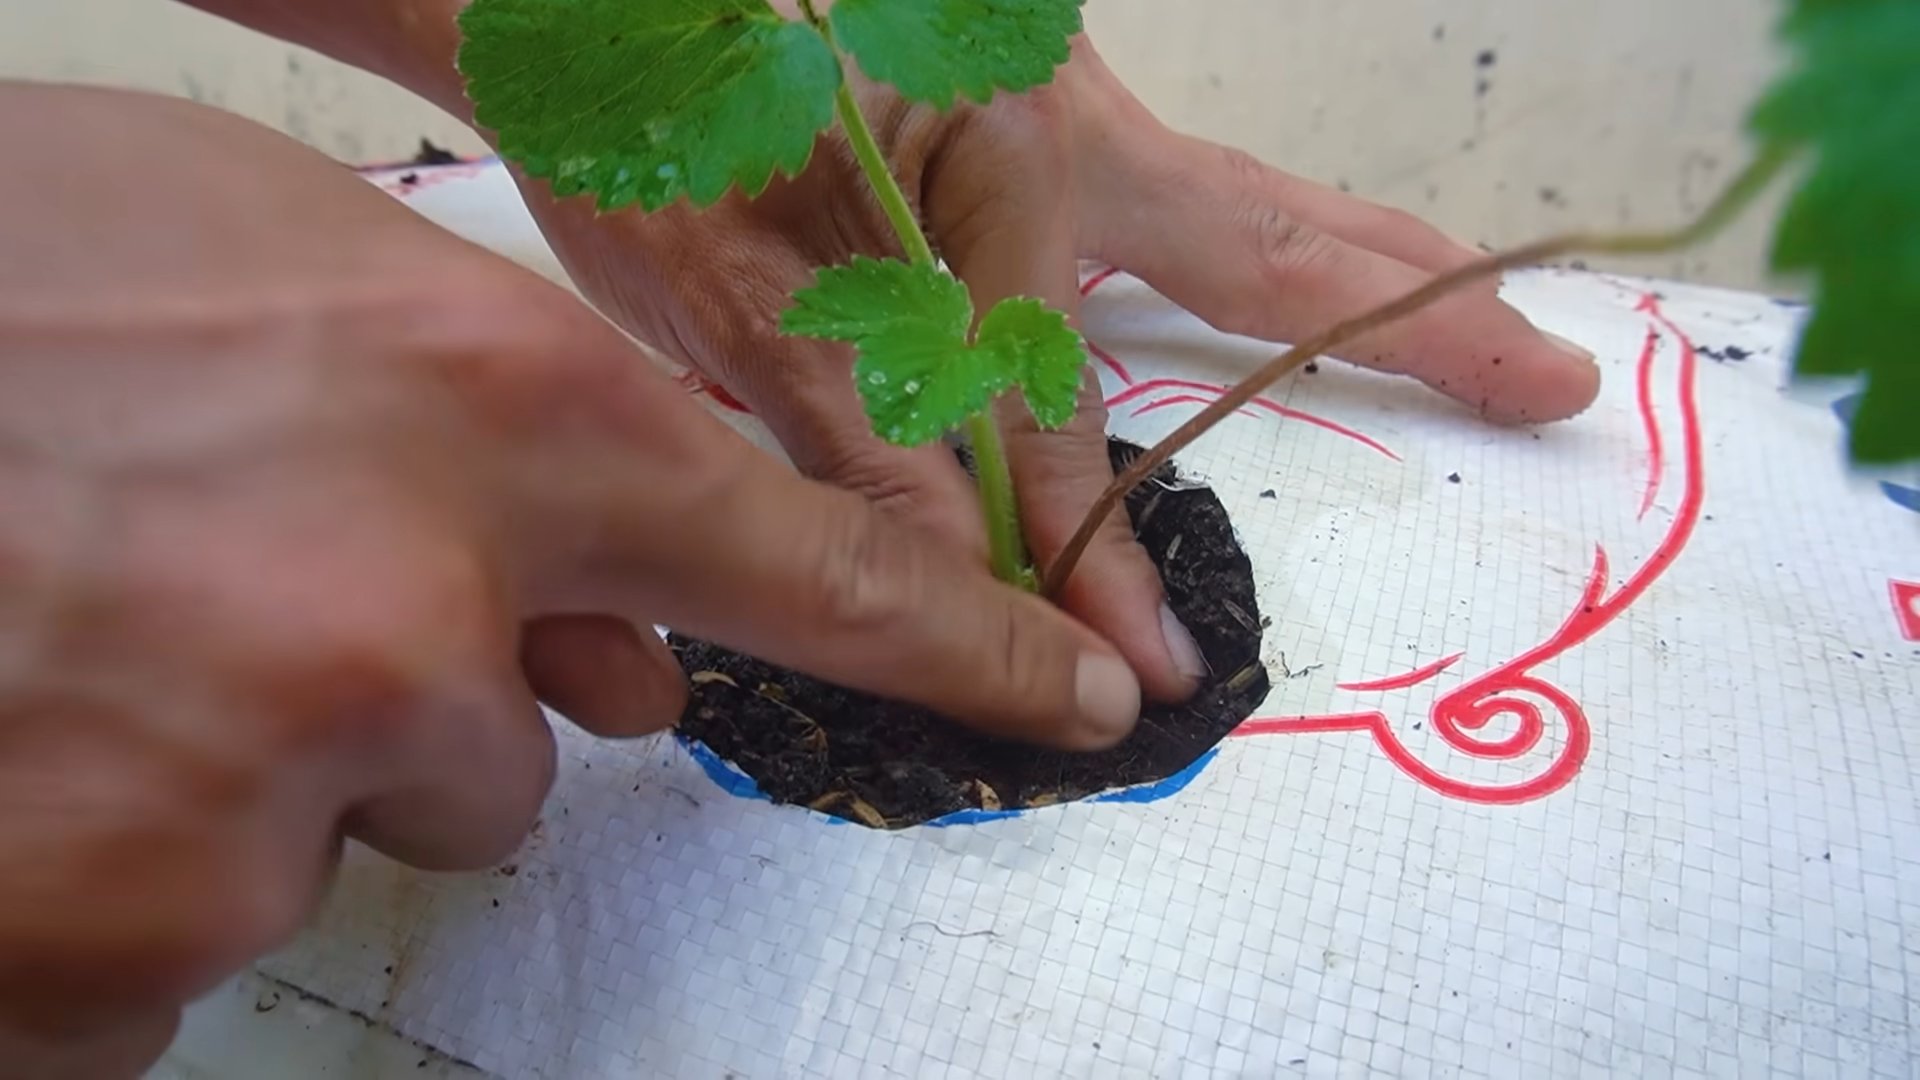
* Gently remove a strawberry plant from its container, being careful not to damage the roots.
* Carefully insert the plant into one of the planting pockets, making sure the roots are well covered with soil.
* Repeat this process for all the planting pockets in the first row.
6. Continue Filling and Planting:
* Add more potting soil to the space between the buckets, packing it down as you go, until you reach the next row of planting pockets.
* Plant the strawberries in the second row, and so on, until you’ve filled all the planting pockets.
7. Plant the Top:
* Once you’ve filled all the planting pockets, fill the top of the tower with soil.
* Plant a few more strawberry plants on top of the tower. This will create a beautiful cascading effect as the plants grow.
8. Water Thoroughly:
* Give your newly planted strawberry tower a good watering. Water slowly and deeply, allowing the water to soak into the soil.
* Continue to water regularly, especially during hot, dry weather.
Maintaining Your Strawberry Tower
Now that your strawberry tower is built and planted, here are a few tips to keep it thriving:
* Watering: Strawberries need consistent moisture, but they don’t like to be waterlogged. Check the soil moisture regularly and water when the top inch feels dry. The inner bucket helps distribute water evenly throughout the tower.
* Fertilizing: Feed your strawberry plants with a balanced fertilizer every few weeks. Follow the instructions on the fertilizer package. I like to use a liquid fertilizer diluted in water.
* Sunlight: Strawberries need at least 6-8 hours of sunlight per day. Place your strawberry tower in a sunny location.
* Pest Control: Keep an eye out for pests like aphids and spider mites. Treat them promptly with an appropriate insecticide or organic pest control method.
* Pruning: Remove any dead or yellowing leaves to keep your plants healthy and productive.
* Winter Care: In colder climates, you may need to protect your strawberry tower from freezing temperatures. You can wrap it in burlap or move it to a sheltered location.
Troubleshooting
Sometimes, things don’t go exactly as planned. Here are a few common issues you might encounter and how to fix them:
* Yellowing Leaves: This could be a sign of overwatering, underwatering, or nutrient deficiency. Check the soil moisture and adjust your watering schedule accordingly. Fertilize your plants if necessary.
* Lack of Fruit: This could be due to insufficient sunlight, poor pollination, or nutrient deficiency. Make sure your strawberry tower is in a sunny location and fertilize your plants regularly. You can also try hand-pollinating the flowers with a small brush.
* Pests: Inspect your plants regularly for pests and treat them promptly.
* Soil Erosion: If you notice soil washing out of the planting pockets, you may need to add more landscape fabric or burlap to the inner bucket.
Variations and Customizations
The beauty of DIY is that you can customize it to your liking! Here are a few ideas for variations and customizations:
* Different Bucket Sizes: Experiment with different sized buckets to create a taller or wider tower.
* Different Planting Pocket Shapes: Get creative with the shape of your planting pockets. You could try oval, square, or even heart-shaped pockets.
* Paint the Buckets: Add a splash of color to your strawberry tower by painting the buckets. Use a paint that is safe for outdoor use.
* Add Trellis: You can add a small trellis to the top of the tower to support the strawberry plants as they grow.
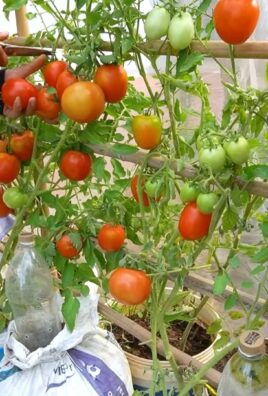
* Use Different Plants: While this guide focuses on strawberries, you can also use this method to grow other herbs and vegetables, such as lettuce, spinach, and herbs.
Enjoy Your Harvest!
And there you have it! Your very own DIY strawberry tower. With a little care and attention, you’ll be enjoying fresh, delicious strawberries all season long. I hope you found this guide helpful. Happy gardening!
Conclusion
So, there you have it! This simple, yet incredibly effective strawberry growing hack is more than just a gardening tip; it’s a game-changer for anyone who dreams of baskets overflowing with juicy, sun-ripened strawberries. We’ve walked you through the process, highlighting how easy it is to implement and the significant benefits it offers – from increased yields and healthier plants to reduced pest problems and water conservation.
But why is this strawberry growing hack a must-try? Because it empowers you to take control of your strawberry production, regardless of your gardening experience or the size of your space. Whether you’re a seasoned gardener with acres of land or a city dweller with a small balcony, this method can be adapted to suit your needs. Imagine the satisfaction of harvesting your own delicious strawberries, knowing that you nurtured them from tiny seedlings to plump, flavorful fruits.
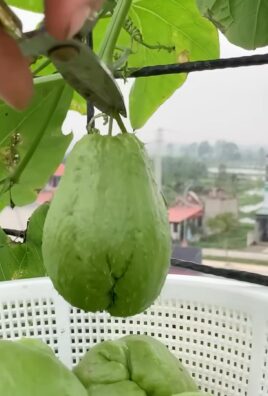
Beyond the basic method, there’s plenty of room for experimentation and personalization. Consider using different types of containers, such as repurposed plastic bottles, hanging baskets, or even old tires. You can also experiment with different soil mixes to find the perfect blend for your local climate and strawberry variety. For those in colder climates, consider using a cold frame or greenhouse to extend the growing season. And for those in warmer climates, providing some afternoon shade can help prevent the plants from overheating.
Think about adding companion plants to your strawberry patch. Marigolds, for example, are known to repel nematodes and other pests, while basil can improve the flavor of your strawberries. You can also try interplanting strawberries with herbs like thyme or oregano, which can help to suppress weeds and attract beneficial insects.
Don’t be afraid to get creative and tailor this strawberry growing hack to your own unique circumstances. The beauty of DIY gardening is that it allows you to learn and adapt as you go.
We are confident that this method will revolutionize your strawberry growing experience. It’s a cost-effective, environmentally friendly, and incredibly rewarding way to enjoy fresh, homegrown strawberries all season long.
Now, it’s your turn! We encourage you to try this strawberry growing hack and see the results for yourself. Plant your strawberries, follow the steps outlined in this article, and watch your plants thrive. And most importantly, share your experience with us! We’d love to hear about your successes, your challenges, and any variations you’ve tried. Share your photos and stories on social media using #StrawberryGrowingHack and let’s build a community of strawberry enthusiasts.
Happy growing!
Frequently Asked Questions (FAQ)
Q: What type of strawberries are best for this growing hack?
A: The best type of strawberries for this growing hack depends on your climate and personal preference. However, generally, everbearing and day-neutral varieties tend to perform well in container gardening. Everbearing strawberries produce two to three harvests per year, while day-neutral varieties produce fruit continuously throughout the growing season. Some popular choices include Albion, Seascape, and Ozark Beauty. Research which varieties are best suited for your specific region and consider factors like disease resistance and fruit size. Also, consider starting with disease-free plants from a reputable nursery to ensure a healthy start.
Q: What kind of soil should I use for my strawberry plants?
A: Strawberries thrive in well-draining, slightly acidic soil with a pH between 5.5 and 6.5. A good potting mix for strawberries should be light and airy, allowing for proper root development and drainage. Avoid using heavy garden soil, as it can become compacted and waterlogged in containers. A mix of equal parts peat moss, perlite, and compost is a good starting point. You can also add a slow-release fertilizer to the soil mix to provide essential nutrients for your plants. Consider amending the soil with organic matter, such as well-rotted manure or leaf mold, to improve its fertility and water-holding capacity.
Q: How often should I water my strawberry plants?
A: Strawberry plants need consistent moisture, especially when grown in containers. Water your plants deeply whenever the top inch of soil feels dry to the touch. Avoid overwatering, as this can lead to root rot. The frequency of watering will depend on factors such as the weather, the size of the container, and the type of soil you’re using. During hot, dry weather, you may need to water your plants daily. In cooler, wetter weather, you may only need to water them every few days. Use a watering can or a hose with a gentle spray nozzle to avoid damaging the plants. Consider using a moisture meter to accurately gauge the moisture level in the soil.
Q: How much sunlight do strawberry plants need?
A: Strawberries need at least six to eight hours of direct sunlight per day to produce abundant fruit. Choose a location for your strawberry plants that receives plenty of sunlight throughout the day. If you’re growing your plants indoors, you may need to supplement with artificial lighting. South-facing windows are ideal for providing sunlight to indoor strawberry plants. If you live in a hot climate, providing some afternoon shade can help prevent the plants from overheating. Monitor your plants for signs of sunscald, such as scorched leaves, and adjust their location accordingly.
Q: How do I fertilize my strawberry plants?
A: Strawberries are heavy feeders and benefit from regular fertilization. Use a balanced fertilizer with an NPK ratio of 10-10-10 or 12-12-12. Apply fertilizer according to the package directions, typically every two to four weeks during the growing season. Avoid over-fertilizing, as this can lead to excessive foliage growth and reduced fruit production. You can also use organic fertilizers, such as compost tea or fish emulsion, to provide nutrients to your plants. Consider using a slow-release fertilizer at planting time to provide a steady supply of nutrients throughout the growing season. Monitor your plants for signs of nutrient deficiencies, such as yellowing leaves, and adjust your fertilization schedule accordingly.
Q: How do I protect my strawberry plants from pests and diseases?
A: Strawberries are susceptible to a variety of pests and diseases, including aphids, spider mites, slugs, snails, and fungal diseases. To protect your plants, practice good sanitation by removing dead leaves and debris from around the plants. Inspect your plants regularly for signs of pests or diseases and take action promptly. You can use insecticidal soap or neem oil to control aphids and spider mites. Use copper tape or beer traps to control slugs and snails. To prevent fungal diseases, ensure good air circulation around the plants and avoid overwatering. Consider using a fungicide if necessary. Companion planting with herbs like basil or marigolds can also help to repel pests.
Q: How do I overwinter my strawberry plants?
A: In colder climates, strawberry plants need protection from freezing temperatures. After the first frost, cut back the foliage to about two inches above the crown. Mulch the plants heavily with straw or leaves to insulate them from the cold. You can also move the plants to a sheltered location, such as a garage or shed. In warmer climates, strawberry plants may not need as much protection. However, it’s still a good idea to mulch the plants to protect them from temperature fluctuations. Remove the mulch in the spring when the weather warms up.
Q: How long does it take for strawberry plants to produce fruit?
A: The time it takes for strawberry plants to produce fruit depends on the variety and the growing conditions. Generally, everbearing and day-neutral varieties will start producing fruit within a few months of planting. June-bearing varieties will typically produce fruit the following spring. Be patient and provide your plants with the care they need, and you’ll be rewarded with a bountiful harvest of delicious strawberries. Remember that the first year’s harvest may be smaller as the plants establish themselves.
Q: Can I grow strawberries indoors year-round?
A: Yes, you can grow strawberries indoors year-round, but it requires providing them with the right conditions. This includes adequate sunlight (or artificial lighting), proper watering, fertilization, and temperature control. Choose a variety that is well-suited for indoor growing, such as day-neutral varieties. You may also need to hand-pollinate the flowers to ensure fruit production. With proper care, you can enjoy fresh strawberries even in the middle of winter.

Leave a Comment