
Start Heuchera Seeds Successfully and unlock a world of vibrant foliage right in your own backyard! Have you ever admired those stunning coral bells, with their kaleidoscope of colors and delicate blooms, and thought, “I wish I could grow those!”? Well, you absolutely can, and this DIY guide will show you how to nurture these beauties from tiny seeds to thriving plants.
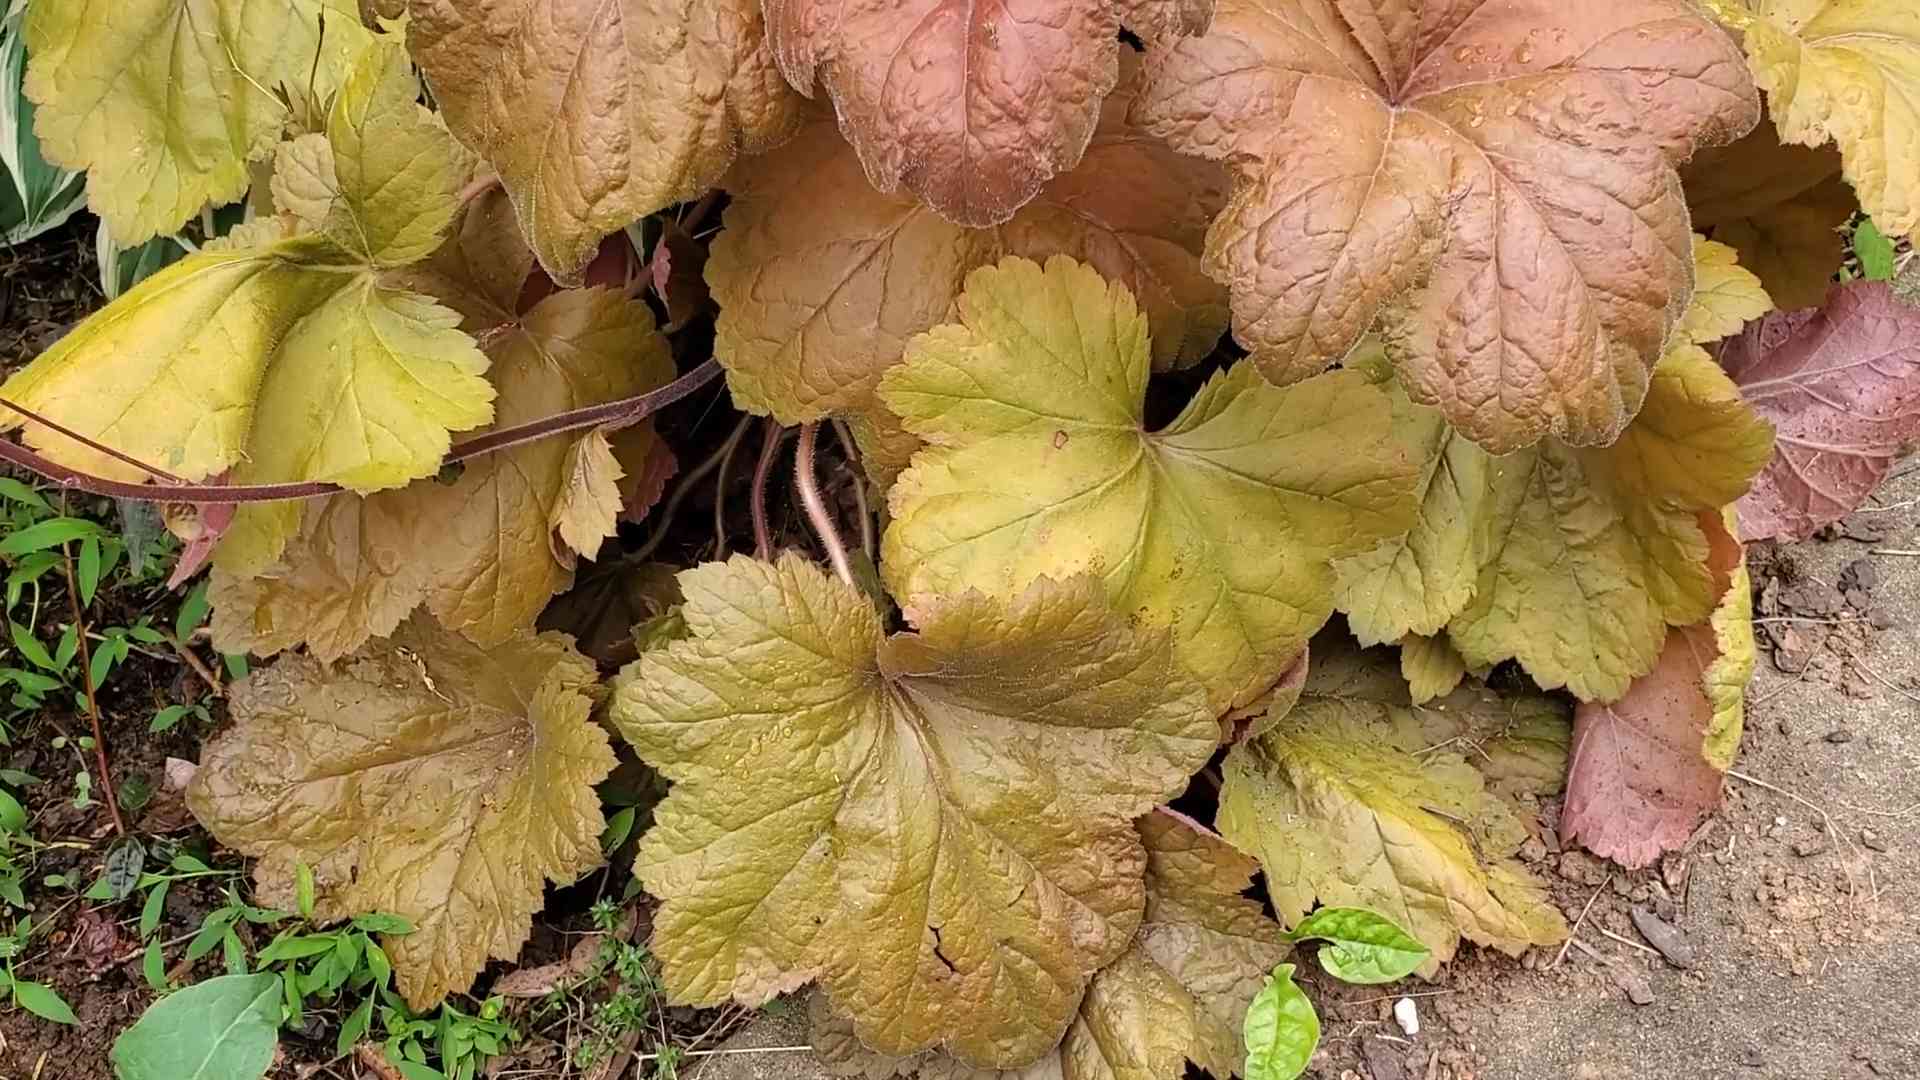
Heucheras, also known as coral bells, have a rich history, gracing gardens for centuries. Native to North America, they were prized by indigenous peoples for their medicinal properties and later embraced by European gardeners for their ornamental value. Today, they’re a staple in modern landscapes, adding texture and visual interest to borders, containers, and rock gardens.
But why start Heuchera seeds successfully yourself? Buying mature plants can be expensive, and the selection at your local nursery might be limited. Growing from seed allows you to explore a wider range of varieties, experiment with different colors and textures, and, most importantly, experience the immense satisfaction of nurturing life from the very beginning. Plus, it’s a fantastic way to save money and propagate your favorite cultivars. I know, it can seem daunting, but trust me, with a few simple tricks and a little patience, you’ll be amazed at what you can achieve. This guide will provide you with all the essential tips and techniques to ensure your Heuchera seeds germinate and flourish, transforming your garden into a colorful oasis.
Starting Heuchera Seeds Successfully: A DIY Guide
Hey there, fellow gardening enthusiasts! I’m so excited to share my tried-and-true method for starting Heuchera seeds. These beauties, also known as Coral Bells, can be a bit finicky, but with the right approach, you can cultivate a vibrant collection of these colorful foliage plants. I’ve learned a lot through trial and error, and I’m here to guide you through the process, step-by-step.
Understanding Heuchera Seeds
Before we dive in, let’s talk a little about Heuchera seeds. They are incredibly tiny, almost dust-like. This makes them a bit challenging to handle, but don’t let that deter you! Their small size also means they don’t need to be buried deeply, which is a good thing.
Key Considerations:
* Freshness: Heuchera seeds are best sown fresh. If you’re using seeds from a previous year, germination rates might be lower.
* Light: Heuchera seeds need light to germinate. This is crucial!
* Moisture: Consistent moisture is vital, but avoid overwatering, which can lead to damping off.
* Patience: Germination can be a bit slow and uneven, so be patient. It can take anywhere from 14 to 30 days, or even longer.
Materials You’ll Need
Here’s a list of everything you’ll need to get started. I’ve included some of my favorite brands and tools, but feel free to use what you have on hand.
* Heuchera Seeds: Choose your favorite varieties! I personally love ‘Palace Purple’ and ‘Lime Marmalade’.
* Seed Starting Trays or Small Pots: I prefer seed starting trays with a clear humidity dome.
* Seed Starting Mix: A fine-textured, sterile mix is essential. Avoid using garden soil, as it can contain pathogens. I recommend a mix of peat moss, vermiculite, and perlite.
* Spray Bottle: For misting the seeds and keeping the soil moist.
* Heat Mat (Optional): Heuchera seeds germinate best with bottom heat. A heat mat can significantly improve germination rates.
* Grow Lights (Optional): If you don’t have a sunny windowsill, grow lights will provide the necessary light for germination and early growth.
* Small Spoon or Toothpick: For handling the tiny seeds.
* Labels: To keep track of your different varieties.
* Clear Plastic Wrap (Optional): If you don’t have a humidity dome, plastic wrap can help retain moisture.
Sowing the Seeds: A Step-by-Step Guide
Okay, let’s get our hands dirty! Here’s how I sow my Heuchera seeds:
1. Prepare the Seed Starting Trays: Fill your seed starting trays or pots with the seed starting mix. Gently press down the soil to create a level surface. Don’t pack it too tightly, as the seeds need good drainage.
2. Moisten the Soil: Thoroughly moisten the soil with your spray bottle. You want it to be damp but not soggy. Water should drain freely from the bottom of the trays.
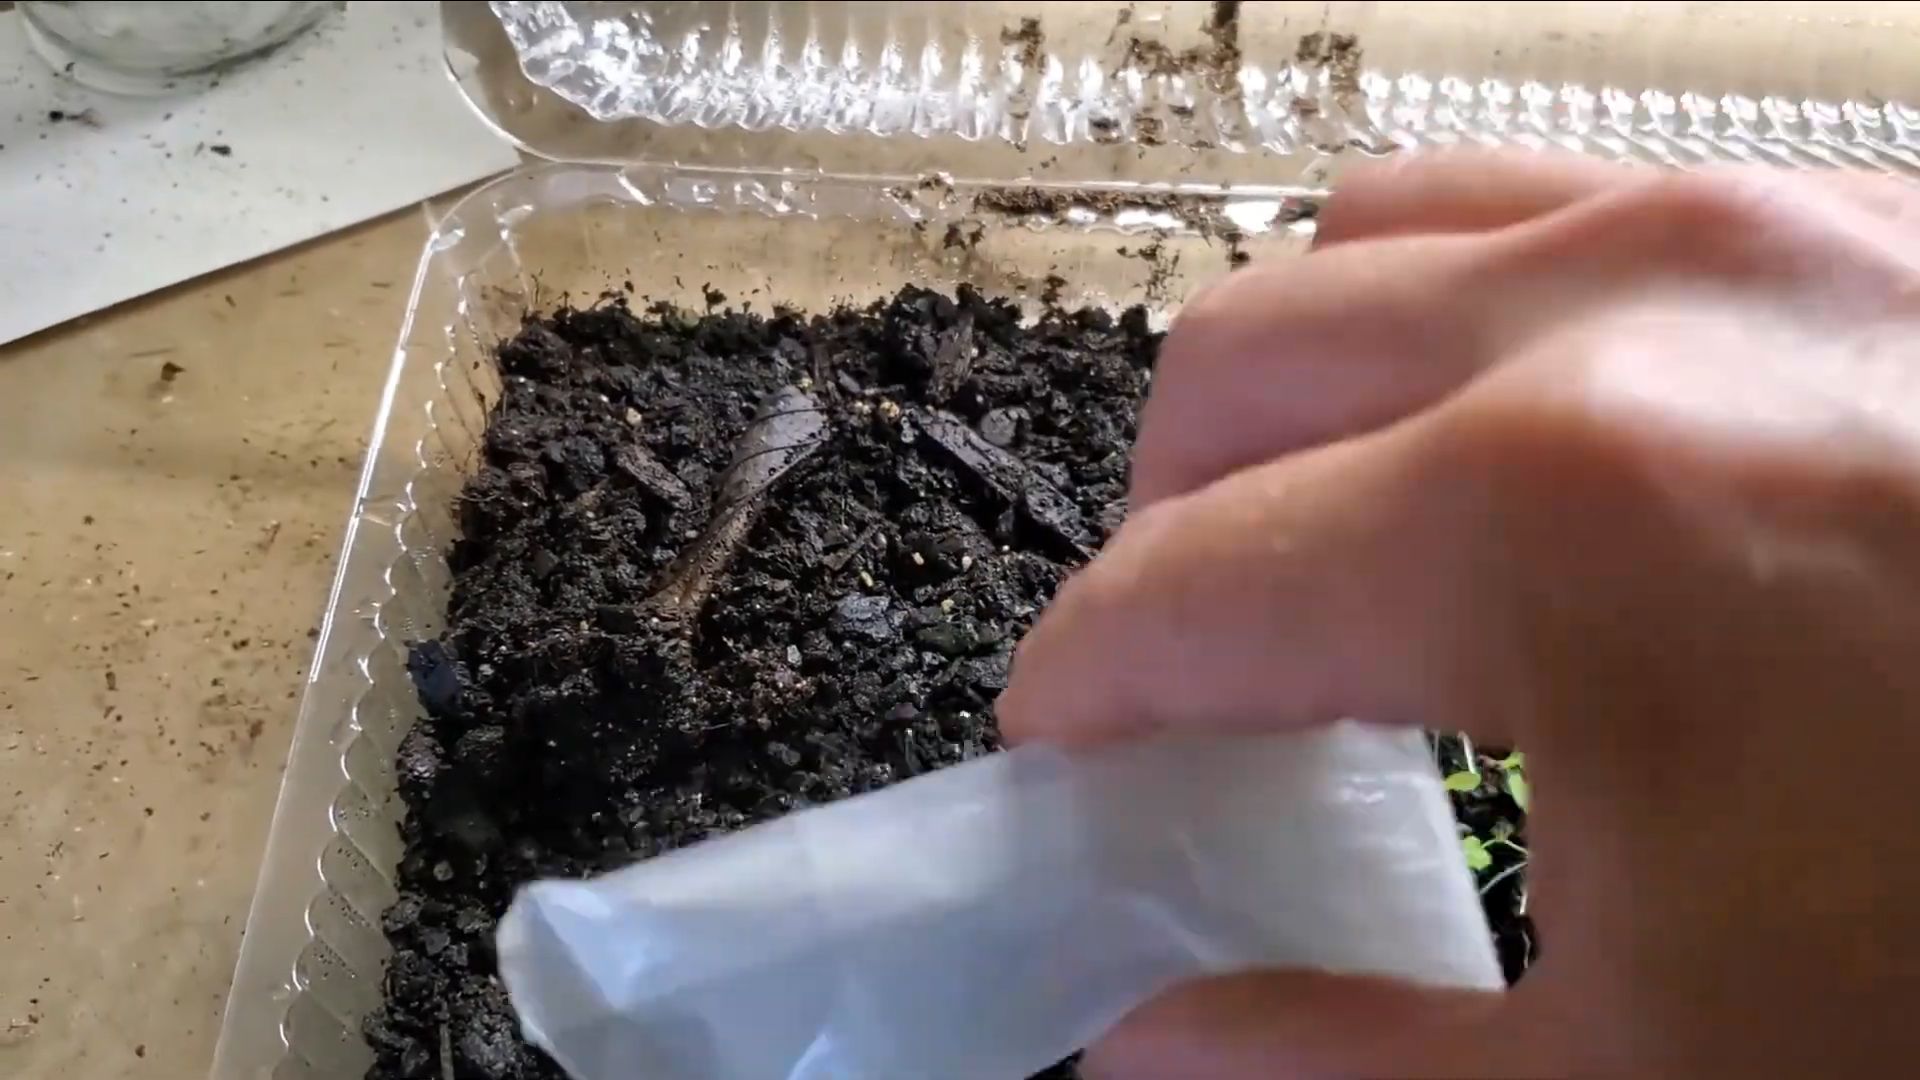
3. Sow the Seeds: This is the trickiest part, given the tiny size of the seeds. I like to use a small spoon or toothpick to carefully sprinkle the seeds over the surface of the soil. Try to distribute them evenly, but don’t worry too much about perfection. Remember, they need light to germinate, so don’t bury them!
4. Gently Press the Seeds: After sowing, gently press the seeds into the soil surface. This will ensure good contact between the seeds and the soil. I use my finger to lightly pat them down.
5. Mist Again: Lightly mist the surface of the soil again to settle the seeds.
6. Cover with a Humidity Dome or Plastic Wrap: Place the humidity dome over the seed starting tray or cover the pots with clear plastic wrap. This will help retain moisture and create a humid environment, which is essential for germination.
7. Provide Bottom Heat (Optional): If you’re using a heat mat, place the seed starting tray on the mat. Set the temperature to around 70-75°F (21-24°C).
8. Provide Light: Place the seed starting tray in a location with bright, indirect light. If you’re using grow lights, position them a few inches above the tray. I usually keep my grow lights on for 14-16 hours a day.
9. Monitor Moisture Levels: Check the moisture levels daily. The soil should remain consistently moist but not waterlogged. Mist the soil as needed to maintain the proper moisture level.
10. Ventilate (If Using a Humidity Dome): If you’re using a humidity dome, lift it briefly each day to allow for air circulation. This will help prevent fungal diseases.
Germination and Early Growth
Now comes the waiting game! As I mentioned earlier, germination can take anywhere from 14 to 30 days, or even longer. Be patient and keep monitoring the moisture levels.
1. Watch for Germination: Once the seeds start to germinate, you’ll see tiny green sprouts emerging from the soil. This is an exciting moment!
2. Remove the Humidity Dome or Plastic Wrap: Once most of the seeds have germinated, gradually remove the humidity dome or plastic wrap. Start by lifting it for a few hours each day and then gradually increase the time until it’s completely removed. This will help the seedlings acclimate to the lower humidity levels.
3. Provide Adequate Light: Ensure the seedlings receive plenty of light. If you’re using grow lights, adjust their height as the seedlings grow.
4. Water Carefully: Continue to water carefully, keeping the soil moist but not soggy. Avoid overhead watering, as this can increase the risk of damping off. I prefer to water from the bottom by placing the seed starting tray in a shallow tray of water and allowing the soil to absorb the water.
5. Fertilize (Optional): Once the seedlings have developed their first true leaves (the leaves that look like miniature versions of the adult leaves), you can start fertilizing them with a diluted liquid fertilizer. I use a balanced fertilizer diluted to half strength.
Transplanting the Seedlings
Once the seedlings are large enough to handle (usually when they have several sets of true leaves), it’s time to transplant them into individual pots.
1. Prepare the Pots: Fill small pots (2-3 inches in diameter) with a good quality potting mix.
2. Gently Remove the Seedlings: Carefully remove the seedlings from the seed starting tray. I like to use a small spoon or fork to gently lift them out, being careful not to damage the roots.
3. Plant the Seedlings: Make a small hole in the potting mix and gently place the seedling in the hole. Backfill with potting mix and gently press down around the base of the seedling.
4. Water Thoroughly: Water the newly transplanted seedlings thoroughly.
5. Acclimate to Outdoor Conditions: Before planting the seedlings in the garden, you’ll need to acclimate them to outdoor conditions. This process is called “hardening off.” Start by placing the seedlings outdoors in a sheltered location for a few hours each day. Gradually increase the amount of time they spend outdoors over the course of a week or two.
Planting in the Garden
Once the seedlings are hardened off, they’re ready to be planted in the garden!
1. Choose a Location: Heucheras prefer partial shade, especially in hot climates. Choose a location that receives morning sun and afternoon shade.
2. Prepare the Soil: Amend the soil with compost or other organic matter to improve drainage and fertility.
3. Plant the Seedlings: Dig a hole that’s slightly larger than the root ball of the seedling. Gently remove the seedling from the pot and place it in the hole. Backfill with soil and gently press down around the base of the plant.
4. Water Thoroughly: Water the newly planted seedlings thoroughly.
5. Mulch: Apply a layer of mulch around the base of the plants to help retain moisture and suppress weeds.
Ongoing Care
Heucheras are relatively low-maintenance plants, but here are a few tips to keep them thriving:
* Watering: Water regularly, especially during dry periods. Avoid overwatering, as this can lead to root rot.
* Fertilizing: Fertilize in the spring with a balanced fertilizer.
* Deadheading: Remove spent flower stalks to encourage more foliage growth.
* Division: Divide Heucheras every few years to prevent them from becoming overcrowded.
* Winter Protection: In cold climates, provide winter protection by mulching around the base of the plants.
Troubleshooting
Here are a
Conclusion
So, there you have it! Starting Heuchera seeds successfully might seem daunting at first, but with a little patience and these simple steps, you’ll be well on your way to cultivating a vibrant collection of these stunning foliage plants. This DIY trick isn’t just about saving money; it’s about experiencing the joy of nurturing life from the very beginning and gaining a deeper appreciation for the beauty of nature.
Why is this a must-try? Because Heucheras, with their incredible range of colors and textures, can transform any garden space. They add visual interest year-round, and starting them from seed allows you to access varieties that might not be readily available at your local nurseries. Plus, the satisfaction of watching those tiny seeds sprout and grow into healthy plants is truly rewarding.
Don’t be afraid to experiment! Consider trying different seed starting mixes to see which works best for you. Some gardeners swear by a mix of peat moss and perlite, while others prefer a soilless mix specifically designed for seed starting. You can also play around with the lighting. While indirect light is generally recommended, you might find that your Heuchera seedlings thrive under grow lights, especially during the darker months.
For variations, think about the containers you use. While seed trays are convenient, you can also use recycled containers like yogurt cups or egg cartons. Just make sure they have drainage holes! Another variation is to try cold stratification. Some Heuchera varieties benefit from a period of cold exposure before germination. You can mimic this by placing your seeds in a damp paper towel inside a plastic bag and refrigerating them for a few weeks before sowing.
We wholeheartedly encourage you to give this DIY trick a try. It’s a fun, educational, and ultimately rewarding experience. And remember, even if you encounter a few setbacks along the way, don’t give up! Gardening is all about learning and adapting.
Once you’ve successfully started your Heuchera seeds, we’d love to hear about your experience! Share your tips, tricks, and photos in the comments below. Let’s create a community of Heuchera enthusiasts and help each other grow! Your insights could be invaluable to other gardeners who are just starting out. We are confident that you will find that starting Heuchera seeds successfully is a rewarding experience.
Frequently Asked Questions (FAQ)
What is the best time of year to start Heuchera seeds?
The ideal time to start Heuchera seeds is typically in late winter or early spring, about 8-10 weeks before the last expected frost. This allows the seedlings enough time to develop into strong, healthy plants before they are transplanted outdoors. Starting them indoors gives them a head start and protects them from harsh weather conditions. However, you can also start them in the fall if you have a greenhouse or a protected area where they can overwinter. Just be sure to provide adequate light and humidity.
How long does it take for Heuchera seeds to germinate?
Germination time for Heuchera seeds can vary, but generally, you can expect to see sprouts within 14-21 days. However, some varieties may take longer, so be patient. Keep the soil consistently moist and maintain a warm temperature to encourage germination. If you haven’t seen any sprouts after three weeks, don’t give up hope! Sometimes, seeds can be slow to germinate, especially if they haven’t been properly stratified.
What kind of soil is best for starting Heuchera seeds?
Heuchera seeds require a well-draining and sterile seed starting mix. Avoid using garden soil, as it can contain pathogens and weed seeds that can harm your seedlings. A mix of peat moss and perlite or vermiculite is a good option. You can also purchase commercially available seed starting mixes. Make sure the mix is fine and evenly textured to allow for good root development.
How much light do Heuchera seedlings need?
Heuchera seedlings need bright, indirect light. Avoid placing them in direct sunlight, as this can scorch their delicate leaves. A south-facing window with a sheer curtain is a good option. If you don’t have access to enough natural light, you can use grow lights. Position the lights a few inches above the seedlings and keep them on for 12-16 hours per day.
How often should I water Heuchera seedlings?
Water Heuchera seedlings regularly to keep the soil consistently moist, but not soggy. Overwatering can lead to fungal diseases and root rot. Use a spray bottle to gently mist the soil surface. Avoid watering from above, as this can damage the seedlings. Check the soil moisture daily and water when the top inch feels dry to the touch.
When should I transplant Heuchera seedlings?
Transplant Heuchera seedlings when they have developed at least two sets of true leaves. This usually takes about 6-8 weeks after germination. Harden off the seedlings by gradually exposing them to outdoor conditions for a week before transplanting them into their permanent location. Choose a well-draining location with partial shade.
What are some common problems when starting Heuchera seeds?
Some common problems when starting Heuchera seeds include damping off, fungal diseases, and pest infestations. Damping off is a fungal disease that can cause seedlings to collapse and die. To prevent damping off, use a sterile seed starting mix and avoid overwatering. Fungal diseases can also be a problem if the humidity is too high. To prevent fungal diseases, provide good air circulation and avoid overcrowding the seedlings. Pest infestations can also occur, especially if the seedlings are grown indoors. Check the seedlings regularly for pests and treat them with an appropriate insecticide if necessary.
Can I start Heuchera seeds directly in the garden?
While it’s possible to start Heuchera seeds directly in the garden, it’s generally not recommended. Heuchera seeds are very small and delicate, and they are more likely to be successful if started indoors under controlled conditions. Starting them indoors also gives them a head start and protects them from harsh weather conditions and pests.
What are some good Heuchera varieties to start from seed?
There are many different Heuchera varieties to choose from, each with its own unique color and texture. Some popular varieties to start from seed include ‘Palace Purple’, ‘Obsidian’, ‘Lime Marmalade’, and ‘Georgia Peach’. When choosing a variety, consider your local climate and the amount of sunlight your garden receives.
How do I collect Heuchera seeds?
Collecting Heuchera seeds is relatively straightforward. Allow the flower stalks to dry completely on the plant. Once dry, the seed pods will turn brown and brittle. Carefully cut the flower stalks and place them in a paper bag. Gently crush the seed pods to release the seeds. Sift the seeds through a fine-mesh sieve to remove any debris. Store the seeds in a cool, dry place until you are ready to sow them. Remember that seeds from hybrid varieties may not come true to type, meaning the offspring may not look exactly like the parent plant.
Leave a Comment