
Soil bags for corn – ever thought about growing your own sweet, juicy corn right in your backyard, even without a sprawling garden? I know, it sounds almost too good to be true, right? But trust me, it’s totally achievable, and this DIY guide is going to show you exactly how! Forget lugging heavy equipment or tilling acres of land; we’re talking about a simple, effective method that brings the farm to your doorstep.
Growing corn has been a cornerstone of civilizations for millennia, dating back to ancient Mesoamerica. It’s more than just a food source; it’s a symbol of abundance and community. While traditionally grown in vast fields, modern ingenuity allows us to adapt these age-old practices to suit our contemporary lifestyles.
Why should you try this DIY trick? Well, imagine biting into freshly picked corn, bursting with flavor, knowing you nurtured it from seed to cob. Plus, with rising grocery prices and concerns about food miles, growing your own produce is becoming increasingly appealing. Using soil bags for corn is a fantastic way to control soil quality, manage space, and even extend your growing season. It’s perfect for apartment dwellers with balconies, suburban homeowners with limited yard space, or anyone who simply wants a fun and rewarding gardening project. So, let’s ditch the store-bought stuff and get our hands dirty (in a clean, contained way, of course!).
DIY Corn Growing in a Sack: Your Own Little Cornfield at Home
Hey everyone! Do you also not have a garden but still want to grow fresh corn yourself? No problem! I’ll show you how you can easily grow corn in sacks. This is super space-saving and even works on a balcony or terrace. Let’s get started!
What you need:
- Corn seeds: Preferably a variety that is suitable for growing in pots. Check at a garden center or online.
- Large sacks: Use jute sacks, potato sacks, or sturdy plastic bags. They should have at least a 60-liter capacity.
- Soil: High-quality potting soil is important for a good harvest.
- Compost: For an extra portion of nutrients.
- Fertilizer: Slow-release fertilizer or liquid fertilizer for corn.
- Gravel or expanded clay: For good drainage.
- Watering can or hose: For watering.
- Knife or scissors: For cutting the sacks (if necessary).
- Support stakes (optional): For tall corn varieties to protect them from wind.
Preparing the Sacks
- Prepare sacks: If you are using plastic bags, cut several holes in the bottom for drainage. This is not necessary for jute sacks as they are naturally water-permeable.
- Create drainage: Fill the bottom of the sacks with a layer of gravel or expanded clay (approx. 10-15 cm). This prevents waterlogging and ensures that the roots do not rot.
- Mix soil: Mix the potting soil with compost in a 3:1 ratio. This gives the corn a good start.
- Fill sacks: Fill the sacks with the soil mixture to about 10 cm below the rim.
Sowing the Corn Seeds
- Sowing time: Corn is sensitive to frost. Wait to sow until there is no more danger of frost (usually from mid-May).
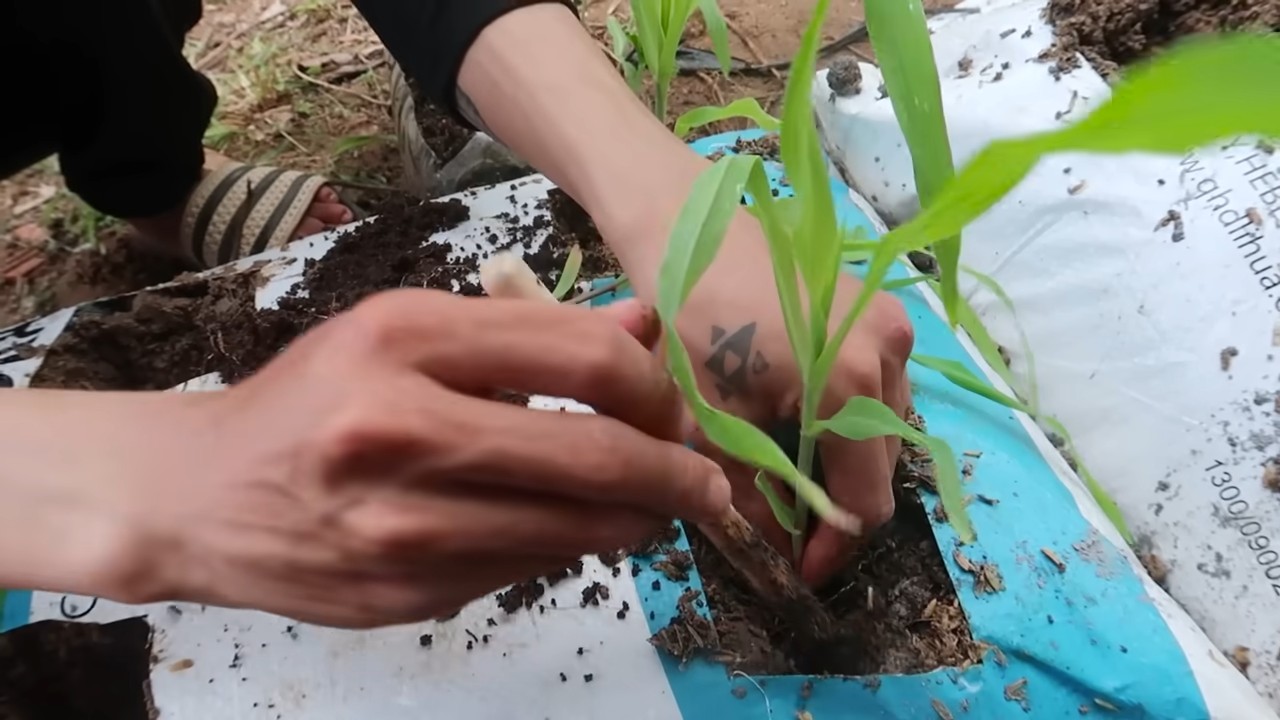
- Sowing: Press the corn seeds about 3-5 cm deep into the soil. You can sow 3-5 seeds per sack. Maintain a distance of about 15-20 cm between the seeds.
- Water in: Gently water the soil after sowing. The soil should be moist, but not wet.
- Location: Place the sacks in a sunny and warm location. Corn needs a lot of sun to grow well.
Caring for the Corn
- Watering: Water the corn regularly, especially on hot days. The soil should always be slightly moist. Avoid waterlogging.
- Fertilizing: Fertilize the corn regularly with a corn fertilizer or a liquid fertilizer. Start when the plants are about 15 cm high. Follow the instructions on the fertilizer package.
- Weeding: Regularly remove weeds that grow in the sacks.
- Staking: If your corn variety grows very tall, it may be useful to stabilize the plants with support stakes. This will prevent them from tipping over in the wind.
- Pollination: Corn relies on wind pollination. If you only have a few plants, you can assist pollination by gently shaking the male flower stalks (the “tassels” at the top of the plant) when the female flowers (the “silks” on the ears of corn) are visible.
Harvest Time
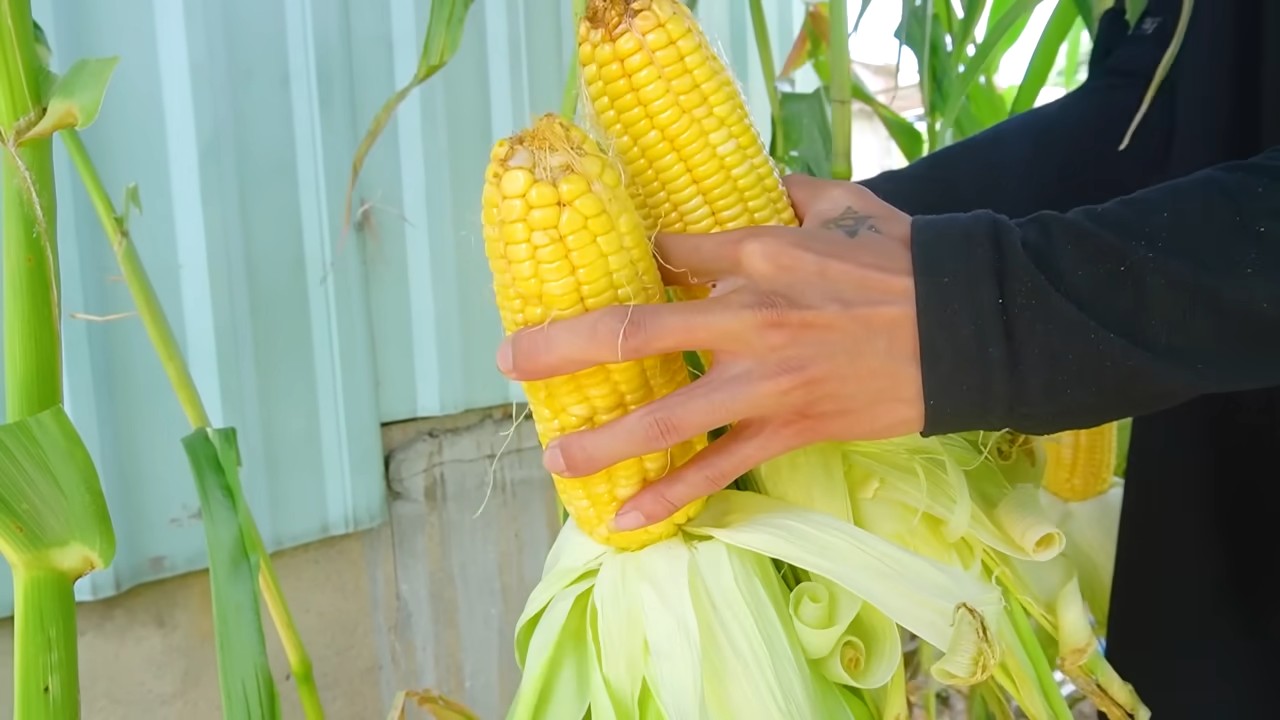
- Harvest time: The ears of corn are ripe when the “silks” are brown and dry and the ears feel firm.
- Harvest: Gently break the ears of corn off the plant.
- Enjoy: Now you can enjoy your homegrown corn! Whether boiled, grilled, or in a salad – it tastes fantastic!
Additional Tips and Tricks
- Variety selection: Before buying corn seeds, find out which varieties are particularly well-suited for growing in pots. There are special dwarf corn varieties that do not grow as tall and are therefore better suited for the balcony.
- Pests: Watch out for pests like aphids or corn borers. If infested, you can use organic pesticides.
- Wind protection: If your balcony is very windy, place the sacks in a sheltered spot or secure them with ropes.
- Multiple sacks: To achieve a larger harvest, you can of course also plant several sacks.
- Sustainability: Use recycled sacks or jute sacks to protect the environment.
- Soil improvement: After the harvest, you can mix the soil from the sacks with compost and reuse it next year.
- Vertical planting: You can also stack several smaller sacks on top of each other to create a vertical planting. This saves space and looks great!
- Decoration: Decorate the sacks with paint or patterns to make them an eye-catcher on your balcony.
- Involve children: Growing corn in a sack is a great activity for children. They can help with sowing, watering, and harvesting and learn a lot about plants and nature in the process.
- Documentation: Take photos of your corn plants throughout the season. This way you can document the progress and remember next year what worked well and what you can improve.
Common Problems and Solutions
- Plants not growing: Check if the seeds are still viable. Ensure sufficient warmth and moisture.
- Yellow leaves: Yellow leaves can be a sign of nutrient deficiency. Fertilize the plants with a suitable fertilizer.
- Pests: Check the plants regularly for pests and combat them with biological means if necessary.
- Plants tipping over: Support the plants with stakes to protect them from wind.
- No ears of corn: Ensure good pollination. Shake the male flower stalks to assist pollination.
Why Grow Corn in a Sack?
- Space-saving: Ideal for balconies, terraces, and small gardens.
- Flexible: The sacks can be easily moved.
- Easy: Also suitable for beginners.
- Sustainable: Use recycled materials and grow your own vegetables.
- Delicious: Fresh, homegrown corn simply tastes better!
I hope this guide helps you create your own little cornfield in a sack. Happy gardening and a bountiful harvest! If you have any questions, just ask! I’m keeping my fingers crossed for you
Conclusion
So, there you have it! Creating your own soil bags for corn isn’t just a cost-effective alternative to buying pre-made mixes; it’s a game-changer for your corn crop. By taking control of the ingredients, you’re ensuring your corn receives the precise nutrients it needs to thrive, leading to healthier plants, bigger yields, and ultimately, more delicious corn on the cob.
Think about it: no more guessing about the quality of the soil you’re using. No more worrying about hidden chemicals or imbalances. With this DIY method, you’re the master of your corn’s destiny. You’re providing a custom-tailored environment that encourages robust root development, strong stalks, and those beautiful, plump ears we all crave.
But the benefits don’t stop there. This method is also incredibly adaptable. Feel free to experiment with different ratios of compost, peat moss, and perlite to find the perfect blend for your specific climate and soil conditions. You can even add slow-release fertilizers or beneficial microbes to further enhance the soil’s fertility and promote healthy growth. Consider adding a handful of bone meal for extra phosphorus, which is crucial for root development and ear formation. Or, if you’re dealing with heavy clay soil, increase the amount of perlite to improve drainage and aeration.
Don’t be afraid to get creative! Maybe you want to try incorporating some aged manure for an extra boost of nutrients. Or perhaps you’d like to add some worm castings for their incredible soil-conditioning properties. The possibilities are endless, and the only limit is your imagination.
We understand that trying something new can be a little daunting, but trust us, this is one DIY project that’s well worth the effort. The satisfaction of knowing you’ve created the perfect growing medium for your corn, and the reward of harvesting a bountiful crop, is truly unparalleled.
So, ditch the store-bought mixes and embrace the power of DIY. Create your own **soil bags for corn** and witness the difference it makes. We’re confident that you’ll be amazed by the results.
We encourage you to give this method a try and share your experiences with us. Let us know what variations you’ve experimented with, what challenges you’ve encountered, and what successes you’ve achieved. Together, we can learn and grow (pun intended!) and help each other cultivate the best corn crops imaginable. Share your photos and stories on our social media pages using #DIYCornSoil and let’s build a community of thriving corn growers! Happy gardening!
Frequently Asked Questions (FAQ)
What are the benefits of making my own soil bags for corn compared to buying pre-made mixes?
Making your own soil bags for corn offers several key advantages. Firstly, you have complete control over the ingredients, ensuring your corn receives the specific nutrients it needs for optimal growth. This allows you to tailor the soil mix to your local climate and soil conditions. Secondly, it’s often more cost-effective than buying pre-made mixes, especially if you have access to compost or other soil amendments. Thirdly, you can avoid potentially harmful chemicals or imbalances that may be present in commercial mixes. Finally, it’s a rewarding experience that connects you more closely to the growing process.
What are the essential ingredients for making soil bags for corn?
The basic ingredients for a good corn soil mix include:
* **Compost:** Provides essential nutrients and improves soil structure.
* **Peat Moss (or Coco Coir):** Helps retain moisture and provides aeration.
* **Perlite (or Vermiculite):** Improves drainage and aeration.
* **Garden Soil (optional):** Provides a base for the mix, but should be well-draining.
The ideal ratio is typically 1 part compost, 1 part peat moss (or coco coir), and 1 part perlite (or vermiculite). You can adjust this ratio based on your specific needs and soil conditions.
How do I adjust the soil mix for different soil types?
If you have heavy clay soil, increase the amount of perlite or vermiculite to improve drainage and aeration. You might also consider adding some coarse sand. If you have sandy soil, increase the amount of compost and peat moss (or coco coir) to improve water retention.
Can I add fertilizer to my soil bags for corn?
Yes, you can and often should add fertilizer to your soil bags. Slow-release fertilizers are a great option, as they provide a steady supply of nutrients over time. You can also add bone meal for extra phosphorus, which is essential for root development and ear formation. Alternatively, you can use a balanced granular fertilizer according to the package instructions. Be careful not to over-fertilize, as this can damage your plants.
How much soil do I need per corn plant?
A good rule of thumb is to provide at least 2-3 gallons of soil per corn plant. This will give the roots enough room to grow and access the nutrients they need. If you’re growing corn in containers, choose containers that are at least 12 inches in diameter and 12 inches deep.
How often should I water my corn plants grown in soil bags?
Water your corn plants regularly, especially during hot, dry weather. The soil should be consistently moist, but not waterlogged. Check the soil moisture by sticking your finger into the soil about an inch deep. If it feels dry, it’s time to water.
What are some common problems I might encounter when growing corn in soil bags, and how can I solve them?
Some common problems include:
* **Nutrient deficiencies:** Yellowing leaves can indicate a nitrogen deficiency. Add a nitrogen-rich fertilizer.
* **Poor drainage:** If the soil is constantly waterlogged, add more perlite or vermiculite to improve drainage.
* **Pests:** Corn earworms and other pests can damage your corn plants. Use insecticidal soap or other appropriate pest control methods.
* **Disease:** Fungal diseases can be a problem in humid conditions. Ensure good air circulation and use a fungicide if necessary.
Can I reuse the soil from my soil bags for corn next year?
Yes, you can reuse the soil, but it’s important to amend it before planting again. Add fresh compost and fertilizer to replenish the nutrients that were used up by the previous crop. You may also want to sterilize the soil to kill any potential pests or diseases.
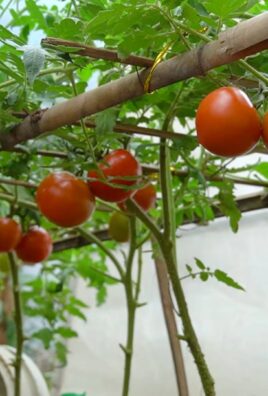
What are some good companion plants for corn?
Good companion plants for corn include beans, squash, and sunflowers. Beans fix nitrogen in the soil, which benefits the corn. Squash provides ground cover, which helps to suppress weeds and retain moisture. Sunflowers attract pollinators, which can improve corn pollination.
Where can I find the ingredients for making soil bags for corn?
You can find the ingredients for making soil bags for corn at most garden centers or nurseries. Compost can often be purchased in bulk from local suppliers. You can also make your own compost at home.
Is it better to use peat moss or coco coir in my soil bags for corn?
Both peat moss and coco coir are good options for improving water retention and aeration in soil bags. Peat moss is a traditional choice, but it is a non-renewable resource. Coco coir is a sustainable alternative made from coconut husks. Both have similar properties, so the choice is largely a matter of personal preference.
How do I know if my corn is ready to harvest?
Corn is typically ready to harvest when the silks turn brown and dry, and the kernels are plump and milky. You can test for ripeness by piercing a kernel with your fingernail. If the liquid that comes out is milky, the corn is ready to harvest. If it’s clear, it needs more time.

Leave a Comment