
Microwave cleaner lemon steam – sounds like a spa treatment for your appliance, right? Well, in a way, it is! I’m so excited to share this incredibly simple, yet effective, DIY trick that will banish splatters and grime from your microwave in minutes. Let’s face it, we’ve all been there: staring into the abyss of a microwave interior, wondering how that spaghetti sauce explosion even happened.
While microwaves are a relatively modern invention, the concept of using steam to clean has been around for centuries. From ancient Roman bathhouses to modern-day saunas, steam has always been recognized for its powerful cleaning and disinfecting properties. Think of this as a mini-sauna for your microwave, loosening all that stubborn gunk without harsh chemicals.
Why do you need this microwave cleaner lemon steam trick in your life? Because nobody wants to spend hours scrubbing away at baked-on food! This method is not only quick and easy, but it’s also eco-friendly and uses ingredients you probably already have in your kitchen. Plus, the fresh lemon scent is a welcome bonus, leaving your microwave smelling clean and revitalized. Say goodbye to harsh chemicals and hello to a sparkling clean microwave with this simple DIY hack!
DIY Microwave Cleaner: The Lemon Steam Powerhouse
Okay, let’s face it, cleaning the microwave is probably nobody’s favorite chore. But with this super simple, all-natural DIY hack, you can say goodbye to scrubbing and hello to a sparkling clean microwave in minutes! We’re going to harness the power of lemon steam to loosen up all that baked-on food and grime. Trust me, it’s a game-changer!
What You’ll Need:
* A microwave-safe bowl (glass or ceramic works great)
* 1 lemon (fresh is best!)
* 1 cup of water
* A clean sponge or cloth
* Optional: A few drops of your favorite essential oil (lemon, lavender, or tea tree are good choices)
Step-by-Step Instructions:
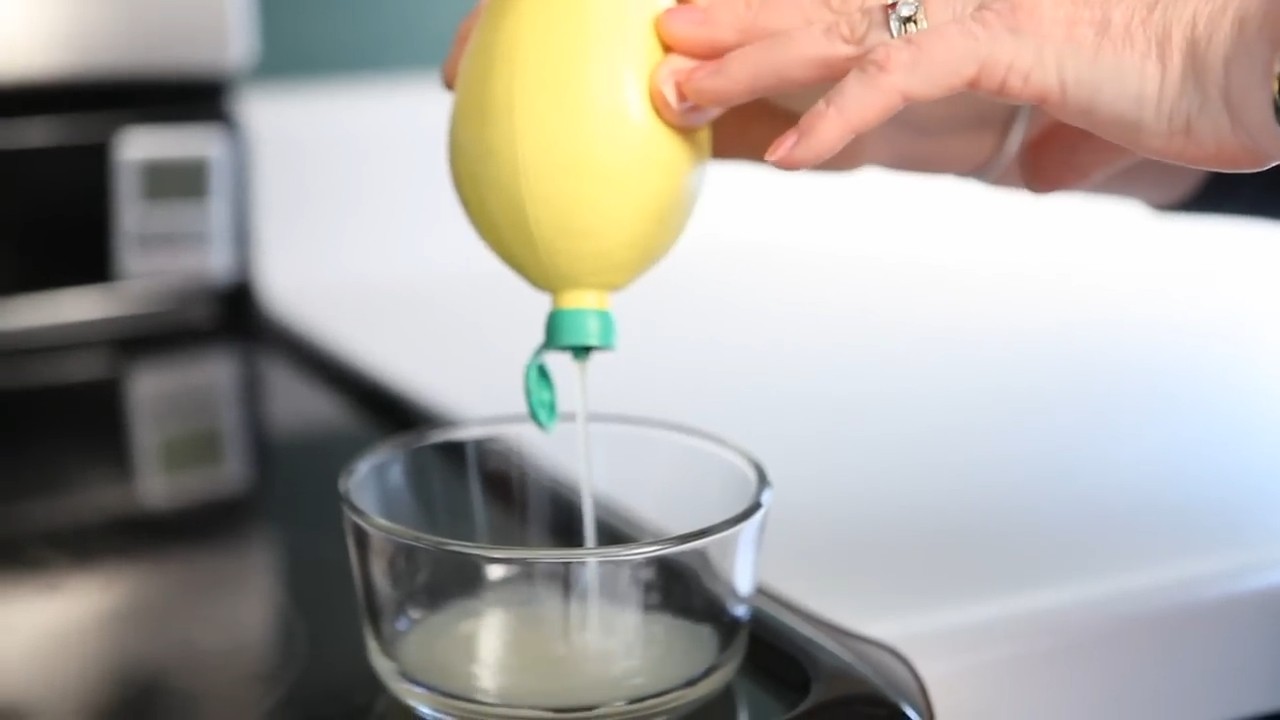
1. Prepare the Lemon Solution: First, grab your lemon and cut it in half. Squeeze the juice from both halves into your microwave-safe bowl. Don’t throw away the lemon rinds just yet! We’ll need those.
2. Add Water and Lemon Rinds: Now, pour one cup of water into the bowl with the lemon juice. Then, toss the lemon rinds into the water. This is where the magic happens! The rinds contain oils that will help break down the grease and grime.
3. Optional: Add Essential Oils: If you want to add a little extra cleaning power and a pleasant scent, add a few drops of your favorite essential oil to the bowl. I personally love using lemon essential oil for an extra boost of citrusy freshness.
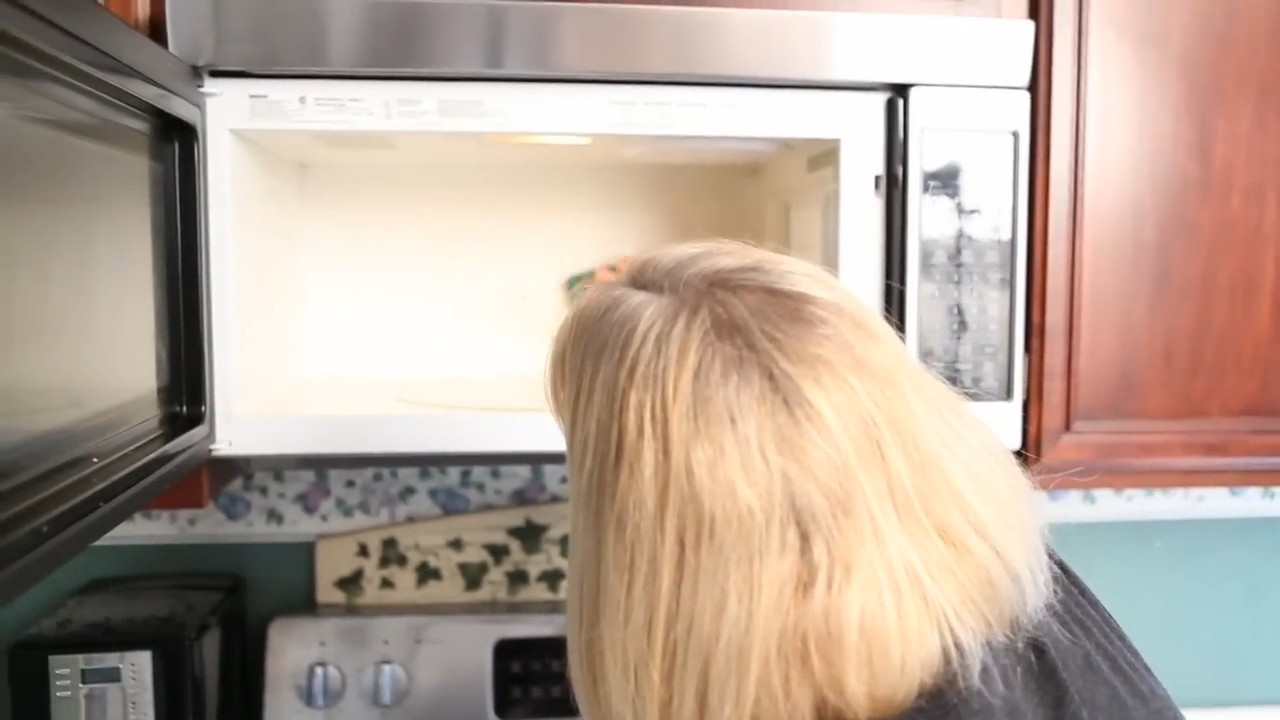
4. Microwave the Solution: Place the bowl in your microwave. Set the timer for 3-5 minutes on high. You want the water to boil and create a good amount of steam. Keep an eye on it to make sure it doesn’t boil over. The steam is what’s going to loosen all the gunk inside.
5. Let it Steam: Once the timer goes off, DO NOT OPEN THE MICROWAVE DOOR IMMEDIATELY! This is crucial. Let the steam work its magic for another 5-10 minutes. The longer it steams, the easier it will be to wipe clean. This allows the steam to really penetrate and loosen all the stuck-on food particles.
6. Carefully Remove the Bowl: After the steaming period, carefully remove the bowl from the microwave. Be cautious, as the bowl and the water will be very hot. Use oven mitts or a towel to protect your hands.
7. Wipe Down the Interior: Now for the satisfying part! Take your clean sponge or cloth and wipe down the interior of the microwave. You’ll be amazed at how easily the grime comes off. The steam has loosened everything, so you shouldn’t have to scrub too hard. Pay special attention to the top, sides, and bottom of the microwave.
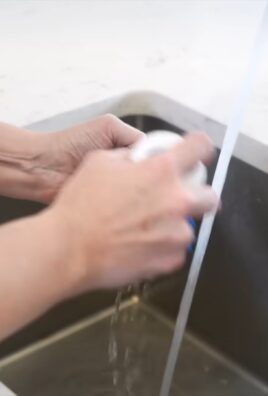
8. Clean the Turntable and Roller Ring: Remove the turntable and roller ring from the microwave. Wash them with warm, soapy water. Rinse them thoroughly and dry them before placing them back in the microwave. These parts often accumulate spills and splatters, so it’s important to clean them regularly.
9. Wipe Down the Exterior: Finally, wipe down the exterior of the microwave with a damp cloth. This will remove any fingerprints or smudges.
10. Enjoy Your Sparkling Clean Microwave! That’s it! Your microwave should now be sparkling clean and smelling fresh.
Troubleshooting and Tips:
* Stubborn Spots: If you encounter any stubborn spots that won’t come off easily, try dipping your sponge or cloth in the lemon water from the bowl and scrubbing the area again. You can also use a paste made of baking soda and water for extra cleaning power.
* Preventative Measures: To keep your microwave clean, try covering your food with a microwave-safe lid or plastic wrap when heating it up. This will prevent splatters and spills.
* Regular Cleaning: I recommend cleaning your microwave at least once a week to prevent buildup. The more often you clean it, the easier it will be to maintain.
* Lemon Alternatives: If you don’t have a lemon on hand, you can use vinegar instead. Mix equal parts water and vinegar in the microwave-safe bowl and follow the same steps. Vinegar is also a great natural cleaner, but it does have a stronger odor than lemon.
* Smelly Microwave: If your microwave has a lingering odor, try placing a bowl of baking soda in the microwave overnight. Baking soda is a natural odor absorber.
* Burnt Food Smell: If you accidentally burned something in the microwave and the smell is lingering, try placing a damp cloth soaked in vanilla extract in the microwave for a few hours. The vanilla extract will help to neutralize the burnt food smell.
Why This Works: The Science Behind the Steam
The magic of this DIY microwave cleaner lies in the power of steam and the natural cleaning properties of lemon.
* Steam: The steam created by boiling the water helps to loosen the dried and hardened food particles that are stuck to the inside of the microwave. It essentially softens the grime, making it much easier to wipe away.
* Lemon Juice: Lemon juice is a natural degreaser and disinfectant. It contains citric acid, which helps to break down grease and grime. It also has antibacterial properties, which can help to kill germs and bacteria in the microwave.
* Lemon Rinds: The lemon rinds contain oils that add to the cleaning power of the solution. These oils help to dissolve grease and leave a fresh, citrusy scent.
Safety Precautions:
* Always use oven mitts or a towel when handling hot bowls or dishes from the microwave.
* Be careful when removing the bowl from the microwave, as the steam can be very hot.
* Do not use metal bowls or utensils in the microwave.
* If you have any allergies to citrus fruits, use vinegar instead of lemon.
* Never leave the microwave unattended while it is running.
Extra Cleaning Power: Adding Baking Soda
For those extra tough messes, you can boost the cleaning power of this method by adding baking soda. Here’s how:
1. Create a Baking Soda Paste: In a small bowl, mix 2 tablespoons of baking soda with 1 tablespoon of water to create a paste.
2. Apply to Stubborn Areas: After the steaming process, apply the baking soda paste to any stubborn areas of grime inside the microwave.
3. Let it Sit: Let the paste sit for 5-10 minutes to allow the baking soda to work its magic.
4. Wipe Clean: Use your damp sponge or cloth to wipe away the baking soda paste and the loosened grime.
5. Rinse and Dry: Rinse the area with clean water and dry with a clean cloth.
Baking soda is a mild abrasive that can help to scrub away tough stains without damaging the microwave’s interior.
Maintaining a Clean Microwave: Proactive Tips
Cleaning your microwave regularly is key, but here are some extra tips to keep it cleaner for longer:
* Cover Your Food: Always cover your food with a microwave-safe lid or plastic wrap when heating it up. This will prevent splatters and spills.
* Use Microwave-Safe Containers: Use microwave-safe containers that are designed to prevent splatters.
* Wipe Up Spills Immediately: If you do have a spill, wipe it up immediately before it has a chance to dry and harden.
* Ventilate the Microwave: After using the microwave, leave the door slightly ajar for a few minutes to allow any moisture to escape. This will help to prevent the buildup of mold and mildew.
* Regularly Clean the Turntable and Roller Ring: As mentioned earlier, clean the turntable and roller ring regularly to prevent the buildup of food particles.
Alternative Cleaning Solutions:
While the lemon steam method is my go-to, here are a few other DIY microwave cleaning solutions you can try:
* Vinegar and Water: Mix equal parts vinegar and water in a microwave-safe bowl and follow the same steaming process as with the lemon solution.
* Dish Soap and Water: Mix a few drops of dish soap with water in a microwave-safe bowl and follow the same steaming process.
* Baking Soda and Water Paste: As mentioned earlier, a paste of baking soda and water can be used to scrub away stubborn stains.
Why Choose DIY Cleaning?
There are many reasons to choose DIY cleaning solutions over store-bought cleaners:
* Cost-Effective: DIY cleaning solutions are often much cheaper than store-bought cleaners.
* Environmentally Friendly: DIY cleaning solutions are often made with natural ingredients that are less harmful to the environment.
* Safer for Your Family: DIY cleaning solutions are often made with ingredients that are safer for your family, especially if you have young children or pets.
* Customizable: You can customize DIY cleaning solutions to suit your specific needs and preferences.
So
Conclusion
So, there you have it! Ditch the harsh chemicals and embrace the power of nature with this incredibly simple and effective DIY microwave cleaner lemon steam trick. We’ve shown you how just a few minutes and a humble lemon can transform your grimy microwave into a sparkling clean appliance, ready for your next culinary adventure.
Why is this a must-try? Because it’s not just about cleanliness; it’s about health, cost-effectiveness, and environmental responsibility. You’re avoiding potentially harmful chemicals that can linger in your microwave and contaminate your food. You’re saving money by using ingredients you likely already have on hand. And you’re reducing your environmental footprint by opting for a natural cleaning solution. It’s a win-win-win!
But the beauty of this DIY microwave cleaner lemon steam method lies in its versatility. Feel free to experiment with variations to suit your preferences and needs.
* Add a splash of vinegar: For extra degreasing power, add a tablespoon or two of white vinegar to the water-lemon mixture. The vinegar’s acidity will help break down stubborn grease and grime.
* Infuse with essential oils: Want to boost the aroma and add antibacterial properties? Add a few drops of your favorite essential oil, such as lemon, lavender, or tea tree oil, to the water. Just be sure to use food-safe essential oils if you’re concerned about residue.
* Use orange or lime: Don’t have a lemon? No problem! Orange or lime slices work just as well, imparting their own refreshing citrus scent.
* Tackle tough stains: For particularly stubborn stains, let the lemon steam sit for a longer period, up to 10 minutes. Then, use a non-abrasive sponge or cloth to gently scrub away the residue.
We’re confident that once you try this DIY microwave cleaner lemon steam trick, you’ll never go back to harsh chemical cleaners again. It’s quick, easy, effective, and leaves your microwave smelling fresh and clean.
Now it’s your turn! Give this DIY microwave cleaner lemon steam a try and see the amazing results for yourself. We’re eager to hear about your experience. Did you try any variations? Did you find it particularly effective on certain types of stains? Share your tips and tricks in the comments below! Let’s create a community of clean microwave enthusiasts!
Frequently Asked Questions (FAQs)
1. Is the DIY microwave cleaner lemon steam method safe for all microwaves?
Yes, this method is generally safe for all types of microwaves. The steam is gentle and won’t damage the interior. However, always ensure your microwave is microwave-safe before placing any container inside. Avoid using metal containers, as they can cause sparks and damage your microwave. If you have any concerns about your specific microwave model, consult the manufacturer’s instructions.
2. How often should I clean my microwave using this method?
The frequency of cleaning depends on how often you use your microwave and how messy it gets. As a general guideline, cleaning your microwave with the lemon steam method every one to two weeks is a good practice to maintain cleanliness and prevent the buildup of grime. If you frequently heat up foods that splatter or spill, you may need to clean it more often.
3. Can I use bottled lemon juice instead of fresh lemons?
While fresh lemons are preferred for their natural oils and aroma, you can use bottled lemon juice in a pinch. Use about 2-3 tablespoons of bottled lemon juice mixed with the water. Keep in mind that bottled lemon juice may not be as effective as fresh lemons, as it may contain preservatives and lack the same concentration of citric acid.
4. What if I don’t have a microwave-safe bowl?
If you don’t have a microwave-safe bowl, you can use a microwave-safe glass measuring cup or any other microwave-safe container. Ensure the container is large enough to hold the water and lemon slices without overflowing. Avoid using plastic containers that are not specifically labeled as microwave-safe, as they may melt or release harmful chemicals when heated.
5. The stains are still there after steaming. What should I do?
If the stains persist after steaming, let the lemon steam sit for a longer period, up to 10 minutes. Then, use a non-abrasive sponge or cloth to gently scrub away the residue. For particularly stubborn stains, you can make a paste of baking soda and water and apply it to the stains before steaming. Let the paste sit for a few minutes, then steam as usual and scrub clean.
6. My microwave smells lemony now. How do I get rid of the smell?
The lemony scent should dissipate on its own within a few hours. If you find the scent too strong, you can leave the microwave door open for a while to allow the aroma to air out. You can also place a small bowl of baking soda inside the microwave overnight to absorb any lingering odors.
7. Can I use this method to clean the outside of my microwave?
While this method is primarily for cleaning the inside of your microwave, you can use the lemon-infused water to wipe down the outside as well. After steaming, carefully pour the water into a spray bottle and use it to lightly spray the exterior of the microwave. Wipe clean with a soft cloth. Be sure to avoid spraying water into any vents or electrical components.
8. Is it necessary to use a wooden spoon or chopstick?
Using a wooden spoon or chopstick is optional, but it can help prevent the water from superheating and potentially exploding. The wood provides a nucleation point for bubbles to form, which helps regulate the boiling process. If you don’t have a wooden spoon or chopstick, you can use a microwave-safe plastic utensil or simply skip this step. Just be sure to monitor the water closely while it’s heating.
9. Can I use this method to clean other appliances?
While this method is specifically designed for cleaning microwaves, the principle of using steam and citrus to loosen grime can be applied to other appliances as well. For example, you can use a similar method to clean your oven by placing a bowl of lemon water inside and heating it on low for a period of time. However, always consult the appliance manufacturer’s instructions before attempting any cleaning method.
10. What are the benefits of using a DIY microwave cleaner lemon steam compared to commercial cleaners?
The benefits are numerous! DIY microwave cleaner lemon steam is:
* Safer: Avoids harsh chemicals that can be harmful to your health and the environment.
* Cost-effective: Uses readily available and inexpensive ingredients.
* Environmentally friendly: Reduces your reliance on plastic bottles and chemical-laden products.
* Effective: Cleans and deodorizes your microwave naturally.
* Versatile: Can be customized with different citrus fruits and essential oils.
By choosing this DIY method, you’re making a conscious decision to prioritize your health, your wallet, and the planet. So, go ahead and give it a try! You won’t be disappointed.

Leave a Comment