
Indoor Sponge Gourd Growing might sound like a challenge reserved for seasoned gardeners, but trust me, it’s more achievable than you think! Have you ever dreamt of harvesting fresh, homegrown sponge gourds right from the comfort of your own home? Imagine the satisfaction of using your own produce in delicious stir-fries or exfoliating scrubs. This isn’t just a gardening project; it’s a journey into self-sufficiency and a connection to the earth, even within your four walls.
The sponge gourd, also known as luffa, has a rich history, particularly in Asian cultures, where it’s been used for centuries not only as a food source but also for its incredible fibrous skeleton. Traditionally, these gourds were grown outdoors, sprawling across trellises under the warm sun. But what if you don’t have a sprawling garden? That’s where our DIY magic comes in!
Many people are now embracing indoor gardening due to limited space, climate constraints, or simply the desire to have fresh produce readily available year-round. Learning the tricks to successful Indoor Sponge Gourd Growing opens up a world of possibilities. This DIY guide will equip you with the knowledge and techniques to cultivate these fascinating gourds indoors, from seed to harvest. We’ll cover everything from choosing the right container and providing adequate light to pollination techniques and pest control. So, let’s get our hands dirty and embark on this exciting indoor gardening adventure together!
Growing Sponge Gourds Indoors: A Comprehensive DIY Guide
Hey there, fellow gardening enthusiasts! Ever thought about growing your own sponge gourds? Not just any sponge gourds, but *indoor* sponge gourds? It sounds a bit crazy, I know, but trust me, it’s totally doable and incredibly rewarding. Imagine having fresh, homegrown sponges right at your fingertips! This guide will walk you through every step, from seed to sponge, so you can enjoy this unique gardening experience.
Choosing the Right Variety and Preparing for Planting
Before we dive into the nitty-gritty, let’s talk about choosing the right sponge gourd variety and getting everything prepped. Not all sponge gourds are created equal, and some are better suited for indoor growing than others.
* Variety Selection: Look for varieties that are known for being more compact or bush-type, rather than sprawling vines. Some good options include ‘Hybrid Luffa’ or ‘Dwarf Luffa’ if you can find them. These tend to be less aggressive growers, which is crucial for indoor spaces. If you can’t find those specific varieties, any Luffa aegyptiaca will work, but be prepared to manage the vine more diligently.
* Seed Starting: Sponge gourd seeds have a tough outer shell, so scarification and soaking are key to successful germination.
* Scarification: Gently rub the seeds with sandpaper or nick them with a knife. This helps water penetrate the seed coat. Be careful not to damage the inner seed!
* Soaking: Soak the scarified seeds in warm water for 24-48 hours. You’ll notice they start to swell, which is a good sign!
* Potting Mix: Use a well-draining potting mix. A mix of peat moss, perlite, and vermiculite works wonders. You can also add some compost for extra nutrients.
* Containers: Choose large containers, at least 5-10 gallons in size. Sponge gourds have extensive root systems, so they need plenty of room to grow. Make sure the containers have drainage holes to prevent waterlogging.
* Location: Select a spot that gets at least 6-8 hours of direct sunlight per day. A south-facing window is ideal. If you don’t have enough natural light, you’ll need to supplement with grow lights.
Step-by-Step Planting Instructions
Now that we’ve got our supplies and seeds ready, let’s get planting!
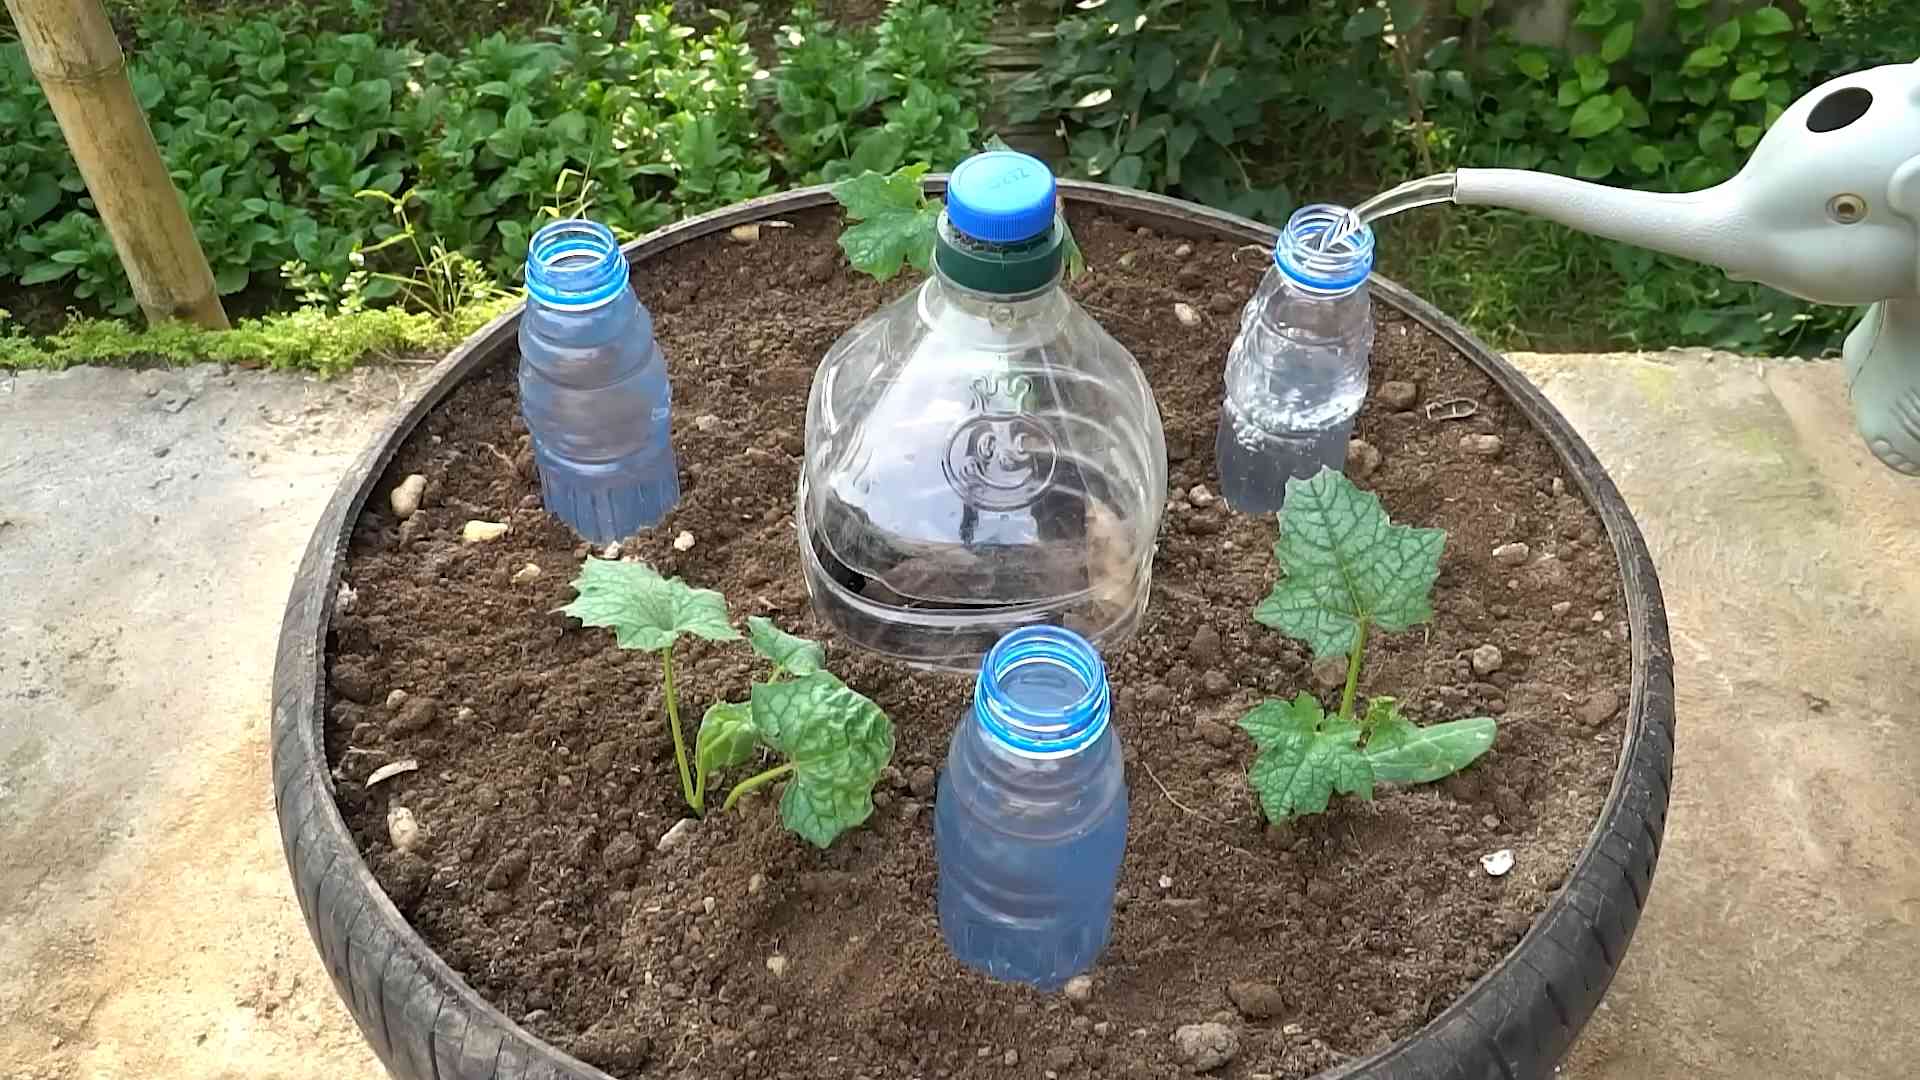
1. Fill the Containers: Fill your chosen containers with the well-draining potting mix, leaving about an inch of space at the top.
2. Plant the Seeds: Make a small hole about 1 inch deep in the center of each container. Place 2-3 soaked seeds in each hole. This increases your chances of germination.
3. Cover the Seeds: Gently cover the seeds with potting mix and lightly water the soil.
4. Provide Warmth: Sponge gourd seeds germinate best in warm temperatures (70-80°F). You can use a heat mat to provide bottom heat, which will speed up germination.
5. Maintain Moisture: Keep the soil consistently moist, but not waterlogged. Check the soil moisture daily and water when the top inch feels dry.
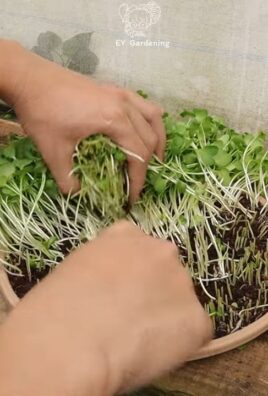
6. Thin Seedlings: Once the seedlings emerge (usually within 1-2 weeks), thin them to one strong seedling per container. Choose the healthiest-looking seedling and gently snip off the others at the soil line.
Providing Support and Training the Vines
Sponge gourds are vines, so they need support to climb. This is especially important indoors, where space is limited.
1. Install a Trellis or Support System: This is crucial! Use a sturdy trellis, bamboo stakes, or even a DIY support system made from PVC pipes. The trellis should be tall enough to accommodate the vine’s growth, ideally reaching several feet in height.
2. Guide the Vines: As the vines grow, gently guide them onto the trellis. You can use plant ties or clips to secure them.
3. Prune Regularly: Pruning is essential for managing the vine’s growth and encouraging fruit production.
* Remove Side Shoots: Pinch off any side shoots that are growing from the main vine. This will help direct the plant’s energy towards fruit production.
* Trim Excess Growth: If the vine becomes too dense, trim back some of the leaves to improve air circulation and light penetration.
* Remove Yellowing Leaves: Remove any yellowing or dead leaves to prevent disease.
4. Pollination: Sponge gourds have separate male and female flowers. You’ll need to hand-pollinate the female flowers to get fruit.
* Identify Male and Female Flowers: Male flowers have a long, thin stem, while female flowers have a small, immature fruit behind the flower.
* Hand-Pollinate: Use a small paintbrush or cotton swab to collect pollen from the male flower and transfer it to the stigma of the female flower. Do this in the morning, when the flowers are open.
* Repeat: Repeat the hand-pollination process for several days to ensure successful pollination.
Watering, Fertilizing, and Pest Control
Proper watering, fertilizing, and pest control are essential for healthy sponge gourd growth.
1. Watering: Water deeply and regularly, especially during hot weather. Allow the soil to dry slightly between waterings to prevent root rot. Check the soil moisture daily and adjust your watering schedule accordingly.
2. Fertilizing: Feed your sponge gourd plants with a balanced fertilizer every 2-3 weeks. Look for a fertilizer with an NPK ratio of 10-10-10 or 14-14-14. You can also use a liquid seaweed fertilizer for an extra boost of nutrients.
3. Pest Control: Keep an eye out for common pests like aphids, spider mites, and whiteflies.
* Inspect Regularly: Check your plants regularly for signs of pests.
* Use Insecticidal Soap: If you find pests, spray them with insecticidal soap.
* Neem Oil: Neem oil is another effective organic pesticide.
* Handpick Pests: For small infestations, you can handpick the pests off the plants.
4. Humidity: Sponge gourds prefer high humidity. If your indoor environment is dry, you can increase humidity by using a humidifier, placing a tray of water near the plants, or misting the leaves regularly.
Harvesting and Processing Your Sponge Gourds
The moment you’ve been waiting for! Harvesting and processing your homegrown sponges.
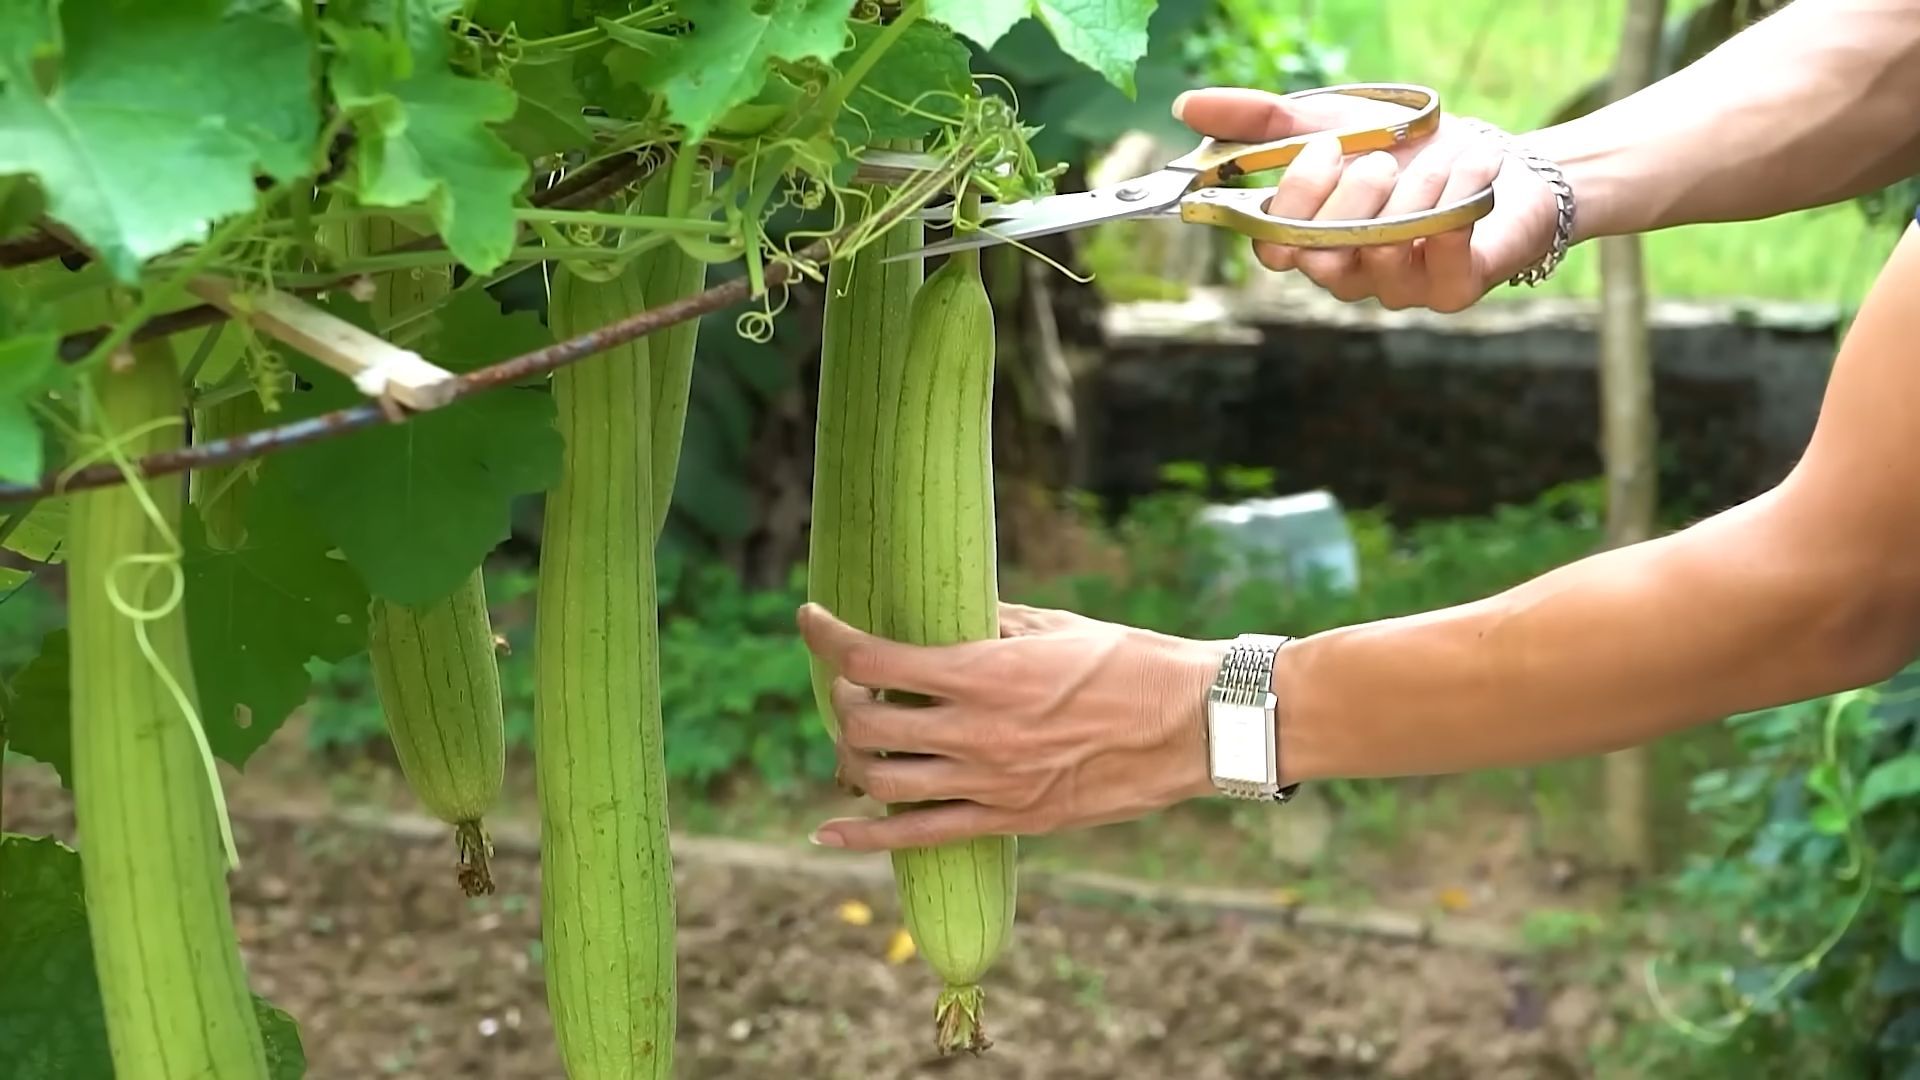
1. Harvesting: Harvest the sponge gourds when they are fully mature and the skin has turned brown and dry. The gourd should feel lightweight and hollow.
2. Drying: Allow the harvested gourds to dry completely. This may take several weeks. You can hang them in a well-ventilated area or place them on a screen.
3. Removing the Skin and Seeds: Once the gourds are completely dry, crack the outer skin and remove it. Shake out the seeds. You can save the seeds for planting next year.
4. Cleaning the Sponge: Rinse the sponge thoroughly with water to remove any remaining debris. You can also soak it in a solution of water and baking soda to help remove any stains or odors.
5. Enjoy Your Homegrown Sponges! Your sponges are now ready to use! Use them for bathing, washing dishes, or any other cleaning tasks.
Troubleshooting Common Problems
Even with the best care, you might encounter some problems along the way. Here are some common issues and how to address them:
* Lack of Fruit: This could be due to poor pollination, insufficient sunlight, or lack of nutrients. Make sure you’re hand-pollinating the flowers, providing enough light, and fertilizing regularly.
* Yellowing Leaves: This could be caused by overwatering, underwatering, or nutrient deficiencies. Check the soil moisture and adjust your watering schedule accordingly. Fertilize with a balanced fertilizer.
* Pest Infestations: As mentioned earlier, keep an eye out for pests and treat them promptly with insecticidal soap or neem oil.
* Slow Growth: This could be due to insufficient light, poor soil, or cold temperatures. Provide more light, use a well-draining potting mix, and keep the plants warm.
* Root Rot: This is caused by overwatering. Make sure your containers have drainage holes and allow the soil to dry slightly between waterings.
Final Thoughts
Growing sponge gourds indoors might seem like a challenge, but with a little patience and effort, you can enjoy the satisfaction of harvesting your own natural sponges. Remember to choose the right variety, provide adequate support, water and fertilize regularly, and keep an eye out for pests. Happy gardening! I hope you found this guide helpful, and I can’t wait to hear about your
Conclusion
So, there you have it! Growing sponge gourd indoors might seem like a challenge, but with a little planning and these simple DIY tricks, you can absolutely cultivate your own thriving vine right in your home. Forget relying solely on grocery stores for this unique vegetable; imagine the satisfaction of harvesting your own fresh, organic sponge gourds, ready to be transformed into delicious meals.
This isn’t just about saving money; it’s about connecting with nature, learning a new skill, and enjoying the unparalleled flavor of homegrown produce. The DIY approach allows you to tailor the growing environment to your specific needs and space constraints. You’re in control of the soil, the nutrients, and the overall health of your plant, leading to potentially higher yields and superior quality gourds.
Why is this a must-try? Because it empowers you to grow something extraordinary, regardless of your outdoor space. It’s a sustainable practice, reducing your carbon footprint and promoting a healthier lifestyle. Plus, the vibrant green vine adds a touch of natural beauty to your indoor environment.
Consider these variations to personalize your indoor sponge gourd growing experience:
* Vertical Gardening: Maximize space by training your sponge gourd vine up a trellis or using a vertical gardening system. This not only saves space but also creates a stunning visual display.
* Hydroponics: For a more advanced approach, explore hydroponic growing methods. This soilless system can lead to faster growth and higher yields.
* Companion Planting: Introduce companion plants like basil or marigolds to deter pests and attract beneficial insects.
* Different Varieties: Experiment with different varieties of sponge gourd to discover your favorite flavor and texture. Some varieties are better suited for indoor growing due to their size and growth habits.
Don’t be intimidated by the prospect of growing sponge gourd indoors. Start small, be patient, and learn from your experiences. The rewards are well worth the effort. The taste of a freshly harvested, homegrown sponge gourd is simply unmatched.
We encourage you to embrace this DIY adventure and share your journey with us! Post photos of your indoor sponge gourd setup, share your tips and tricks, and let us know what delicious recipes you create with your homegrown harvest. Your experiences can inspire others to embark on their own indoor gardening endeavors. Let’s create a community of indoor sponge gourd enthusiasts! Remember, mastering the art of indoor sponge gourd growing is within your reach.
Frequently Asked Questions (FAQ)
1. What is the best time of year to start growing sponge gourd indoors?
The best time to start growing sponge gourd indoors is typically in early spring, about 6-8 weeks before the last expected frost. This allows the seedlings to develop a strong root system before being transplanted into larger containers or your chosen indoor growing setup. Starting early gives them a head start and ensures they have enough time to mature and produce fruit before the end of the growing season. However, with controlled indoor conditions, you can technically start growing sponge gourd at any time of year, provided you can maintain adequate light, temperature, and humidity levels.
2. What kind of container should I use for growing sponge gourd indoors?
Sponge gourds require a large container to accommodate their extensive root system. A minimum of 15-20 gallons is recommended. The container should be made of durable material like plastic or terracotta and have adequate drainage holes to prevent waterlogging. Consider using grow bags, as they provide good aeration and drainage, promoting healthy root growth. Ensure the container is sturdy enough to support the weight of the mature vine and its fruits.
3. What type of soil is best for growing sponge gourd indoors?
Sponge gourds thrive in well-draining, nutrient-rich soil. A good potting mix should consist of equal parts of compost, peat moss (or coco coir), and perlite. Compost provides essential nutrients, peat moss (or coco coir) retains moisture, and perlite improves drainage and aeration. You can also add slow-release fertilizer to the soil mix to provide a steady supply of nutrients throughout the growing season. Avoid using garden soil, as it can be too heavy and may contain pests or diseases.
4. How much sunlight does sponge gourd need when grown indoors?
Sponge gourds require at least 6-8 hours of direct sunlight per day to thrive. If you don’t have a sunny window, you’ll need to supplement with artificial lighting. Full-spectrum LED grow lights are an excellent option, as they provide the necessary light spectrum for healthy plant growth. Position the grow lights about 6-12 inches above the plants and adjust as they grow taller. Ensure the light is evenly distributed across the foliage.
5. How often should I water my indoor sponge gourd plant?
Water your sponge gourd plant regularly, keeping the soil consistently moist but not waterlogged. Check the soil moisture level by inserting your finger about an inch deep. If the soil feels dry, it’s time to water. Water deeply, allowing the excess water to drain out of the drainage holes. Avoid overhead watering, as it can promote fungal diseases. During hot weather, you may need to water more frequently.
6. How do I pollinate sponge gourd flowers indoors?
Sponge gourds have separate male and female flowers. Indoors, you’ll need to hand-pollinate the flowers to ensure fruit production. Identify the male flowers (they have a long, thin stem) and the female flowers (they have a small, immature gourd at the base). Use a small paintbrush or cotton swab to collect pollen from the male flower and gently transfer it to the stigma of the female flower. It’s best to pollinate in the morning when the flowers are open. Repeat the process for several days to increase the chances of successful pollination.
7. What are some common pests and diseases that affect indoor sponge gourd plants?
Common pests that can affect indoor sponge gourd plants include aphids, spider mites, and whiteflies. Regularly inspect your plants for signs of infestation and take action promptly. You can use insecticidal soap, neem oil, or horticultural oil to control these pests. Fungal diseases like powdery mildew can also be a problem. Ensure good air circulation and avoid overhead watering to prevent fungal growth. If necessary, use a fungicide to treat infected plants.
8. How long does it take for sponge gourds to mature and be ready for harvest?
Sponge gourds typically take about 90-120 days to mature from seed to harvest. The exact time will depend on the variety, growing conditions, and climate. Harvest the gourds when they are young and tender, usually when they are about 12-18 inches long. The skin should be smooth and easily punctured with your fingernail. If the gourd becomes too mature, the flesh will become fibrous and less palatable.
9. Can I save seeds from my indoor-grown sponge gourds for future planting?
Yes, you can save seeds from your indoor-grown sponge gourds for future planting. Allow a few gourds to fully mature on the vine. Once the gourd is dry and brown, carefully remove the seeds and spread them out to dry completely. Store the dried seeds in an airtight container in a cool, dark, and dry place. Label the container with the variety and date. The seeds should remain viable for several years.
10. What are some creative ways to use my homegrown sponge gourds?
Sponge gourds are incredibly versatile and can be used in a variety of culinary dishes. They can be stir-fried, steamed, grilled, or added to soups and stews. The young, tender gourds can be eaten whole, while the more mature gourds can be peeled and seeded before cooking. Sponge gourds have a mild, slightly sweet flavor that pairs well with a variety of spices and herbs. You can also use the mature, dried gourds as natural sponges for cleaning and scrubbing.


Leave a Comment