
Hydrogen peroxide and salt uses in the garden might sound like a science experiment gone rogue, but trust me, it’s a game-changer! For centuries, gardeners have sought natural and effective ways to combat pests, diseases, and nutrient deficiencies. While synthetic solutions often come with drawbacks, simple household ingredients like hydrogen peroxide and salt offer a surprisingly potent and eco-friendly alternative.
I remember my grandmother, a seasoned gardener with a green thumb that could revive anything, always had a bottle of hydrogen peroxide handy. She swore by its ability to disinfect cuts on her prized roses and even used it to help seeds germinate faster. Now, combining it with salt? That’s where the real magic happens.
Why do you need this DIY trick? Well, imagine your precious tomato plants being ravaged by fungal diseases, or your seedlings struggling to break through the soil. Instead of reaching for harsh chemicals, you can harness the power of hydrogen peroxide and salt uses to create a natural defense system. This dynamic duo can help control fungal infections, deter certain pests, and even provide a boost of oxygen to your plant’s roots. It’s a cost-effective, environmentally conscious, and surprisingly simple way to keep your garden thriving. Let’s dive into how you can unlock the potential of these everyday ingredients and transform your garden into a flourishing oasis!
DIY Cleaning Powerhouse: Hydrogen Peroxide and Salt!
Hey everyone! I’m so excited to share this super simple, yet incredibly effective, DIY cleaning hack with you. It involves just two ingredients you probably already have in your home: hydrogen peroxide and salt! Seriously, this combination is a game-changer for tackling all sorts of stubborn stains and grime. I’ve personally used it on everything from grout to burnt pots, and the results have been amazing. So, let’s dive in and learn how to create this cleaning powerhouse!
What Makes This Combo So Effective?
Before we get started, let’s quickly understand why hydrogen peroxide and salt work so well together.
* Hydrogen Peroxide: This is a mild antiseptic with bleaching properties. It’s fantastic for disinfecting and lightening stains. The bubbling action helps lift dirt and grime away from surfaces. I always keep a bottle handy!
* Salt: Salt acts as a gentle abrasive. It helps scrub away stubborn residue without being too harsh on most surfaces. Plus, it’s a natural disinfectant and deodorizer. I prefer using regular table salt, but you can experiment with coarser salts for tougher jobs.
Safety First!
Before we get our hands dirty, let’s talk safety. While hydrogen peroxide is generally safe, it’s still important to take precautions:
* Wear Gloves: Protect your hands from potential irritation, especially if you have sensitive skin. I always wear my trusty rubber gloves.
* Ventilation: Work in a well-ventilated area.
* Test in an Inconspicuous Area: Before applying the mixture to a large surface, test it on a small, hidden spot to ensure it doesn’t damage or discolor the material. This is super important, especially on delicate surfaces!
* Avoid Mixing with Other Cleaners: Never mix hydrogen peroxide with vinegar or bleach, as this can create dangerous fumes.
* Eye Protection: Consider wearing eye protection, especially when cleaning overhead surfaces.
The Basic Hydrogen Peroxide and Salt Paste
This is the foundation for most of the cleaning applications we’ll be covering.
Ingredients:
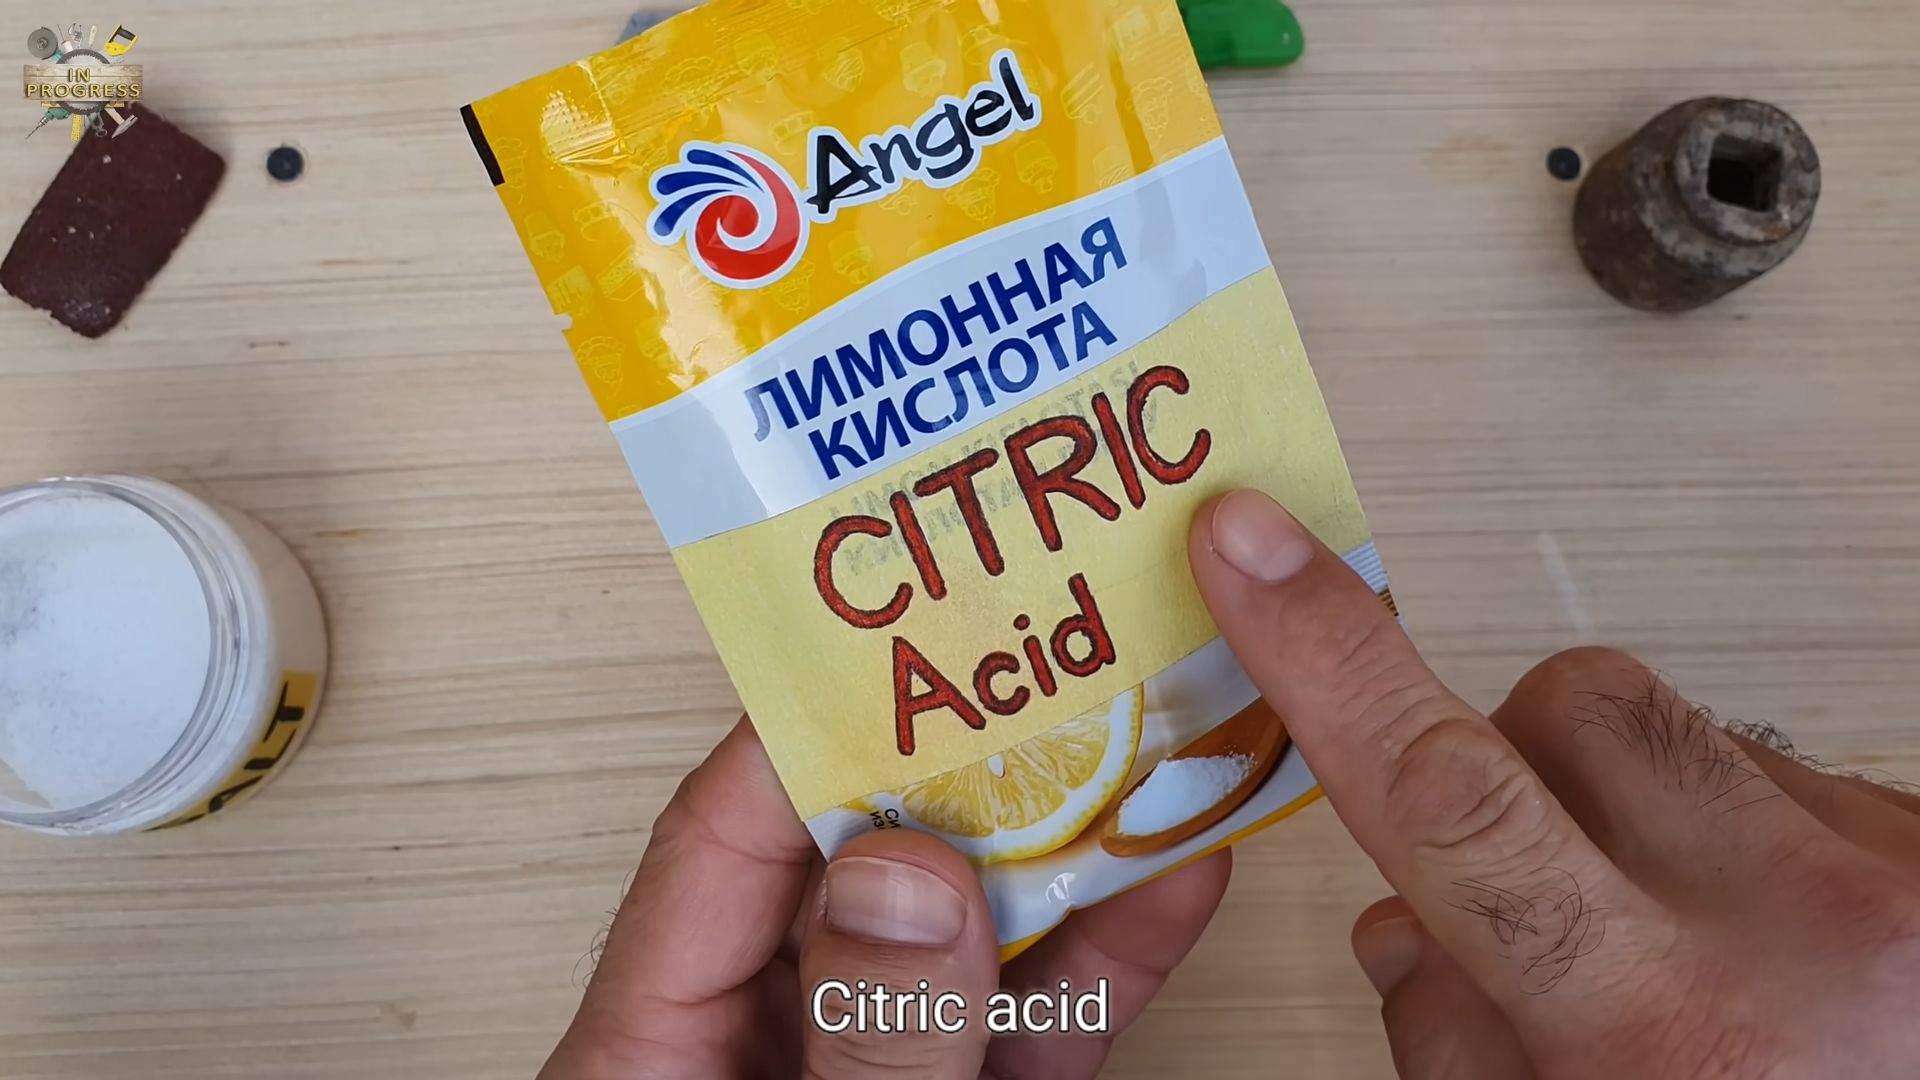
* 1/2 cup hydrogen peroxide (3% solution – the standard kind you find at the drugstore)
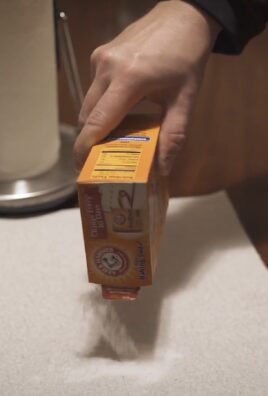
* 1/4 cup salt (table salt works great)
Instructions:
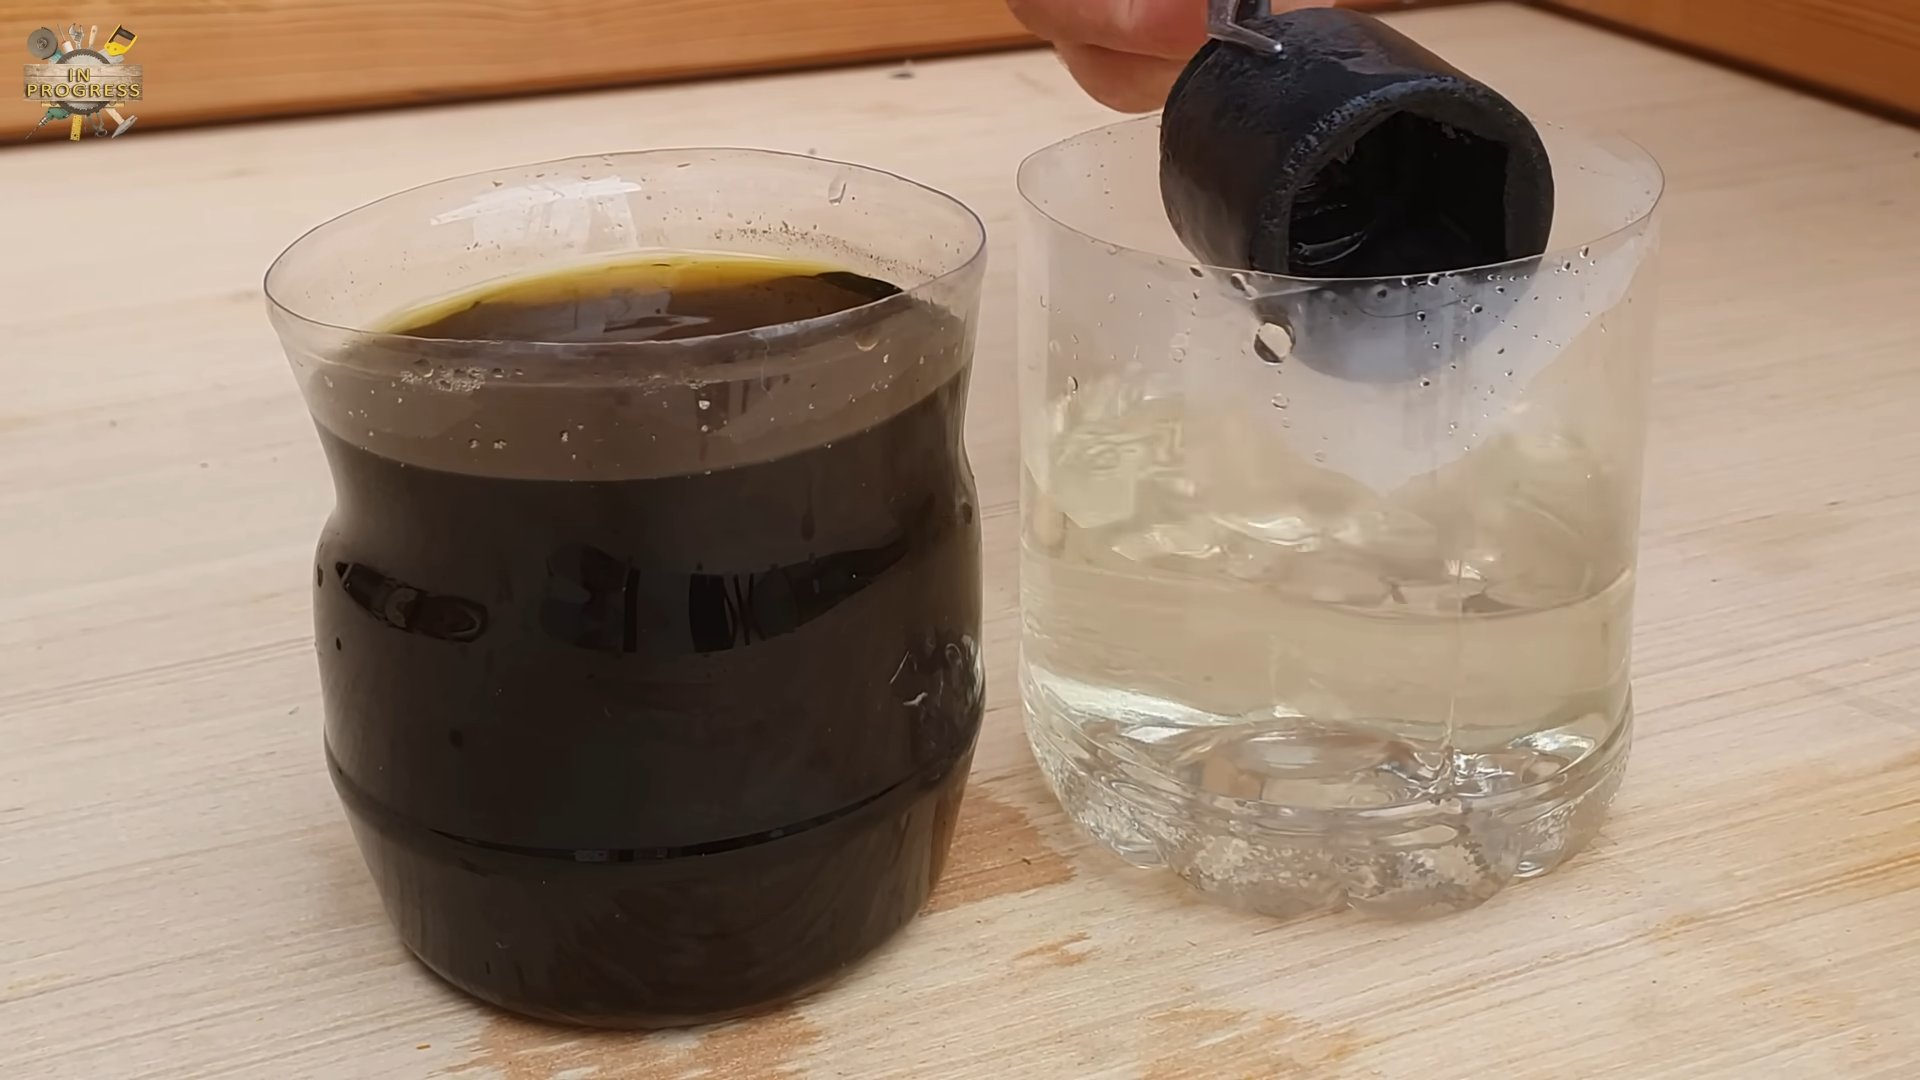
1. Combine Ingredients: In a small bowl, carefully pour the hydrogen peroxide.
2. Add Salt Gradually: Slowly add the salt to the hydrogen peroxide, stirring as you go. You want to create a thick paste. If it’s too runny, add a little more salt. If it’s too thick, add a tiny bit more hydrogen peroxide.
3. Mix Well: Stir the mixture until the salt is mostly dissolved and you have a smooth, spreadable paste. Don’t worry if there are still a few salt granules; they’ll help with the scrubbing action.
4. Apply and Scrub: Apply the paste to the surface you want to clean. Use a sponge, cloth, or brush to gently scrub the area.
5. Let it Sit: Allow the paste to sit for 5-10 minutes to allow the hydrogen peroxide to work its magic. For tougher stains, you can let it sit for up to 30 minutes, but keep an eye on it to make sure it doesn’t dry out completely.
6. Rinse Thoroughly: Rinse the area thoroughly with water to remove all traces of the paste.
7. Dry: Dry the surface with a clean cloth.
Cleaning Grout with Hydrogen Peroxide and Salt
Grout can be a real pain to clean! It’s porous and easily absorbs dirt and grime. But this DIY solution works wonders!
Instructions:
1. Prepare the Paste: Follow the instructions above to create the basic hydrogen peroxide and salt paste.
2. Apply to Grout: Using an old toothbrush or a grout brush, apply the paste liberally to the grout lines. Make sure to get into all the nooks and crannies.
3. Scrub Vigorously: Scrub the grout lines with the brush, using a back-and-forth motion. You’ll likely see the dirt and grime starting to lift away.
4. Let it Sit: Allow the paste to sit on the grout for 10-15 minutes.
5. Rinse and Repeat: Rinse the area thoroughly with water. If the grout is still stained, repeat the process. For really stubborn stains, you might need to scrub a bit harder or let the paste sit for a longer period.
6. Dry: Dry the tiles and grout with a clean cloth. You’ll be amazed at how much brighter and cleaner your grout looks!
Removing Burnt Food from Pots and Pans
We’ve all been there – accidentally burning food in a pot or pan. It’s frustrating, but don’t despair! This method can help you salvage your cookware.
Instructions:
1. Prepare the Paste: Follow the instructions above to create the basic hydrogen peroxide and salt paste.
2. Apply to Burnt Areas: Apply a thick layer of the paste to the burnt areas of the pot or pan. Make sure to cover all the affected areas completely.
3. Let it Sit (Overnight if Necessary): For lightly burnt food, let the paste sit for a few hours. For more stubborn burns, you might need to let it sit overnight. This gives the hydrogen peroxide time to loosen the burnt residue.
4. Scrub Gently: After soaking, use a non-abrasive sponge or scrub brush to gently scrub the burnt areas. The paste should help lift the burnt food away easily. Avoid using steel wool or abrasive cleaners, as they can scratch the surface of your cookware.
5. Rinse Thoroughly: Rinse the pot or pan thoroughly with water to remove all traces of the paste and burnt residue.
6. Wash as Usual: Wash the pot or pan with soap and water as you normally would.
7. Repeat if Necessary: If there are still some stubborn burnt spots, repeat the process.
Cleaning Cutting Boards
Cutting boards, especially wooden ones, can harbor bacteria and stains. This DIY cleaner is a great way to disinfect and freshen them up.
Instructions:
1. Prepare the Paste: Follow the instructions above to create the basic hydrogen peroxide and salt paste.
2. Apply to Cutting Board: Spread the paste evenly over the entire surface of the cutting board.
3. Scrub: Use a scrub brush or sponge to scrub the cutting board, paying particular attention to any stained or heavily used areas.
4. Let it Sit: Allow the paste to sit on the cutting board for 5-10 minutes.
5. Rinse Thoroughly: Rinse the cutting board thoroughly with hot water to remove all traces of the paste.
6. Dry: Dry the cutting board completely with a clean towel.
7. Optional: You can also sanitize the cutting board further by wiping it down with a solution of vinegar and water after rinsing.
Brightening Laundry (Use with Caution!)
Hydrogen peroxide can be used as a laundry booster to brighten whites and remove stains. However, it’s important to use it with caution and test it on an inconspicuous area of the fabric first, as it can potentially bleach some colors.
Instructions:
1. Pre-Soak (Optional): For heavily stained items, you can pre-soak them in a solution of hydrogen peroxide and water for 30 minutes to an hour. Use about 1 cup of hydrogen peroxide per gallon of water.
2. Add to Washing Machine: Add 1/2 cup to 1 cup of hydrogen peroxide to your washing machine along with your regular laundry detergent. Pour it directly into the drum or into the bleach dispenser.
3. Add Salt: Add 1/4 cup of salt to the washing machine.
4. Wash as Usual: Wash your clothes as usual, using the appropriate water temperature and cycle.
5. Check for Colorfastness: After washing, check the clothes to make sure there are no signs of discoloration or fading. If you notice any problems, avoid using hydrogen peroxide on those items in the future.
Important Note: This method is best suited for white or light-colored fabrics. Avoid using it on dark or brightly colored fabrics, as it may cause fading.
Removing Mildew and Mold
Hydrogen peroxide is a great natural alternative to bleach for killing mildew and mold.
Instructions:
1. Prepare the Paste: Follow the instructions above to create the basic hydrogen peroxide and salt paste.
2. Apply to Affected Area: Apply the paste liberally to the mildewed or moldy area.
3. Let it Sit: Allow the paste to sit for at least 10-15 minutes, or even longer for more severe cases.
4. Scrub: Scrub the area with a scrub brush or sponge to remove the mildew or
Conclusion
So, there you have it! This simple yet powerful DIY trick using hydrogen peroxide and salt is more than just a cleaning hack; it’s a game-changer for maintaining a sparkling home and tackling stubborn stains without harsh chemicals. We’ve explored how this dynamic duo can effectively whiten grout, brighten laundry, disinfect surfaces, and even address minor mold issues. The beauty of this method lies in its simplicity, affordability, and eco-friendliness. You’re not just cleaning; you’re contributing to a healthier environment by reducing your reliance on potentially harmful commercial cleaners.
Why is this a must-try? Because it works! It’s a cost-effective alternative to expensive cleaning products, and it’s readily accessible. You likely already have hydrogen peroxide and salt in your pantry or medicine cabinet. Plus, the satisfaction of seeing those dingy surfaces transform before your eyes is incredibly rewarding.
But don’t just take our word for it. The real magic happens when you put this DIY trick to the test yourself.
Variations and Suggestions
While the basic hydrogen peroxide and salt mixture is incredibly versatile, there are a few variations you can try to tailor it to your specific needs:
* For extra stubborn grout stains: Create a paste of hydrogen peroxide, baking soda, and salt. Apply it to the grout, let it sit for a longer period (up to an hour), and then scrub vigorously.
* For laundry boosting: Add a cup of hydrogen peroxide to your washing machine along with your regular detergent. This will help brighten whites and remove stains. For colored clothes, test a small, inconspicuous area first to ensure colorfastness.
* For disinfecting surfaces: Use a spray bottle to apply a solution of equal parts hydrogen peroxide and water. Let it sit for a few minutes before wiping clean. Remember to test on a small area first, especially on delicate surfaces.
* For mold removal: Spray the affected area with hydrogen peroxide and let it sit for at least 10 minutes. Scrub the area with a brush and wipe clean. Repeat as needed. Ensure proper ventilation during this process.
* Essential Oil Boost: Add a few drops of your favorite essential oil, like lemon or tea tree, for a pleasant scent and added antibacterial properties.
We encourage you to experiment and find what works best for you. Remember to always test in an inconspicuous area first, especially when dealing with delicate surfaces or fabrics. Safety first! Always wear gloves when handling hydrogen peroxide, especially in concentrated forms.
Now, it’s your turn! We’re confident that this DIY trick using hydrogen peroxide and salt will become a staple in your cleaning routine. Give it a try, and don’t forget to share your experiences with us. Tell us what you cleaned, what variations you tried, and what results you achieved. Your feedback will help others discover the power of this simple yet effective cleaning solution. Let’s build a community of clean, green, and happy homes!
Frequently Asked Questions (FAQ)
1. What concentration of hydrogen peroxide should I use?
The standard 3% hydrogen peroxide solution, commonly found in drugstores, is generally sufficient for most cleaning and disinfecting purposes. Higher concentrations, such as 6% or 12%, are available but should be handled with extreme caution. Always wear gloves and eye protection when working with higher concentrations, and dilute them appropriately before use. For most household applications described in this article, 3% is the recommended and safest option.
2. Can I use this mixture on all surfaces?
No, it’s crucial to test the mixture on a small, inconspicuous area before applying it to the entire surface. Some surfaces, such as certain types of stone, wood, or colored fabrics, may be sensitive to hydrogen peroxide and could experience discoloration or damage. Always err on the side of caution and test first. Avoid using on surfaces that are known to react negatively to oxidizing agents.
3. How long should I let the mixture sit on a surface before scrubbing or wiping it off?
The ideal dwell time depends on the severity of the stain or the level of disinfection required. For light cleaning, a few minutes may be sufficient. For tougher stains or disinfection purposes, allow the mixture to sit for 10-15 minutes. For very stubborn grout stains, you can even let a paste of hydrogen peroxide, salt, and baking soda sit for up to an hour. However, always monitor the surface to ensure no damage occurs.
4. Is it safe to mix hydrogen peroxide with other cleaning products?
No, it’s generally not safe to mix hydrogen peroxide with other cleaning products, especially those containing ammonia or vinegar. Mixing hydrogen peroxide with ammonia can create toxic chloramine vapors, which can cause respiratory problems. Mixing it with vinegar can create peracetic acid, which can be irritating to the skin, eyes, and respiratory system. Always use hydrogen peroxide on its own or with the recommended ingredients (salt, baking soda, essential oils) and avoid mixing it with other chemicals.
5. Can I use this mixture to clean my carpets?
Yes, you can use a diluted solution of hydrogen peroxide and water to spot clean carpets. However, it’s essential to test the solution on a hidden area of the carpet first to ensure it doesn’t cause discoloration. Avoid saturating the carpet, and blot the area dry with a clean cloth after cleaning. For larger areas or heavily soiled carpets, consider using a professional carpet cleaner.
6. How often can I use this DIY cleaning solution?
You can use this DIY cleaning solution as often as needed, but it’s always best to avoid overuse. Frequent use of hydrogen peroxide, even in diluted form, can potentially damage certain surfaces over time. Monitor the surfaces you’re cleaning and adjust your cleaning frequency accordingly.
7. What are the safety precautions I should take when using hydrogen peroxide?
Always wear gloves when handling hydrogen peroxide, especially in concentrated forms. Avoid contact with your eyes and skin. If contact occurs, rinse immediately with plenty of water. Ensure proper ventilation when using hydrogen peroxide, especially in enclosed spaces. Store hydrogen peroxide in a cool, dark place, away from children and pets. Never ingest hydrogen peroxide.
8. Can I use this mixture to clean my toilet bowl?
Yes, you can use hydrogen peroxide to clean and disinfect your toilet bowl. Pour about a cup of hydrogen peroxide into the bowl, let it sit for 30 minutes, and then scrub with a toilet brush and flush. You can also add a tablespoon of salt to the hydrogen peroxide for added cleaning power.
9. Will this mixture remove mold completely?
Hydrogen peroxide can effectively kill mold and mildew on surfaces. However, it’s important to address the underlying cause of the mold growth, such as moisture or humidity. For severe mold infestations, it’s best to consult with a professional mold remediation service.
10. How should I store the hydrogen peroxide and salt mixture?
It’s best to use the hydrogen peroxide and salt mixture immediately after preparing it. If you have any leftover mixture, store it in a dark, airtight container in a cool place. However, the mixture may lose its effectiveness over time, so it’s best to prepare a fresh batch each time you need it.

Leave a Comment