
Homemade Cabbage Recipe: More than just a side dish, it’s a culinary journey waiting to happen right in your kitchen! Have you ever wondered how your grandmother made that unbelievably delicious cabbage that everyone raved about? Or perhaps you’re simply tired of the same old boring vegetable preparations? Well, you’re in the right place!
Cabbage, a humble vegetable with roots stretching back to ancient times, has been a staple in countless cultures. From sauerkraut in Germany to kimchi in Korea, cabbage has proven its versatility and nutritional value. But beyond its historical significance, mastering a fantastic homemade cabbage recipe is about more than just tradition; it’s about unlocking a world of flavor and creativity.
In today’s fast-paced world, convenience often trumps quality. But with this DIY guide, I’m going to show you how easy it is to create a mouthwatering cabbage dish that will impress your family and friends. Forget bland, overcooked cabbage! I’ll share my favorite tips and tricks for achieving the perfect texture and flavor, ensuring that even the most ardent cabbage skeptics will be converted. So, grab your apron, and let’s get cooking! You’ll be amazed at how simple and rewarding it is to create a truly exceptional homemade cabbage recipe.
Making Delicious Homemade Sauerkraut: A Step-by-Step Guide
Hey there, fellow food adventurers! Today, I’m going to walk you through one of my favorite DIY projects: making homemade sauerkraut. It’s easier than you might think, and the result is a tangy, probiotic-rich delight that’s so much better than anything you can buy in a jar. Plus, it’s a fantastic way to preserve cabbage and enjoy its goodness for months to come. So, grab your cabbage, and let’s get started!
What You’ll Need
Before we dive in, let’s gather our supplies. Here’s a list of everything you’ll need to make your own sauerkraut:
* Fresh Cabbage: The star of the show! I usually use green cabbage, but you can experiment with red or Napa cabbage too. About 5 pounds is a good starting point.
* Salt: Non-iodized salt is crucial. Iodized salt can inhibit the fermentation process. I prefer sea salt or kosher salt.
* Large Bowl: You’ll need a big bowl to massage the cabbage and salt together.
* Fermentation Vessel: This could be a crock, a large glass jar (like a gallon-sized mason jar), or even a food-grade plastic bucket. Make sure it’s clean and sanitized.
* Weight: Something to keep the cabbage submerged under the brine. This is essential to prevent mold growth. You can use a fermentation weight, a smaller glass jar filled with water, or even a clean rock wrapped in a food-safe plastic bag.
* Cloth or Lid: To cover the fermentation vessel and keep out bugs and debris. A breathable cloth secured with a rubber band works well, or you can use the lid of your jar, but don’t seal it completely.
* Knife or Mandoline: For shredding the cabbage. A mandoline makes the process much faster and more uniform.
* Cutting Board: A sturdy surface for prepping your cabbage.
Preparing the Cabbage
This is where the magic begins! Getting the cabbage ready is key to a successful sauerkraut batch.
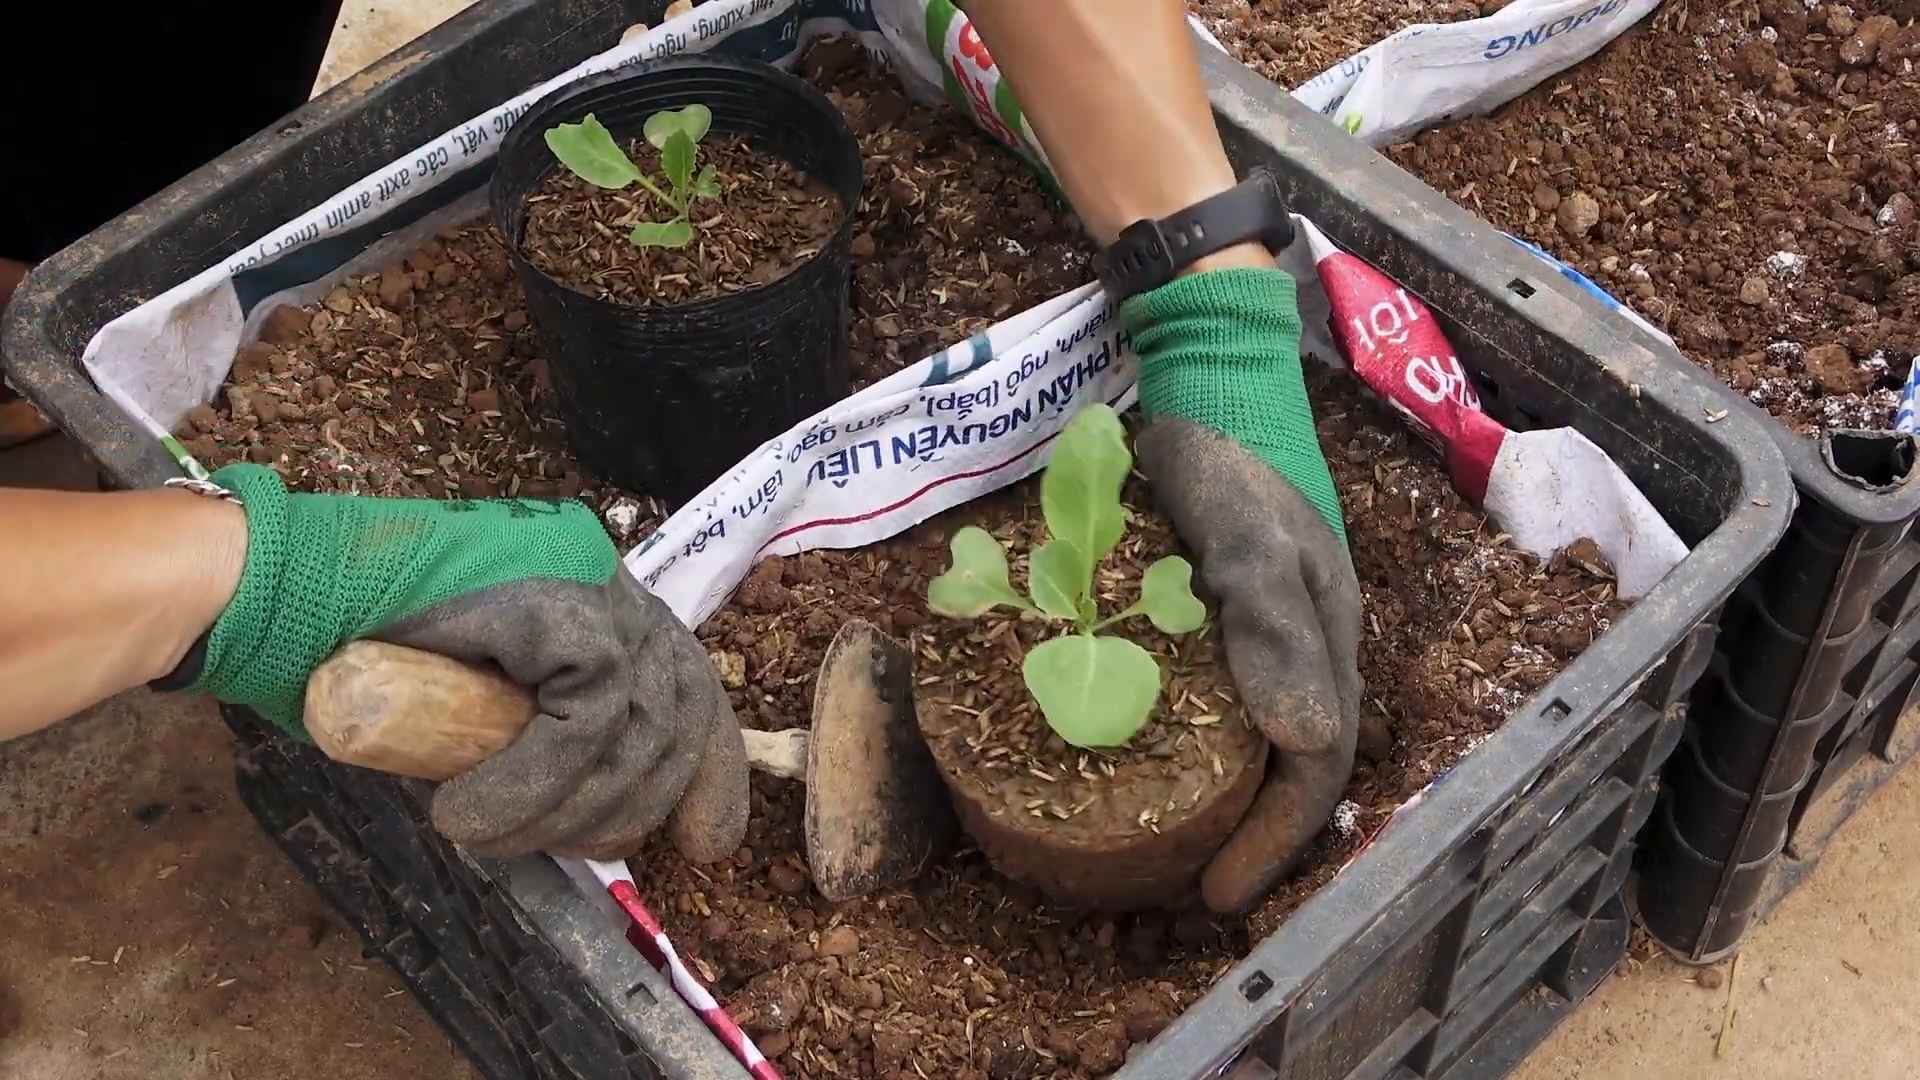
1. Clean Everything: Before you even touch the cabbage, make sure your hands, cutting board, knife (or mandoline), bowl, and fermentation vessel are all squeaky clean. I like to wash everything with hot, soapy water and then rinse thoroughly. Sanitizing your fermentation vessel is also a good idea – you can use a diluted bleach solution (rinse very well afterwards!) or boiling water.
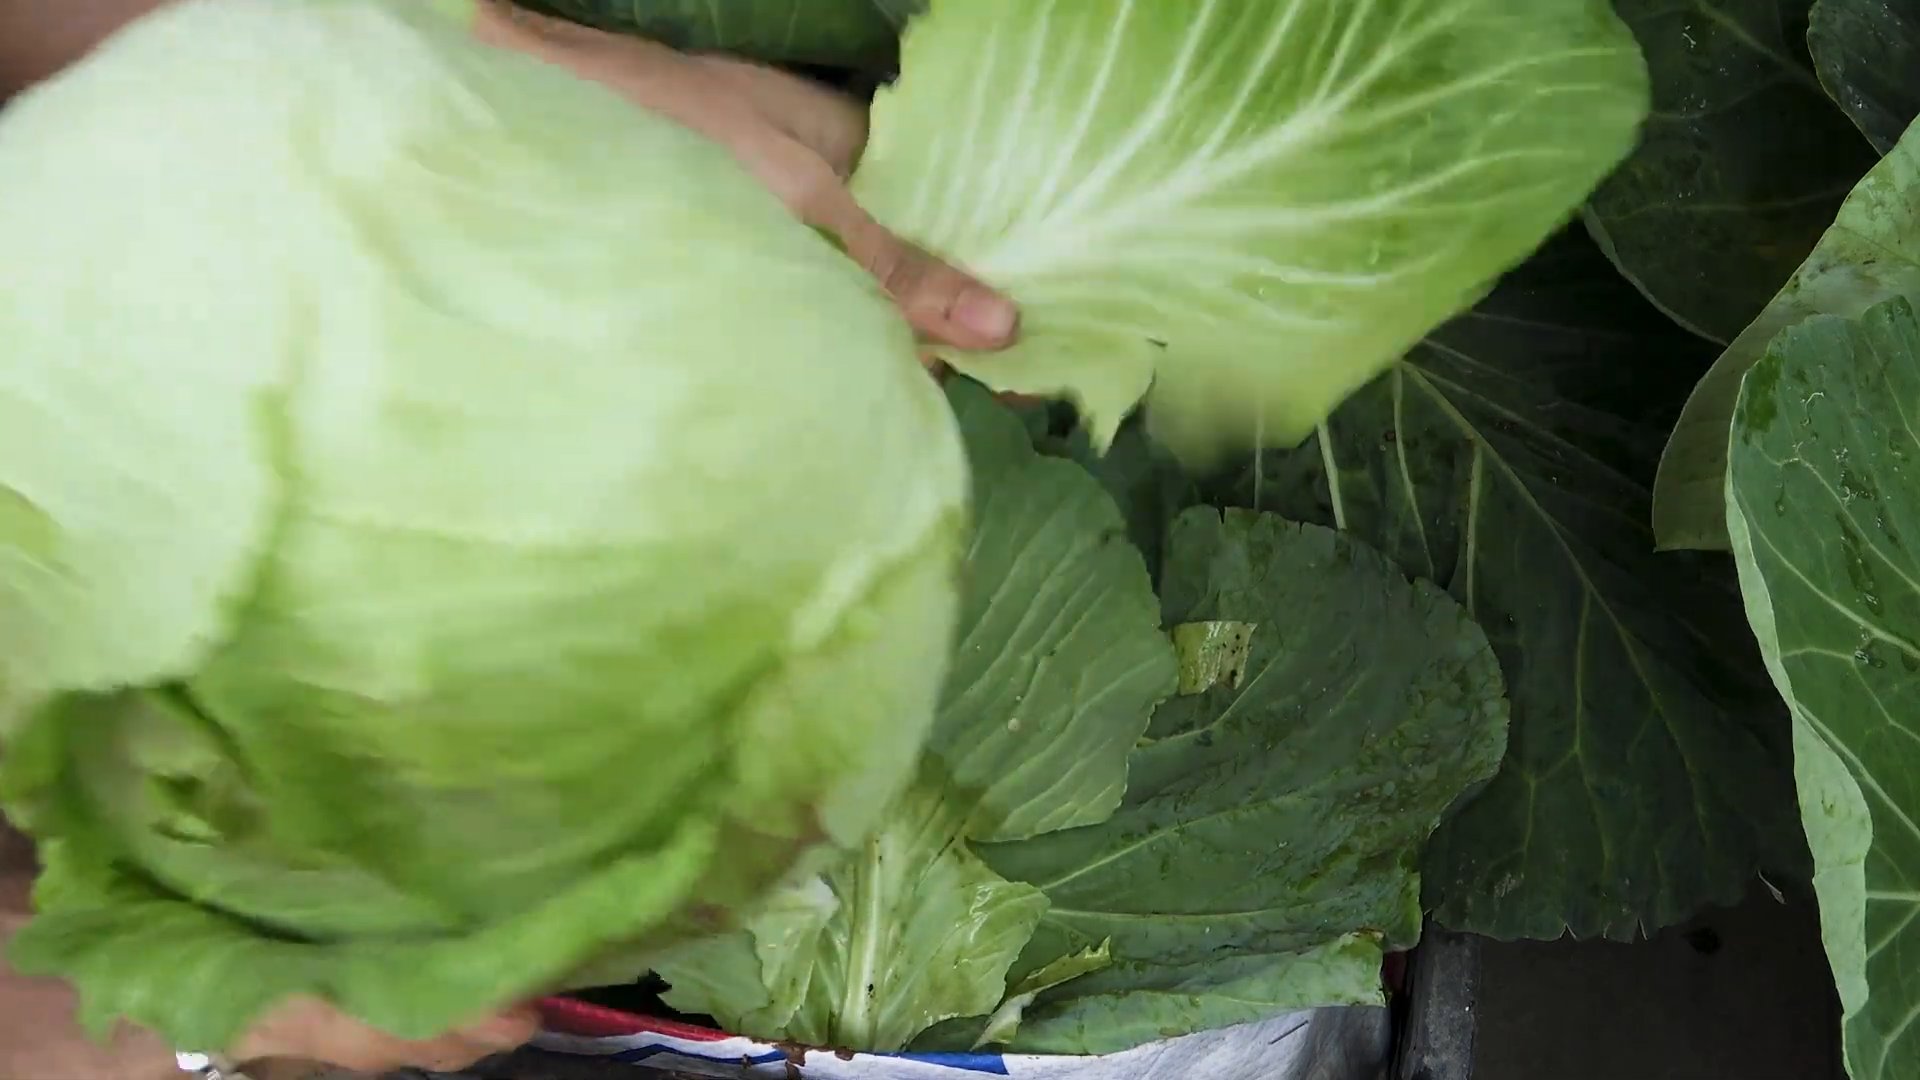
2. Remove Outer Leaves: Peel off the outer leaves of the cabbage. These can sometimes be a bit tough or damaged. Set aside one or two of the best-looking outer leaves – we’ll use these later to help keep the shredded cabbage submerged.
3. Quarter and Core the Cabbage: Cut the cabbage into quarters and then remove the core from each quarter. The core is tough and doesn’t ferment well.
4. Shred the Cabbage: Now comes the fun part! Shred the cabbage using a knife or a mandoline. Aim for thin, even shreds – about 1/8 inch thick is ideal. If you’re using a knife, just slice the cabbage thinly. If you’re using a mandoline, be careful! Those things are sharp. Always use the hand guard to protect your fingers.
5. Weigh the Cabbage: This is important for calculating the correct amount of salt. Use a kitchen scale to weigh the shredded cabbage. Write down the weight – you’ll need it in the next step.
Salting and Massaging
This is where we start drawing out the cabbage’s natural juices to create the brine that will ferment our sauerkraut.
1. Calculate the Salt: The general rule of thumb is to use 2-3% salt by weight of the cabbage. I usually go for 2.5% for a good balance of flavor and preservation. So, if you have 5 pounds (which is 80 ounces) of cabbage, you’ll need about 2 ounces of salt (80 ounces x 0.025 = 2 ounces). You can use a kitchen scale to weigh the salt accurately.
2. Combine Cabbage and Salt: Place the shredded cabbage in your large bowl and sprinkle the salt evenly over it.
3. Massage the Cabbage: Now, get your hands in there and start massaging the cabbage! This is the most important part of the process. You want to squeeze and crush the cabbage with your hands for about 5-10 minutes. As you massage, you’ll notice the cabbage starts to soften and release its juices. Keep going until you have a good amount of liquid in the bowl – enough to submerge the cabbage. This process breaks down the cell walls of the cabbage, releasing the water and sugars necessary for fermentation.
Packing the Fermentation Vessel
Time to transfer our salted and massaged cabbage into the fermentation vessel.
1. Pack the Cabbage Tightly: Transfer the cabbage and its juices into your fermentation vessel. Pack it down tightly with your hands or a clean utensil. You want to eliminate any air pockets.
2. Submerge the Cabbage: Make sure the cabbage is completely submerged under the brine. If you don’t have enough brine, you can add a little bit of salt water (mix 1 teaspoon of salt per cup of water) to top it off.
3. Use the Outer Leaves: Remember those outer cabbage leaves we set aside? Place one or two of them on top of the shredded cabbage to help keep it submerged. Tuck them in around the edges of the vessel.
4. Add the Weight: Place your weight on top of the cabbage leaves. This will ensure that the cabbage stays submerged under the brine during fermentation.
Fermentation Time
Now comes the waiting game! This is where the magic truly happens.
1. Cover the Vessel: Cover your fermentation vessel with a breathable cloth secured with a rubber band or the lid of your jar (but don’t seal it completely). This will keep out bugs and debris while still allowing air to escape.
2. Find a Cool, Dark Place: Place the fermentation vessel in a cool, dark place. The ideal temperature is between 65-72°F (18-22°C). Avoid direct sunlight, as it can inhibit fermentation.
3. Monitor the Fermentation: Check on your sauerkraut every day or two. You might see bubbles forming – this is a good sign! It means the fermentation process is underway. You might also see some scum or kahm yeast forming on the surface. This is normal and harmless. Just scoop it off with a clean spoon.
4. Taste Test: After about 7-10 days, start tasting your sauerkraut. Use a clean utensil to remove a small amount and give it a try. The longer it ferments, the more sour and tangy it will become.
5. Fermentation Time: The fermentation time depends on your personal preference and the temperature of your environment. I usually ferment my sauerkraut for 2-4 weeks.
Storing Your Sauerkraut
Once your sauerkraut has reached your desired level of sourness, it’s time to store it.
1. Transfer to Jars: Transfer the sauerkraut to clean jars. Pack it down tightly and make sure it’s submerged in its brine. Leave about 1/2 inch of headspace at the top of the jar.
2. Refrigerate: Store the jars of sauerkraut in the refrigerator. This will slow down the fermentation process and keep it from getting too sour.
3. Enjoy! Your homemade sauerkraut will keep in the refrigerator for several months. Enjoy it on sandwiches, salads, with sausages, or as a side dish.
Troubleshooting
Sometimes, things don’t go exactly as planned. Here are a few common problems and how to fix them:
* Mold: If you see mold growing on your sauerkraut, it’s usually a sign that the cabbage wasn’t properly submerged in the brine. Unfortunately, if you see mold, you’ll need to discard the entire batch. To prevent mold, make sure the cabbage is always submerged and that you’re using a clean fermentation vessel.
* Kahm Yeast: This is a harmless white film that can form on the surface of your sauerkraut. It’s not mold, and it won’t hurt you. Just scoop it off with a clean spoon.
* Soft Sauerkraut: If your sauerkraut is too soft, it could be because you didn’t use enough salt or the temperature was too high during fermentation. Make sure to use the correct amount of salt and keep the fermentation vessel in a cool place.
* No Brine: If you don’t have enough brine to submerge the cabbage, you can add a little bit of salt water (mix 1 teaspoon of salt per cup of water) to top it off.
Tips and Tricks
Here are a few extra tips to help you make the best sauerkraut possible:
* Use High-Quality Cabbage: The better the cabbage, the better the sauerkraut
Conclusion
So, there you have it! This homemade cabbage recipe isn’t just another side dish; it’s a culinary adventure waiting to happen. We’ve explored a simple yet transformative technique that elevates humble cabbage to a star ingredient. Forget bland, boring cabbage – this method unlocks a depth of flavor and texture you simply won’t believe.
Why is this DIY trick a must-try? Because it’s economical, customizable, and incredibly satisfying. Store-bought cabbage dishes often lack the freshness and personal touch that this recipe provides. You control the ingredients, ensuring a dish that perfectly suits your taste and dietary needs. Plus, the process itself is surprisingly therapeutic, a welcome break from the hustle and bustle of daily life.
But the beauty of this recipe lies in its versatility. Feel free to experiment with different types of cabbage. Napa cabbage offers a sweeter, more delicate flavor, while Savoy cabbage brings a slightly crinkled texture and earthy notes. For a spicier kick, add a pinch of red pepper flakes or a finely chopped jalapeño. Consider incorporating other vegetables like carrots, onions, or bell peppers for added color and nutrients.
The sauce is equally adaptable. If you prefer a tangier flavor, increase the amount of vinegar or add a squeeze of lemon juice. For a richer, creamier sauce, stir in a dollop of sour cream or Greek yogurt at the end. And for those who enjoy a touch of sweetness, a drizzle of honey or maple syrup can create a delightful balance.
Don’t be afraid to get creative with your seasonings, too. Garlic powder, onion powder, smoked paprika, and even a dash of curry powder can all add unique dimensions to the flavor profile. The possibilities are truly endless!
This homemade cabbage recipe is more than just a recipe; it’s a foundation upon which you can build your own culinary masterpiece. It’s a chance to reconnect with simple ingredients and discover the joy of creating something delicious from scratch.
We’re confident that once you try this method, you’ll never look at cabbage the same way again. It’s a game-changer for weeknight dinners, potlucks, and holiday gatherings alike. Imagine the compliments you’ll receive when you serve up a dish of perfectly cooked, flavorful cabbage that you made entirely from scratch.
So, what are you waiting for? Gather your ingredients, roll up your sleeves, and prepare to embark on a cabbage-cooking adventure. We encourage you to try this DIY trick and share your experience with us. Let us know what variations you tried, what seasonings you loved, and how your family and friends reacted to your homemade creation. Your feedback is invaluable and helps us continue to refine and improve our recipes.
Share your photos and stories on social media using #HomemadeCabbageRecipe. We can’t wait to see what you create! Happy cooking!
Frequently Asked Questions (FAQ)
What type of cabbage works best for this recipe?
While green cabbage is the most common and readily available option, you can absolutely experiment with other varieties. Napa cabbage offers a sweeter, more delicate flavor and cooks relatively quickly. Savoy cabbage has a slightly crinkled texture and a more earthy taste. Red cabbage adds a beautiful color to the dish, but it may require a slightly longer cooking time. Ultimately, the best type of cabbage depends on your personal preference and the flavor profile you’re aiming for. Just be sure to adjust the cooking time accordingly, as different types of cabbage have varying densities.
How do I prevent my cabbage from becoming soggy?
Sogginess is the enemy of delicious cabbage! To avoid this, don’t overcrowd the pan. Overcrowding lowers the temperature of the pan and steams the cabbage instead of allowing it to properly sauté. Cook the cabbage in batches if necessary. Also, avoid adding too much liquid at once. Add the sauce gradually, allowing the cabbage to absorb it as it cooks. Finally, don’t overcook the cabbage. It should be tender-crisp, not mushy.
Can I make this recipe ahead of time?
Yes, you can definitely prepare this homemade cabbage recipe ahead of time. In fact, the flavors often meld together and improve after a day or two in the refrigerator. Just be aware that the cabbage may soften slightly as it sits. To reheat, simply warm it up in a skillet over medium heat, adding a splash of water or broth if needed to prevent it from drying out. You can also reheat it in the microwave, but be careful not to overcook it.
How long will the leftover cabbage last in the refrigerator?
Properly stored, leftover cabbage will last for 3-5 days in the refrigerator. Be sure to store it in an airtight container to prevent it from drying out and absorbing odors from other foods.
Can I freeze this cabbage recipe?
While you can technically freeze cooked cabbage, the texture may change slightly upon thawing. It may become a bit softer than it was originally. If you do choose to freeze it, allow the cabbage to cool completely before transferring it to a freezer-safe container or bag. Thaw it in the refrigerator overnight before reheating. It’s best to use frozen cabbage in dishes where the texture isn’t as critical, such as soups or stews.
What are some good protein pairings for this cabbage dish?
This homemade cabbage recipe is incredibly versatile and pairs well with a variety of proteins. It’s a classic accompaniment to sausages, pork chops, and roast chicken. It also complements grilled fish, tofu, and tempeh beautifully. For a vegetarian meal, try serving it with a fried egg or a side of lentils.
Can I add meat to this cabbage recipe?
Absolutely! Adding meat can transform this side dish into a hearty main course. Consider adding cooked bacon, sausage, or ground beef to the pan along with the cabbage. You can also add shredded chicken or pulled pork after the cabbage is cooked.
Is this recipe gluten-free?
Yes, this recipe is naturally gluten-free, as long as you use gluten-free ingredients in the sauce. Be sure to check the labels of your soy sauce or tamari to ensure they are gluten-free.
Can I make this recipe vegan?
Yes, this recipe can easily be made vegan. Simply substitute the butter with olive oil or another plant-based oil. Also, ensure that any Worcestershire sauce you use is vegan-friendly, as some brands contain anchovies.
What if I don’t have all the ingredients listed in the recipe?
Don’t worry if you’re missing a few ingredients. This recipe is very forgiving. If you don’t have apple cider vinegar, you can substitute it with white vinegar or rice vinegar. If you don’t have brown sugar, you can use white sugar or maple syrup. The key is to adjust the amounts to your liking and taste as you go. The most important ingredient is the cabbage itself!
How do I core a cabbage easily?
The easiest way to core a cabbage is to use a sharp knife. Cut the cabbage in half through the core. Then, cut a V-shape around the core of each half to remove it. You can also use a coring tool if you have one.
What is the best way to slice cabbage thinly?
A sharp knife is essential for slicing cabbage thinly. You can also use a mandoline slicer for even thinner and more uniform slices. If you’re using a knife, start by cutting the cabbage in half through the core. Then, place the flat side down on a cutting board and slice thinly across the cabbage.
Can I use pre-shredded cabbage for this recipe?
Yes, you can use pre-shredded cabbage to save time. However, keep in mind that pre-shredded cabbage may not be as fresh as whole cabbage, and it may also contain preservatives. If you do use pre-shredded cabbage, be sure to check the expiration date and rinse it thoroughly before using.
How do I know when the cabbage is cooked properly?
The cabbage should be tender-crisp, meaning it’s tender enough to be easily pierced with a fork, but still has a slight bite to it. It should also be slightly caramelized and browned around the edges. Avoid overcooking the cabbage, as it will become mushy.
What are some other variations I can try?
The possibilities are endless! Try adding different spices, such as caraway seeds, fennel seeds, or coriander. You can also add dried cranberries or raisins for a touch of sweetness. For a smoky flavor, add a few drops of liquid smoke. And for a spicy kick, add a pinch of cayenne pepper or a dash of hot sauce. Don’t be afraid to experiment and create your own unique version of this homemade cabbage recipe!


Leave a Comment