
Hanging container mint garden: Imagine stepping onto your balcony or patio and being greeted by the refreshing aroma of fresh mint, ready to be plucked for your next mojito, cup of tea, or culinary masterpiece. Sounds idyllic, right? Well, it’s easier than you think to create your own thriving mint oasis, even if you’re short on space!
Mint, with its vibrant history stretching back to ancient Egypt where it was used for medicinal and culinary purposes, has always been a beloved herb. But let’s face it, mint can be a bit of a garden bully, spreading aggressively and taking over your precious flowerbeds. That’s where the genius of a hanging container mint garden comes in!
This DIY project isn’t just about aesthetics; it’s about practicality. By containing your mint in a hanging basket, you’re not only preventing it from becoming a garden menace, but you’re also creating a beautiful, space-saving feature. Plus, who doesn’t love a good DIY project that adds a touch of green to their lives? I’m excited to share some simple yet effective tricks to help you create your own flourishing hanging container mint garden. Get ready to unleash your inner gardener and enjoy the endless possibilities of fresh, homegrown mint!
DIY Hanging Container Mint Garden: Fresh Herbs at Your Fingertips!
Hey there, fellow plant enthusiasts! I’m so excited to share this super easy and rewarding DIY project with you: creating your own hanging container mint garden. Not only will you have a constant supply of fresh mint for mojitos, teas, and culinary creations, but it’ll also add a touch of green beauty to your balcony, patio, or even indoors! Plus, containing mint is crucial, as it can be quite invasive if planted directly in the ground. Let’s get started!
What You’ll Need
Before we dive in, let’s gather all the necessary supplies. Trust me, having everything ready beforehand will make the process so much smoother.
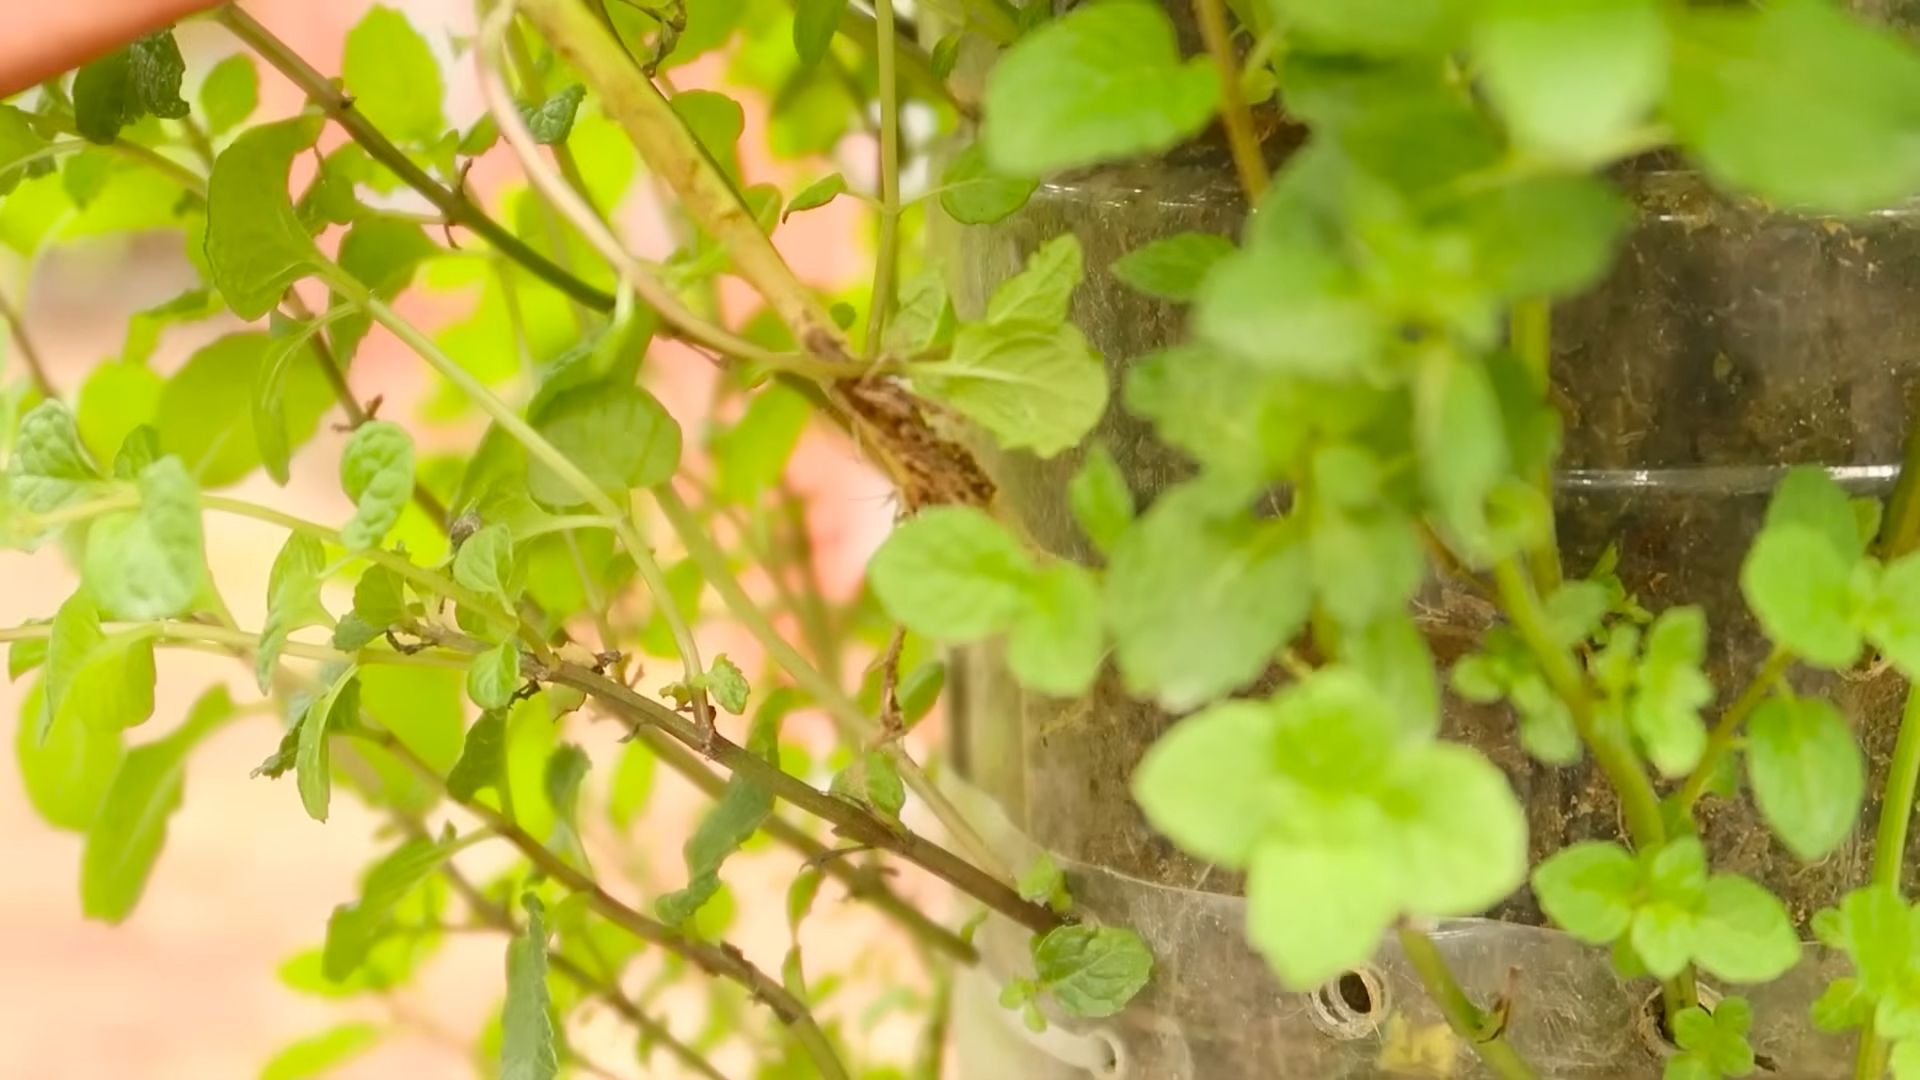
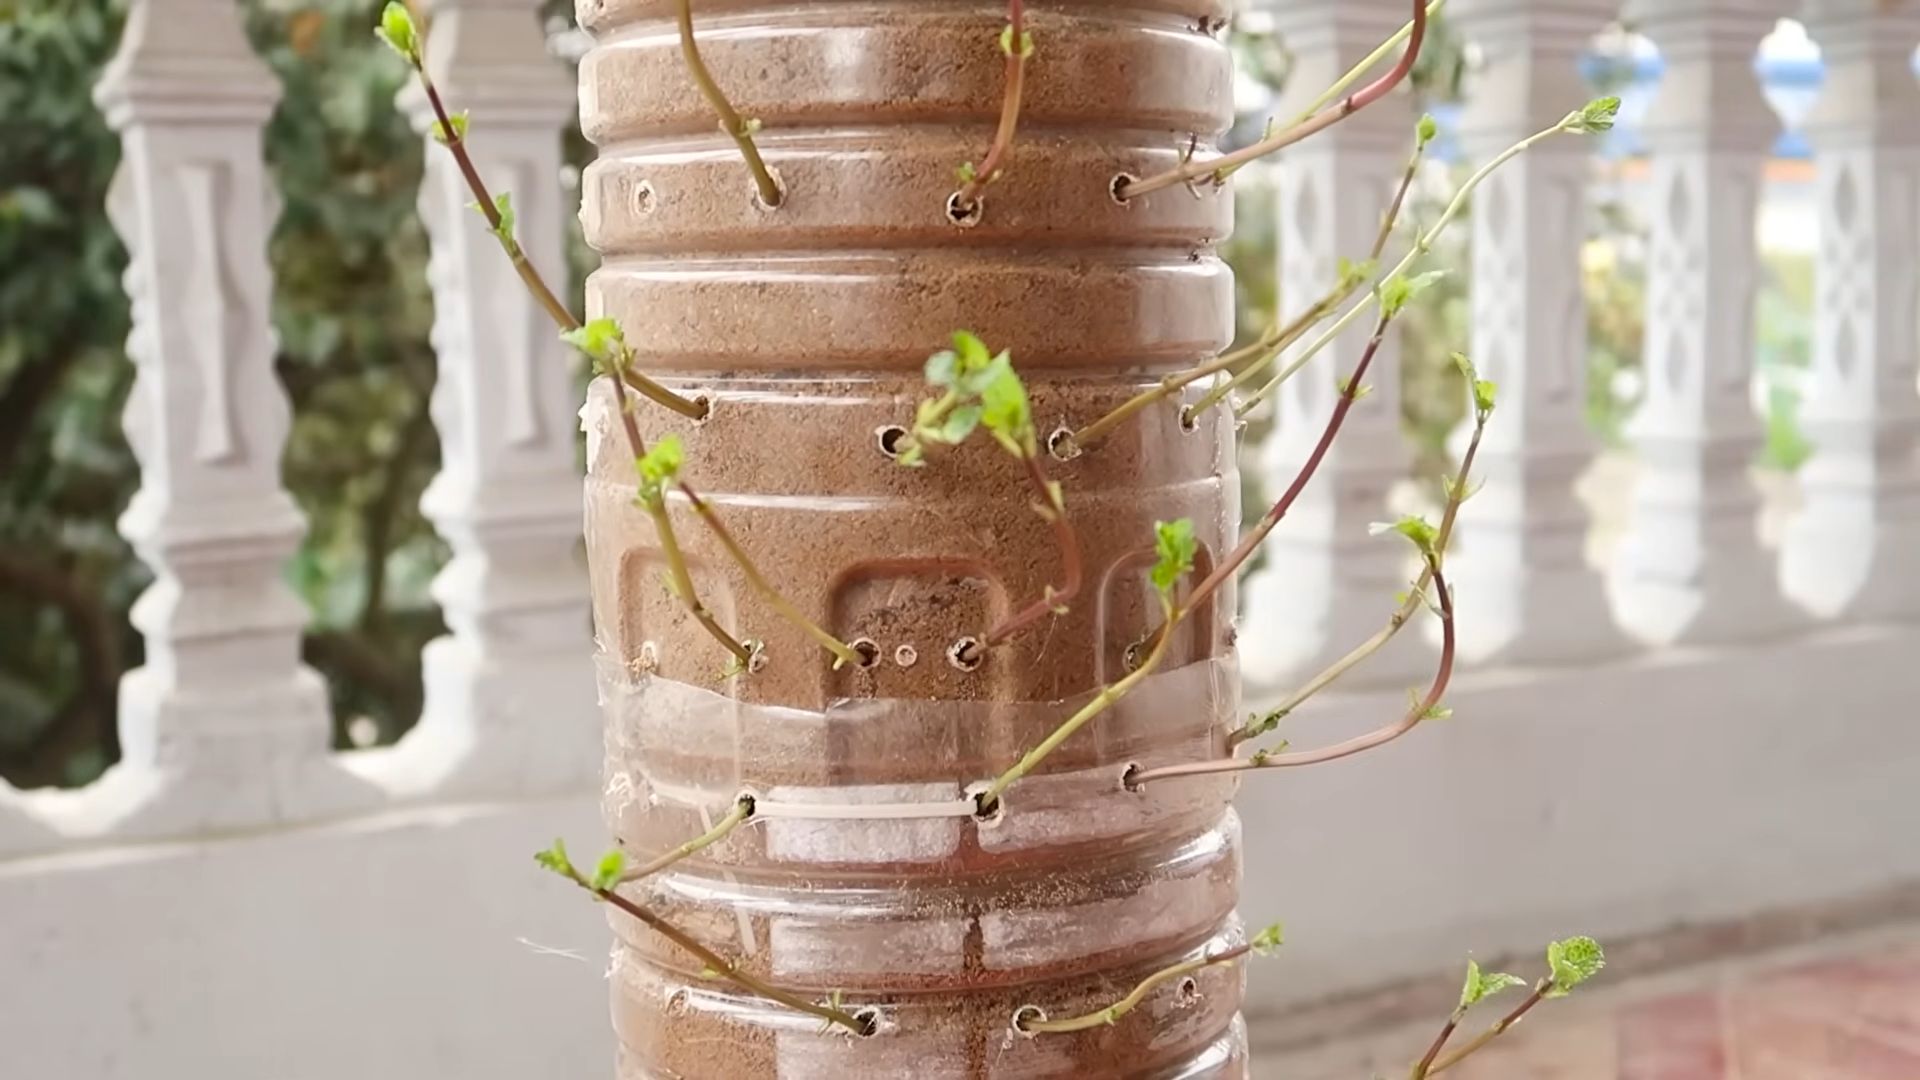
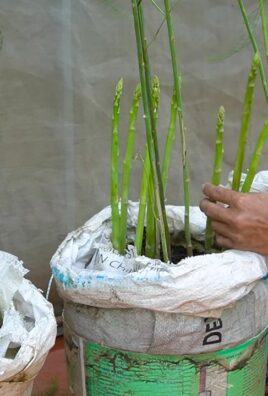
* Hanging Containers: I recommend using containers specifically designed for hanging, like hanging baskets or planters with built-in hooks. You can find these at most garden centers or online. Consider the size – larger containers will hold more soil and require less frequent watering. I personally love using repurposed items like old buckets or even sturdy plastic containers with drainage holes drilled in.
* Mint Plants: Of course! You can buy starter mint plants from a nursery or garden center. There are so many varieties to choose from – spearmint, peppermint, chocolate mint, orange mint… the possibilities are endless! I suggest starting with a few different varieties to see which ones you like best. Just be sure to keep different mint varieties in separate containers to prevent them from cross-pollinating and potentially altering their flavors.
* Potting Soil: Use a high-quality potting mix that’s well-draining. This is crucial for mint, as it doesn’t like to sit in soggy soil. Avoid using garden soil, as it can become compacted and doesn’t drain as well in containers. I usually go for a mix specifically formulated for herbs or vegetables.
* Drainage Material: To ensure proper drainage, you’ll need something to line the bottom of your containers. Gravel, pebbles, or even broken pieces of terracotta pots work great. This prevents the soil from clogging the drainage holes.
* Hanging Hardware: Depending on where you plan to hang your mint garden, you’ll need appropriate hanging hardware. This could include hooks, chains, rope, or brackets. Make sure the hardware is strong enough to support the weight of the filled containers.
* Watering Can or Hose: Essential for keeping your mint plants hydrated.
* Gardening Gloves: To keep your hands clean and protected.
* Trowel or Small Shovel: For transferring the mint plants into the containers.
* Optional: Slow-Release Fertilizer: This will provide your mint plants with a steady supply of nutrients over time. I like to add a small amount to the potting mix when planting.
* Optional: Landscape Fabric: To line the inside of the hanging basket to prevent soil from falling through.
Planting Your Mint
Now for the fun part – planting your mint! This is where you get to get your hands dirty and bring your hanging garden to life.
1. Prepare the Containers: If you’re using hanging baskets, line the inside with landscape fabric to prevent soil from falling through the gaps. This step is optional but highly recommended. Then, add a layer of drainage material (gravel, pebbles, etc.) to the bottom of each container. This will help prevent waterlogging and ensure proper drainage.
2. Add Potting Soil: Fill the containers with potting soil, leaving a few inches of space at the top. Gently pat down the soil to remove any air pockets. If you’re using slow-release fertilizer, mix it into the potting soil at this stage.
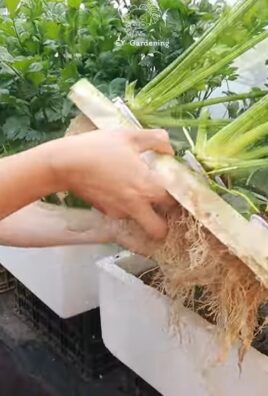
3. Remove Mint Plants from Their Pots: Gently squeeze the sides of the nursery pots to loosen the mint plants. Carefully remove the plants from their pots, being careful not to damage the roots. If the roots are tightly bound, gently loosen them with your fingers.
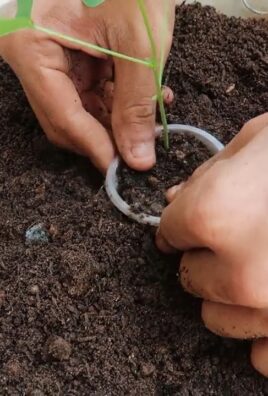
4. Plant the Mint: Create a small hole in the potting soil for each mint plant. Place the plant in the hole, ensuring that the top of the root ball is level with the surrounding soil. Gently fill in the hole with potting soil and pat it down firmly. Space the mint plants a few inches apart to allow them room to grow. Remember to keep different mint varieties in separate containers.
5. Water Thoroughly: Water the newly planted mint thoroughly until water drains out of the bottom of the containers. This will help settle the soil and ensure that the roots are properly hydrated.
6. Hang Your Garden: Attach the hanging hardware to your containers and hang them in your desired location. Make sure the location receives adequate sunlight (at least 4-6 hours per day) and is protected from strong winds.
Caring for Your Hanging Mint Garden
Once your mint garden is hanging, it’s important to provide it with proper care to ensure that your plants thrive.
* Watering: Mint likes consistently moist soil, but not soggy. Water your hanging mint garden regularly, especially during hot, dry weather. Check the soil moisture by sticking your finger into the soil – if it feels dry to the touch, it’s time to water. Avoid overwatering, as this can lead to root rot. Hanging containers tend to dry out faster than in-ground gardens, so be vigilant about checking the moisture levels.
* Sunlight: Mint thrives in full sun to partial shade. Aim for at least 4-6 hours of sunlight per day. If you live in a hot climate, provide some afternoon shade to prevent the leaves from scorching.
* Fertilizing: If you didn’t add slow-release fertilizer when planting, you can fertilize your mint plants every few weeks with a liquid fertilizer diluted to half strength. Look for a fertilizer that’s specifically formulated for herbs or vegetables.
* Pruning: Regular pruning is essential for keeping your mint plants healthy and productive. Pinch off the top leaves of the stems to encourage bushier growth. You can also harvest leaves as needed for culinary use. Don’t be afraid to prune your mint plants aggressively – they’ll bounce back quickly!
* Pest Control: Mint is generally pest-resistant, but it can occasionally be affected by aphids, spider mites, or whiteflies. If you notice any pests, treat them with an insecticidal soap or neem oil.
* Overwintering: In colder climates, mint plants may die back in the winter. You can either bring your hanging containers indoors or protect them from frost by wrapping them in burlap or moving them to a sheltered location. Mint is a perennial, so it will come back in the spring.
Harvesting Your Mint
One of the best things about having a mint garden is being able to harvest fresh mint whenever you need it!
* When to Harvest: You can start harvesting mint leaves as soon as the plants are established. The best time to harvest is in the morning, after the dew has dried but before the sun gets too hot.
* How to Harvest: Use scissors or pruning shears to cut off stems just above a leaf node (the point where leaves grow from the stem). This will encourage new growth. You can harvest up to one-third of the plant at a time without harming it.
* Using Your Mint: Fresh mint can be used in a variety of ways, including teas, cocktails, salads, desserts, and savory dishes. You can also dry mint leaves for later use. To dry mint, hang the stems upside down in a cool, dry place until the leaves are brittle. Then, crumble the leaves and store them in an airtight container.
Troubleshooting
Even with the best care, you might encounter some challenges along the way. Here are a few common problems and how to fix them:
* Yellowing Leaves: This could be a sign of overwatering, underwatering, or nutrient deficiency. Check the soil moisture and adjust your watering schedule accordingly. If the soil is consistently moist, reduce watering. If the soil is dry, water more frequently. You can also try fertilizing your mint plants with a balanced fertilizer.
* Leggy Growth: This is usually caused by insufficient sunlight. Move your hanging containers to a location that receives more sunlight. You can also prune the leggy stems to encourage bushier growth.
* Pests: As mentioned earlier, mint can occasionally be affected by pests. Treat any infestations with insecticidal soap or neem oil.
* Root Rot: This is caused by overwatering and poor drainage. Make sure your containers have adequate drainage holes and avoid overwatering. If you suspect root rot, repot your mint plants in fresh potting soil.
Enjoy Your Fresh Mint!
And there you have it! Your very own hanging container mint garden. I hope you enjoy the process of creating and caring for your mint plants, and I’m sure you’ll love having a constant supply of fresh mint at your fingertips. Happy gardening!
Conclusion
So, there you have it! Creating your own hanging container mint garden is not just a fun project; it’s a game-changer for anyone who loves fresh herbs and wants to maximize their space. We’ve walked you through the simple steps, highlighting how easy and rewarding it is to cultivate your own fragrant oasis. Forget those expensive, pre-packaged herbs from the grocery store that wilt within days. With a little effort, you can have a constant supply of fresh, vibrant mint right at your fingertips.
Why is this a must-try? Because it’s economical, space-saving, and incredibly satisfying. Imagine stepping outside and snipping fresh mint leaves for your morning tea, a refreshing mojito, or a flavorful addition to your favorite dishes. The aroma alone is enough to brighten your day! Plus, you’re in complete control of the growing environment, ensuring your mint is organic and free from harmful pesticides.
But the beauty of this project lies in its versatility. Feel free to experiment with different container types. Upcycle old buckets, repurpose plastic bottles, or get creative with woven baskets lined with burlap. Consider adding companion plants like marigolds to deter pests or strawberries for a delightful contrast of color and flavor. You can even create a tiered hanging garden for a stunning visual display.
For those who want to take it a step further, explore different varieties of mint. Peppermint, spearmint, chocolate mint, and even apple mint each offer unique flavors and aromas. Imagine the possibilities! You could even create a dedicated mint garden featuring a variety of your favorite types.
Don’t be intimidated if you’re new to gardening. Mint is a relatively forgiving herb, making it perfect for beginners. Just remember to provide adequate sunlight, well-draining soil, and regular watering. And don’t be afraid to prune your mint regularly to encourage bushier growth and prevent it from becoming leggy.
We are confident that you will enjoy the process of creating your own hanging container mint garden and reaping the rewards of fresh, homegrown herbs. It’s a simple yet impactful way to enhance your culinary creations, beautify your living space, and connect with nature.
So, what are you waiting for? Gather your supplies, get your hands dirty, and embark on this exciting gardening adventure. We encourage you to try this DIY trick and share your experience with us! Post photos of your hanging mint gardens on social media using #HangingMintGardenDIY and tag us so we can see your amazing creations. We can’t wait to see what you come up with! Let’s spread the joy of fresh, homegrown mint together!
FAQ
Frequently Asked Questions About Hanging Container Mint Gardens
What kind of container is best for a hanging mint garden?
The best container for a hanging mint garden is one that provides adequate drainage and is sturdy enough to support the weight of the soil and plants. Options include plastic pots, terracotta pots, hanging baskets lined with coco coir or burlap, and even repurposed items like old buckets or plastic bottles. Ensure the container has drainage holes to prevent waterlogging, which can lead to root rot. The size of the container will depend on the variety of mint you’re growing and how much space you have available. A container that is at least 8-10 inches in diameter is generally recommended.
How much sunlight does mint need in a hanging container?
Mint thrives in partial to full sunlight, requiring at least 4-6 hours of direct sunlight per day. However, in hotter climates, providing some afternoon shade can prevent the leaves from scorching. Observe your mint plants closely and adjust their location as needed. If the leaves appear pale or the stems are leggy, it may indicate insufficient sunlight. Conversely, if the leaves are wilting or turning brown, it may be a sign of too much direct sun, especially during the hottest part of the day.
What type of soil is best for growing mint in a hanging container?
Mint prefers well-draining soil that is rich in organic matter. A good potting mix specifically formulated for containers is ideal. You can also amend regular potting soil with compost or other organic materials to improve drainage and nutrient content. Avoid using heavy garden soil, as it can become compacted in containers and restrict root growth. The ideal soil pH for mint is between 6.0 and 7.0.
How often should I water my hanging mint garden?
Water your hanging mint garden regularly, especially during hot and dry weather. The soil should be kept consistently moist but not waterlogged. Check the soil moisture by sticking your finger about an inch into the soil. If it feels dry, it’s time to water. Hanging containers tend to dry out more quickly than in-ground gardens, so you may need to water them more frequently. Be sure to water thoroughly, allowing excess water to drain out of the drainage holes. Avoid overhead watering, as this can promote fungal diseases.
How do I prevent mint from taking over my garden?
Mint is known for its aggressive growth habit and can quickly spread if not contained. Growing mint in a hanging container is an excellent way to prevent it from taking over your garden. The container acts as a barrier, preventing the roots from spreading. Regular pruning can also help to control its growth. Remove any runners or stems that are trailing outside of the container.
How do I prune my mint plant in a hanging container?
Pruning is essential for maintaining a healthy and productive mint plant. Regular pruning encourages bushier growth and prevents the plant from becoming leggy. Simply pinch off the top leaves and stems to promote branching. You can also remove any dead or yellowing leaves. Harvest mint leaves frequently to encourage new growth. The best time to prune mint is in the morning, after the dew has dried.
What are some common pests and diseases that affect mint?
Mint is generally resistant to pests and diseases, but it can be susceptible to certain problems, such as spider mites, aphids, and fungal diseases like powdery mildew. Inspect your plants regularly for signs of infestation or disease. If you notice any problems, take action promptly. Spider mites can be controlled with a strong spray of water or insecticidal soap. Aphids can be removed by hand or with a gentle spray of water. Powdery mildew can be prevented by ensuring good air circulation and avoiding overhead watering.
Can I grow different varieties of mint in the same hanging container?
While it’s possible to grow different varieties of mint in the same hanging container, it’s generally not recommended. Mint varieties can cross-pollinate, resulting in a loss of distinct flavors and aromas. Additionally, some varieties may be more aggressive than others and outcompete their neighbors. If you want to grow multiple varieties of mint, it’s best to plant them in separate containers.
How do I overwinter my hanging mint garden?
In colder climates, mint plants may need to be overwintered indoors. Before the first frost, bring your hanging container indoors and place it in a sunny location. Water sparingly, allowing the soil to dry out slightly between waterings. You can also cut back the plant to a few inches above the soil line. In the spring, once the weather warms up, you can move the container back outdoors.
Is it safe to consume mint leaves that have been treated with pesticides?
It is generally not recommended to consume mint leaves that have been treated with pesticides, especially if they are not specifically labeled for use on edible plants. Even if a pesticide is labeled for use on edible plants, it’s important to follow the instructions carefully and wait the recommended amount of time before harvesting. The safest option is to grow your mint organically and avoid using any pesticides altogether.
Leave a Comment