
Growing Hibiscus Roselle Indoors might seem like a tropical dream reserved for sunny climates, but I’m here to tell you that with a few clever tricks, you can absolutely cultivate this vibrant plant right in your own home! Imagine harvesting your own ruby-red calyces for delicious teas, jams, and even natural food coloring – all without stepping foot outside.
Hibiscus Roselle, also known as Jamaican Sorrel or Roselle, has a rich history, particularly in regions like West Africa and Southeast Asia, where it’s been used for centuries for its medicinal properties and culinary versatility. Traditionally, it’s been grown outdoors, basking in the sun. But what if you live in a colder climate or simply lack the outdoor space? That’s where these DIY hacks come in!
Let’s face it, bringing a touch of the exotic indoors is incredibly rewarding. But more than that, growing Hibiscus Roselle Indoors offers a sustainable way to enjoy its benefits year-round. No more relying on store-bought, potentially pesticide-laden products. You’ll have complete control over your plant’s environment, ensuring a healthy and bountiful harvest. Plus, it’s a fantastic conversation starter! So, are you ready to transform your living space into a mini-tropical paradise? Let’s dive into these simple yet effective DIY tricks that will have you harvesting your own Roselle in no time!
Growing Hibiscus Roselle Indoors: Your DIY Guide to Tropical Splendor
I love having plants in the house, and the Hibiscus Roselle (Hibiscus sabdariffa) is one of my absolute favorites. Not just because of its beautiful flowers, but also because you can make delicious tea and jam from the calyces! If you also want to bring a piece of the tropics into your home, you’ve come to the right place. I’ll show you how to successfully grow Hibiscus Roselle indoors.
What you need:
- Roselle seeds (preferably from a trusted source)
- Seed starting mix
- Pots (seed starting pots and later larger pots)
- Good potting soil (for mature plants)
- Water
- Spray bottle
- Sunlight (or a plant lamp)
- Fertilizer (liquid fertilizer for flowering plants)
- Scissors or pruning shears
- Optional: Heating mat for germination
Sowing and Germination: The Start of Your Roselle Adventure
Sowing is the first step, and it’s important that you proceed carefully here so that your seeds actually germinate.
- Prepare seeds: To speed up germination, you can soak the seeds for 24 hours in lukewarm water. This helps to soften the hard seed coat.
- Prepare seed starting pots: Fill small seed starting pots with seed starting mix. The soil should be loose and well-draining.
- Sow seeds: Place 2-3 seeds in each pot, about 1 cm deep. Cover them lightly with soil and press gently.
- Water: Moisten the soil with a spray bottle. It should be damp, but not wet.
- Provide warmth: Hibiscus Roselle loves warmth. Place the pots in a warm place (20-25°C). A heating mat can be very helpful here, especially if you live in a colder area.
- Maintain moisture: Cover the pots with plastic wrap or a plastic dome to increase humidity. Don’t forget to ventilate regularly to prevent mold.
- Be patient: Germination can take 1-3 weeks. Keep the soil moist and wait patiently.
Transplanting: When the Little Seedlings Grow
Once your seedlings have a few leaves, it’s time to transplant them into larger pots.
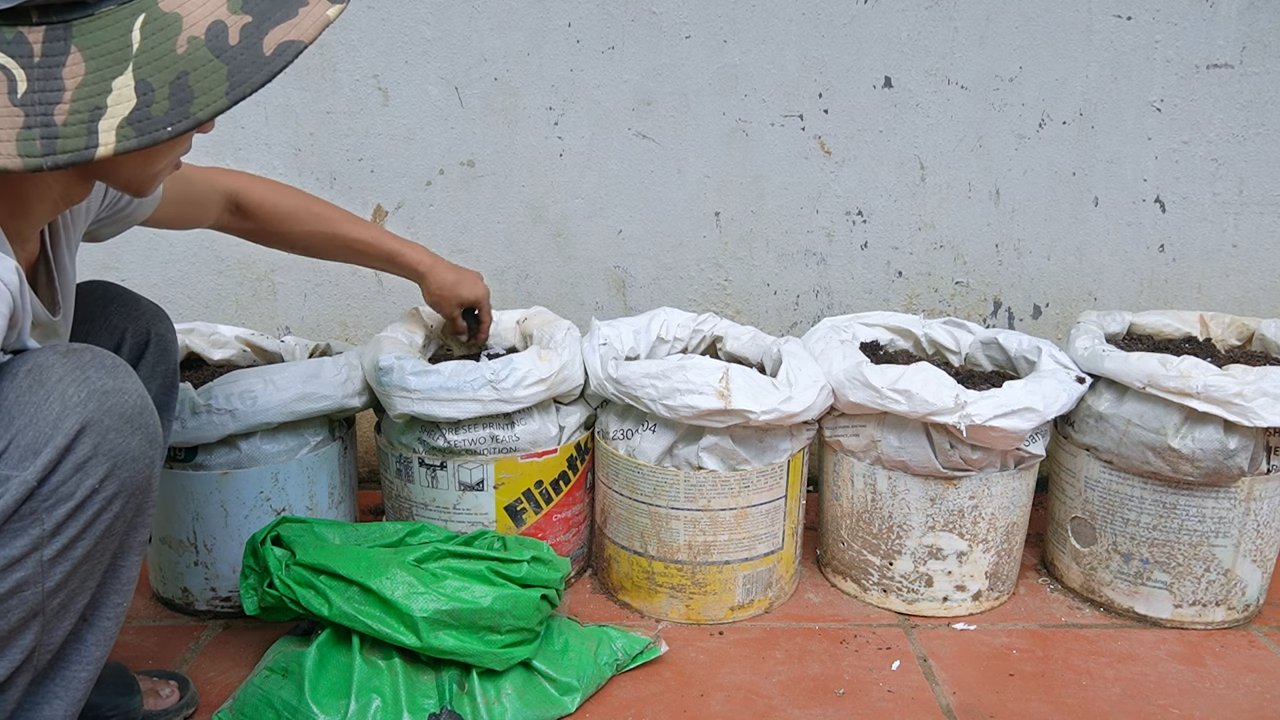
- Choose the right pots: Choose pots with a diameter of at least 15 cm. They should have drainage holes so that excess water can run off.
- Prepare potting soil: Fill the pots with good potting soil. You can also mix in some compost or organic fertilizer to provide the plants with additional nutrients.
- Transplant: Carefully remove the seedlings from the seed starting pots. Be careful not to damage the roots.
- Planting: Place the seedlings in the new pots and fill them with soil. Press the soil lightly.
- Water: Water the plants thoroughly until the water runs out of the drainage holes.
Care: How to Keep Your Hibiscus Roselle Happy
Proper care is crucial for your Hibiscus Roselle to thrive and produce many flowers.
- Location: Hibiscus Roselle needs a lot of sunlight. Place the pots in a sunny window spot, ideally south-facing. If you don’t have enough sunlight, you can use a plant lamp.
- Watering: Water the plants regularly, especially during the growing and flowering season. The soil should always be slightly moist, but not wet. Avoid waterlogging, as this can lead to root rot.
- Humidity: Hibiscus Roselle loves high humidity. Spray the leaves regularly with water, especially in winter when the heating air is dry. You can also place a humidifier near the plants.
- Fertilizing: Fertilize the plants every 2-4 weeks with a liquid fertilizer for flowering plants. Be sure to follow the dosage instructions on the packaging.
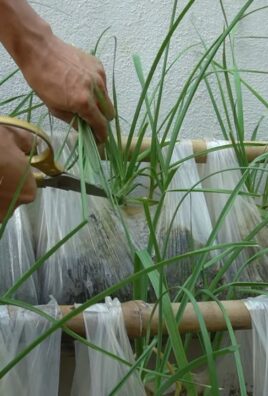
- Pruning: Prune the plants regularly to make them bushier and to encourage flowering. Remove dead or diseased branches. You can also pinch off the tips of the shoots to promote growth.
- Pests and diseases: Watch out for pests like aphids or spider mites. In case of infestation, you can treat the plants with an insecticide or a soap solution. Also, look for signs of diseases such as root rot or fungal infections.
Flowering and Harvest: The Reward for Your Effort
After about 4-6 months, you should see the first flowers. The flowers are beautiful and attract bees and other insects.
- Enjoy the flowers: Enjoy the beauty of the flowers! They are not only pretty to look at, but also edible. You can use them in salads, for example.
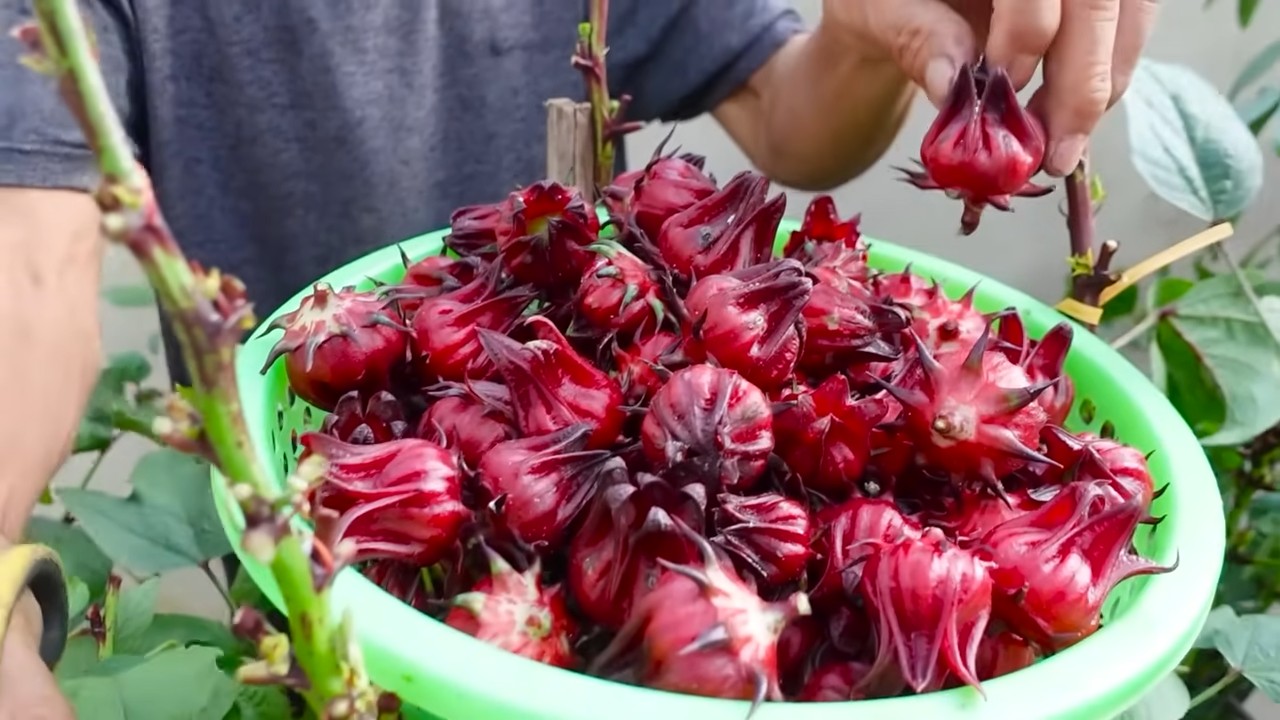
- Harvest the calyces: The calyces are the part of the plant used for tea and jam. Harvest the calyces when they are red and plump.
- Dry the calyces: To make tea, you can dry the calyces. To do this, place them on a baking sheet and dry them in the oven at a low temperature (approx. 50°C) or in an airy place.
- Use the calyces: Use the dried calyces to make tea. Pour hot water over them and let them steep for a few minutes. You can also use the calyces for jam or other recipes.
Common Problems and Solutions:
- Yellow leaves: Yellow leaves can be a sign of overwatering, underwatering, nutrient deficiency, or pest infestation. Check the soil moisture and fertilize the plants if necessary.
- No flowers: If your plants are not flowering, it could be due to too little sunlight, not enough fertilizer, or too much nitrogen in the fertilizer. Place the plants in a sunnier spot and fertilize them with a fertilizer rich in phosphorus and potassium.
- Pests: Aphids and spider mites are common pests on Hibiscus Roselle. Treat the plants with an insecticide or a soap solution.
Additional Tips:
Be patient: Hibiscus Roselle needs time to grow and flower. Be patient and don’t give up if you don’t see results immediately.
Rotate the pots regularly: Rotate the pots regularly so that the plants receive sunlight evenly from all sides.
Use rainwater: Use rainwater for watering if possible. It is softer than tap water and does not contain harmful chemicals.
Conclusion
So, there you have it! Growing Hibiscus Roselle indoors might seem like a tropical dream, but with a little know-how and dedication, it’s entirely achievable. We’ve walked through the essential steps, from selecting the right variety and providing optimal light to mastering watering techniques and tackling potential pests. But why should you embark on this journey?
The answer is multifaceted. First and foremost, growing your own Hibiscus Roselle offers unparalleled access to fresh, vibrant calyces. Imagine steeping your own homegrown hibiscus tea, knowing exactly where it came from and how it was cultivated. The flavor is simply unmatched by store-bought dried hibiscus, often lacking the bright, tangy zest of freshly harvested blooms.
Beyond the culinary benefits, cultivating Hibiscus Roselle indoors brings a touch of the exotic into your home. The plant itself is a beautiful addition to any indoor garden, boasting lush green foliage and, of course, those stunning crimson calyces. It’s a conversation starter, a source of pride, and a reminder of the beauty and bounty that nature can provide, even within the confines of your living space.
But the real magic lies in the process itself. Gardening, in any form, is a therapeutic activity. It connects us to the natural world, reduces stress, and provides a sense of accomplishment. Nurturing a Hibiscus Roselle plant from seedling to harvest is a deeply rewarding experience, one that fosters patience, observation, and a greater appreciation for the cycles of life.
Don’t be afraid to experiment with variations! Try different potting mixes to see which your plant prefers. Explore different light sources, especially if you live in a region with limited sunlight. Consider using organic fertilizers to enhance the flavor and nutritional value of your hibiscus. You can even try propagating new plants from cuttings, expanding your indoor hibiscus garden and sharing the joy with friends and family.
And speaking of sharing, we encourage you to document your journey! Take photos of your Hibiscus Roselle plant as it grows, share your successes (and even your failures) on social media, and connect with other indoor gardeners. The more we share our knowledge and experiences, the more we can all learn and grow together.
Ultimately, growing Hibiscus Roselle indoors is more than just a gardening project; it’s an opportunity to connect with nature, enhance your well-being, and enjoy the delicious rewards of your labor. So, grab a pot, some seeds, and get ready to embark on a truly rewarding adventure. We’re confident that you’ll find the experience to be both enjoyable and incredibly satisfying. Now is the time to embrace the challenge and discover the joys of growing your own Hibiscus Roselle indoors. We can’t wait to hear about your experiences!
Frequently Asked Questions (FAQ)
What is the best variety of Hibiscus Roselle to grow indoors?
While most Hibiscus Roselle varieties can technically be grown indoors, some are better suited than others. Look for compact varieties that don’t grow too tall or wide, as space can be a limiting factor indoors. ‘Thai Red’ and ‘African Rose’ are popular choices known for their relatively smaller size and prolific calyx production. Researching the specific growth habits of different varieties before purchasing seeds or seedlings is always a good idea. Consider the mature size of the plant and ensure you have adequate space to accommodate its growth.
How much light does Hibiscus Roselle need indoors?
Light is crucial for the healthy growth and calyx production of Hibiscus Roselle. Ideally, your plant should receive at least 6-8 hours of direct sunlight per day. A south-facing window is usually the best option, but an east- or west-facing window can also work if supplemented with artificial light. If you don’t have access to enough natural light, consider using a grow light. LED grow lights are energy-efficient and provide the full spectrum of light that plants need to thrive. Position the grow light a few inches above the plant and adjust the height as the plant grows. Monitor your plant closely for signs of insufficient light, such as leggy growth, pale leaves, and reduced calyx production.
How often should I water my Hibiscus Roselle plant indoors?
Watering frequency depends on several factors, including the size of the pot, the type of potting mix, the temperature, and the humidity. As a general rule, water your Hibiscus Roselle plant when the top inch of soil feels dry to the touch. Water thoroughly until excess water drains out of the drainage holes. Avoid overwatering, as this can lead to root rot. During the growing season (spring and summer), you may need to water more frequently than during the dormant season (fall and winter). Check the soil moisture regularly and adjust your watering schedule accordingly. Consider using a moisture meter to get a more accurate reading of the soil moisture level.
What kind of potting mix is best for Hibiscus Roselle?
Hibiscus Roselle prefers a well-draining potting mix that is rich in organic matter. A good option is a mix of equal parts potting soil, perlite, and compost. The potting soil provides nutrients, the perlite improves drainage, and the compost adds organic matter. Avoid using garden soil, as it can be too heavy and may contain pests or diseases. You can also add a slow-release fertilizer to the potting mix to provide a steady supply of nutrients. Ensure that the pot you use has adequate drainage holes to prevent waterlogging.
How do I fertilize my Hibiscus Roselle plant indoors?
Hibiscus Roselle is a heavy feeder and benefits from regular fertilization. During the growing season, fertilize your plant every 2-4 weeks with a balanced liquid fertilizer diluted to half strength. Look for a fertilizer that is specifically formulated for flowering plants. Avoid over-fertilizing, as this can burn the roots. During the dormant season, reduce or stop fertilizing altogether. You can also supplement with organic fertilizers, such as compost tea or worm castings. Always follow the instructions on the fertilizer label carefully.
What pests and diseases are common with indoor Hibiscus Roselle?
Common pests that can affect Hibiscus Roselle indoors include aphids, spider mites, and whiteflies. These pests can suck the sap from the leaves, causing them to yellow and wilt. To control these pests, you can spray your plant with insecticidal soap or neem oil. You can also try wiping the leaves with a damp cloth to remove the pests manually. Root rot is a common disease that can affect Hibiscus Roselle if the soil is too wet. To prevent root rot, ensure that your plant is planted in well-draining soil and avoid overwatering. If you notice signs of root rot, such as wilting leaves and a foul odor, you may need to repot your plant in fresh soil. Regularly inspect your plant for signs of pests or diseases and take action promptly to prevent them from spreading.
How do I harvest Hibiscus Roselle calyces?
The calyces are ready to harvest when they are plump, firm, and a deep red color. This typically occurs about 2-3 weeks after the flower has faded. To harvest the calyces, simply snip them off the plant with a pair of scissors or pruning shears. Be careful not to damage the plant when harvesting. You can use the fresh calyces to make tea, jam, or other culinary delights. You can also dry the calyces for later use. To dry the calyces, spread them out on a tray in a single layer and allow them to air dry for several days, or use a dehydrator. Store the dried calyces in an airtight container in a cool, dark place.
Can I propagate Hibiscus Roselle from cuttings?
Yes, Hibiscus Roselle can be propagated from cuttings. Take a cutting from a healthy stem that is about 4-6 inches long. Remove the lower leaves and dip the cut end in rooting hormone. Plant the cutting in a pot filled with well-draining potting mix. Keep the soil moist and place the pot in a warm, humid location. After a few weeks, the cutting should develop roots. Once the roots are established, you can transplant the cutting into a larger pot. Propagation is a great way to expand your Hibiscus Roselle collection and share your plants with friends and family.

Leave a Comment