
Growing celery at home might seem like a challenge reserved for seasoned gardeners, but I’m here to tell you it’s totally achievable, even if you’re just starting out! Forget those bland, store-bought stalks – imagine the crisp, refreshing taste of homegrown celery gracing your salads, soups, and snacks.
Celery has a rich history, dating back to ancient times where it was valued more for its medicinal properties than its culinary uses. The ancient Greeks and Romans used it to crown victors in athletic games, a far cry from the crunchy snack we know today! But its journey from a bitter, wild plant to the crisp, mild vegetable we enjoy is a testament to human ingenuity and selective breeding.
Why bother with the effort of growing celery at home? Well, for starters, you’ll have access to fresher, more flavorful celery than you can typically find in supermarkets. Plus, you’ll know exactly what went into growing it, avoiding potentially harmful pesticides and chemicals. But the real magic lies in the satisfaction of nurturing a plant from start to finish, a rewarding experience that connects you to nature and provides a delicious, healthy harvest. This DIY guide will equip you with simple, effective tricks and hacks to successfully cultivate your own celery patch, regardless of your gardening experience. Let’s get started!
Growing Celery at Home: Your Comprehensive DIY Guide
Hello dear garden friends! I am thrilled to show you today how you can easily grow celery at home. Celery from the supermarket is often expensive and not always fresh. But don’t worry, with this simple DIY guide, you can get fresh, crisp celery right from your own garden (or even your balcony!). Let’s get started!
Why Grow Celery Yourself?
Before we go into detail, let me briefly explain why it’s worth growing your own celery:
- Freshness: Nothing tastes better than freshly harvested celery.
- Cost Savings: In the long run, you’ll save money since you no longer have to buy celery.
- Sustainability: You reduce your ecological footprint by not supporting long transport routes.
- Satisfaction: It’s simply a great feeling to grow and harvest something yourself!
What You Need: The Materials List
Before we begin, you should make sure you have everything you need on hand. Here is a list of the materials and tools you will need:
- Celery stalk: A fresh celery stalk from the supermarket (organic is best to ensure it hasn’t been treated with growth inhibitors).
- Knife: A sharp knife for cutting the celery stalk.
- Water glass or bowl: A container for the celery stalk to root in.
- Toothpicks (optional): To stabilize the celery stalk.
- Potting soil: High-quality potting soil for growing in a pot or garden.
- Pot or garden bed: a suitable container or a spot in the garden.
- Watering can: For watering the celery.
- Fertilizer (optional): An organic fertilizer to promote growth.
- Spray bottle (optional): For spraying the leaves with water.
Growing Celery from a Stalk: Step-by-Step Guide
Now, let’s get down to business! Here is a detailed guide on how to grow celery from a stalk:
Phase 1: Preparing the Celery Stalk
- Select a celery stalk: Choose a fresh, firm celery stalk. Make sure the base (the bottom part where the roots were) is intact.
- Cut the celery: Cut the celery stalk about 5-7 cm (2-3 inches) from the bottom end. You should use the part with the stems and leaves for cooking or freeze it.
- Prepare the water glass: Fill a water glass or bowl with about 2-3 cm (about 1 inch) of water. The water should be clean and at room temperature.
Phase 2: Rooting the Celery Stalk
- Place the celery stalk in water: Place the cut celery stalk with the cut surface facing down into the water glass. Make sure that only the bottom cut surface is in the water, not the entire stalk.
- Use toothpicks (optional): If the celery stalk tends to tip over, you can use toothpicks to stabilize it. Simply insert the toothpicks into the side of the stalk and rest them on the rim of the glass.
- Choose a location: Place the water glass with the celery stalk in a bright, but not directly sunny, location. A windowsill is ideal.
- Change the water: Change the water every 1-2 days to prevent the formation of bacteria.
- Be patient: After about 5-7 days, you should see the first roots. Be patient, it can also take a little longer.
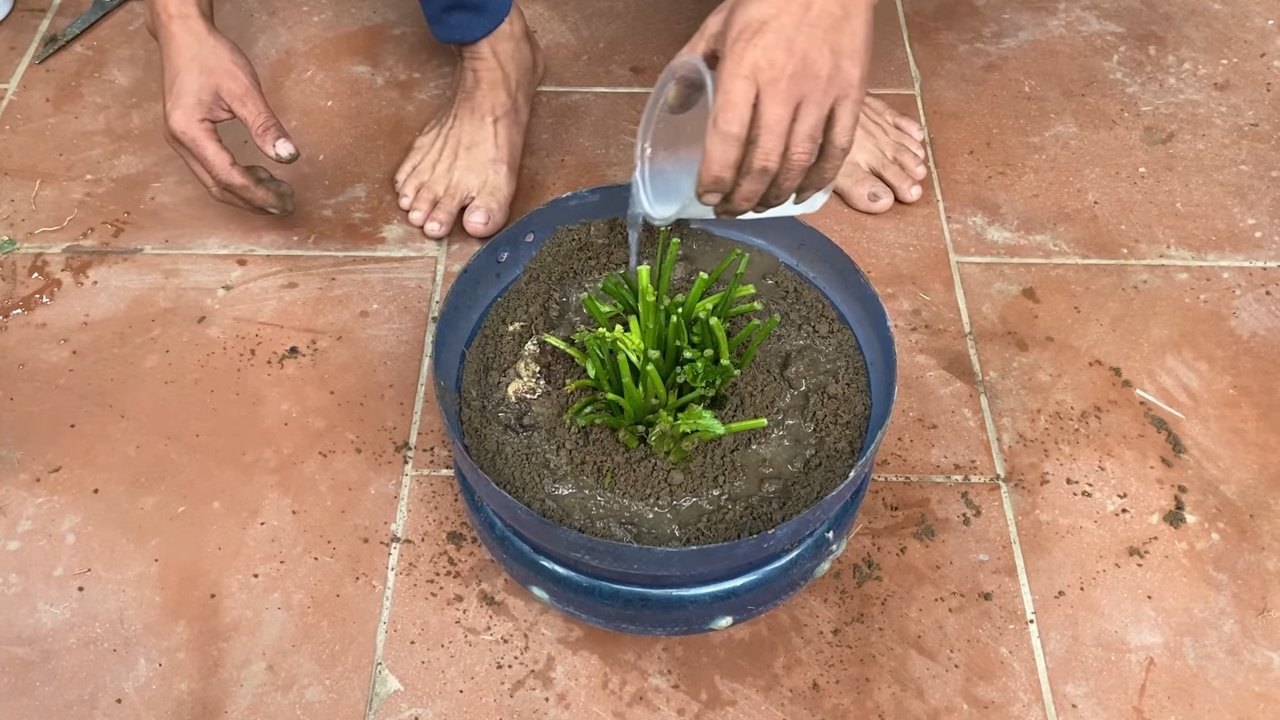
Phase 3: Planting the Celery
- Prepare the pot or garden bed: Fill a pot with potting soil or prepare a garden bed. The soil should be loose and well-draining.
- Plant the celery: Once the roots are about 5-7 cm (2-3 inches) long, you can plant the celery. Make a hole in the soil large enough to accommodate the celery stalk. Carefully place the celery in and cover the roots with soil. Make sure the top part of the stalk is still sticking out of the soil.
- Watering: Water the celery thoroughly after planting.
Phase 4: Caring for the Celery
- Location: Celery prefers a sunny to partially shaded location.
- Watering: Keep the soil moist, but not wet. Water the celery regularly, especially on hot days.
- Fertilizing (optional): Fertilize the celery every 2-3 weeks with an organic fertilizer to promote growth.
- Spraying leaves (optional): Spray the leaves regularly with water to increase humidity and keep pests away.
- Pests and diseases: Watch out for pests like aphids or snails. If necessary, you can use biological pesticides. Celery can also be affected by fungal diseases. Ensure good ventilation and avoid waterlogging.
Tips and Tricks for Successful Celery Cultivation
Here are a few more tips that will help you grow celery successfully:
- Blanching celery: To get lighter, more tender stalks, you can blanch the celery. This means covering the stalks with soil or cardboard about 2-3 weeks before harvest to protect them from sunlight.
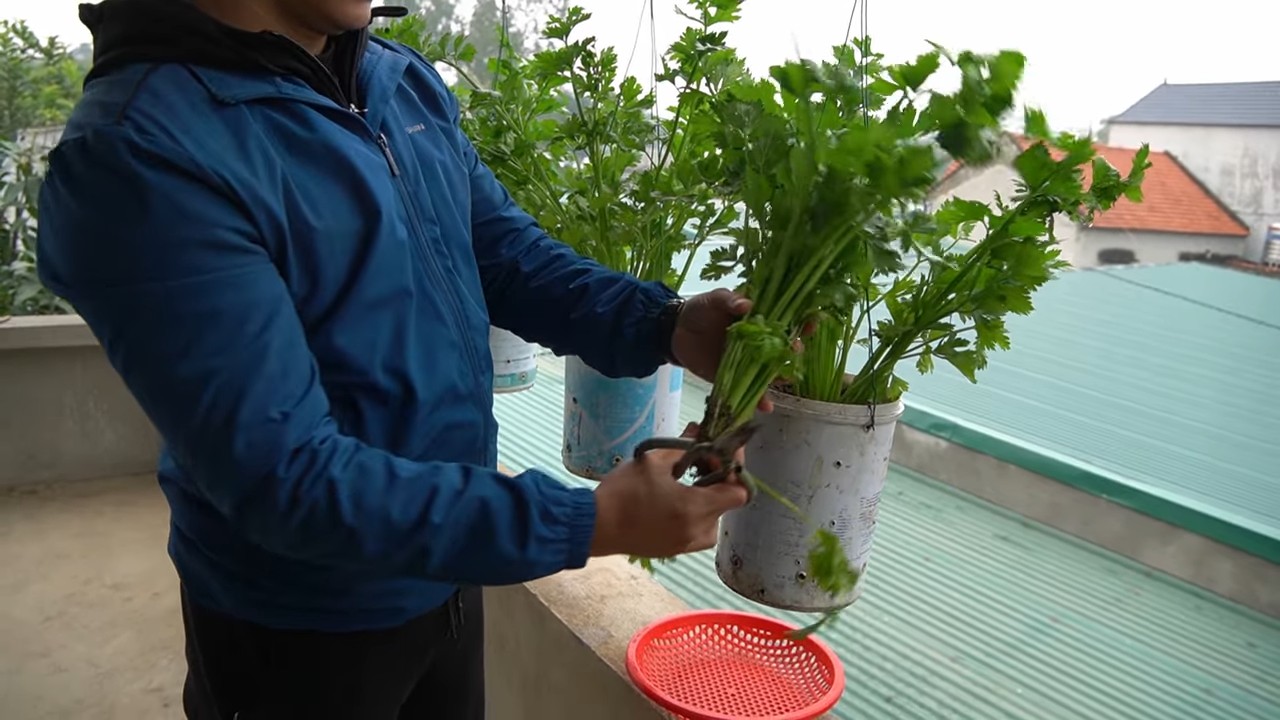
- Harvesting celery: Celery can be harvested as soon as the stalks have reached the desired size. Simply cut the stalks off with a knife.
- Overwintering celery: In mild climates, celery can overwinter in the garden. Cover the plants with straw or leaves to protect them from frost. In colder climates, you should transplant the celery into pots and overwinter it in a cool, bright place.
- Saving celery seeds: If you want to save celery seeds, you need to let the plants flower. The seeds ripen in the second year. Make sure to only use seeds from healthy plants.
- Companion plants: Celery gets along well with tomatoes, cabbage, and onions. Avoid planting celery next to fennel or parsley.
- Soil improvement: Celery needs nutrient-rich soil. Improve the soil with compost or organic fertilizer before planting.
Common Problems and Solutions
Problems can also arise when growing celery. Here are some common problems and how you can solve them:
- Yellow leaves: Yellow leaves can be a sign of a nutrient deficiency or overwatering. Fertilize the celery and make sure the soil is well-draining.
- Slimy stalks: Slimy stalks can be caused by fungal diseases. Ensure good ventilation and avoid waterlogging.
- Pests: Aphids and snails can infest celery. Use biological pesticides or collect the pests by hand.
- Stunted growth: Stunted growth can be caused by a lack of nutrients, lack of water, or too little sunlight. Optimize the conditions for the celery.
Conclusion
Growing your own celery is easier than you think! With this detailed guide and a little patience, you can soon enjoy fresh, crisp celery from your own garden. Give it a try and let me know how it went for you! Happy gardening
Conclusion
So, there you have it! Growing celery at home isn’t just a quirky gardening experiment; it’s a genuinely rewarding experience that puts fresh, crisp, and flavorful celery right at your fingertips. We’ve walked through the simple steps, from saving the base of your store-bought celery to nurturing it into a thriving plant. Why is this a must-try? Because it’s sustainable, reduces food waste, and gives you unparalleled control over the quality of your produce. Imagine the satisfaction of snipping off stalks for your salads, soups, or even a healthy snack, knowing exactly where they came from and what went into growing them.
Beyond the basic method, there’s plenty of room for experimentation. Try different varieties of celery to discover your favorite flavor profile. Some gardeners swear by ‘Utah Tall’ for its classic taste, while others prefer ‘Golden Self-Blanching’ for its milder flavor and pale stalks. You can also adjust your growing conditions to influence the taste and texture of your celery. For example, providing consistent moisture and rich soil will result in juicier, more tender stalks.
Consider companion planting to further enhance your celery’s growth and deter pests. Marigolds, onions, and garlic are excellent choices that can help protect your celery from common garden invaders. You might even want to explore hydroponic growing for a soilless alternative that can be particularly efficient in smaller spaces.
But the real magic happens when you share your experience. We encourage you to embark on this DIY adventure and discover the joys of growing celery at home. Don’t be afraid to experiment, learn from your mistakes, and adapt the techniques to suit your specific environment. And most importantly, share your successes (and challenges!) with us. Post photos of your celery plants, share your tips and tricks, and let’s create a community of home gardeners who are passionate about fresh, homegrown produce. Your insights could inspire others to take the plunge and experience the satisfaction of growing their own celery. Let’s cultivate a greener, healthier, and more sustainable future, one celery stalk at a time! This method of growing celery at home is not only cost-effective but also a fantastic way to connect with nature and appreciate the process of food production.
Frequently Asked Questions (FAQ)
1. How long does it take to grow celery from a base?
The time it takes to grow celery from a base can vary depending on several factors, including climate, sunlight, and soil conditions. Generally, you can expect to see new growth within a week or two after planting the base in water. Once you transplant it into soil, it will take approximately 3-4 months for the celery to mature and be ready for harvest. Be patient and consistent with watering and fertilizing, and you’ll be rewarded with delicious, homegrown celery.
2. What kind of soil is best for growing celery?
Celery thrives in rich, well-draining soil that is high in organic matter. A loamy soil is ideal, as it provides a good balance of drainage and water retention. Before planting, amend your soil with compost, aged manure, or other organic materials to improve its fertility and structure. Celery also prefers a slightly acidic to neutral soil pH, ideally between 6.0 and 6.8. You can test your soil pH using a home testing kit and adjust it accordingly with lime (to raise the pH) or sulfur (to lower the pH).
3. How much sunlight does celery need?
Celery needs at least 6 hours of direct sunlight per day to thrive. However, in hotter climates, it can benefit from some afternoon shade to prevent the stalks from becoming bitter. If you’re growing celery indoors, place it near a sunny window or use grow lights to provide adequate illumination. Insufficient sunlight can result in leggy, weak plants with poor flavor.
4. How often should I water my celery plants?
Celery is a water-loving plant and requires consistent moisture to grow properly. Water your celery plants deeply and regularly, especially during hot, dry weather. Aim to keep the soil consistently moist but not waterlogged. A good rule of thumb is to water when the top inch of soil feels dry to the touch. Mulching around the plants can help retain moisture and suppress weeds.
5. What are some common pests and diseases that affect celery?
Celery can be susceptible to several pests and diseases, including aphids, celery leaf miners, slugs, snails, and fungal diseases like early blight and late blight. Regularly inspect your plants for signs of infestation or disease. Control aphids with insecticidal soap or neem oil. Handpick slugs and snails or use traps. Prevent fungal diseases by providing good air circulation, avoiding overhead watering, and applying a fungicide if necessary.
6. How do I harvest celery?
You can harvest celery stalks as needed once they reach a desirable size, typically around 8-12 inches tall. Use a sharp knife to cut the outer stalks near the base of the plant. Leave the inner stalks to continue growing. Alternatively, you can harvest the entire plant by cutting it off at the base. After harvesting, store celery in the refrigerator for up to two weeks.
7. Can I grow celery indoors?
Yes, you can grow celery indoors, especially if you live in a climate with cold winters. Choose a pot that is at least 8 inches deep and wide to accommodate the celery’s root system. Use a well-draining potting mix and provide adequate sunlight or grow lights. Water regularly and fertilize every few weeks. Indoor-grown celery may not reach the same size as outdoor-grown celery, but it can still provide a fresh and flavorful harvest.
8. What are some creative ways to use homegrown celery?
Beyond the usual salads and soups, homegrown celery can be used in a variety of creative ways. Juice it for a refreshing and healthy drink. Add it to smoothies for a boost of vitamins and minerals. Use it as a crudité for dips and spreads. Pickle it for a tangy and crunchy snack. Or, dehydrate it and grind it into a powder to use as a seasoning. The possibilities are endless!
9. My celery stalks are bitter. What could be the reason?
Bitter celery stalks can be caused by several factors, including insufficient watering, excessive heat, and nutrient deficiencies. Ensure that your celery plants are receiving consistent moisture and are protected from extreme heat. Amend your soil with compost or fertilizer to provide essential nutrients. Also, consider blanching the stalks by wrapping them with paper or cardboard a few weeks before harvest to reduce bitterness.
10. Can I save seeds from my homegrown celery?
Yes, you can save seeds from your homegrown celery, but it requires allowing the plant to bolt (flower) in its second year. Celery is a biennial plant, meaning it completes its life cycle in two years. After the plant flowers, it will produce seeds. Collect the seeds once they are dry and brown. Store them in a cool, dry place until you are ready to plant them. Keep in mind that celery seeds can be slow to germinate, so be patient.
Leave a Comment