
Balcony Chili Plant Growing can seem daunting, especially if you’re new to gardening. But trust me, with a few clever tricks and a little DIY spirit, you can transform your balcony into a vibrant, chili-pepper paradise! Imagine plucking fresh, fiery chilies right from your own plants, ready to spice up your favorite dishes. Sounds amazing, right?
For centuries, chilies have been cultivated and cherished across various cultures, from their origins in South America to their widespread use in Asian and African cuisines. They’re not just about heat; they’re about flavor, tradition, and even medicinal properties. Growing your own chilies connects you to this rich history, allowing you to experience the joy of cultivating something truly special.
Why should you embrace balcony chili plant growing? Well, for starters, it’s incredibly rewarding! There’s nothing quite like nurturing a tiny seed into a thriving plant. Plus, store-bought chilies can sometimes lack the freshness and flavor of homegrown varieties. And let’s be honest, who doesn’t love the idea of saving money while enjoying a constant supply of fresh chilies? In this article, I’m going to share some easy-to-follow DIY tricks and hacks that will help you succeed, even if you have limited space or gardening experience. Get ready to unleash your inner gardener and turn your balcony into a chili-growing haven!
Growing Chili Peppers on Your Balcony: A Spicy DIY Guide
Hey there, fellow spice enthusiasts! Ever dreamt of adding a fiery kick to your meals with chilies grown right on your own balcony? Well, you’ve come to the right place! I’m going to walk you through everything you need to know to cultivate a thriving chili pepper garden, even if you’re short on space. Get ready to turn your balcony into a mini-farm of flavor!
Choosing the Right Chili Variety
Before we dive into the nitty-gritty, let’s talk about chili varieties. Not all chilies are created equal, and some are definitely better suited for balcony growing than others. Here’s what I consider when choosing my chili plants:
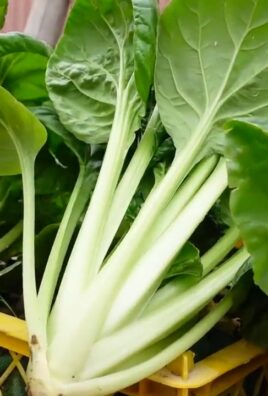
* Size: Balcony space is precious! Opt for compact or bush-type chili varieties that won’t outgrow their pots. Think about varieties like Thai chilies, Jalapeños, Serrano peppers, or even ornamental chilies. These tend to stay relatively small and manageable.
* Heat Level: This is a personal preference, of course! Do you crave scorching heat, or are you more of a mild-mannered chili lover? Research the Scoville Heat Units (SHU) of different varieties to find your perfect match.
* Growing Conditions: Consider your balcony’s sunlight exposure and climate. Some chilies thrive in hot, sunny conditions, while others prefer partial shade. Make sure the variety you choose is well-suited to your local environment.
* Ease of Growing: If you’re a beginner, start with easier-to-grow varieties like Jalapeños or Serrano peppers. They’re relatively forgiving and produce a good yield.
Gathering Your Supplies
Okay, now that we’ve chosen our chili variety, let’s gather our supplies. Here’s a checklist of everything you’ll need:
* Chili Pepper Seeds or Seedlings: You can start from seed or buy established seedlings from a nursery. Seedlings will give you a head start, but starting from seed is more budget-friendly.
* Pots: Choose pots that are at least 12 inches in diameter. Make sure they have drainage holes to prevent waterlogging. Terracotta or plastic pots both work well.
* Potting Mix: Use a high-quality potting mix that’s well-draining and rich in nutrients. Avoid using garden soil, as it can compact and hinder drainage.
* Fertilizer: A balanced fertilizer (e.g., 10-10-10) or a fertilizer specifically formulated for tomatoes and peppers will help your chilies thrive.
* Watering Can or Hose: For watering your plants.
* Gardening Gloves: To protect your hands.
* Trowel: For planting and transplanting.
* Optional: Plant labels, stakes or cages (for support), insecticidal soap (for pest control).
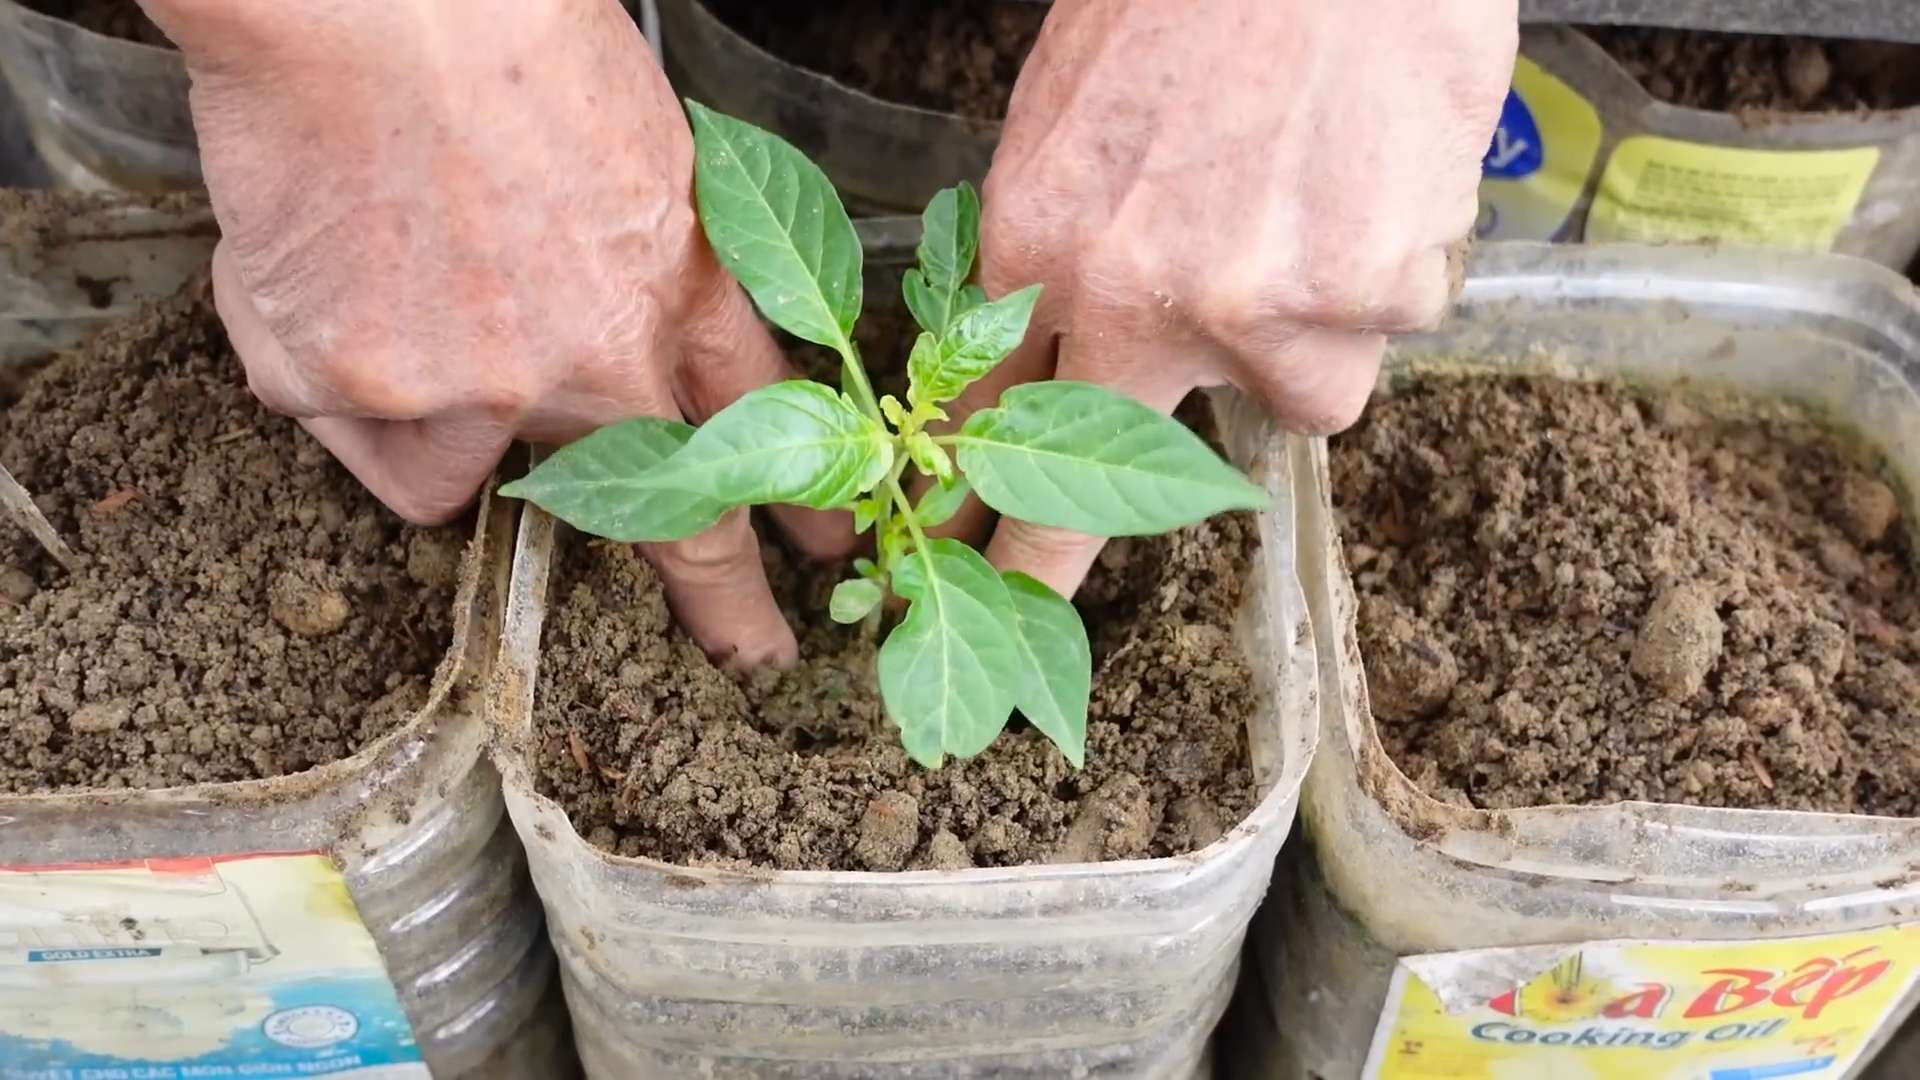
Planting Your Chili Peppers
Alright, let’s get our hands dirty! Here’s how to plant your chili peppers:
1. Starting from Seed (Optional): If you’re starting from seed, sow them indoors 6-8 weeks before the last expected frost. Fill a seed tray or small pots with seed-starting mix. Sow the seeds about ¼ inch deep and keep the soil moist. Place the tray in a warm, sunny location or under grow lights. Once the seedlings have developed a few sets of true leaves, you can transplant them into larger pots.
2. Preparing the Pot: Fill your chosen pot with potting mix, leaving about an inch of space at the top.
3. Planting the Seedling: Gently remove the seedling from its container. If the roots are tightly bound, gently loosen them with your fingers.
4. Placing the Seedling: Dig a hole in the potting mix that’s large enough to accommodate the seedling’s root ball. Place the seedling in the hole and backfill with potting mix, gently firming the soil around the base of the plant.
5. Watering: Water the newly planted chili pepper thoroughly until water drains out of the drainage holes.
6. Labeling: Label your plant with the chili variety and planting date. This will help you keep track of your plants and their progress.
Caring for Your Chili Plants
Now that your chili peppers are planted, it’s time to provide them with the care they need to thrive.
1. Sunlight: Chili peppers need at least 6-8 hours of sunlight per day. Place your pots in a sunny location on your balcony. If your balcony doesn’t get enough sunlight, you may need to supplement with grow lights.
2. Watering: Water your chili peppers regularly, especially during hot, dry weather. Check the soil moisture by sticking your finger into the soil. If the top inch of soil is dry, it’s time to water. Avoid overwatering, as this can lead to root rot.
3. Fertilizing: Fertilize your chili peppers every 2-3 weeks with a balanced fertilizer or a fertilizer specifically formulated for tomatoes and peppers. Follow the instructions on the fertilizer label.
4. Pruning: Pruning can help improve air circulation and encourage bushier growth. Remove any yellowing or dead leaves. You can also pinch off the tips of the branches to encourage branching.
5. Supporting: As your chili plants grow, they may need support to prevent them from falling over. Use stakes or cages to support the plants.
6. Pest Control: Keep an eye out for pests like aphids, spider mites, and whiteflies. If you notice any pests, treat them with insecticidal soap or neem oil. Follow the instructions on the product label.
7. Pollination: Chili peppers are self-pollinating, but you can help them along by gently shaking the plants or using a small brush to transfer pollen from one flower to another. This is especially important if you’re growing your chilies indoors.
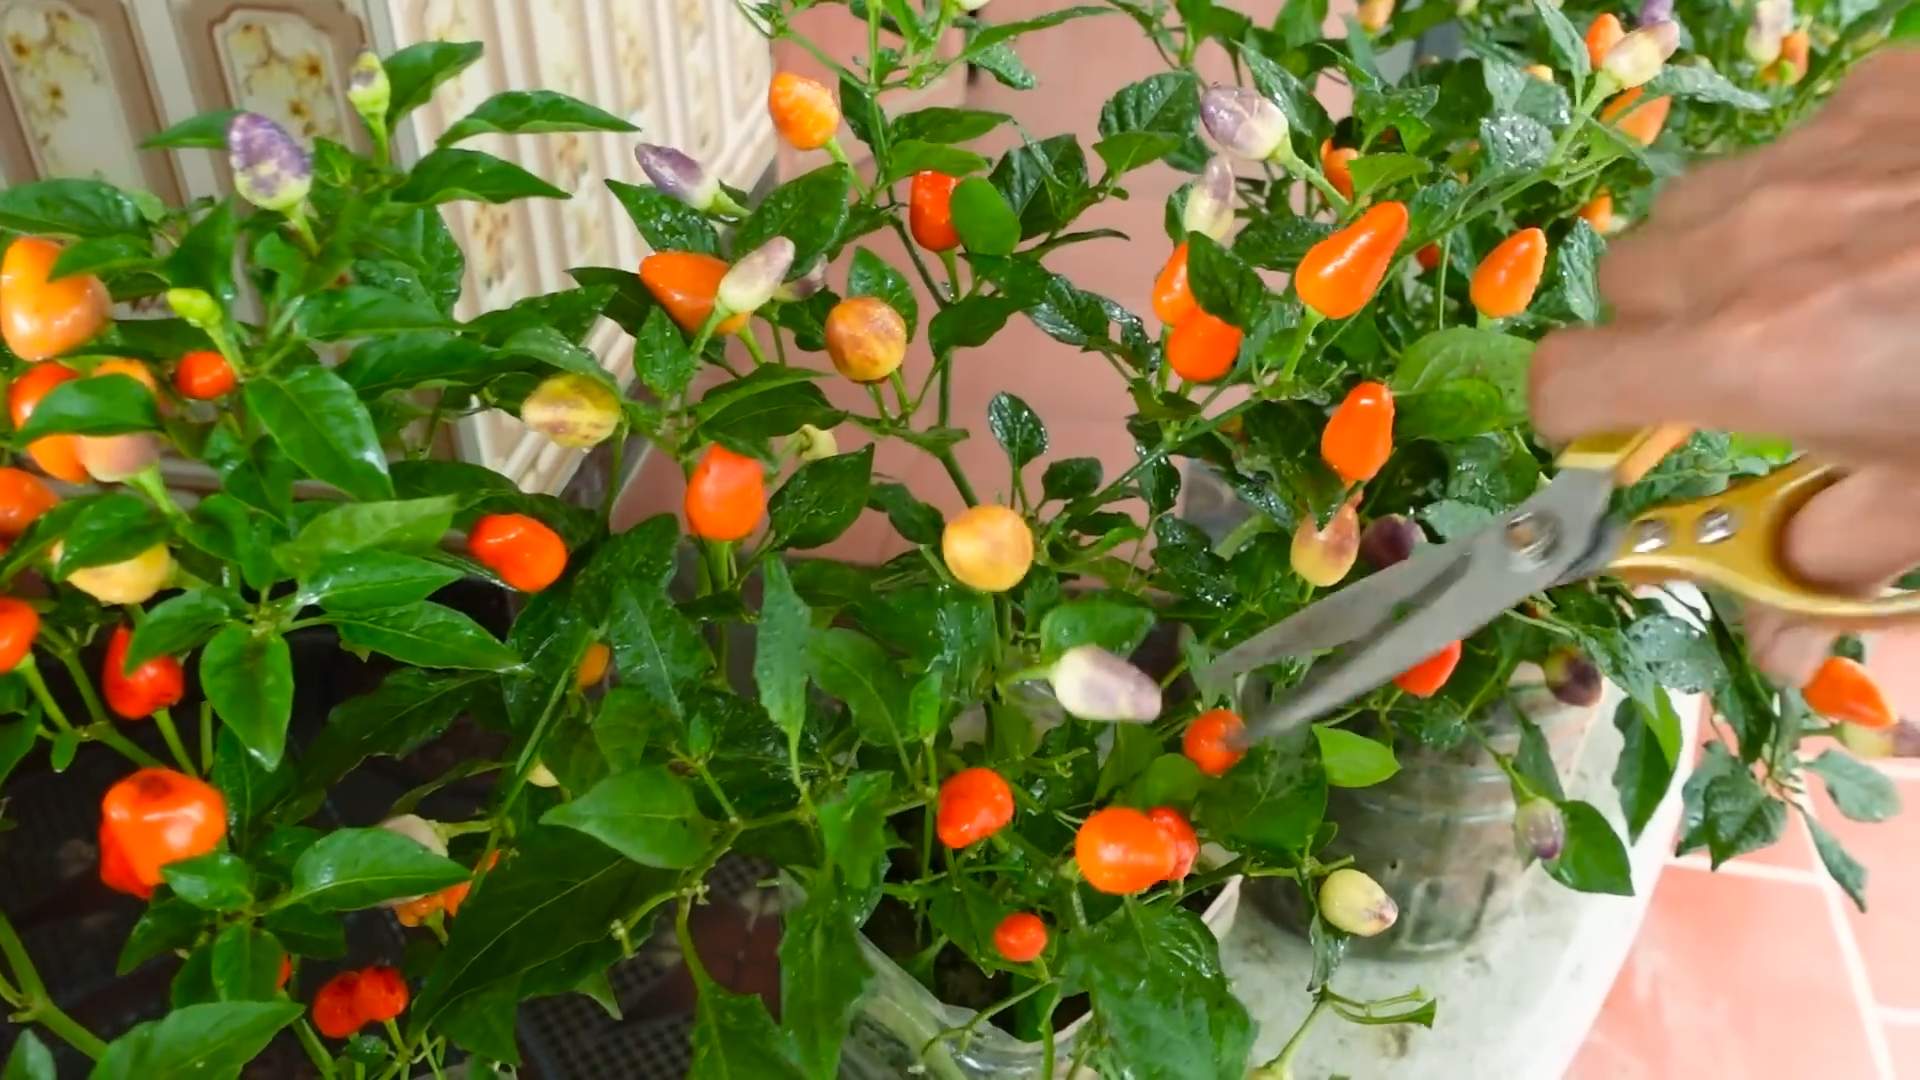
Harvesting Your Chili Peppers
The most exciting part! Here’s how to harvest your chili peppers:
1. Timing: The time it takes for chili peppers to mature depends on the variety. Generally, they’re ready to harvest when they’ve reached their mature color and size.
2. Harvesting: Use scissors or pruning shears to cut the chili peppers from the plant. Leave a small stem attached to the pepper.
3. Enjoying: Now you can enjoy your homegrown chili peppers! Use them fresh in your favorite dishes, dry them for later use, or make your own chili powder or hot sauce.
Troubleshooting Common Problems
Even with the best care, you may encounter some problems while growing chili peppers. Here are some common issues and how to address them:
* Yellowing Leaves: This can be caused by overwatering, underwatering, nutrient deficiencies, or pests. Check the soil moisture, fertilize your plants, and inspect them for pests.
* Blossom Drop: This is when the flowers fall off the plant without producing fruit. It can be caused by temperature stress, lack of pollination, or nutrient deficiencies. Ensure your plants are getting enough sunlight and water, and consider hand-pollinating the flowers.
* Pest Infestations: As mentioned earlier, keep an eye out for pests and treat them with insecticidal soap or neem oil.
* Root Rot: This is caused by overwatering and poor drainage. Make sure your pots have drainage holes and avoid overwatering.
Tips for Success
Here are a few extra tips to help you succeed in growing chili peppers on your balcony:
* Choose the Right Location: Select a location that gets plenty of sunlight and is sheltered from strong winds.
* Use High-Quality Potting Mix: This will provide your plants with the nutrients they need to thrive.
* Water Regularly: But avoid overwatering!
* Fertilize Regularly: This will help your plants produce a bountiful harvest.
* Monitor for Pests and Diseases: Catch problems early and treat them promptly.
* Be Patient: Growing chili peppers takes time and effort, but the rewards are well worth it!
Growing chili peppers on your balcony is a fun and rewarding experience. With a little bit of planning and care, you can enjoy a steady supply of fresh, spicy chilies all season long. So, get out there and start growing! Happy gardening!
Conclusion
So, there you have it! Growing your own chili plants on your balcony isn’t just a fun hobby; it’s a gateway to fresh, flavorful ingredients right at your fingertips. We’ve walked you through the essentials, from selecting the perfect chili variety for your space to nurturing your plants for a bountiful harvest. The beauty of this DIY project lies in its simplicity and the incredible reward it offers – a constant supply of vibrant chilies to spice up your culinary creations.
Why is this a must-try? Because it’s more than just growing a plant; it’s about connecting with nature, reducing your reliance on store-bought produce, and adding a touch of personal flair to your cooking. Imagine the satisfaction of plucking a ripe chili from your own balcony garden and adding it to your favorite dish. The flavor is unmatched, the freshness is undeniable, and the pride you’ll feel is immeasurable.
But the journey doesn’t end here. Feel free to experiment with different chili varieties. Perhaps you’d like to try a fiery habanero, a smoky chipotle, or a sweet bell pepper alongside your chilies for a contrasting flavor profile. Consider companion planting – basil, marigolds, and carrots are all excellent choices that can deter pests and enhance the growth of your chili plants. You can also explore different container sizes and materials to find what works best for your balcony’s specific conditions.
Don’t be afraid to get creative with your balcony chili garden. Try vertical gardening techniques to maximize space, or add decorative elements to make it a visually appealing oasis. The possibilities are endless!
And remember, even experienced gardeners encounter challenges. Don’t be discouraged if you face setbacks along the way. Learn from your mistakes, adapt your approach, and keep experimenting. The key is to be patient, observant, and persistent.
We wholeheartedly encourage you to embark on this exciting adventure of growing your own balcony chili plants. It’s a rewarding experience that will not only enhance your culinary skills but also bring a touch of nature and beauty to your urban living space.
Once you’ve harvested your first batch of chilies, we’d love to hear about your experience! Share your photos, tips, and recipes with us in the comments below. Let’s create a community of balcony chili growers and inspire others to embrace the joys of homegrown goodness. Let us know what kind of balcony chili plant growing you did!
Frequently Asked Questions (FAQ)
What are the best chili varieties to grow on a balcony?
The best chili varieties for balcony growing are typically compact and well-suited to container gardening. Some excellent choices include:
* **Thai Chilies:** These are small, prolific producers that pack a significant punch of heat. They are relatively easy to grow and ideal for adding a spicy kick to Asian-inspired dishes.
* **Jalapeños:** A classic choice for a reason, jalapeños are versatile, relatively mild, and produce a good yield in containers. They are perfect for pickling, stuffing, or adding to salsas and sauces.
* **Serrano Peppers:** Slightly hotter than jalapeños, serranos are another great option for balcony gardens. They are known for their bright, fresh flavor and are often used in Mexican cuisine.
* **Cayenne Peppers:** These long, slender chilies are popular for making chili powder and hot sauces. They are relatively easy to dry and store, making them a great choice for preserving your harvest.
* **Bell Peppers:** While not technically chilies, bell peppers are a great addition to any balcony garden. They are mild, sweet, and come in a variety of colors, adding visual appeal to your space.
* **Poblano Peppers:** These larger, mild chilies are perfect for stuffing, roasting, or making chili rellenos. They are relatively easy to grow in containers and offer a unique flavor profile.
When selecting your chili varieties, consider your personal preferences for heat level, flavor, and intended use. Also, be sure to check the plant’s mature size to ensure it will fit comfortably on your balcony.
How much sunlight do chili plants need?
Chili plants thrive in full sun, requiring at least 6-8 hours of direct sunlight per day. If your balcony doesn’t receive enough direct sunlight, you may need to supplement with grow lights. Insufficient sunlight can lead to leggy growth, reduced flowering, and smaller yields. Observe your plants closely and adjust their position as needed to maximize their exposure to sunlight.
What type of soil is best for growing chili plants in containers?
The best soil for growing chili plants in containers is a well-draining potting mix that is rich in organic matter. Avoid using garden soil, as it can become compacted in containers and hinder drainage. Look for a potting mix specifically formulated for vegetables or herbs. You can also amend your potting mix with compost or other organic materials to improve its fertility and drainage.
How often should I water my chili plants?
Water your chili plants regularly, especially during hot, dry weather. The frequency of watering will depend on factors such as the size of your container, the type of potting mix you’re using, and the weather conditions. As a general rule, water when the top inch of soil feels dry to the touch. Avoid overwatering, as this can lead to root rot. Ensure that your containers have drainage holes to allow excess water to escape.
How do I fertilize my chili plants?
Chili plants are heavy feeders and benefit from regular fertilization. Use a balanced fertilizer specifically formulated for vegetables or tomatoes. Follow the instructions on the fertilizer label for application rates and frequency. You can also supplement with organic fertilizers such as compost tea or fish emulsion. Avoid over-fertilizing, as this can lead to excessive foliage growth at the expense of fruit production.
How do I protect my chili plants from pests and diseases?
Regularly inspect your chili plants for signs of pests and diseases. Common pests include aphids, spider mites, and whiteflies. You can control these pests with insecticidal soap, neem oil, or by handpicking them off the plants. Common diseases include powdery mildew and fungal leaf spots. Prevent these diseases by providing good air circulation, avoiding overwatering, and using a fungicide if necessary.
When should I harvest my chilies?
The timing of harvest will depend on the specific chili variety and your personal preferences. Generally, chilies are ready to harvest when they have reached their mature size and color. You can harvest them at any stage of ripeness, but the flavor and heat will intensify as they mature. Use scissors or pruning shears to cut the chilies from the plant, leaving a small stem attached.
How do I store my harvested chilies?
Fresh chilies can be stored in the refrigerator for up to a week. For longer storage, you can dry them, pickle them, or freeze them. To dry chilies, simply string them together and hang them in a well-ventilated area until they are completely dry. To pickle chilies, follow a recipe for pickled peppers. To freeze chilies, wash them, dry them, and place them in a freezer bag.
Can I grow chili plants indoors?
Yes, you can grow chili plants indoors, but you will need to provide them with adequate light and warmth. Place your plants near a sunny window or use grow lights to supplement the natural light. Maintain a consistent temperature of 70-80°F (21-27°C). Water regularly and fertilize as needed. Indoor chili plants may not produce as many chilies as outdoor plants, but they can still provide a rewarding harvest.
My chili plant is flowering, but not producing any chilies. What could be the problem?
There are several reasons why your chili plant may be flowering but not producing chilies. One common reason is lack of pollination. Chili plants are self-pollinating, but they may need some assistance, especially indoors. You can hand-pollinate your plants by gently shaking the flowers or using a small paintbrush to transfer pollen from one flower to another. Other possible reasons include insufficient sunlight, improper watering, or nutrient deficiencies.
Leave a Comment