
Grow white radish at home? Absolutely! Imagine plucking crisp, juicy white radishes straight from your own backyard – the satisfaction is unparalleled! For centuries, radishes have been a staple in diets across the globe, from ancient Egypt where they were a common offering to the gods, to modern-day salads and stir-fries. Their peppery bite adds a delightful zing to any dish, and the best part? You don’t need a sprawling farm to enjoy them.
This DIY guide is your secret weapon to unlocking a bountiful radish harvest, even if you’re a complete beginner. Forget complicated gardening techniques and expensive equipment. I’m going to share simple, effective tricks and hacks that will have you harvesting delicious white radishes in no time.
Why do you need this? Because store-bought radishes simply can’t compare to the fresh, vibrant flavor of homegrown ones. Plus, knowing exactly where your food comes from and how it’s grown is incredibly empowering. So, let’s ditch the grocery store and grow white radish at home, creating a sustainable and delicious addition to your meals!
Growing White Radishes at Home: A DIY Guide
Hey there, fellow gardening enthusiasts! Ever thought about growing your own crisp, peppery white radishes? It’s surprisingly easy and rewarding, even if you don’t have a sprawling garden. I’m going to walk you through everything you need to know to cultivate these tasty root vegetables right at home. Let’s get started!
What You’ll Need
Before we dive into the planting process, let’s gather all the necessary supplies. Having everything ready beforehand will make the whole experience smoother and more enjoyable.
* Radish Seeds: Choose a white radish variety that suits your taste and climate. ‘Daikon’ is a popular choice, known for its large size and mild flavor.
* Potting Soil: A well-draining potting mix is crucial. Avoid heavy clay soils, as they can hinder root development.
* Containers: Select containers that are at least 6-8 inches deep. Radishes need room to grow downwards. I prefer using wide, shallow containers for better space utilization.
* Watering Can or Hose: Gentle watering is key, especially when the seedlings are young.
* Fertilizer (Optional): A balanced, water-soluble fertilizer can boost growth, but it’s not strictly necessary.
* Sunlight: Radishes need at least 6 hours of sunlight per day. Choose a sunny spot for your containers.
* Gardening Gloves: To keep your hands clean and protected.
* Trowel or Small Shovel: For planting and transplanting (if needed).
Choosing the Right Variety
There are many types of white radishes, each with its own unique characteristics. Here are a few popular options:
* Daikon: This is the most common type of white radish. It’s long, cylindrical, and has a mild, slightly sweet flavor. Daikon radishes are great for pickling, salads, and stir-fries.
* Miyashige: Similar to Daikon, but slightly shorter and thicker. It’s also known for its good storage qualities.
* Minowase Summer Cross No. 3: A fast-growing variety that’s perfect for succession planting. It has a crisp texture and a slightly spicy flavor.
Consider your local climate and growing season when choosing a variety. Some radishes are better suited for warmer weather, while others can tolerate cooler temperatures.
Planting Your Radish Seeds
Now for the fun part! Let’s get those seeds in the ground.
1. Prepare the Containers: Fill your containers with potting soil, leaving about an inch of space at the top. Gently pat down the soil to create a firm surface.
2. Sow the Seeds: Sprinkle the radish seeds evenly over the surface of the soil. Aim for a spacing of about 1-2 inches between seeds. You can also create shallow furrows (about 1/4 inch deep) and sow the seeds in the furrows.
3. Cover the Seeds: Lightly cover the seeds with a thin layer of potting soil.
4. Water Gently: Use a watering can or hose with a gentle spray nozzle to water the soil thoroughly. Be careful not to dislodge the seeds.
5. Provide Sunlight: Place the containers in a sunny location where they will receive at least 6 hours of direct sunlight per day.
6. Keep the Soil Moist: Radishes need consistent moisture to germinate and grow properly. Check the soil daily and water whenever the top inch feels dry to the touch.
Thinning the Seedlings
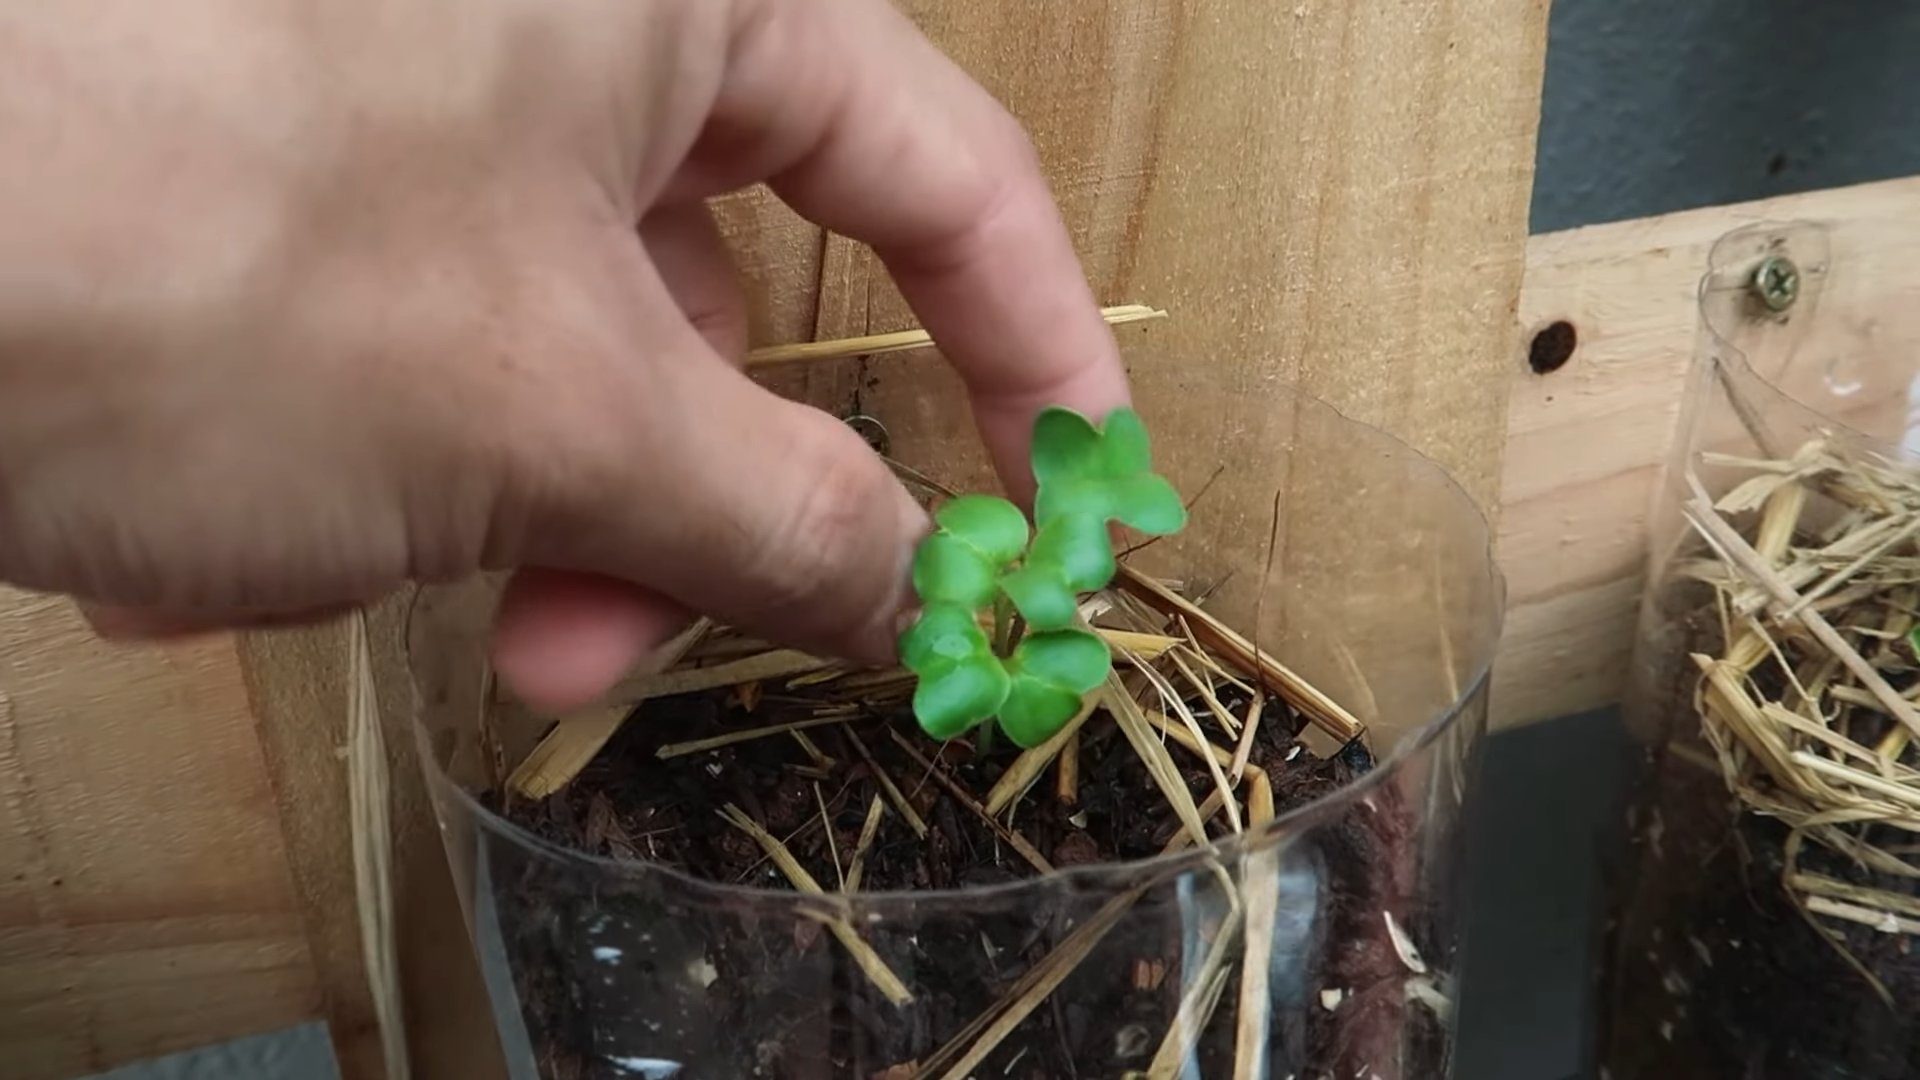
Once your radish seedlings emerge (usually within 4-7 days), you’ll need to thin them out to provide enough space for each plant to develop.
1. Identify the Strongest Seedlings: Choose the healthiest and most vigorous seedlings in each container.
2. Remove the Weaker Seedlings: Gently pull out the weaker seedlings, leaving about 2-3 inches of space between the remaining plants. You can use small scissors to snip the seedlings at the soil level if you prefer.
3. Water After Thinning: Water the remaining seedlings to help them settle in.
Thinning is crucial for preventing overcrowding and ensuring that each radish has enough room to grow to its full potential.
Caring for Your Radishes
With proper care, your radishes will be ready to harvest in just a few weeks.
1. Water Regularly: Radishes need consistent moisture to grow quickly and develop a crisp texture. Water deeply whenever the top inch of soil feels dry. Avoid overwatering, as this can lead to root rot.
2. Fertilize (Optional): If you want to give your radishes a boost, you can apply a balanced, water-soluble fertilizer every 2-3 weeks. Follow the instructions on the fertilizer package.
3. Weed Regularly: Remove any weeds that pop up in your containers. Weeds can compete with your radishes for nutrients and water.
4. Protect from Pests: Radishes are generally pest-resistant, but they can sometimes be attacked by flea beetles or aphids. If you notice any pests, you can try spraying them with insecticidal soap or neem oil.
5. Monitor for Diseases: Keep an eye out for any signs of disease, such as yellowing leaves or spots on the roots. If you suspect a disease, remove the affected plants and dispose of them properly.
Harvesting Your Radishes
The best part of growing your own radishes is, of course, harvesting them!
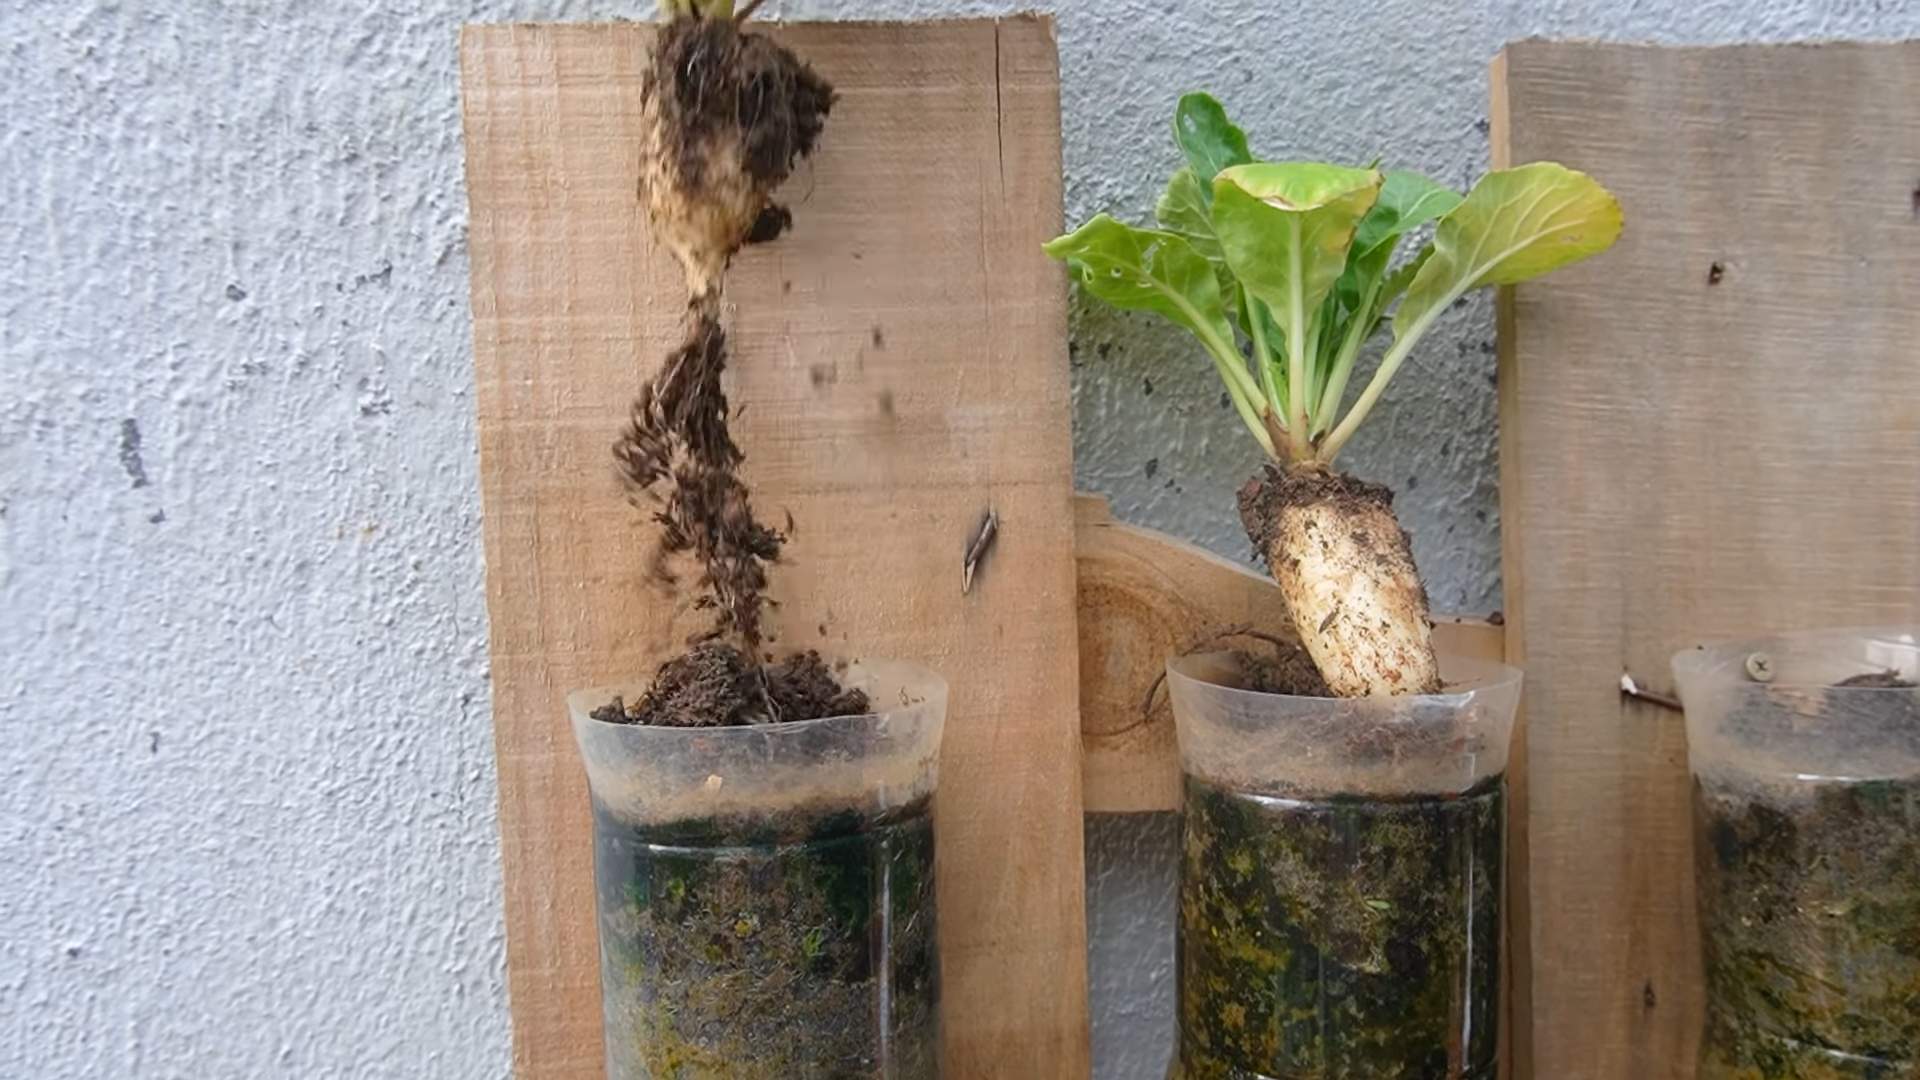
1. Check for Maturity: Radishes are typically ready to harvest about 3-4 weeks after planting, depending on the variety. The roots should be about 1-2 inches in diameter.
2. Loosen the Soil: Gently loosen the soil around the radishes with a trowel or small shovel.
3. Pull the Radishes: Grasp the radish leaves near the base and gently pull the radish out of the soil.
4. Wash and Store: Wash the radishes thoroughly to remove any dirt. Trim off the leaves and roots. Store the radishes in a plastic bag in the refrigerator for up to a week.
Troubleshooting Common Problems
Even with the best care, you might encounter some challenges when growing radishes. Here are a few common problems and how to address them:
* Radishes are too small: This could be due to overcrowding, lack of sunlight, or insufficient watering. Make sure to thin your seedlings properly, provide at least 6 hours of sunlight per day, and water regularly.
* Radishes are too spicy: This is often caused by hot weather or inconsistent watering. Try planting your radishes in the spring or fall, when the weather is cooler. Water regularly to keep the soil consistently moist.
* Radishes are cracked: This can be caused by inconsistent watering. Water deeply and regularly to prevent the soil from drying out.
* Radishes are woody or tough: This is usually a sign that the radishes are overripe. Harvest them as soon as they reach the desired size.
* Pests or diseases: Inspect your plants regularly for pests or diseases. Treat any problems promptly with appropriate organic solutions.
Succession Planting for Continuous Harvests
To enjoy a continuous supply of fresh radishes, consider succession planting. This involves planting a new batch of seeds every 1-2 weeks. This way, you’ll always have radishes ready to harvest.
1. Plant a New Batch: Every 1-2 weeks, sow a new batch of radish seeds in a fresh container or in a different section of your garden.
2. Follow the Same Steps: Follow the same planting and care instructions as before.
3. Enjoy Continuous Harvests: As one batch of radishes matures, you’ll have another batch coming up right behind it.
Enjoying Your Homegrown Radishes
Now that you’ve successfully grown your own white radishes, it’s time to enjoy the fruits (or rather, roots) of your labor! Here are a few ideas for using your homegrown radishes:
* Salads: Slice or grate radishes and add them to your favorite salads for a peppery crunch.
* Snacks: Eat radishes raw with a sprinkle of salt or a dollop of hummus.
* Pickles: Pickle radishes for a tangy and flavorful condiment.
* Stir-fries: Add sliced radishes to stir-fries for a bit of spice and texture.
* Soups: Use radishes in soups and stews for added flavor and nutrients.
* Roasted: Roast radishes with other root vegetables for a sweet and savory side dish.
Final Thoughts
Growing white radishes at home is a simple and rewarding experience. With a little bit of care and attention, you can enjoy a continuous supply of fresh, flavorful radishes right from your own backyard (or balcony!). So, grab some seeds, get your hands dirty, and start growing!
Conclusion
So, there you have it! Growing white radish at home is not only achievable, but it’s also a deeply rewarding experience that connects you directly to the food you eat. Forget those bland, store-bought radishes that lack the vibrant crunch and peppery bite you crave. With a little effort and the simple techniques outlined, you can cultivate a thriving patch of these crisp, delicious root vegetables right in your own backyard, balcony, or even on a sunny windowsill.
Why is this DIY trick a must-try? Because it offers a level of freshness and control you simply can’t get from commercially grown produce. You know exactly what goes into your radishes – no harsh chemicals, no mystery fertilizers, just good old-fashioned care and attention. Plus, the taste difference is undeniable. Homegrown white radishes boast a superior flavor profile, bursting with a refreshing crispness and a satisfyingly spicy kick that will elevate your salads, slaws, and stir-fries to a whole new level.
But the benefits extend beyond just taste. Growing your own food is a fantastic way to reduce your carbon footprint, support sustainable practices, and connect with nature. It’s a therapeutic activity that can relieve stress, boost your mood, and provide a sense of accomplishment. And let’s not forget the educational aspect – it’s a wonderful opportunity to teach children about where their food comes from and the importance of healthy eating.
Looking for variations? Consider experimenting with different varieties of white radish. Some are milder, while others pack a serious punch. You can also try interplanting your radishes with other vegetables, such as carrots or lettuce, to maximize space and create a more diverse garden ecosystem. For a unique twist, try pickling your homegrown radishes for a tangy and flavorful condiment that will keep for weeks. Or, roast them with a drizzle of olive oil and herbs for a surprisingly sweet and savory side dish.
Don’t be intimidated if you’re a beginner gardener. Growing white radish at home is surprisingly easy, even for those with limited experience. The key is to provide the right conditions – well-drained soil, plenty of sunlight, and consistent watering. With a little patience and attention, you’ll be harvesting your own delicious radishes in no time.
We wholeheartedly encourage you to give this DIY trick a try. It’s a simple, affordable, and incredibly rewarding way to enjoy fresh, flavorful produce and connect with nature. And most importantly, we want to hear about your experience! Share your tips, tricks, and photos in the comments below. Let’s build a community of home gardeners and inspire others to discover the joy of growing their own food. What are you waiting for? Grab some seeds and get planting! Your taste buds (and your garden) will thank you.
Frequently Asked Questions (FAQ)
What is the best time of year to plant white radish?
White radishes are cool-season crops, meaning they thrive in cooler temperatures. The best time to plant them is in early spring or late summer/early fall. Avoid planting during the hottest months of summer, as the heat can cause the radishes to bolt (go to seed) and become bitter. In spring, plant as soon as the soil can be worked. For a fall harvest, plant about 4-6 weeks before the first expected frost. This allows them enough time to mature before the weather turns too cold.
How much sunlight do white radishes need?
White radishes need at least 6 hours of direct sunlight per day to grow properly. Choose a location in your garden that receives plenty of sunlight throughout the day. If you’re growing them indoors, place them near a sunny window or use grow lights to supplement the natural light. Insufficient sunlight can result in leggy plants and small, underdeveloped radishes.
What kind of soil is best for growing white radishes?
White radishes prefer well-drained, loose soil that is rich in organic matter. Amend your soil with compost or well-rotted manure before planting to improve drainage and fertility. Avoid heavy clay soils, as they can become compacted and restrict root growth. The ideal soil pH for white radishes is between 6.0 and 7.0. You can test your soil pH with a simple soil testing kit available at most garden centers.
How often should I water my white radishes?
Consistent watering is crucial for growing healthy white radishes. Keep the soil consistently moist, but not waterlogged. Water deeply whenever the top inch of soil feels dry to the touch. Avoid letting the soil dry out completely, as this can cause the radishes to become tough and bitter. During hot, dry weather, you may need to water more frequently. Mulching around the plants can help to retain moisture in the soil.
How long does it take for white radishes to mature?
One of the great things about white radishes is that they mature very quickly. Most varieties are ready to harvest in just 3-4 weeks after planting. Check the seed packet for the specific maturity time for the variety you are growing. To harvest, gently pull the radishes from the soil when they reach the desired size. Don’t let them get too large, as they can become woody and less flavorful.
What are some common pests and diseases that affect white radishes?
White radishes are generally relatively pest-free, but they can be susceptible to certain pests and diseases. Common pests include flea beetles, root maggots, and aphids. Flea beetles can be controlled with insecticidal soap or diatomaceous earth. Root maggots can be prevented by using row covers. Aphids can be washed off with a strong stream of water or treated with insecticidal soap. Common diseases include damping-off and clubroot. Damping-off can be prevented by using sterile potting mix and avoiding overwatering. Clubroot can be prevented by rotating crops and maintaining a soil pH above 7.0.
Can I grow white radishes in containers?
Yes, white radishes are well-suited for container gardening. Choose a container that is at least 6 inches deep and has drainage holes. Fill the container with a well-draining potting mix. Sow the seeds directly into the container and water regularly. Place the container in a sunny location. Container-grown radishes may need to be watered more frequently than those grown in the ground, as the soil in containers tends to dry out more quickly.
How do I prevent my white radishes from becoming too spicy?
The spiciness of white radishes is influenced by several factors, including the variety, growing conditions, and harvest time. Some varieties are naturally spicier than others. Hot weather and dry soil can also contribute to a more intense flavor. To reduce the spiciness, choose a milder variety, provide consistent watering, and harvest the radishes when they are young and tender. Soaking the harvested radishes in cold water for a few hours can also help to mellow their flavor.
What can I do with the radish greens?
Don’t throw away those radish greens! They are perfectly edible and packed with nutrients. Radish greens have a peppery flavor similar to the radishes themselves. They can be used in salads, stir-fries, soups, and pesto. They can also be sautéed with garlic and olive oil for a simple and delicious side dish. Be sure to wash the greens thoroughly before using them.
How do I store harvested white radishes?
To store harvested white radishes, remove the greens and store them separately. Place the radishes in a plastic bag or container and store them in the refrigerator. They will keep for several weeks. The greens should be used within a few days. To keep the radishes crisp, you can also store them in a container of water in the refrigerator. Change the water every few days.
Leave a Comment