
Grow Radishes at Home Fast? Absolutely! Imagine plucking crisp, peppery radishes from your own garden just weeks after planting. It’s not a gardener’s myth; it’s a delicious reality you can achieve with a few simple tricks. For centuries, radishes have been a staple in diets worldwide, from ancient Egypt, where they were a common food for laborers building the pyramids, to modern-day salads and snacks. Their rapid growth cycle makes them incredibly rewarding for beginner gardeners and seasoned pros alike.
But let’s be honest, sometimes those tiny radish seeds seem to take forever, or you end up with spindly greens and a disappointing root. That’s where these DIY hacks come in! I’m going to share my favorite tips and tricks to help you grow radishes at home fast and successfully. Whether you’re short on space, time, or experience, these easy-to-follow techniques will have you enjoying a bountiful radish harvest in no time. Say goodbye to store-bought radishes and hello to fresh, flavorful, homegrown goodness!
So, why do you need these tricks? Because everyone deserves the satisfaction of growing their own food, and radishes are the perfect gateway vegetable. Plus, knowing how to speed up the process means more radishes, more often! Let’s get started and transform your garden (or even a sunny windowsill) into a radish-growing paradise.
Grow Radishes at Home: A Speedy Gardener’s Guide
Hey there, fellow gardening enthusiasts! Ever crave that peppery crunch of a fresh radish but don’t want to wait forever to harvest? Well, you’re in luck! Radishes are practically the sprinters of the vegetable world, often ready to eat in as little as three weeks. I’m going to walk you through everything you need to know to grow your own radishes at home, quickly and easily. Get ready for some garden-to-table goodness in no time!
Choosing Your Radish Variety
First things first, let’s talk radishes! There are tons of varieties out there, each with its own unique flavor, size, and color. Here are a few of my favorites:
* Cherry Belle: These are your classic, bright red, round radishes. They’re quick to mature and have a mild, slightly sweet flavor. Perfect for beginners!
* French Breakfast: These are elongated, red radishes with a white tip. They have a milder flavor than Cherry Belles and are delicious sliced on buttered bread with a sprinkle of salt.
* Easter Egg: This is a mix of radishes in different colors – red, pink, purple, and white. They’re fun to grow and add a pop of color to your salads.
* Black Spanish: If you’re feeling adventurous, try these! They have a black skin and a pungent, spicy flavor. They take a bit longer to mature than other varieties.
* Daikon: While technically a radish, daikon radishes are much larger and milder in flavor. They’re often used in Asian cuisine.
Consider your climate and taste preferences when choosing your radish variety. For a quick harvest, stick with Cherry Belle or French Breakfast.
Preparing Your Radish Growing Space
Radishes are pretty low-maintenance, but they do need a few things to thrive.
* Sunlight: Radishes need at least 6 hours of sunlight per day. If you’re growing them indoors, make sure they’re near a sunny window or under grow lights.
* Soil: Radishes prefer loose, well-drained soil. If your soil is heavy clay, amend it with compost or other organic matter to improve drainage. Avoid overly rich soil, as this can lead to excessive leafy growth at the expense of root development.
* Container (if applicable): If you’re growing radishes in containers, choose a pot that’s at least 6 inches deep. Make sure the pot has drainage holes to prevent waterlogging.
* Timing: Radishes are a cool-season crop, so they’re best grown in the spring or fall. Avoid planting them in the heat of summer, as they’ll bolt (go to seed) quickly.
Planting Your Radish Seeds
Now for the fun part – planting!
1. Prepare the soil: Rake the soil smooth and remove any rocks or debris. If you’re using containers, fill them with potting mix.
2. Sow the seeds: Radish seeds are small, so don’t plant them too deep. Sow them about ½ inch deep and 1 inch apart. If you’re planting in rows, space the rows about 6 inches apart.
3. Water gently: Water the soil gently after planting to avoid washing away the seeds.
4. Mark your rows: It’s helpful to label your rows with the radish variety and planting date. This will help you keep track of your progress.
Caring for Your Radishes
Radishes are relatively easy to care for, but here are a few tips to keep them happy:
* Watering: Keep the soil consistently moist, but not waterlogged. Water deeply whenever the top inch of soil feels dry.
* Thinning: Once the seedlings emerge, thin them to about 2 inches apart. This will give the radishes enough room to grow. Don’t just pull them out! Gently snip the seedlings at the soil line with scissors to avoid disturbing the roots of the remaining plants.
* Weeding: Keep the area around your radishes free of weeds. Weeds compete with radishes for nutrients and water.
* Fertilizing: Radishes don’t need a lot of fertilizer. If your soil is poor, you can side-dress them with a balanced fertilizer a few weeks after planting. I prefer using compost tea for a gentle boost.
* Pest Control: Flea beetles can sometimes be a problem for radishes. Cover your plants with row covers to protect them from these pests. You can also use insecticidal soap if necessary.
Harvesting Your Radishes
This is the moment you’ve been waiting for! Radishes are typically ready to harvest in 3-4 weeks, depending on the variety.
1. Check for size: Radishes are ready to harvest when they’re about 1 inch in diameter.
2. Pull them up: Gently pull the radishes from the soil. If they’re difficult to pull, loosen the soil around them with a trowel.
3. Wash and enjoy: Wash the radishes thoroughly and enjoy them fresh.
Important Note: Don’t let your radishes get too big, as they can become woody and bitter. Harvest them as soon as they’re ready.
Troubleshooting Common Radish Problems
Even with the best care, you might encounter a few problems when growing radishes. Here are some common issues and how to fix them:
* Radishes are all tops and no bottoms: This is usually caused by overcrowding, lack of sunlight, or overly rich soil. Make sure you thin your seedlings properly, provide plenty of sunlight, and avoid using too much fertilizer.
* Radishes are small and stunted: This can be caused by poor soil, lack of water, or pests. Amend your soil with compost, water regularly, and check for pests.
* Radishes are cracked: This is usually caused by inconsistent watering. Keep the soil consistently moist, especially during hot weather.
* Radishes are bitter: This can be caused by hot weather or letting the radishes get too big. Harvest your radishes as soon as they’re ready and avoid planting them in the heat of summer.
Succession Planting for a Continuous Harvest
To enjoy a continuous supply of radishes, try succession planting. This means planting a new batch of seeds every week or two. This way, you’ll always have radishes ready to harvest.
1. Plan your planting schedule: Determine how many radishes you want to harvest each week and plan your planting schedule accordingly.
2. Sow seeds regularly: Sow a small batch of seeds every week or two.
3. Keep track of your plantings: Label your rows with the planting date so you know when to expect your harvest.
Radish Greens: Don’t Throw Them Away!
Did you know that radish greens are edible? They have a peppery flavor similar to arugula and can be used in salads, soups, and stir-fries.
1. Wash the greens thoroughly: Wash the radish greens thoroughly to remove any dirt or debris.
2. Use them fresh: Radish greens are best used fresh.
3. Store them properly: Store radish greens in the refrigerator in a plastic bag or container.
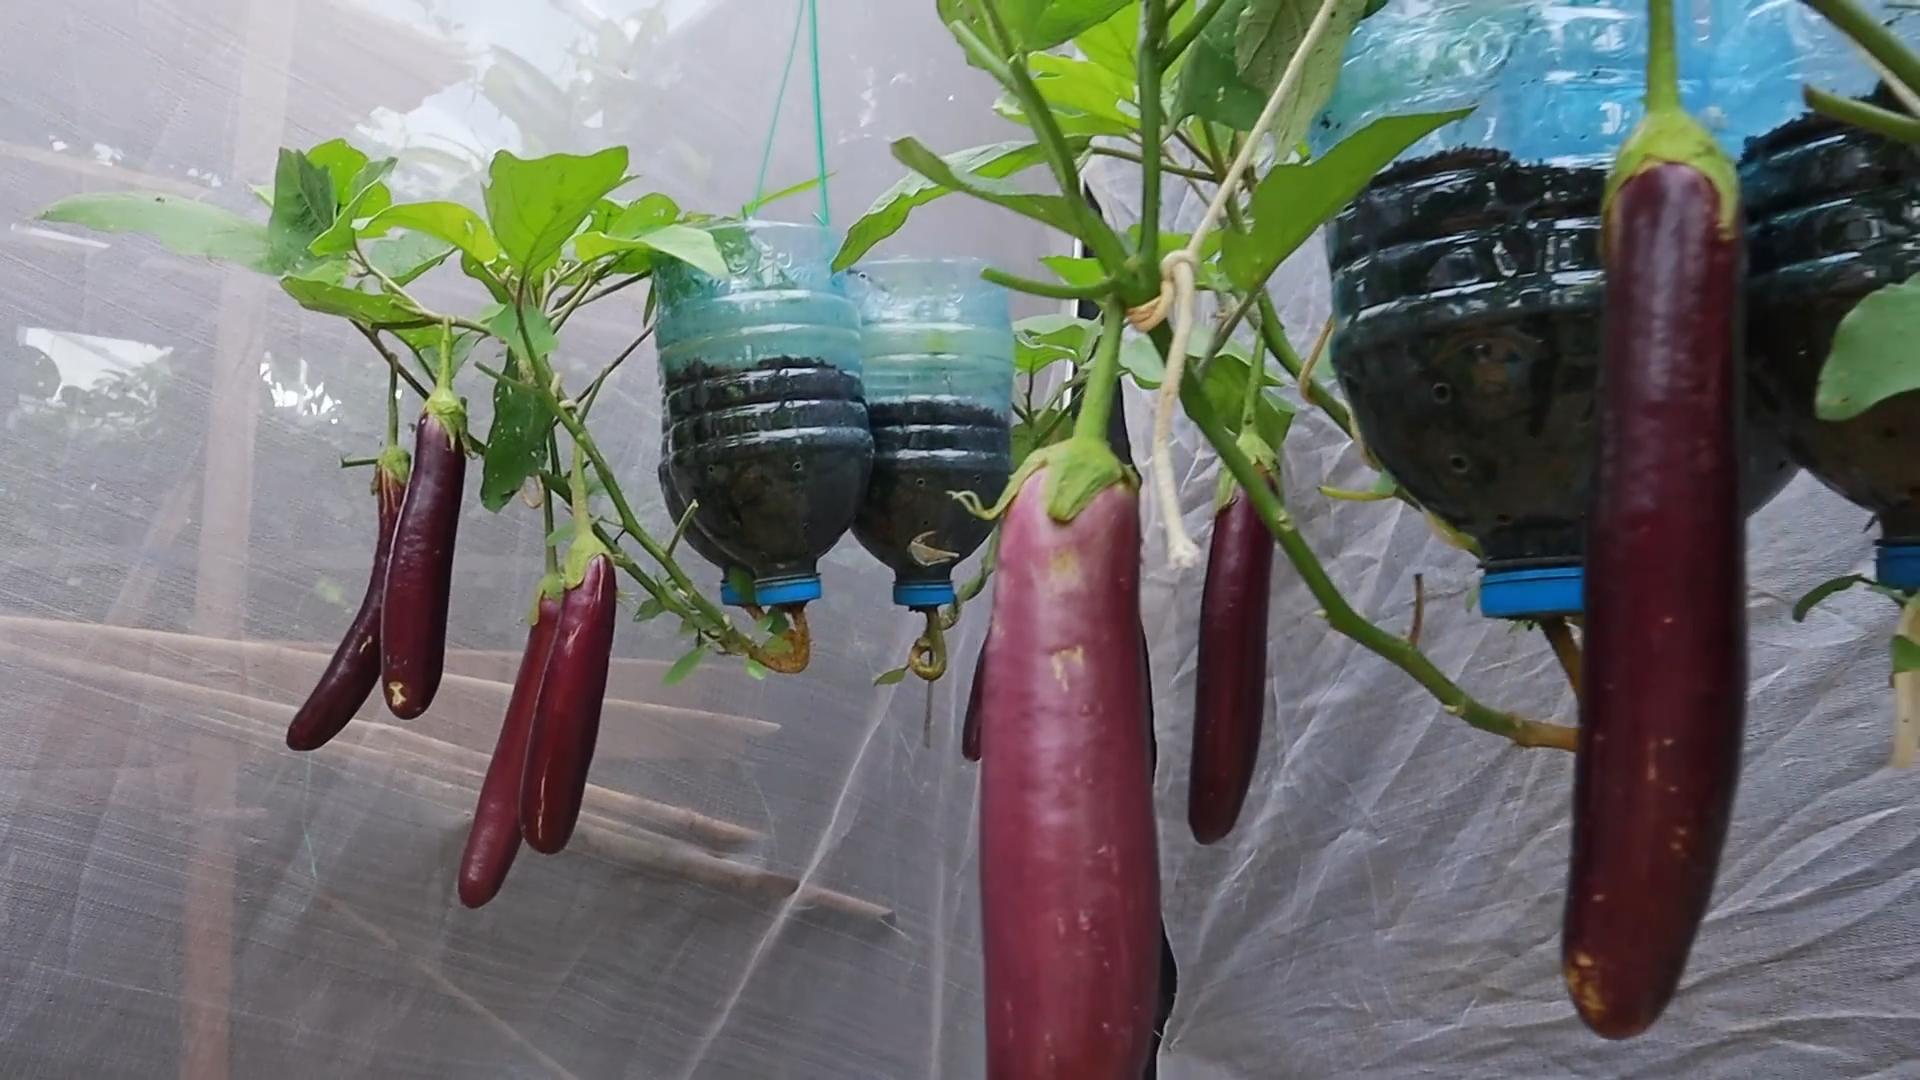
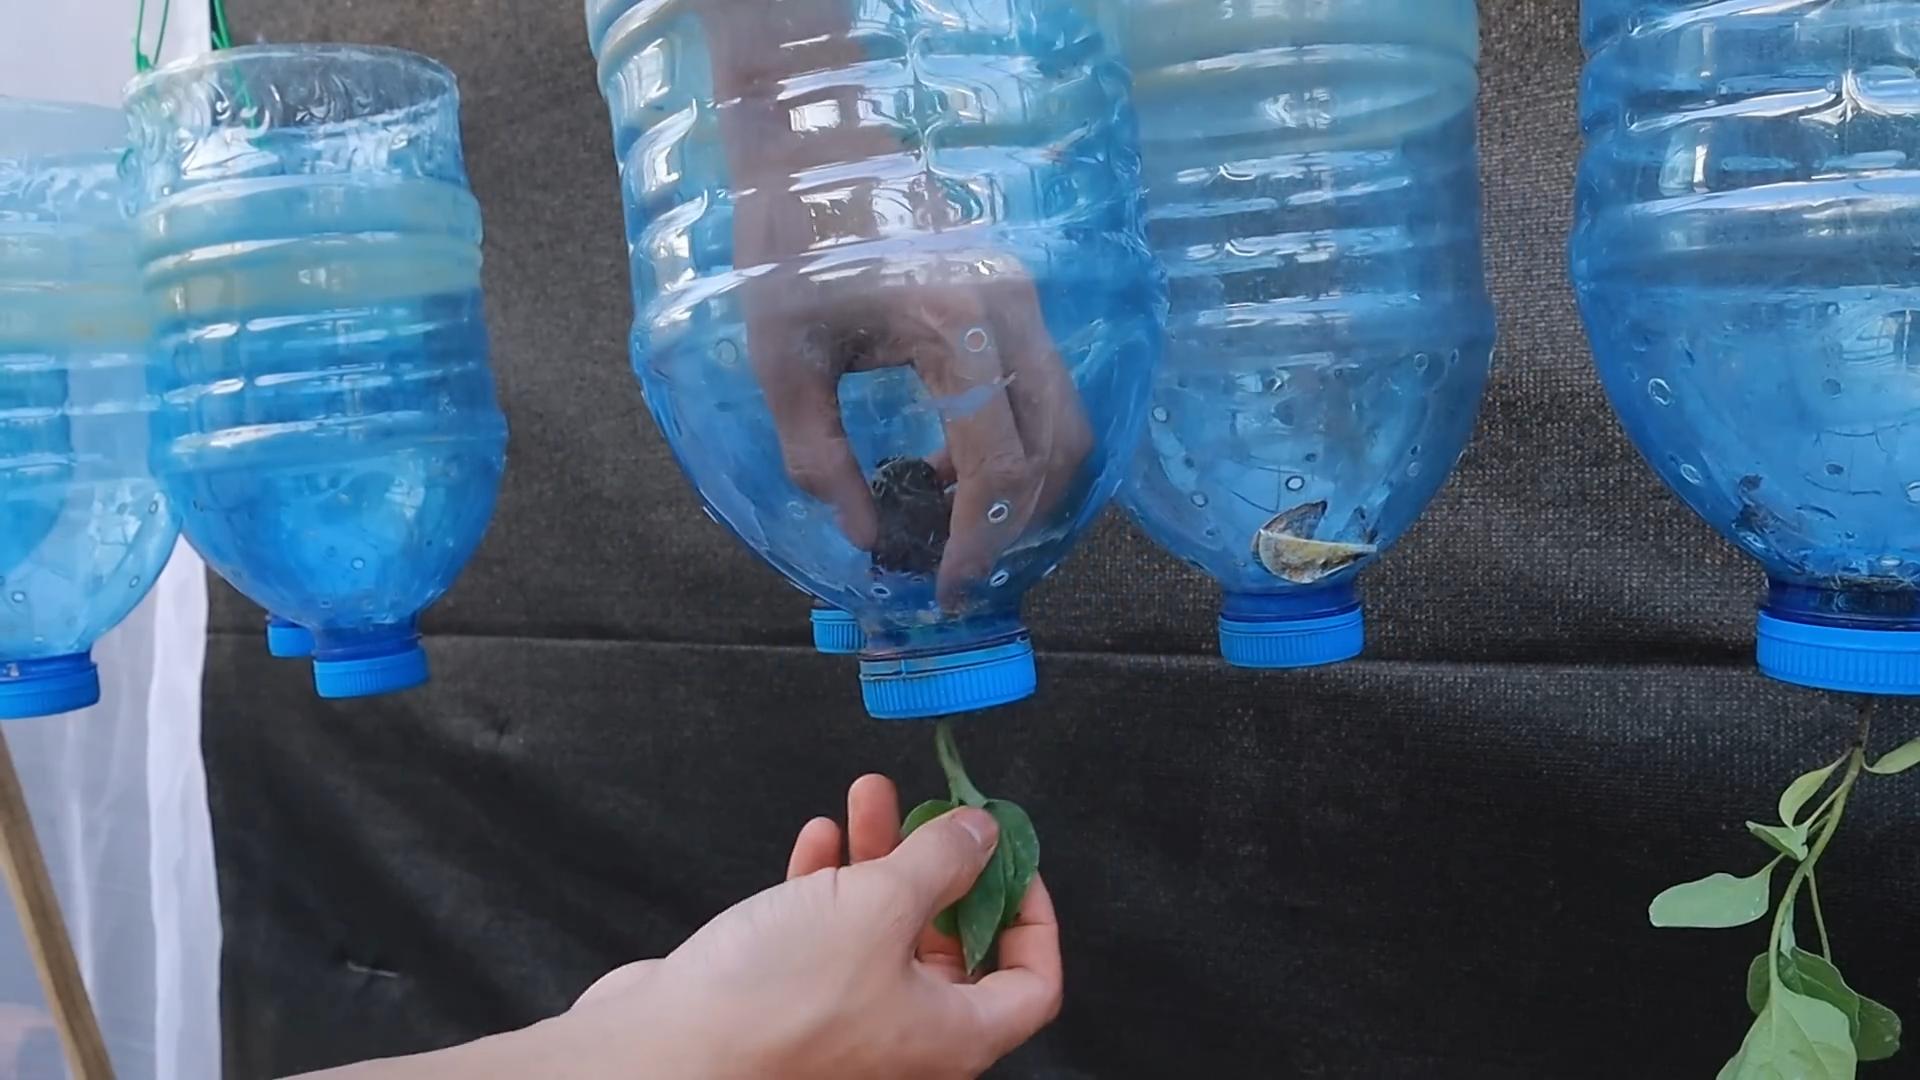
Growing Radishes in Containers
Don’t have a garden? No problem! You can easily grow radishes in containers.
1. Choose the right container: Choose a pot that’s at least 6 inches deep and has drainage holes.
2. Use potting mix: Fill the pot with potting mix.
3. Plant the seeds: Sow the seeds about ½ inch deep and 1 inch apart.
4. Water regularly: Water the soil regularly to keep it moist.
5. Place in a sunny location: Place the container in a sunny location that gets at least 6 hours of sunlight per day.
Extending Your Radish Season
Want to enjoy radishes for as long as possible? Here are a few tips for extending your radish season:
* Use row covers: Row covers can protect your radishes from frost and extend the growing season.
* Plant in a cold frame: A cold frame can provide extra protection from the cold and allow you to grow radishes later into the fall.
* Choose cold-hardy varieties: Some radish varieties are more cold-hardy than others. Choose varieties that are known to tolerate cold weather.
Enjoying Your Homegrown Radishes
Now that you’ve harvested your radishes, it’s time to enjoy them! Here are a few ideas:
* Eat them raw: Radishes are delicious eaten raw in salads or as a snack.
* Slice them on buttered bread: This is a classic way to enjoy French Breakfast radishes.
* Add them to stir-fries: Radishes add a peppery kick to stir
Conclusion
So, there you have it! Growing radishes at home fast is not only achievable, it’s downright rewarding. Forget those bland, store-bought radishes that lack that peppery zing. With just a few simple steps and readily available materials, you can cultivate a vibrant crop of crisp, flavorful radishes right in your own backyard, balcony, or even windowsill.
Why is this DIY trick a must-try? Because it puts you in control. You control the soil, the watering, and the overall environment, ensuring that your radishes are grown organically and to your exact liking. Plus, it’s incredibly satisfying to harvest something you’ve nurtured from seed to table. Imagine the pride you’ll feel serving up a salad featuring radishes you grew yourself!
But the benefits don’t stop there. Growing your own radishes is also a fantastic way to introduce children to the wonders of gardening and the importance of fresh, healthy food. It’s a hands-on learning experience that they’ll cherish.
Ready to take your radish game to the next level? Consider these variations:
* Succession Planting: Plant a new batch of seeds every week or two for a continuous harvest throughout the growing season. This ensures you always have fresh radishes on hand.
* Companion Planting: Radishes are excellent companion plants for carrots, lettuce, and cucumbers. They help deter pests and improve soil health.
* Container Gardening: If you’re short on space, radishes thrive in containers. Choose a pot that’s at least 6 inches deep and wide, and use a well-draining potting mix.
* Radish Greens: Don’t toss those radish greens! They’re packed with nutrients and can be used in salads, stir-fries, or even pesto.
* Experiment with Varieties: Explore different radish varieties, such as French Breakfast, Cherry Belle, or Watermelon radishes, to discover your favorites. Each variety offers a unique flavor and texture.
Growing radishes at home fast is a simple, cost-effective, and incredibly fulfilling project. It’s a chance to connect with nature, enjoy fresh, homegrown produce, and impress your friends and family with your gardening skills.
So, what are you waiting for? Grab some seeds, prepare your soil, and get ready to experience the joy of harvesting your own delicious radishes. We’re confident that you’ll be amazed by how easy and rewarding it is.
We’d love to hear about your experience! Share your photos, tips, and tricks in the comments below. Let’s create a community of radish-growing enthusiasts and inspire others to embark on this exciting journey. Happy gardening!
Frequently Asked Questions (FAQs)
How long does it really take to grow radishes?
Radishes are known for their quick growth, and most varieties mature in just 21-30 days. However, some varieties can be ready in as little as 21 days. The exact time depends on the variety, soil conditions, and weather. Warmer temperatures generally speed up growth, while cooler temperatures may slow it down slightly. Keep an eye on your radishes and harvest them when they reach the desired size. Overgrown radishes can become woody and bitter.
What kind of soil is best for growing radishes?
Radishes prefer loose, well-drained soil that is rich in organic matter. Amend heavy clay soil with compost or other organic materials to improve drainage and aeration. A slightly acidic to neutral soil pH (around 6.0 to 7.0) is ideal. Before planting, loosen the soil to a depth of at least 6 inches to allow the radish roots to grow easily. Avoid soils that are compacted or rocky, as these can hinder root development and result in misshapen radishes.
How much sunlight do radishes need?
Radishes need at least 6 hours of sunlight per day to thrive. However, they can tolerate partial shade, especially in hot climates. If you’re growing radishes indoors, place them near a sunny window or use grow lights to provide adequate light. Insufficient sunlight can result in leggy plants and small, underdeveloped radishes.
How often should I water my radishes?
Radishes need consistent moisture to grow quickly and develop crisp, flavorful roots. Water deeply whenever the top inch of soil feels dry to the touch. Avoid overwatering, as this can lead to root rot. A good rule of thumb is to water every 2-3 days, depending on the weather and soil conditions. Mulching around the plants can help retain moisture and suppress weeds.
Do I need to fertilize my radishes?
Radishes don’t require heavy fertilization, but a light feeding can help them grow faster and produce larger roots. Before planting, amend the soil with compost or other organic matter. You can also apply a balanced fertilizer (such as 10-10-10) at planting time, following the instructions on the package. Avoid over-fertilizing, as this can lead to excessive foliage growth and small roots.
Why are my radishes cracking?
Cracking in radishes is often caused by inconsistent watering. If the soil dries out and then is suddenly saturated, the radishes can absorb water too quickly, causing them to split. To prevent cracking, water regularly and consistently, especially during dry periods. Mulching can also help maintain consistent soil moisture.
Why are my radishes all tops and no roots?
Several factors can contribute to radishes that are all tops and no roots. Insufficient sunlight, overcrowding, and over-fertilization with nitrogen can all promote foliage growth at the expense of root development. Make sure your radishes are getting at least 6 hours of sunlight per day, thin them to the recommended spacing, and avoid using fertilizers that are high in nitrogen.
Can I eat radish greens?
Yes, radish greens are edible and nutritious! They have a peppery flavor similar to the roots. You can use them in salads, stir-fries, soups, or pesto. Choose young, tender greens for the best flavor and texture. Wash them thoroughly before using.
How do I store radishes after harvesting?
To store radishes, remove the greens (leaving about an inch of stem) and wash the roots. Place them in a plastic bag or container with a damp paper towel and store them in the refrigerator. Radishes stored this way can last for up to two weeks.
What are some common pests and diseases that affect radishes?
Common pests that affect radishes include flea beetles, root maggots, and aphids. Flea beetles can be controlled with row covers or insecticidal soap. Root maggots can be prevented by using floating row covers and practicing crop rotation. Aphids can be washed off with a strong stream of water or treated with insecticidal soap. Diseases that can affect radishes include damping-off and white rust. Damping-off can be prevented by using well-drained soil and avoiding overwatering. White rust can be treated with fungicides.
Leave a Comment