
Grow Dill at Home with ease! Have you ever dreamt of snipping fresh, fragrant dill straight from your garden to sprinkle over your creamy potato salad or add a zing to your salmon? It’s more achievable than you think, and this DIY guide will show you how. For centuries, dill has been a beloved herb, not just for its culinary uses but also for its medicinal properties. Ancient Egyptians used it to soothe digestive issues, and Romans believed it brought good fortune.
Today, we might not be warding off bad luck with dill, but we certainly appreciate its fresh, herbaceous flavor. But why rely on store-bought dill that might be wilted or lacking in flavor when you can easily grow dill at home? This DIY article is packed with simple tricks and hacks that will empower even the most novice gardener to cultivate a thriving dill patch, even if you only have a small balcony or windowsill. I’m going to share my secrets to ensure you have a constant supply of this versatile herb, saving you money and adding a burst of fresh flavor to your meals. Let’s get started!
Growing Dill at Home: A Beginner’s Guide
Hey there, fellow plant enthusiasts! Ever dreamt of having fresh, fragrant dill right at your fingertips? Well, dream no more! Growing dill at home is surprisingly easy, even if you don’t have a green thumb. I’m going to walk you through everything you need to know, from choosing the right spot to harvesting your bounty. Let’s get started!
Choosing Your Dill’s Home: Location, Location, Location!
Dill, like most herbs, thrives with plenty of sunshine. So, the first and most crucial step is finding the perfect location. Here’s what to keep in mind:
* Sunlight: Dill needs at least 6-8 hours of direct sunlight each day. A south-facing window (if you’re growing indoors) or a sunny spot in your garden is ideal.
* Soil: Dill prefers well-draining soil that’s slightly acidic to neutral (pH 6.0-7.5). If your garden soil is heavy clay, amend it with compost or other organic matter to improve drainage.
* Protection from Wind: Dill plants can get quite tall and are susceptible to wind damage. Choose a location that’s sheltered from strong winds, or consider providing some support as the plants grow.
* Container Size (if applicable): If you’re growing dill in a container, make sure it’s large enough to accommodate the plant’s root system. A pot that’s at least 12 inches in diameter and 12 inches deep is a good starting point.
Getting Started: Planting Your Dill Seeds
Now that you’ve found the perfect spot, it’s time to get your hands dirty! Dill is best grown from seed, and it’s relatively easy to germinate.
1. Timing is Key: Dill can be directly sown into the garden in early spring, after the last frost. You can also start seeds indoors 4-6 weeks before the last frost and transplant them later. I usually prefer direct sowing because dill doesn’t always transplant well.
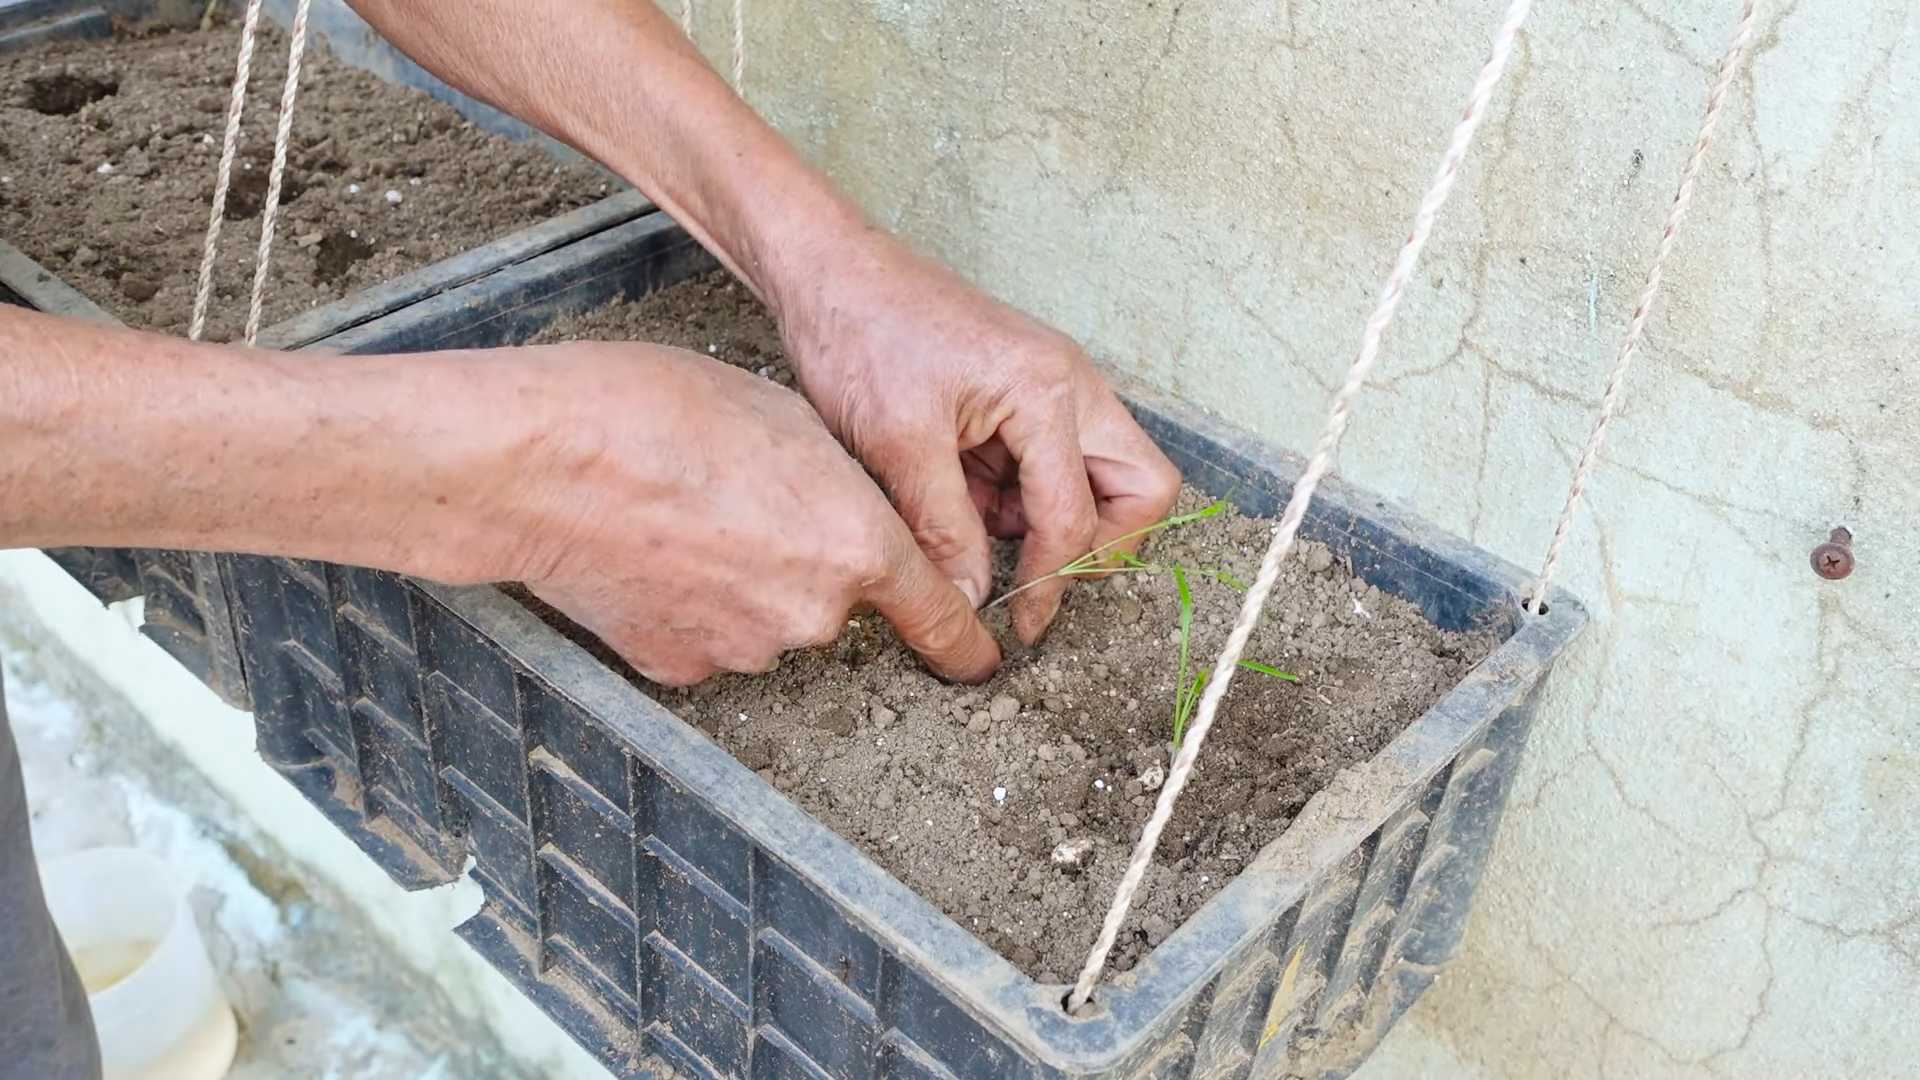
2. Preparing the Soil: Whether you’re planting in the ground or in a container, make sure the soil is loose and free of weeds. Gently rake the soil surface to create a smooth seedbed.
3. Sowing the Seeds: Sprinkle the dill seeds evenly over the soil surface. You don’t need to bury them too deep; just lightly press them into the soil. A depth of about 1/4 inch is perfect.
4. Watering: Gently water the soil after sowing the seeds. Keep the soil consistently moist, but not waterlogged, until the seeds germinate. I like to use a spray bottle to avoid disturbing the seeds.
5. Thinning (if necessary): Once the seedlings emerge (usually in 7-14 days), thin them out so that they’re spaced about 6-8 inches apart. This will give them enough room to grow and prevent overcrowding.
Caring for Your Dill: Watering, Feeding, and More
Once your dill plants are established, they’re relatively low-maintenance. However, there are a few things you can do to help them thrive.
1. Watering: Dill needs consistent moisture, especially during hot, dry weather. Water deeply whenever the top inch of soil feels dry to the touch. Avoid overwatering, as this can lead to root rot.
2. Fertilizing: Dill doesn’t need a lot of fertilizer, but a light feeding of a balanced fertilizer (like 10-10-10) every few weeks can help promote healthy growth. I prefer using organic fertilizers like compost tea or fish emulsion.
3. Weeding: Keep the area around your dill plants free of weeds. Weeds compete with dill for nutrients and water, and they can also harbor pests and diseases.
4. Pest Control: Dill is generally pest-resistant, but it can occasionally be bothered by aphids or spider mites. If you notice any pests, try spraying the plants with a strong stream of water or using an insecticidal soap.
5. Supporting Tall Plants: As dill plants grow taller, they may need some support to prevent them from flopping over. You can use stakes, trellises, or even just tie them loosely to a nearby fence.
Harvesting Your Dill: When and How
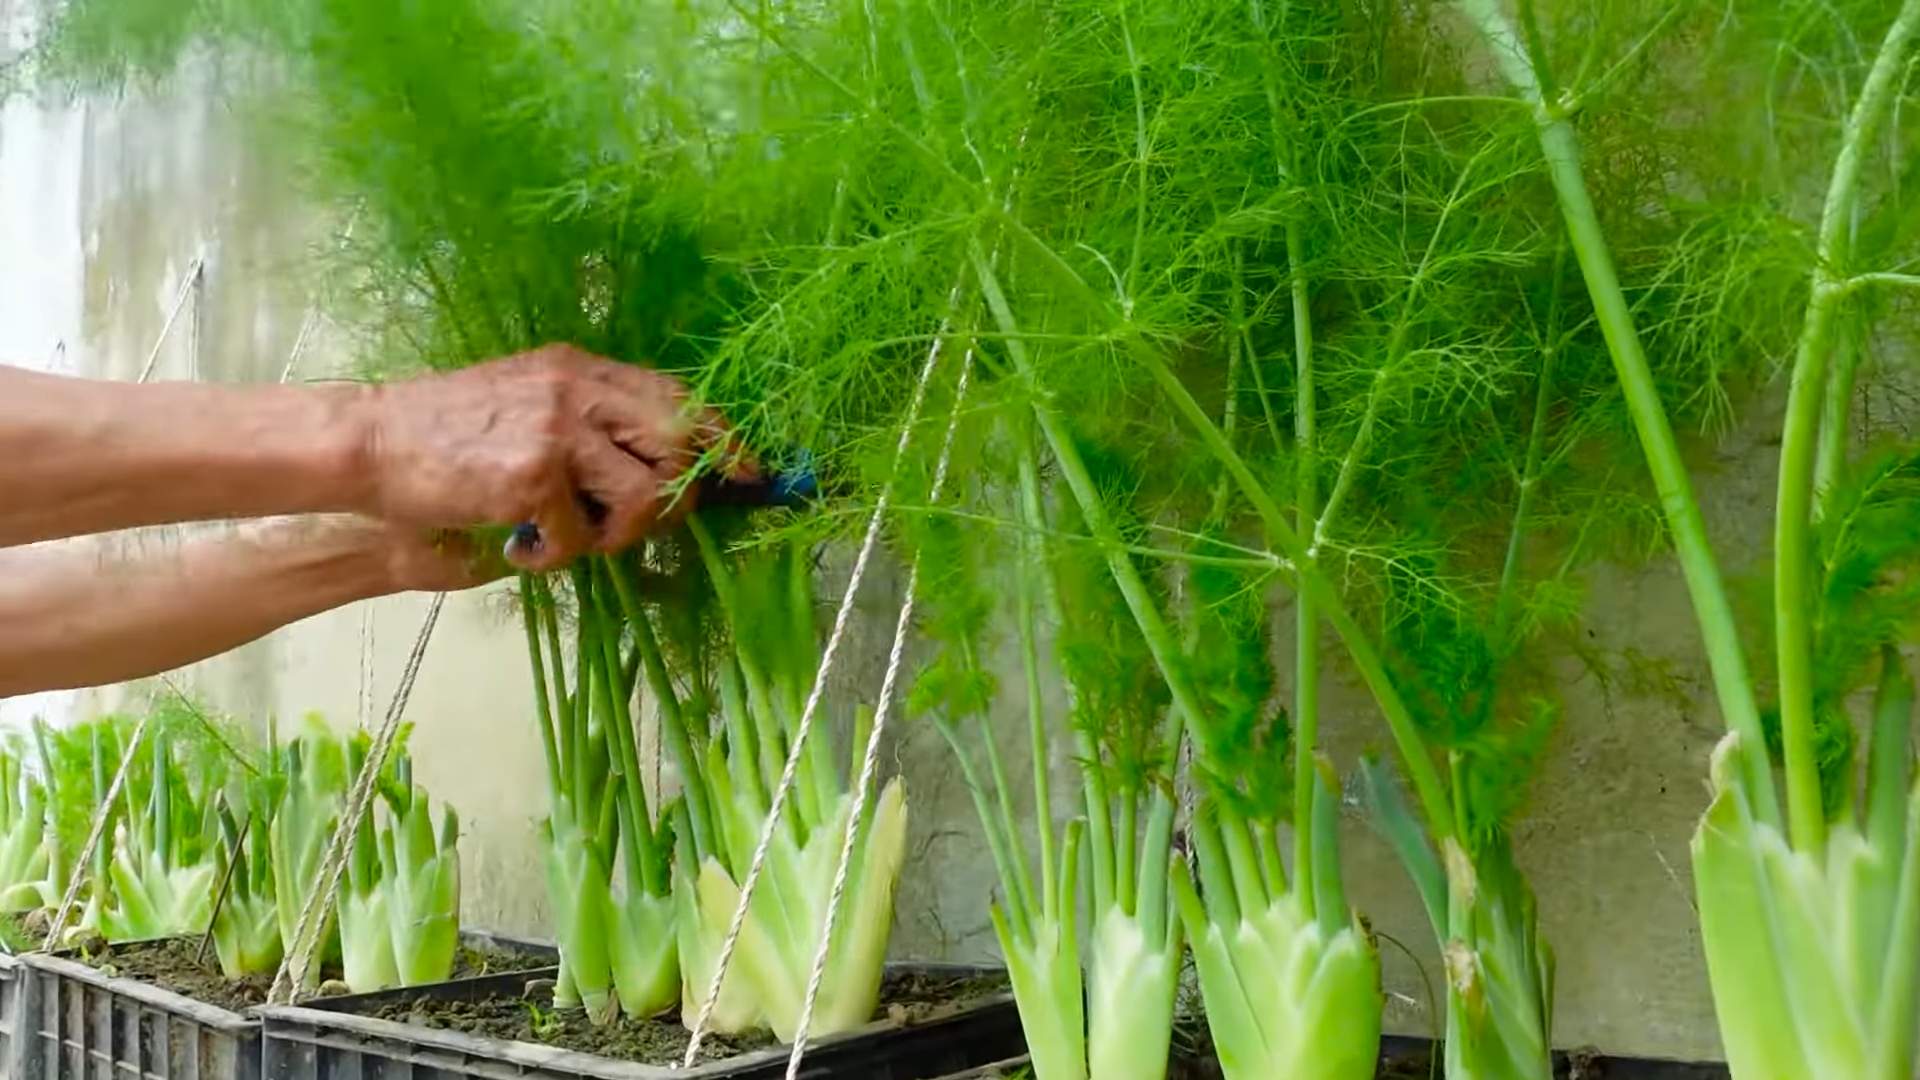
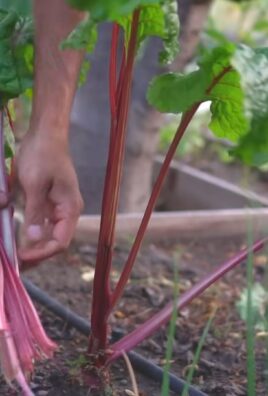
The best part of growing dill is, of course, harvesting it! You can start harvesting dill leaves as soon as the plants are about 6 inches tall.
1. Harvesting Leaves: To harvest dill leaves, simply snip them off with scissors or garden shears. You can harvest individual leaves or entire stems. The more you harvest, the more the plant will produce.
2. Harvesting Seeds: If you want to harvest dill seeds, wait until the flower heads have dried and turned brown. Cut off the flower heads and place them in a paper bag. Allow them to dry completely, then shake the bag to release the seeds.
3. When to Harvest: The best time to harvest dill leaves is in the morning, after the dew has dried. This is when the leaves are at their most flavorful. Dill seeds are best harvested in late summer or early fall.
4. Using Your Harvest: Fresh dill leaves can be used in a variety of dishes, such as salads, soups, sauces, and dips. Dill seeds can be used to flavor pickles, breads, and other savory dishes. You can also dry dill leaves and seeds for later use.
Dealing with Common Dill Problems
Even with the best care, you might encounter a few problems while growing dill. Here are some common issues and how to address them:
* Yellowing Leaves: Yellowing leaves can be a sign of overwatering, underwatering, or nutrient deficiency. Check the soil moisture and adjust your watering accordingly. If the problem persists, try fertilizing the plants with a balanced fertilizer.
* Bolting: Bolting is when a plant prematurely flowers and goes to seed. This can happen when dill is exposed to hot weather or stress. To prevent bolting, try to keep the plants well-watered and shaded during hot weather. You can also pinch off the flower buds as they appear.
* Root Rot: Root rot is a fungal disease that can occur when dill is grown in poorly drained soil. To prevent root rot, make sure the soil is well-draining and avoid overwatering. If you suspect root rot, try transplanting the plants to a new location with better drainage.
* Pests: While dill is relatively pest-resistant, it can occasionally be bothered by aphids or spider mites. If you notice any pests, try spraying the plants with a strong stream of water or using an insecticidal soap.
Extending Your Dill Harvest
Want to enjoy fresh dill for as long as possible? Here are a few tips for extending your harvest:
* Succession Planting: Sow dill seeds every few weeks to ensure a continuous supply of fresh leaves.
* Pinching Off Flower Buds: Pinching off the flower buds will encourage the plant to produce more leaves and delay bolting.
* Overwintering: In mild climates, dill can be overwintered by covering the plants with a layer of mulch. In colder climates, you can bring dill plants indoors and grow them in a sunny window.
* Freezing Dill: To preserve dill leaves, you can freeze them. Simply chop the leaves and place them in ice cube trays filled with water or olive oil. Once frozen, transfer the cubes to a freezer bag.
* Drying Dill: You can also dry dill leaves by hanging them upside down in a cool, dry place. Once the leaves are completely dry, store them in an airtight container.
Dill Varieties to Consider
While ‘common’ dill is a great starting point, there are a few other varieties you might want to explore:
* ‘Bouquet’ Dill: This variety is known for its large, bushy foliage and is a good choice for harvesting leaves.
* ‘Fernleaf’ Dill: This compact variety is ideal for container gardening and has finely divided leaves.
* ‘Long Island Mammoth’ Dill: This variety is known for its tall, sturdy stems and is a good choice for harvesting seeds.
Final Thoughts
Growing dill at home is a rewarding experience that will provide you with a constant supply of fresh, flavorful herbs. With a little bit of care and attention, you can enjoy dill in your favorite dishes all season long. So, what are you waiting for? Get out there and start planting! Happy gardening!
Conclusion
So, there you have it! Growing dill at home is not only achievable, but it’s also a rewarding experience that brings fresh, aromatic flavor right to your fingertips. Forget those sad, wilted bunches from the grocery store – imagine snipping vibrant, feathery fronds whenever a recipe calls for that distinctive dill taste. This simple DIY project transforms your kitchen into a culinary garden, offering a constant supply of this versatile herb.
Why is this a must-try? Because it’s more than just convenience. It’s about controlling the quality of your ingredients. Homegrown dill is free from pesticides and herbicides, ensuring you’re using the purest, most flavorful herb possible. Plus, the satisfaction of nurturing a plant from seed to harvest is incredibly fulfilling. It connects you to the food you eat in a way that simply buying it from the store never could.
Beyond the basic method we’ve outlined, there are countless ways to personalize your dill-growing journey. Consider experimenting with different varieties of dill, such as ‘Bouquet’ for its compact size and abundant foliage, or ‘Long Island Mammoth’ for its impressive height and seed production. You can also try companion planting dill with vegetables like cucumbers, cabbage, and lettuce, as it’s known to deter certain pests.
For those with limited space, growing dill in containers is an excellent option. Choose a pot that’s at least 12 inches in diameter to allow for root development, and be sure to use a well-draining potting mix. Place your container in a sunny location, and water regularly to keep the soil consistently moist. You can even grow dill indoors, provided you have a sunny windowsill or a grow light.
Don’t be afraid to get creative with your dill harvest! Use it fresh in salads, dips, and sauces, or dry it for later use. Dill seeds can also be used as a spice, adding a unique flavor to pickles, breads, and other dishes. The possibilities are endless!
We wholeheartedly encourage you to embark on this DIY adventure and discover the joys of growing dill at home. It’s a simple, affordable, and incredibly rewarding way to enhance your culinary creations and connect with nature. Once you’ve tasted the difference between homegrown dill and store-bought dill, you’ll never go back!
So, grab some seeds, prepare your soil, and get ready to experience the magic of growing your own dill. And most importantly, we want to hear about your experiences! Share your tips, tricks, and photos with us in the comments below. Let’s build a community of dill-loving gardeners and inspire others to embrace the joys of homegrown herbs. Happy growing!
Frequently Asked Questions (FAQ)
1. What is the best time of year to plant dill?
Dill is a cool-season herb, so the best time to plant it is in early spring or late summer. In areas with mild winters, you can even plant dill in the fall for a winter harvest. Avoid planting dill during the hottest months of summer, as high temperatures can cause it to bolt (go to seed) prematurely.
2. How much sunlight does dill need?
Dill thrives in full sun, which means it needs at least 6-8 hours of direct sunlight per day. If you’re growing dill indoors, place it near a sunny window or use a grow light to provide adequate light. Insufficient sunlight can result in leggy, weak plants with poor flavor.
3. What type of soil is best for growing dill?
Dill prefers well-draining soil that is rich in organic matter. A slightly acidic to neutral pH (6.0-7.0) is ideal. Before planting, amend your soil with compost or other organic matter to improve drainage and fertility. Avoid heavy clay soils, as they can become waterlogged and inhibit root growth.
4. How often should I water dill?
Dill needs consistent moisture to thrive, but it doesn’t like to be waterlogged. Water deeply whenever the top inch of soil feels dry to the touch. Avoid overhead watering, as this can promote fungal diseases. Instead, water at the base of the plant. During hot, dry weather, you may need to water more frequently.
5. Does dill need fertilizer?
Dill is not a heavy feeder, but it can benefit from occasional fertilization. Apply a balanced organic fertilizer every few weeks during the growing season. Avoid over-fertilizing, as this can result in excessive foliage growth at the expense of flavor.
6. How do I harvest dill?
You can start harvesting dill leaves as soon as the plant is a few inches tall. Simply snip off the leaves with scissors or your fingers. For the best flavor, harvest dill in the morning, after the dew has dried. To harvest dill seeds, wait until the seed heads have turned brown and dry. Cut the seed heads off the plant and hang them upside down in a paper bag to dry completely. Once dry, the seeds will easily fall out of the seed heads.
7. How do I prevent dill from bolting?
Bolting is a natural process that occurs when dill is exposed to high temperatures or long days. To prevent bolting, plant dill in early spring or late summer, and provide it with some afternoon shade during the hottest months. You can also try planting bolt-resistant varieties of dill. Regularly harvesting the leaves can also help delay bolting.
8. What are some common pests and diseases that affect dill?
Dill is generally pest-resistant, but it can be susceptible to aphids, spider mites, and carrot flies. To control these pests, you can use insecticidal soap or neem oil. Dill can also be affected by fungal diseases such as powdery mildew and leaf spot. To prevent these diseases, avoid overhead watering and ensure good air circulation around the plants.
9. Can I grow dill in containers?
Yes, dill grows well in containers. Choose a pot that is at least 12 inches in diameter to allow for root development. Use a well-draining potting mix, and place the container in a sunny location. Water regularly to keep the soil consistently moist.
10. How do I dry dill?
To dry dill, harvest the leaves and tie them into small bundles. Hang the bundles upside down in a cool, dry, and well-ventilated place. Alternatively, you can dry dill in a dehydrator or oven. To dry dill in the oven, spread the leaves on a baking sheet and bake at a low temperature (170°F) for several hours, or until they are completely dry. Store dried dill in an airtight container in a cool, dark place.
11. Can I save dill seeds for next year?
Yes, you can save dill seeds for next year. Allow the seed heads to dry completely on the plant. Once dry, cut the seed heads off the plant and store them in a paper bag in a cool, dry place. In the spring, you can sow the seeds directly in your garden.
12. Is growing dill at home worth the effort?
Absolutely! Growing dill at home provides you with a constant supply of fresh, flavorful herb that is free from pesticides and herbicides. It’s also a rewarding experience that connects you to the food you eat. Plus, it’s a great way to add a touch of greenery to your kitchen or garden. The superior taste and freshness of homegrown dill make it well worth the effort.
Leave a Comment