
Grow Crunchy Celery: Your Guide to Homegrown Goodness
Grow Crunchy Celery – it sounds almost too good to be true, doesn’t it? Imagine biting into a crisp, juicy stalk of celery you’ve nurtured from seed, bursting with flavor far superior to anything you’d find in the supermarket. That’s the magic of home gardening, and this article is your key to unlocking it. I’ve always loved the satisfying crunch of celery, but store-bought stalks often fall short – limp, stringy, and lacking that vibrant, fresh taste. That’s why I embarked on my own journey to master the art of growing crunchy celery, and I’m thrilled to share my DIY tricks and hacks with you.
The history of celery cultivation is surprisingly rich, dating back centuries. While its modern popularity is relatively recent, celery has been a valued vegetable for its medicinal properties and culinary uses for ages. But let’s be honest, the real reason we’re here is to learn how to grow our own incredibly crunchy celery!
Why Grow Your Own Crunchy Celery?
There are several compelling reasons to ditch the supermarket and embrace the world of homegrown celery. First, the flavor is unparalleled. Store-bought celery often travels long distances before reaching your table, resulting in a loss of freshness and flavor. Secondly, growing your own celery allows you to control the growing process, ensuring you get the perfect, crunchy stalks you crave. Finally, it’s incredibly rewarding! There’s a deep satisfaction in nurturing a plant from seed to harvest, and the taste of your homegrown success is truly unbeatable. This guide will walk you through everything you need to know, from seed starting to harvesting those perfectly crunchy stalks of Grow Crunchy Celery.
So, are you ready to embark on this exciting gardening adventure? Let’s get started and discover the secrets to growing the crunchiest celery you’ve ever tasted!
Growing Crunchy Celery From Scraps: A DIY Guide
I love celery, but those store-bought stalks can sometimes be a bit limp. So I decided to try growing my own crunchy celery from scraps! It’s surprisingly easy, and you’ll be amazed at how much fresher and tastier homegrown celery is. Here’s how I did it:
Phase 1: Preparing Your Celery Base
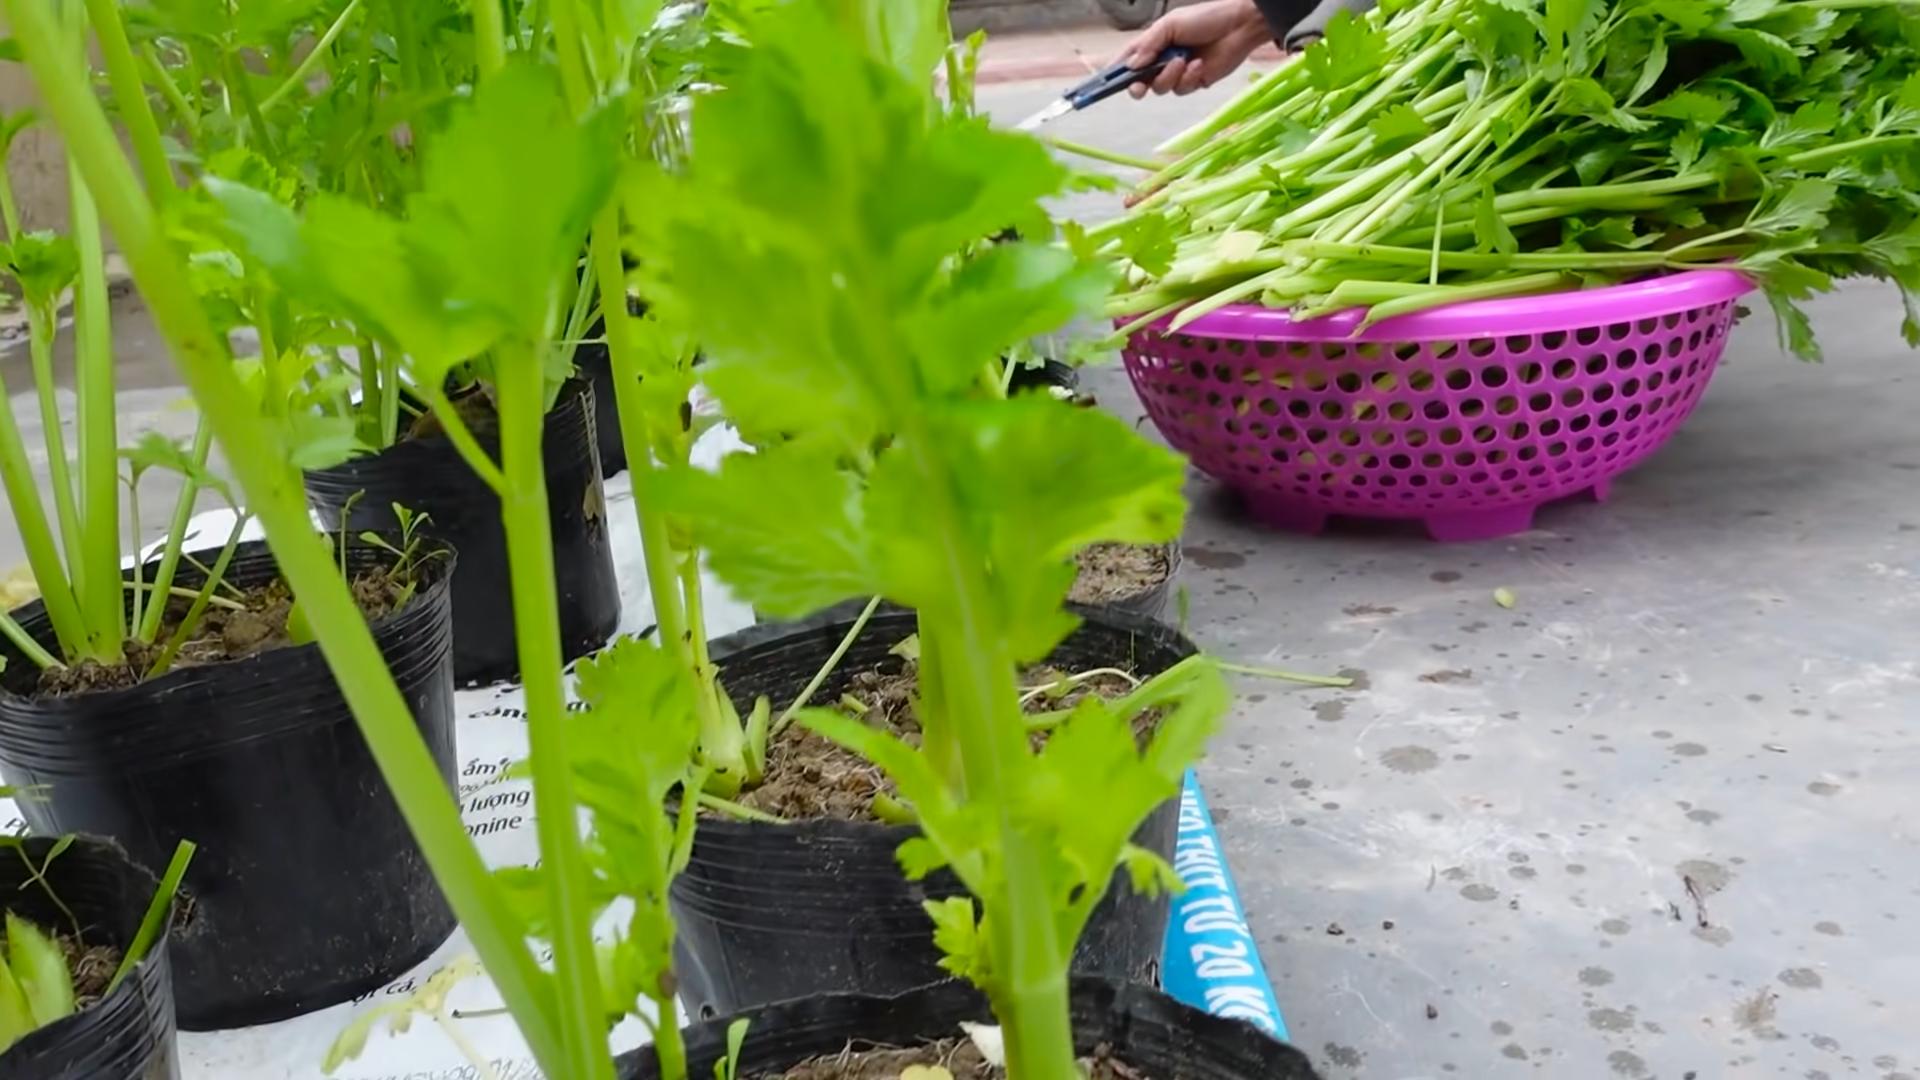
- Choose the right celery: Select a firm, fresh bunch of celery. Look for stalks that are crisp and vibrant green, avoiding any that are wilted or showing signs of decay. The base is the most important part, so make sure it’s healthy.
- Cut the base: About an inch or two of the base, including the root section, is ideal. Make a clean, straight cut with a sharp knife. You want to preserve as much of the root system as possible.
- Remove the outer leaves: Gently peel away any damaged or wilted outer leaves from the base. This helps prevent rot and allows the plant to focus its energy on growth.
- Rinse thoroughly: Rinse the celery base under cool running water to remove any dirt or debris. Make sure to get into all the crevices.
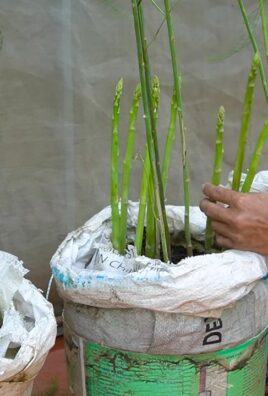
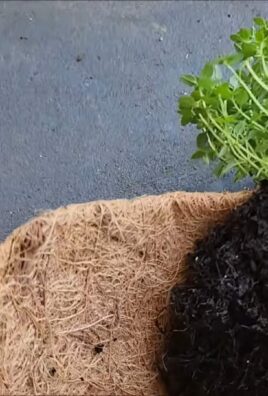
Phase 2: Setting Up Your Growing Environment
- Choose a container: You can use almost any container, as long as it has drainage holes. A shallow dish, a small pot, or even a repurposed yogurt container will work. Make sure it’s at least 4 inches deep.
- Select your growing medium: I prefer to use a well-draining potting mix. Avoid using garden soil directly, as it can be too heavy and compact for celery. A mix specifically designed for herbs or vegetables is ideal.
- Fill the container: Fill your chosen container with the potting mix, leaving about half an inch of space at the top. Gently moisten the soil with water, ensuring it’s evenly damp but not soggy.
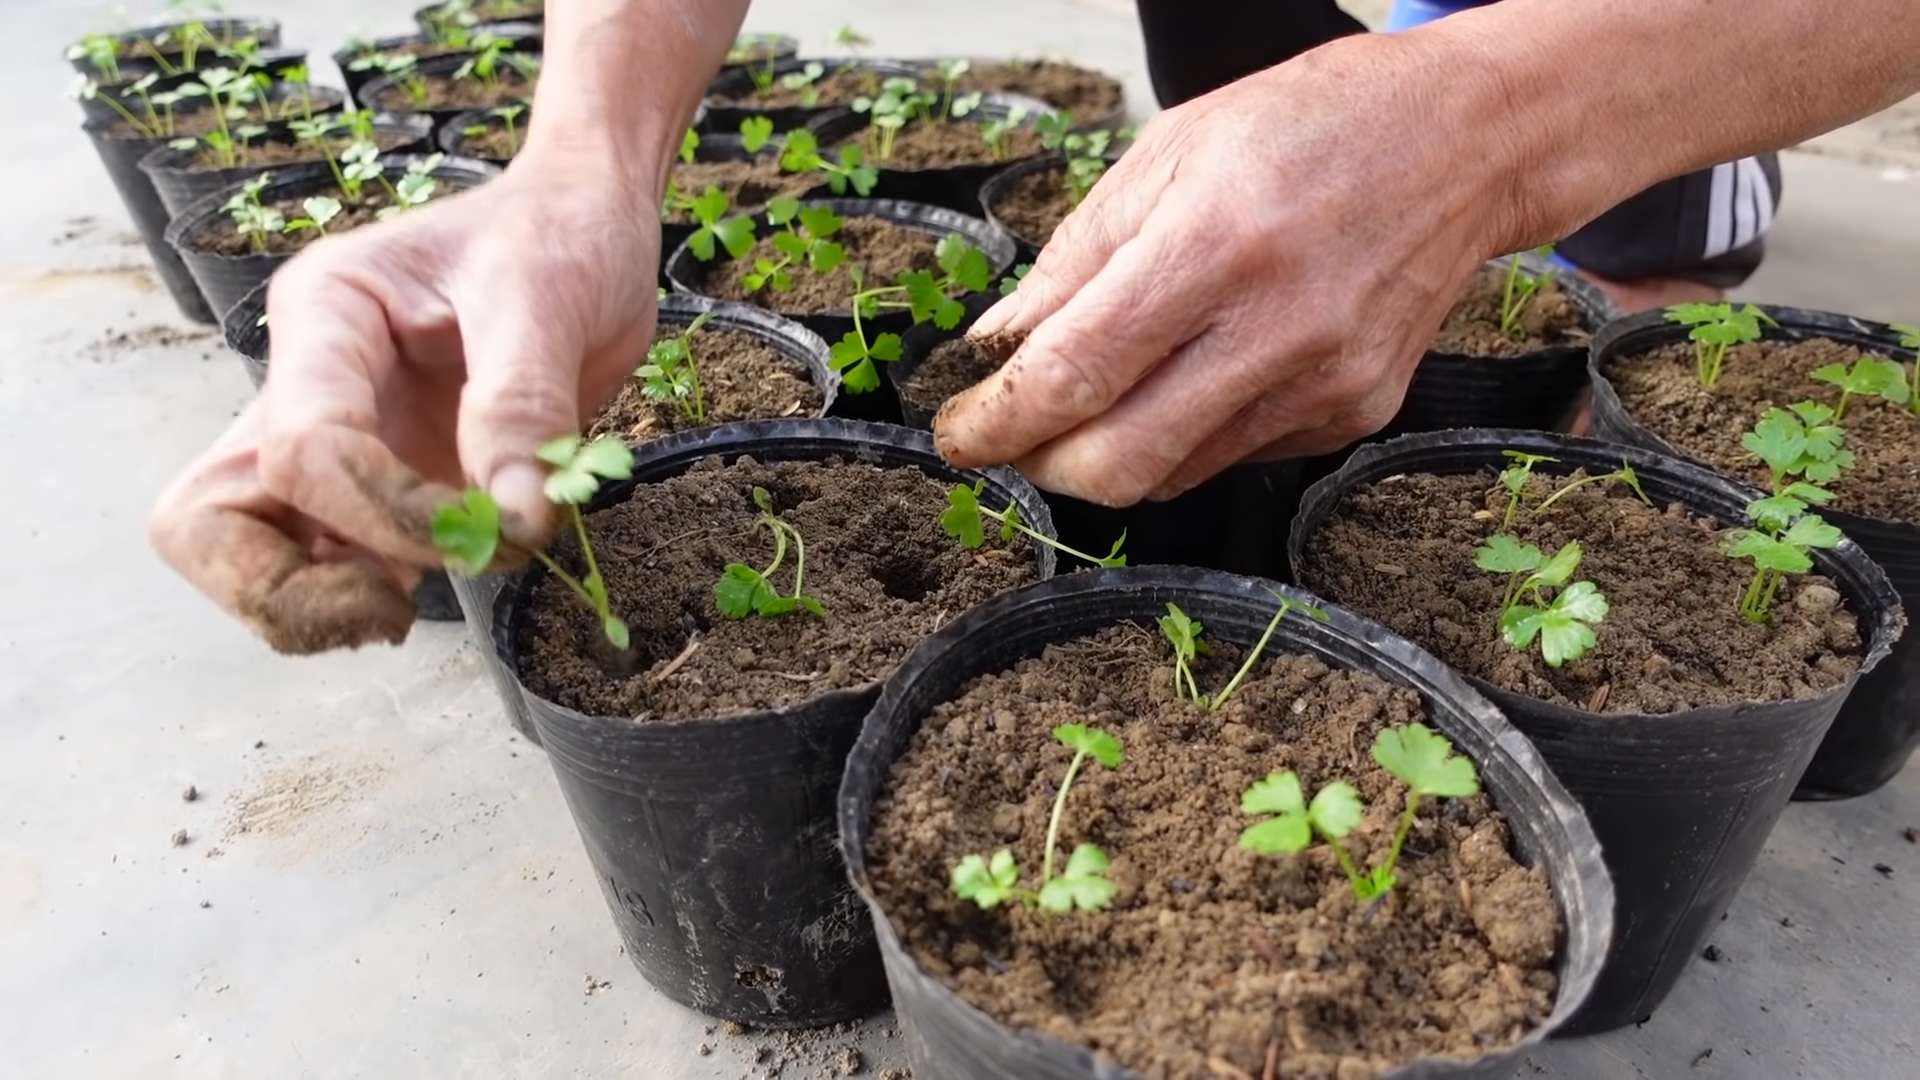
Phase 3: Planting and Caring for Your Celery
- Planting the base: Carefully place the prepared celery base into the moistened potting mix, ensuring the root section is fully submerged. The base should sit firmly in the soil, but don’t press down too hard.
- Watering: Water the celery base gently, ensuring the soil is consistently moist but not waterlogged. Overwatering can lead to root rot. Check the soil moisture daily, and water when the top inch feels dry.
- Sunlight: Place your container in a location that receives at least six hours of indirect sunlight per day. Direct sunlight can scorch the delicate leaves. A sunny windowsill or a sheltered outdoor spot works well.
- Monitoring growth: After a few days, you should start to see new growth emerging from the center of the celery base. This is a sign that your celery is taking root and thriving.
- Fertilizing (optional): After about a month, you can start fertilizing your celery with a diluted liquid fertilizer. Follow the instructions on the fertilizer packaging carefully, as over-fertilizing can harm the plant.
- Thinning (optional): If you notice the celery stalks becoming overcrowded, you can gently thin them out. This allows for better air circulation and prevents diseases.
- Pest control: Keep an eye out for pests like aphids or slugs. If you notice any infestations, you can use a natural pest control method, such as insecticidal soap or neem oil.
- Harvesting: You can start harvesting your celery after about 8-10 weeks, depending on the variety and growing conditions. Harvest the outer stalks first, leaving the inner stalks to continue growing.
Phase 4: Troubleshooting Common Problems
Wilting Leaves:
Wilting leaves often indicate underwatering or insufficient sunlight. Check the soil moisture and adjust your watering schedule accordingly. Also, ensure your celery is receiving enough indirect sunlight.
Yellowing Leaves:
Yellowing leaves can be a sign of overwatering, nutrient deficiency, or disease. Check the soil moisture and adjust your watering schedule. Consider using a balanced liquid fertilizer to provide essential nutrients. If you suspect a disease, remove affected leaves and improve air circulation.
Slow Growth:
Slow growth can be due to insufficient sunlight, cold temperatures, or poor soil drainage. Ensure your celery is receiving enough indirect sunlight and is planted in well-draining soil. Consider moving it to a warmer location if necessary.
Root Rot:
Root rot is a serious problem that can kill your celery. It’s usually caused by overwatering or poorly draining soil. If you notice signs of root rot (soft, mushy roots), it’s best to start over with a new celery base and well-draining soil.
Remember: Patience is key! Growing celery from scraps takes time, but the reward of fresh, crunchy celery is well worth the effort. Enjoy your homegrown harvest!
Conclusion
So there you have it – your guide to growing unbelievably crunchy celery at home! This DIY trick isn’t just about saving money on grocery bills; it’s about experiencing the unparalleled satisfaction of harvesting your own crisp, flavorful celery stalks. The superior crunch and freshness you achieve by growing your own celery far surpasses anything you’ll find in the supermarket. You’re in complete control of the growing process, ensuring your celery is free from pesticides and grown with love (and maybe a little bit of sunshine). This method is surprisingly simple, requiring minimal space and effort, making it perfect for even the most novice gardeners. Whether you’re a seasoned green thumb or just starting your gardening journey, this is a project that guarantees results and a rewarding experience.
Beyond the basic method, the possibilities for customization are endless. Experiment with different types of celery seeds to discover your favorite variety. Consider using hydroponics or other soilless growing methods for even more control over the growing environment. For those with limited space, vertical gardening techniques can be incredibly effective. You can even try growing celery in a container on your balcony or patio, bringing the freshness of your homegrown harvest right to your doorstep. Adding a little compost tea to your watering routine can further enhance the flavor and nutrient content of your celery. Don’t be afraid to get creative and adapt the method to suit your specific needs and preferences. The key is to have fun and enjoy the process of nurturing your celery plants from seed to stalk.
We strongly encourage you to try this simple yet effective method of growing crunchy celery. It’s a rewarding experience that connects you to your food in a meaningful way. Share your results with us! We’d love to see pictures of your thriving celery plants and hear about your experiences. Use the hashtag #GrowCrunchyCelery on social media to connect with other gardening enthusiasts and share your tips and tricks. Let’s build a community of home growers, celebrating the joy of fresh, homegrown produce. Remember, the journey of growing your own food is just as rewarding as the delicious results. So grab some seeds, get your hands dirty, and embark on this exciting adventure of growing your own unbelievably crunchy celery! You won’t regret it.
Frequently Asked Questions
What type of celery seeds should I use?
You can use any type of celery seed you prefer. However, some varieties are known for their superior crunch and flavor. Look for descriptions that highlight crispness and a robust flavor profile. Experimenting with different varieties is part of the fun!
How much sunlight does celery need?
Celery thrives in full sun to partial shade. Aim for at least six hours of sunlight per day. If you live in a particularly hot climate, providing some afternoon shade might be beneficial to prevent the plants from wilting.
How often should I water my celery?
Keep the soil consistently moist but not waterlogged. Water deeply and regularly, especially during dry periods. The frequency of watering will depend on your climate and the type of soil you’re using. Check the soil moisture regularly by sticking your finger a couple of inches into the soil. If it feels dry, it’s time to water.
What should I do if my celery plants are bolting?
Bolting, where the plant sends up a flower stalk, is often a sign of stress, such as heat or drought. Ensure your plants are receiving adequate water and are not exposed to excessive heat. While bolting can affect the quality of the celery, you can still harvest the stalks, though they may be slightly less tender.
Can I grow celery indoors?
Yes, you can grow celery indoors, provided you provide sufficient light. A sunny windowsill or a grow light is ideal. You may need to supplement with a grow light to ensure the plants receive enough light for optimal growth. Consider using a container with good drainage to prevent root rot.
How long does it take to grow celery?
The time it takes to harvest celery depends on the variety and growing conditions. Generally, it takes around 70-100 days from seed to harvest. Be patient and enjoy the process of watching your celery plants grow!
What are the benefits of growing my own celery?
Growing your own celery offers several advantages. You’ll enjoy superior crunch and freshness compared to store-bought celery. You’ll have complete control over the growing process, ensuring your celery is free from pesticides and other chemicals. Plus, it’s a rewarding and satisfying experience to grow your own food!
What should I do with my harvested celery?
Enjoy your homegrown celery in all your favorite recipes! Use it in salads, soups, stews, or as a healthy snack. You can also store it in the refrigerator for up to a week to maintain its freshness. Consider blanching and freezing some of your harvest for later use.
My celery plants look leggy. What can I do?
Leggy celery plants often indicate insufficient light. Ensure your plants are receiving enough sunlight or supplement with a grow light. You can also try thinning out the plants to improve air circulation and allow more light to reach each plant.
Can I reuse the celery scraps to grow more celery?
While you can’t grow new celery plants directly from celery scraps, you can save the seeds from your harvested celery to plant for the next growing season. Allow the celery heads to fully mature and dry before collecting the seeds.
Leave a Comment