
Grow Coconut Trees Easily, you say? Absolutely! Imagine stepping into your backyard and harvesting fresh coconuts – a tropical dream come true, right? Well, it’s more attainable than you might think! For centuries, coconut trees have been a symbol of abundance and sustenance in tropical cultures, providing everything from food and drink to building materials and medicine. Think of the Polynesian voyagers who carried coconuts across vast oceans, planting them on new shores, ensuring survival and prosperity.
But you don’t need a tropical island to enjoy the benefits of these amazing trees. Maybe you’re tired of paying exorbitant prices for coconut water at the grocery store, or perhaps you simply crave the satisfaction of nurturing something beautiful and useful. Whatever your reason, this DIY guide is your passport to successfully grow coconut trees easily, even if you’re a beginner gardener. I’m going to share some simple yet effective tricks and hacks that will dramatically increase your chances of success. Get ready to roll up your sleeves and embark on this exciting gardening adventure with me!
Grow Your Own Coconut Trees: A Simple DIY Guide
Hey there, fellow plant enthusiasts! Ever dreamed of having your own tropical paradise right in your backyard? Well, you can! Growing coconut trees might seem daunting, but trust me, with a little patience and the right know-how, you can absolutely do it. I’m going to walk you through the entire process, from selecting the perfect coconut to nurturing your little palm into a towering beauty. Let’s get started!
Choosing the Right Coconut: The Foundation of Your Success
This is arguably the most important step. You can’t just grab any coconut from the grocery store and expect it to sprout. We need a mature, viable coconut.
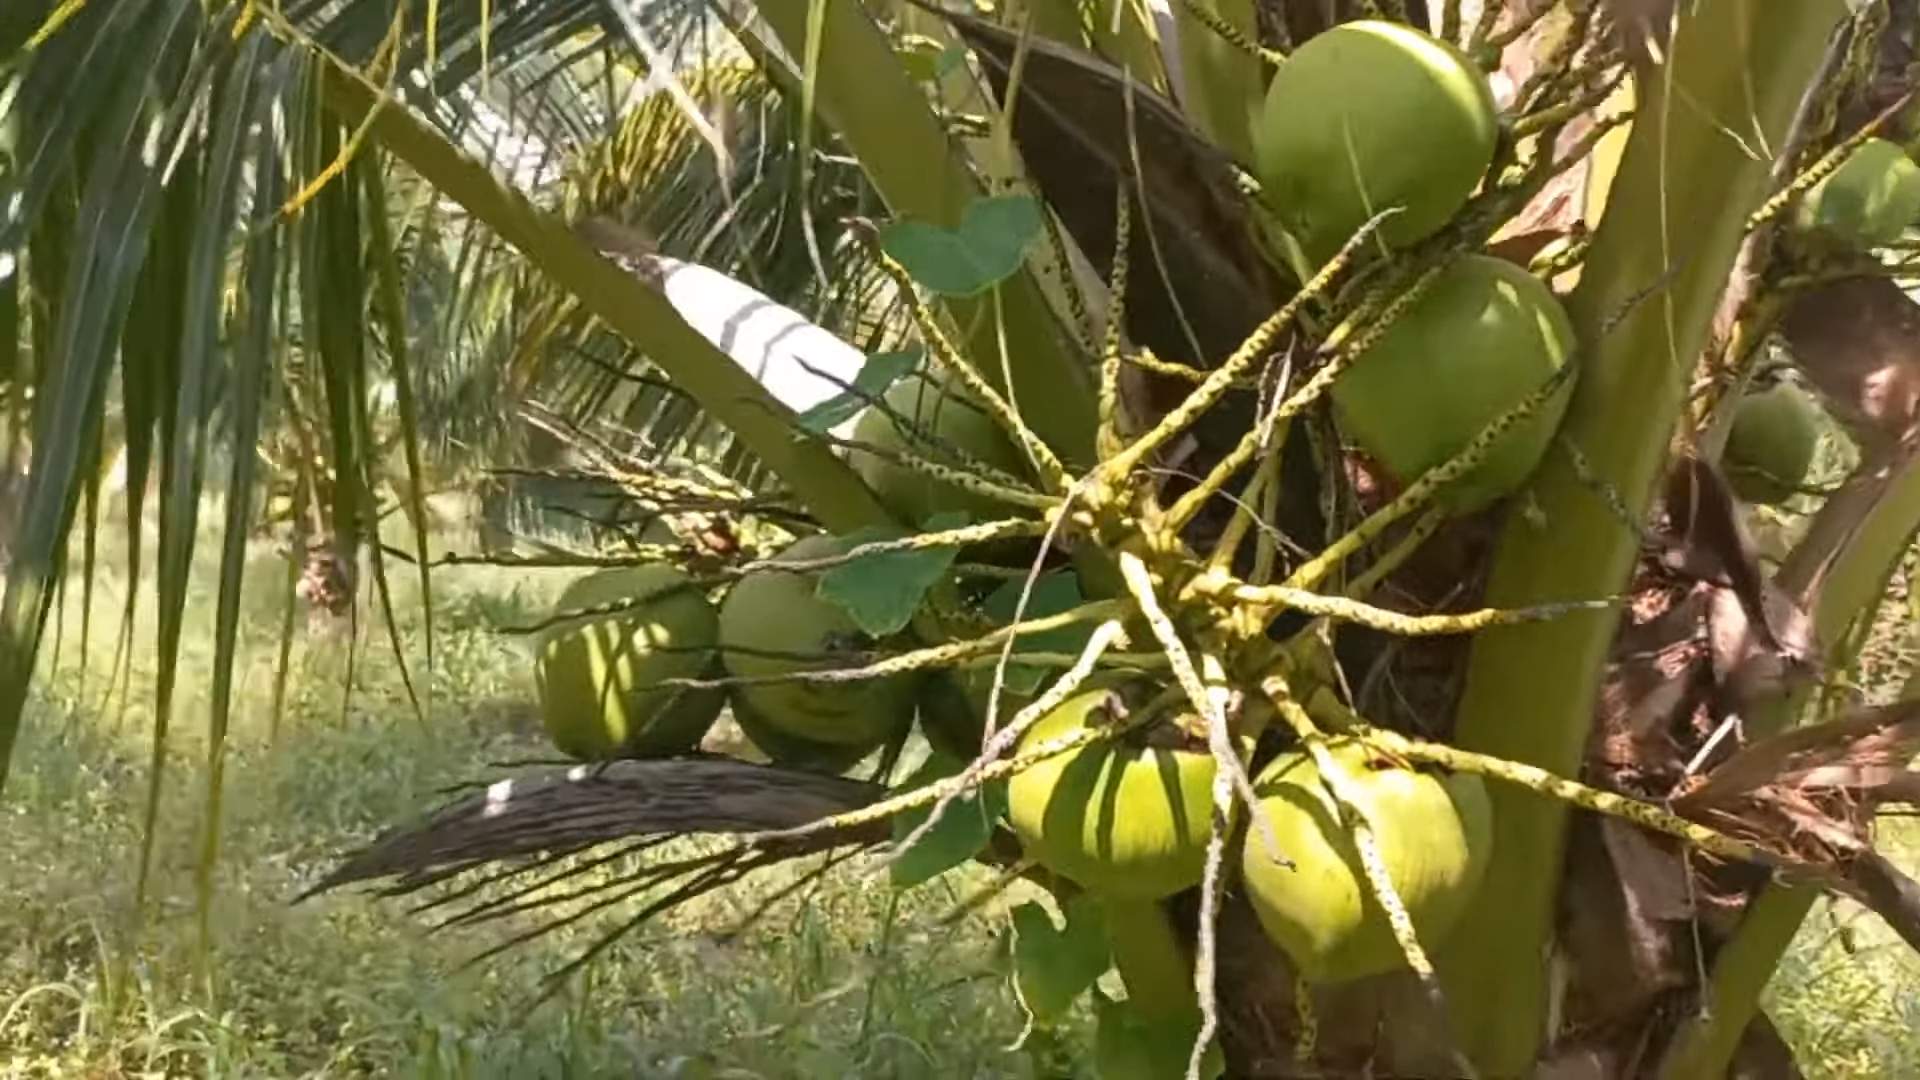
* Look for a Mature Coconut: This means a coconut that’s brown, heavy, and still has its husk intact. Green coconuts are too young and won’t germinate.
* Shake it Up: Give the coconut a good shake. You should hear plenty of water sloshing around inside. This indicates that the coconut is fresh and hasn’t dried out.
* Avoid Damaged Coconuts: Inspect the coconut for any cracks, bruises, or signs of mold. These can indicate that the coconut is damaged or diseased.
* Source Matters: Ideally, get your coconut from a local farmer or nursery specializing in tropical plants. They’ll be able to provide you with a coconut that’s specifically suited for your climate. If that’s not possible, a reputable online vendor is your next best bet.
Preparing Your Coconut for Germination: Giving it a Head Start
Now that you’ve got your perfect coconut, it’s time to prepare it for germination. This involves creating the ideal environment for the roots to emerge.
1. Soaking the Coconut: Submerge the coconut in a bucket of water for 2-3 days. This helps to rehydrate the husk and soften it, making it easier for the roots to penetrate. Make sure the water covers at least half of the coconut. Change the water daily to prevent stagnation.
2. Choosing Your Germination Method: You have a couple of options here:
* The Potting Mix Method: This is my preferred method because it’s less messy and provides a more stable environment for the coconut.
* The Water Method: This involves suspending the coconut in water, allowing the roots to grow directly into the water. It’s a bit more visually appealing, but requires more monitoring.
Germination Method 1: The Potting Mix Method
This is the method I personally recommend for beginners. It’s straightforward and provides a good balance of moisture and aeration.
1. Prepare Your Pot: Choose a large pot, at least 12 inches in diameter and depth. Coconut palms need plenty of room for their roots to grow. Make sure the pot has drainage holes.
2. Choose Your Potting Mix: Use a well-draining potting mix specifically formulated for palms or tropical plants. A mix of coco coir, perlite, and peat moss works well. Avoid using garden soil, as it can become compacted and hinder drainage.
3. Planting the Coconut: Fill the pot about halfway with the potting mix. Place the coconut horizontally on top of the mix, with the “eyes” (the three small indentations on one end of the coconut) facing upwards. Cover the coconut with more potting mix, leaving about one-third of the coconut exposed.
4. Watering: Water the potting mix thoroughly until water drains out of the drainage holes. Keep the potting mix consistently moist, but not soggy. Water whenever the top inch of soil feels dry to the touch.
5. Location: Place the pot in a warm, sunny location. Coconut palms need at least 6-8 hours of direct sunlight per day. A greenhouse or sunny windowsill is ideal.
6. Patience is Key: Germination can take anywhere from 2-6 months, so don’t get discouraged if you don’t see any sprouts right away. Just keep the potting mix moist and be patient.
Germination Method 2: The Water Method
This method is a bit more visually interesting, but requires more attention to detail.
1. Prepare Your Container: Choose a container that’s large enough to hold the coconut and enough water to cover the bottom half of it. A clear container is ideal so you can monitor the water level and root growth.
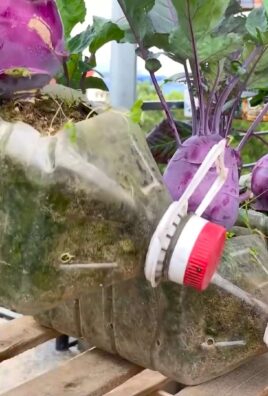
2. Suspending the Coconut: You need to suspend the coconut in the container so that the bottom half is submerged in water, but the top half remains dry. You can use a wire rack, a piece of wood with a hole cut in it, or even a DIY contraption made from plastic bottles.
3. Watering: Fill the container with water until it reaches the halfway point of the coconut. Change the water every 2-3 days to prevent stagnation and algae growth.
4. Location: Place the container in a warm, sunny location. Just like with the potting mix method, coconut palms need plenty of sunlight.
5. Monitoring Root Growth: Keep an eye on the coconut for signs of root growth. You should see small roots emerging from the “eyes” of the coconut.
6. Transplanting: Once the roots are a few inches long, it’s time to transplant the coconut into a pot with potting mix. Follow the same steps as outlined in the Potting Mix Method.
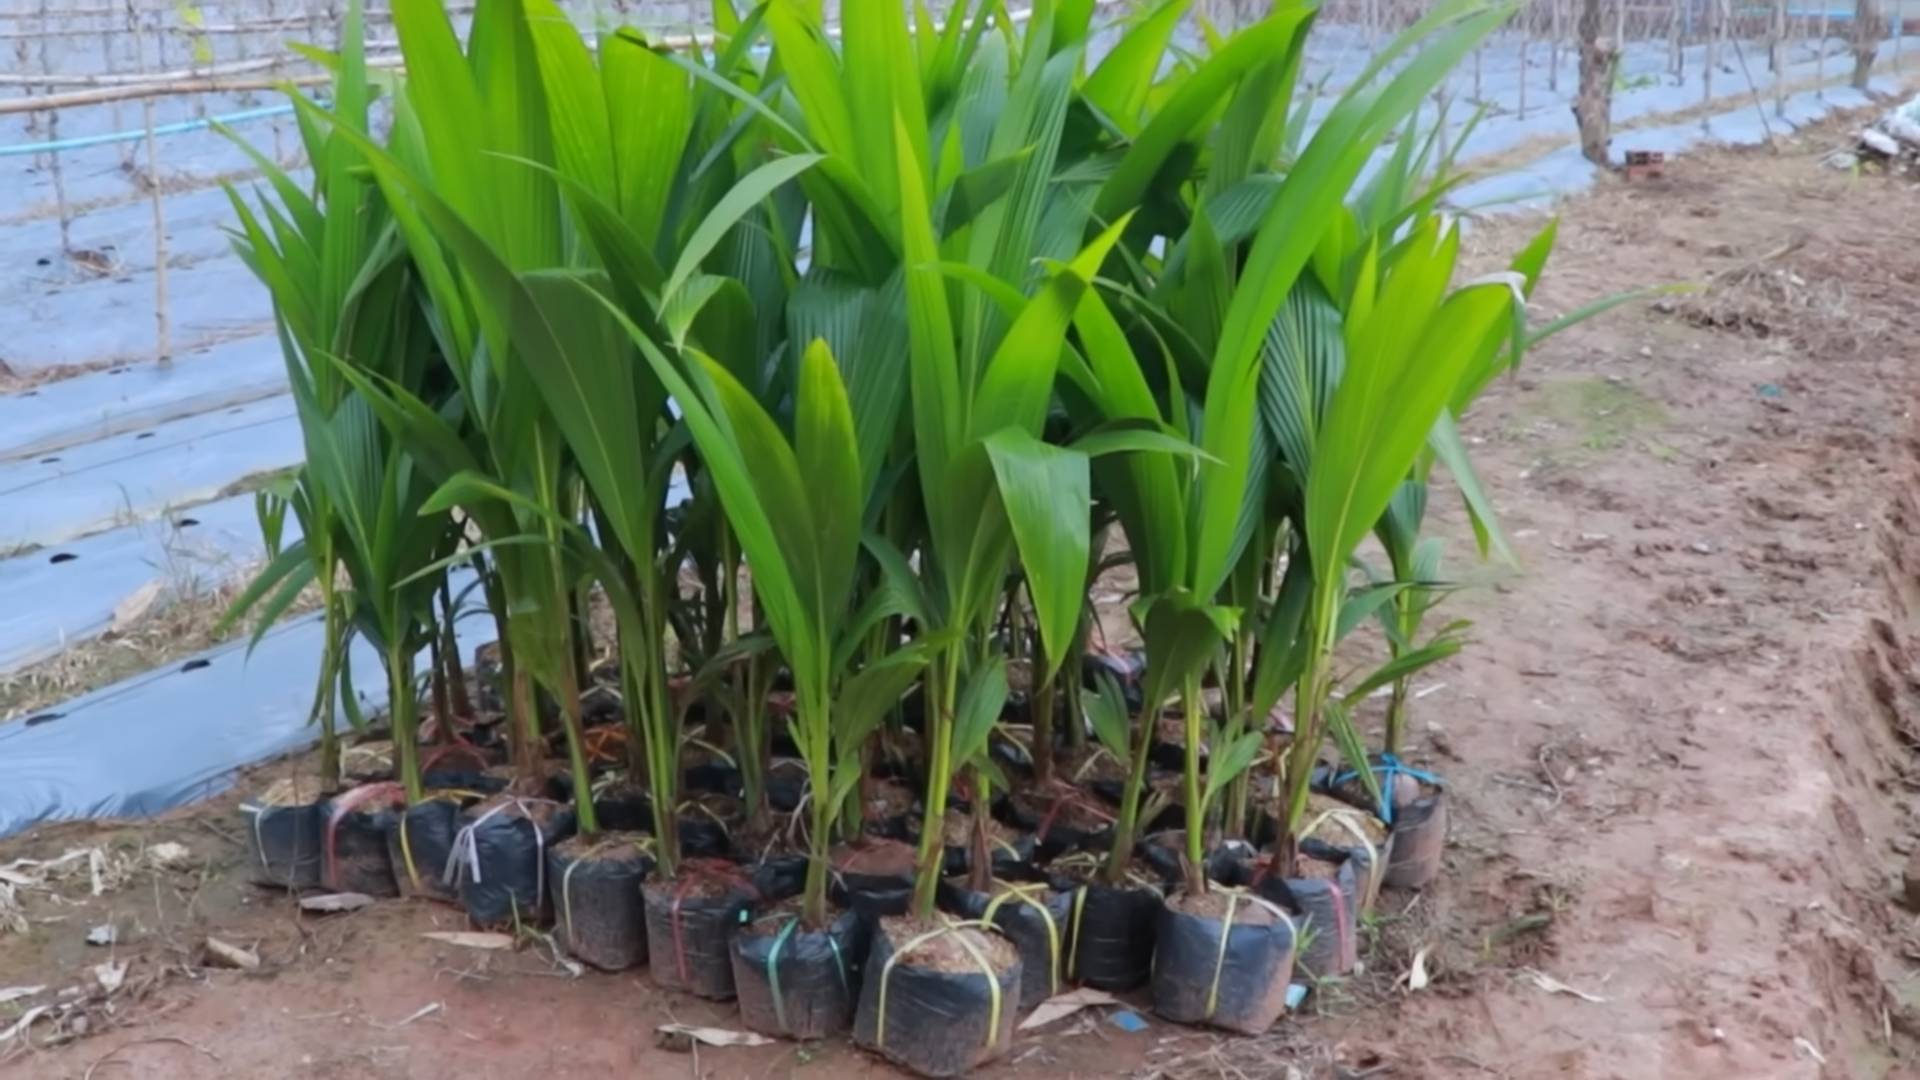
Caring for Your Coconut Seedling: Nurturing Your Little Palm
Once your coconut has sprouted and developed a few leaves, it’s time to transition to caring for it as a seedling.
1. Sunlight: Coconut palms thrive in full sun. Ensure your seedling receives at least 6-8 hours of direct sunlight per day. If you’re growing it indoors, a south-facing window is your best bet. You might also consider using a grow light to supplement natural sunlight, especially during the winter months.
2. Watering: Water your seedling regularly, keeping the soil consistently moist but not soggy. Allow the top inch of soil to dry out slightly between waterings. Overwatering can lead to root rot, so be careful not to overdo it.
3. Fertilizing: Feed your coconut seedling with a balanced fertilizer specifically formulated for palms or tropical plants. Follow the instructions on the fertilizer label for application rates. Fertilize every 2-3 months during the growing season (spring and summer).
4. Humidity: Coconut palms prefer high humidity. If you live in a dry climate, you can increase humidity around your seedling by misting it regularly with water, placing a humidifier nearby, or setting the pot on a tray filled with pebbles and water.
5. Repotting: As your coconut palm grows, it will eventually need to be repotted into a larger container. Choose a pot that’s a few inches larger in diameter than the current pot. Repot in the spring or summer.
6. Pest Control: Keep an eye out for common pests such as spider mites, mealybugs, and scale. If you notice any pests, treat them with an appropriate insecticide or horticultural oil.
7. Pruning: Coconut palms don’t require much pruning. Simply remove any dead or damaged fronds (leaves) as needed.
Transplanting Outdoors: Giving Your Palm Room to Grow
If you live in a climate where coconut palms can survive outdoors year-round (USDA zones 10-11), you can eventually transplant your seedling into the ground.
1. Choosing the Right Location: Select a location that receives full sun and has well-draining soil. Coconut palms need plenty of space to grow, so make sure there are no overhead obstructions such as power lines or buildings.
2. Preparing the Soil: Dig a hole that’s twice as wide and as deep as the root ball of your seedling. Amend the soil with compost or other organic matter to improve drainage and fertility.
3. Planting: Carefully remove the seedling from its pot and place it in the hole. Backfill the hole with the amended soil, gently tamping it down around the root ball.
4. Watering: Water the newly planted coconut palm thoroughly.
5. Mulching: Apply a layer of mulch around the base of the palm to help retain moisture and suppress weeds.
6. Protection: Protect your young coconut palm from strong winds and frost, especially during the first few years after planting. You can use stakes or a temporary shelter to provide protection.
Dealing with Challenges: Troubleshooting Common Problems
Even with the best care, you might encounter some challenges along the way. Here are a few common problems and how to address them:
* Yellowing Leaves: This can be caused by a variety of factors, including overwatering, underwatering, nutrient deficiencies, or pest infestations. Check the soil moisture, fertilize regularly, and inspect for pests.
* Brown Leaf Tips: This is often caused by dry air or salt buildup in the soil. Increase humidity and flush the soil with water to remove excess salt.
* Slow Growth: This can be
Conclusion
So, there you have it! Growing coconut trees easily might seem like a tropical dream reserved for those living in balmy climates, but with this simple DIY trick, you can significantly increase your chances of success, no matter where you are. This isn’t just about planting a coconut; it’s about creating the optimal environment for germination and early growth, giving your little coconut palm the best possible start in life.
Why is this a must-try? Because it addresses the most common hurdles faced when attempting to grow coconuts: inconsistent moisture, temperature fluctuations, and protection from pests. The enclosed container acts as a mini-greenhouse, maintaining a consistently warm and humid environment that mimics the ideal tropical conditions. This dramatically improves germination rates and reduces the risk of the coconut drying out or succumbing to fungal infections.
But don’t stop there! Feel free to experiment with variations. Consider adding a layer of activated charcoal to the bottom of your container to further improve drainage and absorb any potential odors. You could also try using different types of potting mixes, such as a blend of coco coir, perlite, and vermicast, to provide a nutrient-rich and well-draining medium. For those in colder climates, a heat mat placed underneath the container can provide an extra boost of warmth, especially during the winter months. Remember to monitor the moisture levels regularly and adjust your watering schedule accordingly.
This DIY method isn’t just about growing a plant; it’s about embarking on a rewarding journey. Imagine the satisfaction of nurturing a tiny coconut sprout into a thriving palm tree, a living testament to your patience and dedication. It’s a conversation starter, a unique addition to your home or garden, and a tangible connection to the tropics.
We wholeheartedly encourage you to give this DIY trick a try. It’s simple, cost-effective, and incredibly rewarding. And most importantly, it significantly increases your chances of successfully growing coconut trees easily. Once you’ve given it a go, we’d love to hear about your experience! Share your photos, tips, and any variations you’ve tried in the comments below. Let’s create a community of coconut enthusiasts and help each other bring a touch of the tropics into our lives. Your success story could inspire others to embark on their own coconut-growing adventure!
Frequently Asked Questions (FAQ)
What kind of coconut should I use?
The best coconuts to use for planting are mature, brown coconuts that still have their husk intact. You want a coconut that feels heavy for its size and sloshes when you shake it, indicating the presence of coconut water inside. Avoid coconuts that are cracked, damaged, or show signs of mold. Freshness is key! The sooner you plant the coconut after harvesting (or purchasing), the better your chances of success. You can often find suitable coconuts at Asian grocery stores or specialty produce markets.
How long does it take for a coconut to germinate using this method?
Germination time can vary depending on several factors, including the freshness of the coconut, the temperature, and the humidity levels. Generally, you can expect to see signs of germination (a sprout emerging from the eye of the coconut) within 2-6 months. Be patient! Consistent warmth and moisture are crucial during this period. Don’t be discouraged if it takes longer; some coconuts are simply slower to sprout than others.
What type of container should I use?
A clear plastic container with a lid is ideal. The transparency allows you to monitor the moisture levels and root development without disturbing the coconut. The container should be large enough to accommodate the coconut and several inches of potting mix. A container that is at least 12 inches in diameter and 12 inches deep is a good starting point. Make sure the container has drainage holes to prevent waterlogging. If your container doesn’t have drainage holes, you’ll need to be extra careful with watering to avoid root rot.
What kind of potting mix should I use?
A well-draining potting mix is essential for successful coconut germination. A mix of coco coir, perlite, and vermicast is a good option. You can also use a standard potting mix amended with perlite to improve drainage. Avoid using heavy garden soil, as it can compact and suffocate the roots. The potting mix should be moist but not soggy.
How often should I water the coconut?
The frequency of watering will depend on the temperature and humidity levels. Generally, you should water the coconut when the potting mix feels dry to the touch. Avoid overwatering, as this can lead to root rot. The goal is to keep the potting mix consistently moist but not waterlogged. Check the moisture levels regularly and adjust your watering schedule accordingly.
What temperature is ideal for coconut germination?
Coconuts thrive in warm temperatures. The ideal temperature range for germination is between 85°F and 95°F (29°C and 35°C). If you live in a cooler climate, you may need to provide supplemental heat, such as a heat mat placed underneath the container. Avoid exposing the coconut to temperatures below 65°F (18°C), as this can inhibit germination.
How much light does the coconut need during germination?
While the coconut doesn’t need direct sunlight during germination, it does need some light. Indirect sunlight or a grow light is sufficient. Once the sprout emerges, you can gradually increase the amount of light the plant receives.
What do I do after the coconut sprouts?
Once the sprout emerges, continue to provide consistent warmth and moisture. Gradually acclimate the plant to brighter light conditions. Once the roots have developed and the plant is large enough, you can transplant it into a larger pot. Choose a pot that is at least twice the size of the coconut. Use the same well-draining potting mix.
When can I plant the coconut tree outdoors?
You can plant the coconut tree outdoors once it has developed a strong root system and is at least 2-3 feet tall. However, it’s important to ensure that the climate is suitable for coconut trees. Coconuts thrive in tropical and subtropical climates with warm temperatures and high humidity. If you live in a cooler climate, you may need to keep the coconut tree in a container and bring it indoors during the winter months.
What if my coconut doesn’t sprout?
Sometimes, despite your best efforts, a coconut may not sprout. This could be due to several factors, such as the freshness of the coconut, the temperature, or the humidity levels. Don’t give up! Try again with a fresh coconut and ensure that you are providing the optimal conditions for germination. Remember, patience is key! Growing coconut trees easily takes time and dedication.
Leave a Comment