
Grow Carrots Indoors? Absolutely! Imagine plucking fresh, sweet carrots from your own indoor garden, even when the snow is falling outside. It sounds like a dream, right? Well, it’s a dream within reach, and I’m here to show you how. For centuries, humans have cultivated gardens, adapting to various climates and spaces. From the hanging gardens of Babylon to modern-day urban farms, the desire to nurture and harvest our own food is deeply ingrained in us.
But let’s face it, not everyone has a sprawling backyard or the perfect outdoor conditions for a thriving carrot patch. That’s where the magic of indoor gardening comes in! Learning to grow carrots indoors opens up a world of possibilities, allowing you to enjoy fresh produce year-round, regardless of your living situation. Plus, it’s incredibly rewarding to watch those tiny seeds sprout and transform into vibrant, delicious carrots right before your eyes.
This DIY guide is packed with simple, effective tricks and hacks that will empower you to successfully cultivate carrots indoors. Whether you’re a seasoned gardener or a complete beginner, I’ll walk you through every step, from choosing the right containers and soil to providing the perfect lighting and watering schedule. Get ready to unleash your inner green thumb and embark on a fun and fulfilling indoor gardening adventure!
Growing Carrots Indoors: A Step-by-Step Guide
Hey there, fellow gardening enthusiasts! Ever dreamt of enjoying fresh, homegrown carrots even when the weather outside is frightful? Well, dream no more! I’m going to walk you through the process of growing carrots indoors, so you can have a vibrant, edible garden right in your home. It’s easier than you think, and the satisfaction of pulling up your own little orange treasures is truly rewarding.
Choosing the Right Carrot Variety
Not all carrots are created equal, especially when it comes to indoor growing. You’ll want to opt for shorter, rounder varieties that don’t require as much depth. Here are a few of my favorites:
* ‘Thumbelina’: These are tiny, round carrots that are perfect for containers. They mature quickly and are super cute!
* ‘Paris Market’: Another round variety, ‘Paris Market’ carrots are sweet and tender.
* ‘Little Finger’: As the name suggests, these are small, slender carrots that are well-suited for indoor gardens.
* ‘Danvers Half Long’: While technically not a short variety, you can still grow these in deeper containers. They offer a classic carrot flavor.
Gathering Your Supplies
Before we dive into the planting process, let’s make sure you have everything you need. This will save you time and frustration later on.
* Container: Choose a container that’s at least 12 inches deep for shorter varieties and 18 inches deep for longer ones. Make sure it has drainage holes! Trust me, drainage is crucial to prevent root rot. I prefer using plastic containers because they are lightweight and easy to move around.
* Potting Mix: Carrots need loose, well-draining soil. Avoid using garden soil, as it can be too heavy and compact. I recommend a mix of peat moss, perlite, and vermiculite. You can also find specialized potting mixes for vegetables at your local garden center.
* Carrot Seeds: Select your desired carrot variety from the list above. Make sure the seeds are fresh for the best germination rate.
* Watering Can or Spray Bottle: You’ll need a gentle way to water your carrots without disturbing the soil.
* Grow Lights (Optional but Recommended): While carrots can grow indoors with natural light, grow lights will significantly improve their growth and yield, especially during the darker months.
* Fertilizer: A balanced, water-soluble fertilizer will provide your carrots with the nutrients they need to thrive.
* Small Trowel or Spoon: For planting the seeds.
* Ruler or Measuring Tape: To ensure proper spacing between seeds.
Planting Your Carrot Seeds
Now for the fun part! Let’s get those carrot seeds in the soil.
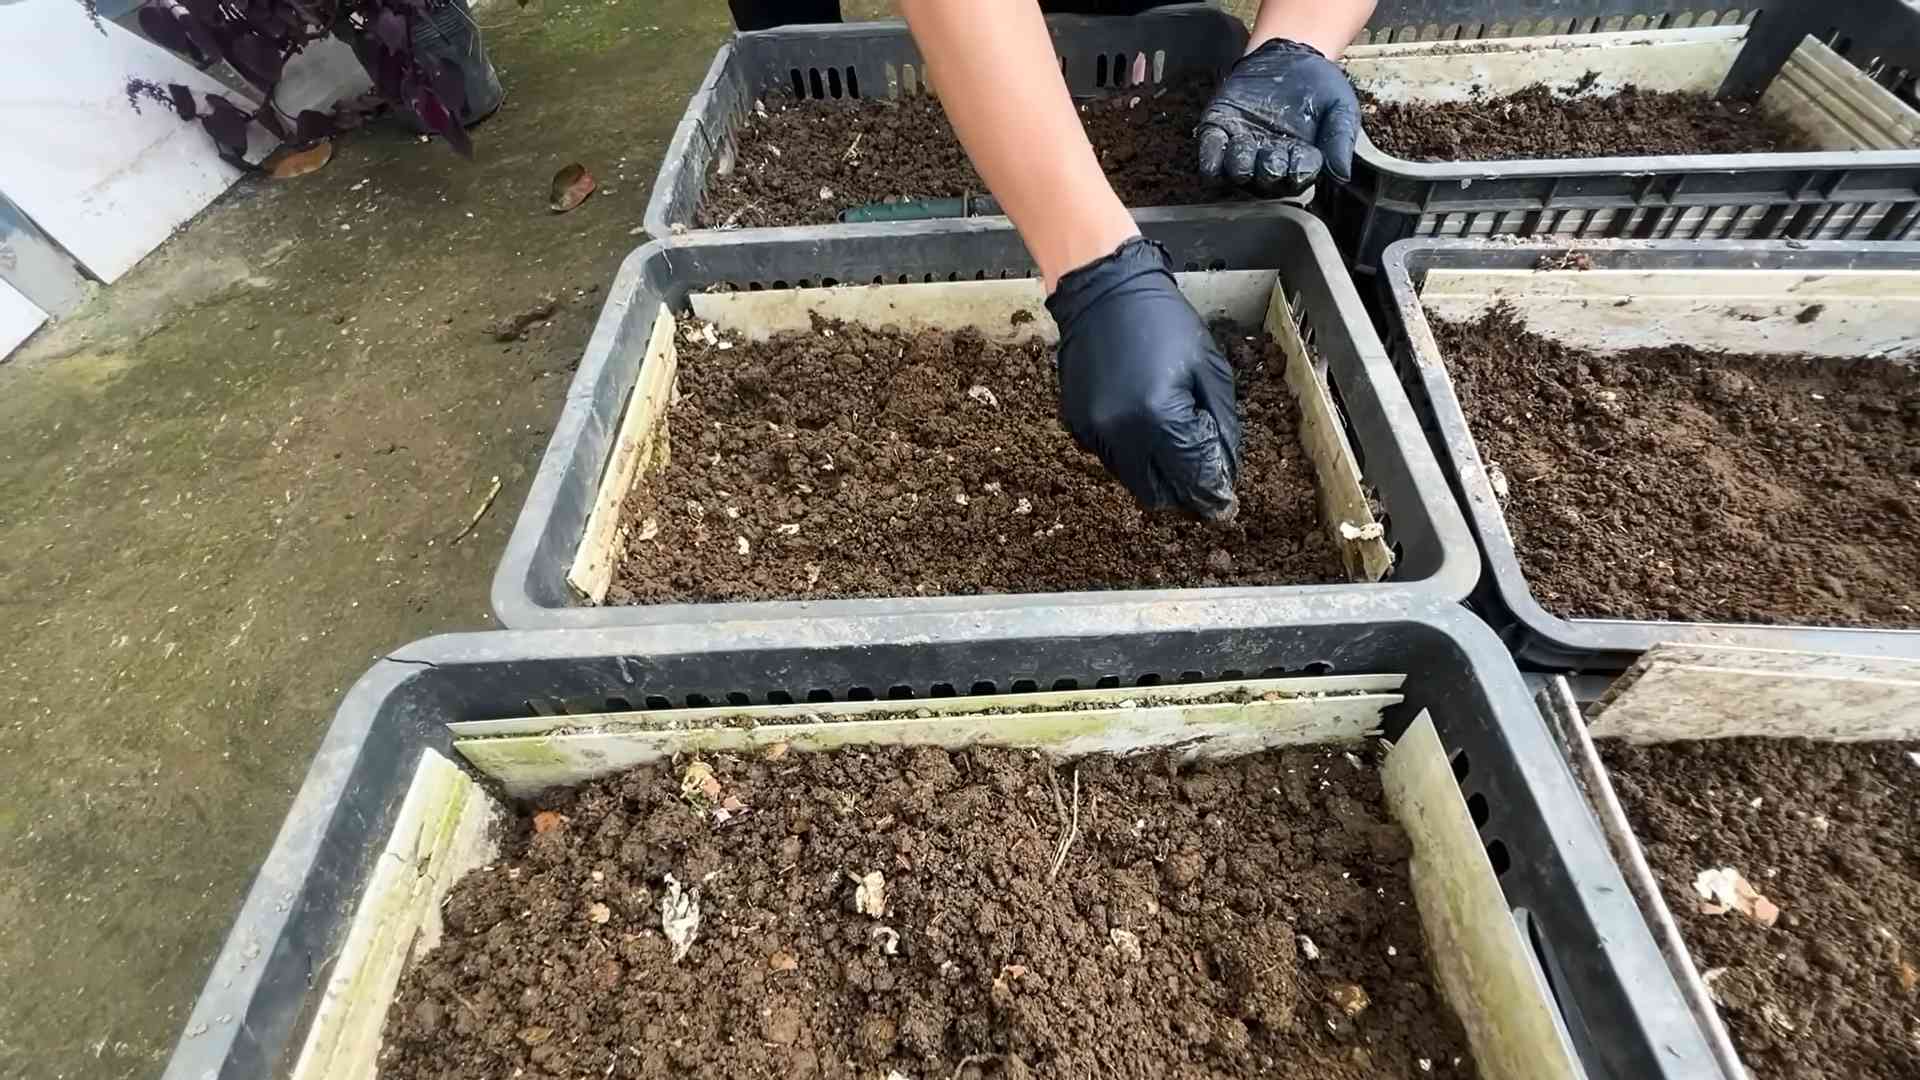
1. Prepare the Container: Fill your container with the potting mix, leaving about an inch of space at the top. Gently pat down the soil to create a level surface.
2. Sow the Seeds: Carrot seeds are tiny, so be careful not to plant them too close together. I like to use a ruler to create shallow furrows about 1/4 inch deep and 1-2 inches apart. Sprinkle the seeds evenly along the furrows.
3. Cover the Seeds: Gently cover the seeds with a thin layer of potting mix.
4. Water Thoroughly: Use a watering can or spray bottle to moisten the soil. Be careful not to wash away the seeds. The soil should be damp but not soggy.
5. Provide Light: Place the container in a sunny location that receives at least 6 hours of direct sunlight per day. If you’re using grow lights, position them about 6-12 inches above the soil surface. I usually keep my grow lights on for 14-16 hours a day.
6. Maintain Moisture: Keep the soil consistently moist but not waterlogged. Check the soil moisture daily and water when the top inch feels dry to the touch.
Caring for Your Carrot Plants
Once your carrot seeds have germinated (usually within 1-3 weeks), it’s time to provide them with the care they need to grow into healthy, delicious carrots.
1. Thinning: This is a crucial step! When the seedlings are about 1-2 inches tall, thin them out so that they are about 1-2 inches apart. This will give them enough space to develop properly. I know it’s hard to pull out those tiny seedlings, but trust me, it’s necessary for the remaining carrots to thrive. You can use small scissors to snip the unwanted seedlings at the soil line if you prefer.
2. Watering: Continue to water your carrots regularly, keeping the soil consistently moist. Avoid overwatering, as this can lead to root rot. I usually water my carrots every 2-3 days, depending on the temperature and humidity.
3. Fertilizing: Feed your carrots with a balanced, water-soluble fertilizer every 2-3 weeks. Follow the instructions on the fertilizer packaging. I like to use a fertilizer that’s specifically formulated for vegetables.
4. Weeding: Keep your container free of weeds, as they can compete with your carrots for nutrients and water. Gently pull out any weeds as soon as you see them.
5. Rotating: If you’re using grow lights, rotate your container regularly to ensure that all sides of the plants receive equal light. This will prevent them from leaning towards the light source.
6. Monitoring for Pests and Diseases: Keep an eye out for any signs of pests or diseases. Aphids and spider mites are common pests that can affect carrots. If you notice any pests, you can try spraying them with insecticidal soap or neem oil. Root rot is a common disease that can occur if the soil is too wet. To prevent root rot, make sure your container has good drainage and avoid overwatering.
Harvesting Your Carrots
The moment you’ve been waiting for! Harvesting your homegrown carrots is the most rewarding part of the process.
1. Check for Maturity: Carrots are typically ready to harvest when they reach the desired size for their variety. Check the seed packet for the expected maturity date. You can also gently brush away some of the soil around the top of the carrot to check its size.
2. Loosen the Soil: Before pulling up your carrots, loosen the soil around them with a trowel or fork. This will make it easier to pull them out without breaking them.
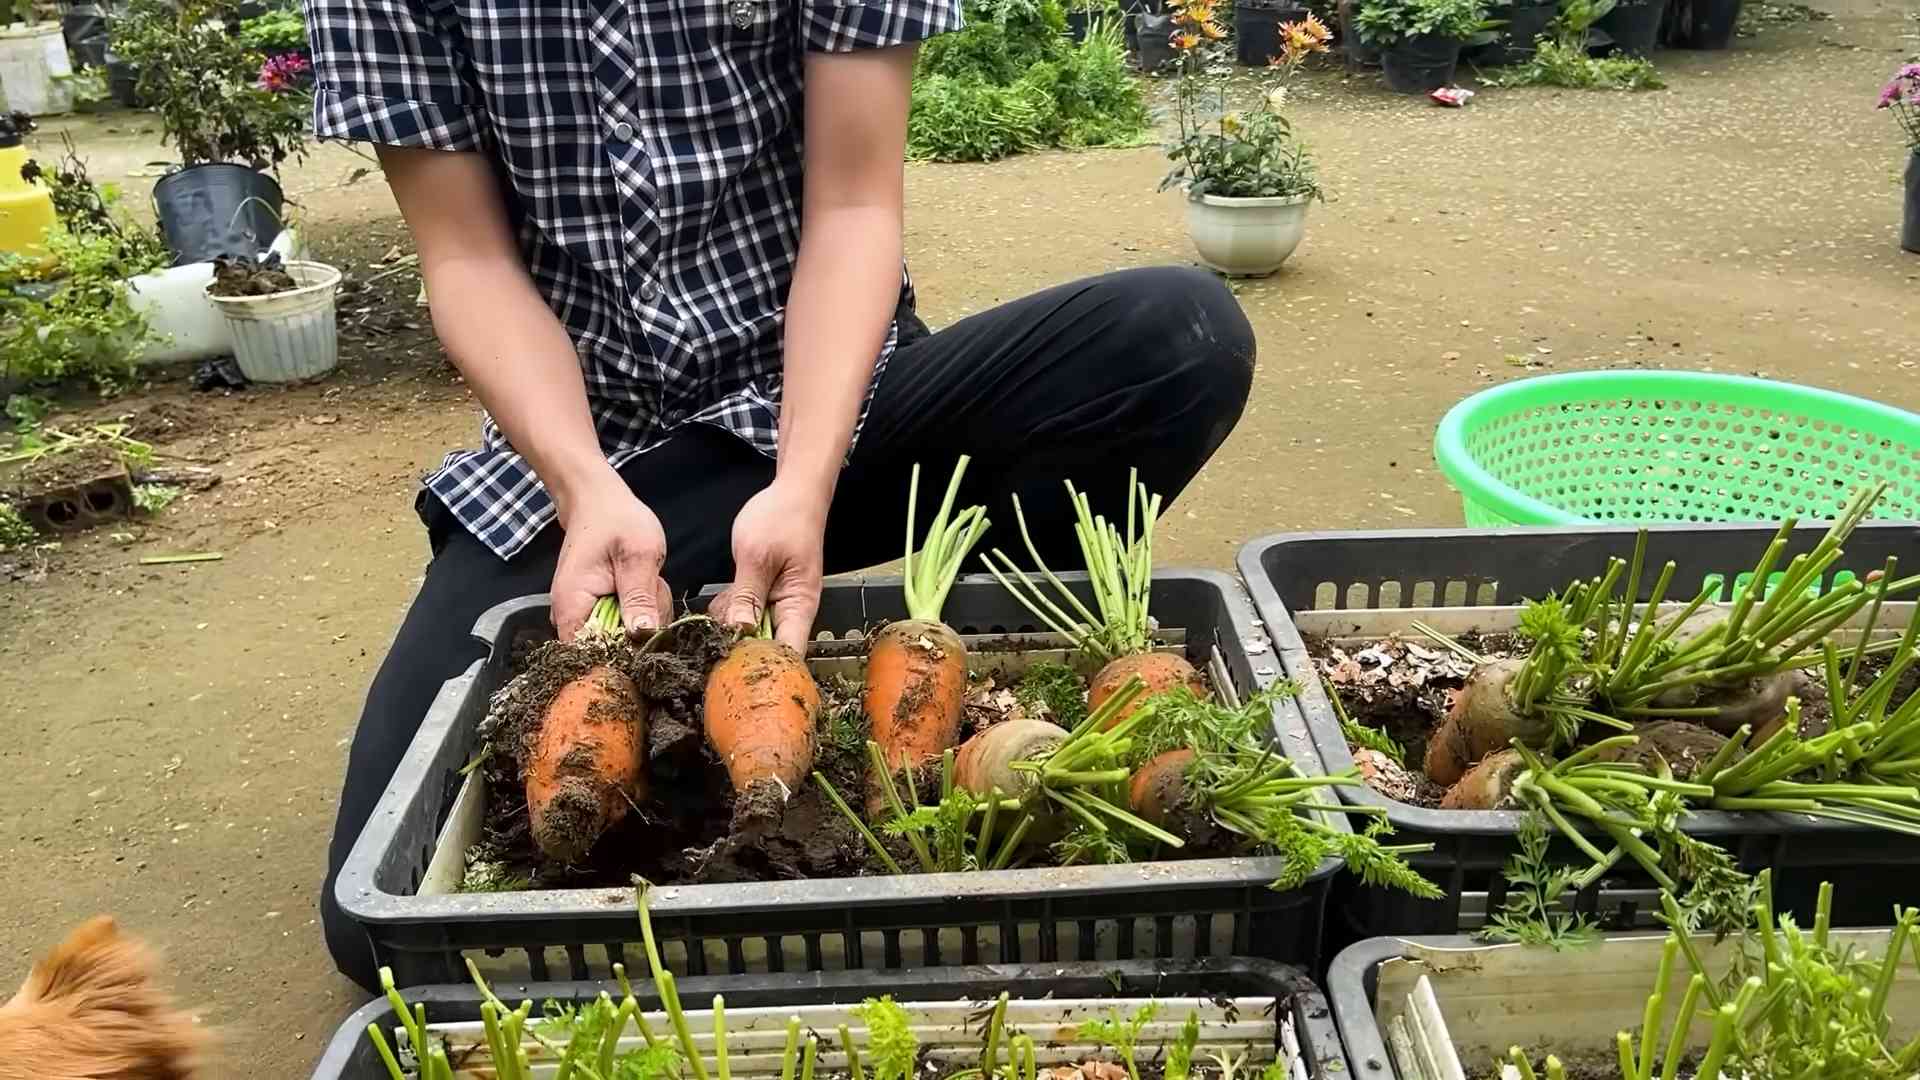
3. Pull Up the Carrots: Gently grasp the base of the carrot and pull it straight up. If the carrot is difficult to pull, try wiggling it back and forth to loosen it further.
4. Wash and Enjoy: Wash your freshly harvested carrots thoroughly and enjoy them raw, cooked, or juiced! I love to roast them with a little olive oil and herbs.
Troubleshooting Tips
Even with the best care, you might encounter some challenges along the way. Here are a few common problems and how to fix them:
* Poor Germination: If your carrot seeds aren’t germinating, make sure the soil is consistently moist and that the seeds are fresh. You can also try scarifying the seeds by gently rubbing them with sandpaper before planting.
* Slow Growth: If your carrots are growing slowly, make sure they’re getting enough light and nutrients. You may need to supplement with grow lights or fertilizer.
* Forked Roots: Forked roots can be caused by compacted soil or rocks in the soil. Make sure your potting mix is loose and well-draining.
* Bitter Taste: Bitter-tasting carrots can be caused by inconsistent watering or high temperatures. Keep the soil consistently moist and provide shade during the hottest part of the day.
* Pests and Diseases: As mentioned earlier, aphids, spider mites, and root rot are common problems. Monitor your plants regularly and take action as soon as you notice any signs of trouble.
Extra Tips for Success
Here are a few extra tips to help you grow the best possible carrots indoors:
* Choose the Right Container: The size and material of your container can affect the growth of your carrots. Make sure to choose a container that’s deep enough and has good drainage.
* Use High-Quality Potting Mix: The quality of your potting mix can also affect the growth of your carrots. Use a loose, well-draining potting mix that’s specifically formulated for vegetables.
* Provide Adequate Light: Carrots need plenty of light to grow properly. If you’re not using grow lights, place your container in a sunny location that receives at least 6 hours of direct sunlight per day.
* Water Regularly: Keep the soil consistently moist but not waterlogged. Check the soil moisture daily and water when the top inch feels dry to the touch.
* Fertilize Regularly: Feed your carrots with a balanced, water-soluble fertilizer every 2-3 weeks.
* Thin Your Seedlings: Thinning is
Conclusion
So, there you have it! Growing carrots indoors might seem like a whimsical idea, but with a little patience and the right approach, you can enjoy the sweet, earthy taste of homegrown carrots even when the weather outside is frightful. This DIY trick isn’t just about having fresh produce at your fingertips; it’s about connecting with nature, learning a new skill, and experiencing the satisfaction of nurturing something from seed to harvest.
Why is this a must-try? Because it’s empowering! Imagine the joy of pulling a vibrant orange carrot from your indoor garden in the middle of winter. It’s a conversation starter, a testament to your green thumb (or soon-to-be green thumb!), and a delicious addition to your meals. Plus, it’s a fantastic way to reduce your reliance on store-bought produce, knowing exactly where your food comes from and how it was grown.
Don’t be afraid to experiment! Try different carrot varieties to see which ones thrive best in your indoor environment. Shorter, rounder varieties like ‘Parisian’ or ‘Thumbelina’ are particularly well-suited for container gardening. You can also play around with different soil mixes to find the perfect balance of drainage and moisture retention. Consider adding a small amount of slow-release fertilizer to your soil to give your carrots an extra boost.
For a fun twist, try growing your carrots in colorful containers to add a pop of vibrancy to your indoor space. You can even get creative with your lighting setup, experimenting with different types of grow lights to optimize growth. Remember to rotate your containers regularly to ensure that all sides of the plants receive adequate light.
Growing carrots indoors is a rewarding experience that’s accessible to everyone, regardless of their gardening experience. It’s a chance to bring a little bit of the outdoors inside and enjoy the fruits (or rather, vegetables!) of your labor.
We encourage you to give this DIY trick a try. Start small, be patient, and don’t be discouraged if you encounter a few bumps along the way. Gardening is a learning process, and every mistake is an opportunity to grow (pun intended!).
Once you’ve successfully grown your own indoor carrots, we’d love to hear about your experience! Share your photos, tips, and tricks in the comments below. Let’s create a community of indoor carrot growers and inspire others to embrace the joy of homegrown produce. What variety did you choose? What challenges did you face, and how did you overcome them? Your insights could be invaluable to other aspiring indoor gardeners. So, grab your seeds, soil, and containers, and get ready to embark on a delicious and rewarding adventure! Let’s all learn how to grow carrots indoors together!
Frequently Asked Questions (FAQ)
What kind of container should I use for growing carrots indoors?
The ideal container for growing carrots indoors should be at least 12 inches deep to accommodate the root growth. Shorter, rounder varieties like ‘Parisian’ or ‘Thumbelina’ can tolerate slightly shallower containers, but deeper is generally better. Choose a container with drainage holes to prevent waterlogging, which can lead to root rot. Terracotta pots are a good option as they allow for good air circulation, but plastic containers are also suitable and tend to retain moisture better. Consider the size of your growing space when selecting a container. A long, rectangular planter can be a good choice if you want to grow multiple carrots in a row.
What type of soil is best for growing carrots indoors?
Carrots need loose, well-draining soil to thrive. A sandy loam soil is ideal, as it provides good drainage while still retaining enough moisture. Avoid heavy clay soils, as they can compact and restrict root growth. You can create your own potting mix by combining equal parts of potting soil, compost, and sand or perlite. The compost will provide essential nutrients, while the sand or perlite will improve drainage. Make sure the soil is free of rocks and debris, as these can hinder root development.
How much sunlight do indoor carrots need?
Carrots need at least 6-8 hours of sunlight per day to grow properly. If you don’t have a sunny window, you’ll need to supplement with grow lights. LED grow lights are a good option as they are energy-efficient and provide a full spectrum of light. Place the grow lights about 6-12 inches above the plants. Rotate the plants regularly to ensure that all sides receive adequate light. Insufficient light can result in leggy growth and poor root development.
How often should I water my indoor carrots?
Water your carrots regularly, keeping the soil consistently moist but not waterlogged. Water when the top inch of soil feels dry to the touch. Avoid overwatering, as this can lead to root rot. Use a watering can or hose with a gentle spray to avoid disturbing the seedlings. During hot weather, you may need to water more frequently. Check the soil moisture levels daily and adjust your watering schedule accordingly.
How long does it take for carrots to grow indoors?
Carrots typically take 60-80 days to mature, depending on the variety and growing conditions. Shorter, rounder varieties tend to mature faster than longer varieties. Be patient and don’t harvest the carrots too early. You can check the size of the carrots by gently digging around the top of the root. Once the carrots have reached the desired size, you can harvest them by gently pulling them from the soil.
What are some common problems when growing carrots indoors and how can I fix them?
Some common problems include:
* **Poor germination:** Ensure that the soil is moist and warm (around 70°F) for optimal germination. Use fresh seeds and sow them thinly.
* **Leggy growth:** This is usually caused by insufficient light. Provide more sunlight or supplement with grow lights.
* **Root rot:** This is caused by overwatering. Ensure that the soil is well-draining and avoid overwatering.
* **Forked roots:** This can be caused by rocky soil or compacted soil. Remove any rocks and debris from the soil and ensure that it is loose and well-draining.
* **Pests:** Aphids and spider mites can sometimes infest indoor carrots. Inspect your plants regularly and treat any infestations with insecticidal soap or neem oil.
Can I grow carrots indoors year-round?
Yes, you can grow carrots indoors year-round as long as you provide them with adequate light, water, and nutrients. Indoor growing allows you to control the environment and avoid the challenges of outdoor gardening, such as pests, diseases, and unpredictable weather.
Do I need to fertilize my indoor carrots?
Yes, carrots benefit from regular fertilization. Use a balanced fertilizer with equal parts nitrogen, phosphorus, and potassium. You can also use a fertilizer specifically formulated for root vegetables. Follow the instructions on the fertilizer label and avoid over-fertilizing, as this can lead to excessive foliage growth at the expense of root development. A slow-release fertilizer incorporated into the soil at planting time can also provide a steady supply of nutrients.
How do I know when my carrots are ready to harvest?
You can harvest your carrots when they have reached the desired size and color. Gently dig around the top of the root to check its size. The shoulders of the carrot should be visible above the soil line. To harvest, gently loosen the soil around the carrot and pull it straight up. If the soil is dry, water it beforehand to make it easier to pull the carrots.
What are some good carrot varieties to grow indoors?
Shorter, rounder varieties are generally best suited for indoor growing, as they require less space. Some good options include:
* ‘Parisian’
* ‘Thumbelina’
* ‘ শর্ট এন সুইট’ (Short n Sweet)
* ‘Little Finger’
These varieties are compact and mature quickly, making them ideal for container gardening. You can also try growing longer varieties, but you’ll need to use deeper containers.

Leave a Comment