
Grow carrots easily? Absolutely! Imagine pulling vibrant, sweet carrots straight from your own backyard, bursting with flavor and freshness that you just can’t find in the grocery store. Sounds dreamy, right? Well, it’s more achievable than you might think, even if you’re a complete beginner. This isn’t just about planting seeds; it’s about unlocking the secrets to a thriving carrot patch, and I’m here to guide you every step of the way with some clever DIY tricks and hacks.
Carrots have a rich history, dating back thousands of years. Originally, they weren’t even orange! They came in shades of purple, white, and yellow. The vibrant orange variety we know and love today was cultivated in the Netherlands in the 17th century. But regardless of their color, carrots have always been valued for their nutritional benefits and delicious taste.
So, why do you need these DIY tricks? Because growing carrots can be a little tricky! They require specific soil conditions, proper spacing, and protection from pests. Many gardeners struggle with stunted growth, forked roots, or simply getting the seeds to germinate. But don’t worry, I’ve compiled a collection of simple, effective, and budget-friendly solutions to overcome these challenges. With these tips, you’ll be able to grow carrots easily and enjoy a bountiful harvest. Let’s get digging!
Carrot Growing Made Easy: My DIY Guide for a Bountiful Harvest
Hello garden friends! I love harvesting fresh vegetables from my own garden, and carrots are definitely among my favorites. They are not only super delicious but also rich in vitamins and relatively easy to grow if you know a few tricks. In this article, I’ll show you how to maximize your carrot harvest with a few simple DIY methods. Don’t worry, even if you’re a beginner, we can do this together!
Preparation is Everything: The Right Location and Soil
Before we get started, it’s important to choose the right location and soil for your carrots. Carrots love the sun, so find a sunny spot in your garden that gets at least six hours of sunlight per day.
- Sunshine: At least 6 hours of direct sunlight.
- Soil Condition: Loose, sandy soil is ideal. Avoid stony or lumpy soils, as this can lead to deformed carrots.
- pH Level: The ideal pH level is between 6.0 and 6.8.
- Drainage: The soil should be well-drained to avoid waterlogging.
Soil Improvement for Perfect Carrots
If your soil isn’t ideal, don’t worry! We can easily improve it.
- Loosen the soil: Loosen the soil with a digging fork or a spade to a depth of at least 30 cm. This is important so that the carrots have enough space to grow.
- Remove stones: Remove all stones and large clumps from the soil.
- Incorporate compost: Work plenty of compost into the soil. Compost improves soil structure, retains moisture, and provides important nutrients. I always use my homemade compost, but you can also use store-bought compost.
- Add sand: If your soil is very clayey, you can add some sand to make it looser.
- Test the soil: If you’re unsure, you can perform a soil test to determine the pH and nutrient content. Based on the results, you can then amend the soil accordingly.
Sowing: How to Succeed
Now comes the exciting part: sowing! Carrots can be sown directly outdoors as they do not tolerate transplanting well.
- Sowing Time: Carrots can be sown from April to July. I sow my carrots in several stages to ensure a continuous harvest.
- Sowing Depth: The seeds should be sown about 1 cm deep in the soil.
- Row Spacing: The distance between rows should be about 20-30 cm.
- Seed Spacing: The seeds should be about 2-3 cm apart. Carrot seeds are very small, so it is often difficult to maintain the correct spacing. Don’t worry, we will thin out the seedlings later.
Step-by-Step Sowing Instructions
- Make furrows: Make shallow furrows in the prepared soil with a rake or a hoe.
- Sow seeds: Carefully sprinkle the carrot seeds into the furrows. Try to maintain the spacing between the seeds as best as you can.
- Cover with soil: Cover the seeds with a thin layer of soil.
- Water in: Water the soil gently so the seeds are not washed away.
- Label: Label the rows with the date and carrot variety. This helps you keep track.
Care: Watering, Weeding, and Thinning
After sowing, it’s important to take good care of the carrots so they can grow optimally.
- Watering: Keep the soil evenly moist, but not wet. Regular watering is especially important during germination and in dry periods.
- Weeding: Remove weeds regularly, as they rob the carrots of nutrients and light. Be careful not to damage the delicate carrot plants.
- Thinning: When the seedlings are about 5 cm tall, you need to thin them. This means you remove the weakest plants so the remaining plants have enough space to grow. The distance between plants should be about 5-7 cm.
DIY Trick: Natural Fertilizer for Healthy Carrots
I like to use natural fertilizer to provide my carrots with important nutrients. Here is my favorite recipe:
- Nettle Tea: Nettle tea is an excellent fertilizer, rich in nitrogen, potassium, and trace elements. Collect nettles and let them ferment in a bucket of water. After about two weeks, the liquid is ready. Dilute the liquid 1:10 with water and water the carrots with it.
- Wood Ash: Wood ash is rich in potassium and phosphorus, which are important for root growth. Sprinkle some wood ash around the carrot plants.
- Coffee Grounds: Coffee grounds are a good nitrogen fertilizer and deter snails. Distribute the coffee grounds around the carrot plants.
Pest Protection: Keeping Your Carrots Healthy
Unfortunately, carrots are also popular with pests. Here are a few tips on how to protect your carrots:
- Carrot Fly: The carrot fly is the most common pest for carrots. The fly’s larvae feed on the roots and cause damage. To combat the carrot fly, you can place a crop cover over the carrots.
- Snails: Snails love carrot leaves. Pick off the snails or use snail pellets.
- Voles: Voles can eat the carrot roots. Use vole traps or plant garlic or crown imperial near the carrots to deter them.
DIY Trick: Natural Pest Control
I always try to combat pests naturally. Here are a few of my favorite methods:
- Neem Oil: Neem oil is a natural insecticide that is effective against many pests. Spray the carrot plants with a neem oil solution.
- Garlic Spray: Garlic spray is an effective remedy against aphids and other pests. Mix garlic with water and let the mixture sit overnight. Spray the carrot plants with the garlic solution.
- Encourage Beneficial Insects: Encourage beneficial insects like ladybugs and lacewings, which eat aphids and other pests. Plant flowering plants near the carrots to attract them.
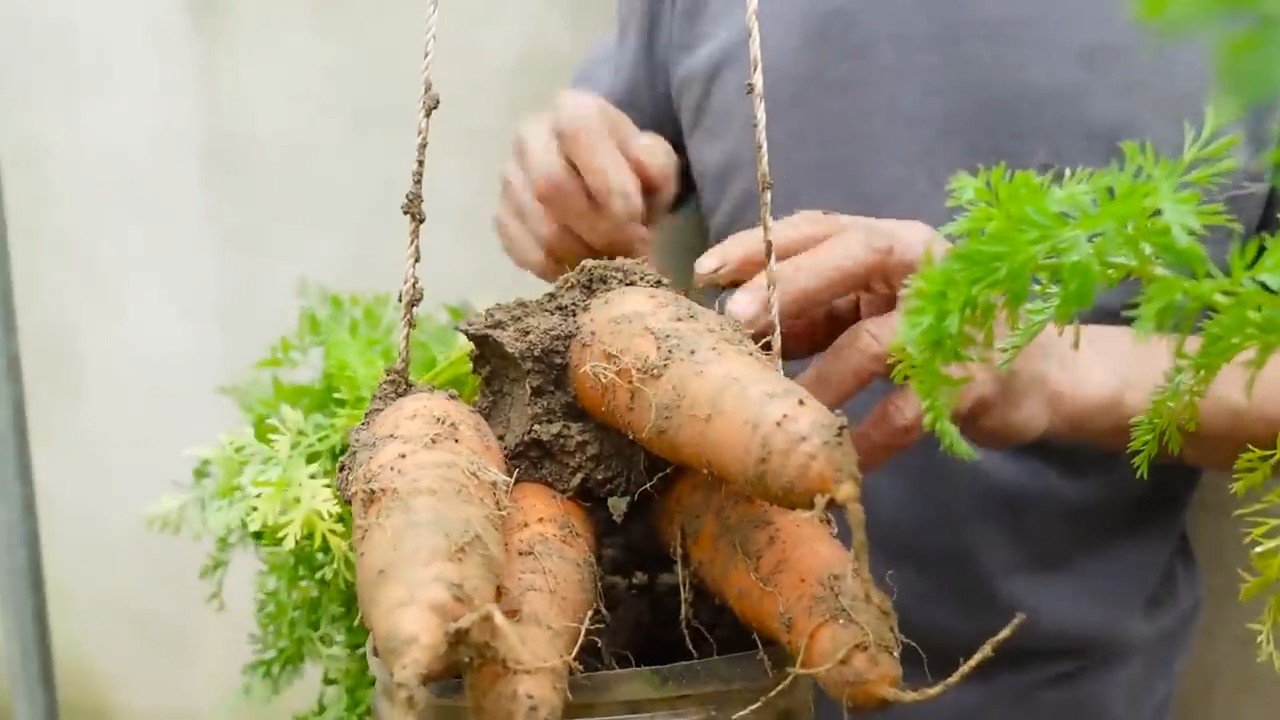
The Harvest: The Reward for Your Work
After about 2-4 months, depending on the variety, your carrots will be ready to harvest.
- Harvest Time: The carrots are ready to harvest when they have reached the desired size. You can gently pull one carrot out of the ground to check if it’s ripe.
- Harvesting Method: Loosen the soil around the carrots with a digging fork or a spade. Gently pull the carrots out of the ground by their leaves.
- Storage: Remove the leaves and clean the dirt off the carrots. Store the carrots in a cool, dark, and humid place, e.g., in the cellar or refrigerator.
DIY Trick: Making Carrots Last Longer
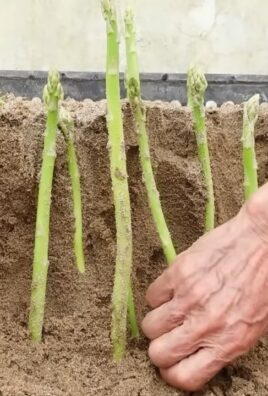
To make your carrots last longer, you can store them in sand.
Prepare sand: Use moist (not wet) sand. You can place it in a bucket or a wooden box.
Conclusion
So, there you have it! Growing carrots easily doesn’t have to be a daunting task filled with misshapen roots and disappointing harvests. By implementing these simple yet effective DIY tricks, you’re setting yourself up for a bountiful crop of sweet, crunchy carrots that you can be truly proud of.
Why is this a must-try? Because it addresses the most common challenges faced by home gardeners when growing carrots: poor germination, overcrowding, and pest infestations. These methods are designed to improve soil conditions, optimize spacing, and naturally deter pests, leading to healthier plants and significantly improved yields. Imagine pulling vibrant orange carrots from your own garden, knowing you nurtured them from seed to table using simple, sustainable techniques. The taste of homegrown carrots is simply unmatched, and the satisfaction of growing your own food is incredibly rewarding.
Beyond the basic techniques outlined, there’s plenty of room for experimentation and personalization. For example, consider companion planting. Marigolds are known to deter nematodes, a common carrot pest, while rosemary can repel the carrot root fly. Planting these alongside your carrots can provide an extra layer of protection. You can also experiment with different carrot varieties. Nantes carrots are known for their cylindrical shape and sweet flavor, while Chantenay carrots are shorter and sturdier, making them a good choice for heavier soils. Rainbow carrots, with their vibrant colors, add a touch of whimsy to your garden and your plate.
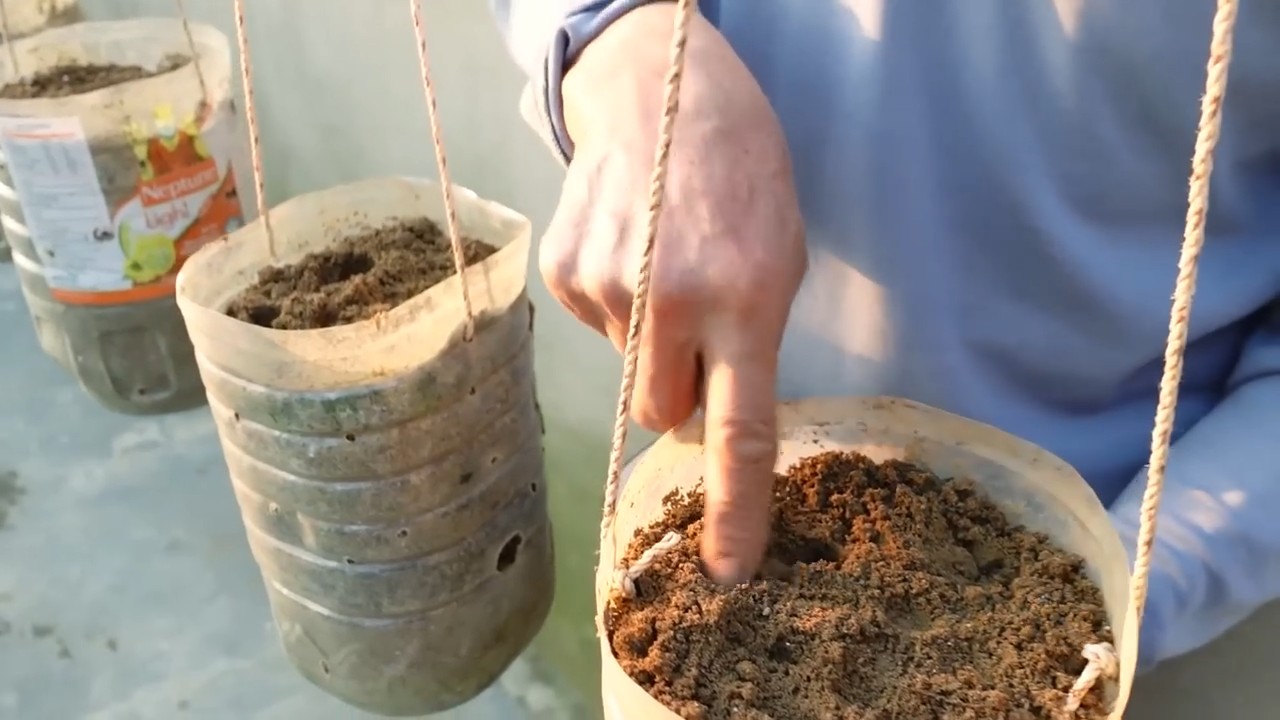
Another variation to consider is succession planting. By sowing carrot seeds every few weeks, you can ensure a continuous harvest throughout the growing season. This is particularly useful if you have limited space or want to enjoy fresh carrots for an extended period. Don’t be afraid to get creative with your planting containers as well. While carrots thrive in raised beds and garden plots, they can also be successfully grown in large pots or containers, making them accessible to apartment dwellers and those with limited outdoor space. Just ensure the container is deep enough to accommodate the carrot’s root growth.
We wholeheartedly encourage you to try these DIY tricks for growing carrots easily. The results are well worth the effort, and you’ll be amazed at the difference these simple techniques can make. But don’t just take our word for it! Get your hands dirty, experiment with different methods, and discover what works best for your garden and your growing conditions.
Most importantly, we want to hear about your experiences! Share your successes, your challenges, and any tips or tricks you’ve discovered along the way. Leave a comment below, post photos of your carrot harvest on social media, and tag us so we can celebrate your gardening achievements. Let’s build a community of carrot-growing enthusiasts and learn from each other’s experiences. Happy gardening!
Frequently Asked Questions (FAQ)
What kind of soil is best for growing carrots?
Carrots thrive in loose, well-drained soil that is free of rocks and debris. Rocky soil can cause the roots to fork and become misshapen. Sandy loam is ideal, as it allows for good drainage and easy root penetration. Amend heavy clay soil with compost and other organic matter to improve drainage and aeration. The ideal soil pH for carrots is between 6.0 and 6.8.
How often should I water my carrots?
Carrots need consistent moisture to develop properly. Water deeply and regularly, especially during dry periods. Aim for about 1 inch of water per week. Avoid overwatering, as this can lead to root rot. Check the soil moisture regularly and adjust your watering schedule accordingly. Mulching around the plants can help retain moisture and suppress weeds.
When is the best time to plant carrots?
Carrots are a cool-season crop and are best planted in early spring or late summer. For a spring crop, sow seeds 2-3 weeks before the last expected frost. For a fall crop, sow seeds 10-12 weeks before the first expected frost. In warmer climates, carrots can be grown throughout the winter.
How do I prevent carrot root fly?
Carrot root fly is a common pest that can damage carrot roots. To prevent infestation, cover your carrot bed with a fine mesh netting or row cover. This will prevent the flies from laying their eggs near the plants. You can also use companion planting to deter carrot root fly. Rosemary and onions are known to repel this pest. Regularly inspect your plants for signs of infestation and remove any affected carrots.
Why are my carrots forking or splitting?
Forking or splitting carrots are often caused by rocky or compacted soil. The roots encounter obstacles and split as they try to grow around them. To prevent this, ensure your soil is loose and well-drained. Remove any rocks or debris before planting. You can also try growing shorter, rounder carrot varieties that are less susceptible to forking. Inconsistent watering can also contribute to splitting, so maintain a consistent watering schedule.
How do I thin my carrot seedlings?
Thinning is essential for proper carrot development. Overcrowding can lead to stunted growth and misshapen roots. When seedlings are about 1-2 inches tall, thin them to about 1-2 inches apart. When they are about 4-6 inches tall, thin them again to about 3-4 inches apart. Gently pull out the excess seedlings, being careful not to disturb the roots of the remaining plants.
Can I grow carrots in containers?
Yes, carrots can be successfully grown in containers. Choose a container that is at least 12 inches deep to accommodate the carrot’s root growth. Use a well-draining potting mix and ensure the container has drainage holes. Water regularly and fertilize as needed. Shorter, rounder carrot varieties are often better suited for container growing.
What are some good companion plants for carrots?
Companion planting can help improve carrot growth and deter pests. Some good companion plants for carrots include:
* Marigolds: Repel nematodes
* Rosemary: Repels carrot root fly
* Onions: Repels carrot root fly
* Lettuce: Provides shade and helps retain moisture
* Radishes: Loosen the soil and mark rows
How do I know when my carrots are ready to harvest?
Carrots are typically ready to harvest when they reach the desired size and color. Check the seed packet for the expected maturity date. You can also gently pull back the soil around the top of the carrot to check its size. Carrots are generally sweeter and more flavorful after a light frost.
How do I store my harvested carrots?
To store carrots, remove the green tops and gently brush off any excess soil. Store them in a cool, dark, and humid place, such as a refrigerator or root cellar. Wrap them in a damp cloth or store them in a container filled with moist sand or sawdust. Carrots can be stored for several months under the right conditions.

Leave a Comment