
Gourd Planting Hack: Unlock the secrets to a bountiful harvest with these simple, yet effective DIY tricks! Have you ever dreamt of a garden overflowing with vibrant, uniquely shaped gourds, ready to be transformed into stunning crafts or charming decorations? I know I have! For centuries, gourds have held a special place in cultures around the world, from being used as practical containers and musical instruments to symbolic representations in art and folklore. Think of the intricate gourd art of indigenous cultures or the traditional use of gourds in African music – their versatility is truly remarkable.
But let’s be honest, getting those gourds to thrive can sometimes feel like a challenge. That’s where this gourd planting hack comes in! I’m going to share some of my favorite DIY tips and tricks that will help you overcome common gardening hurdles and achieve gourd-growing success. Whether you’re a seasoned gardener or just starting out, these easy-to-follow techniques will empower you to cultivate a thriving gourd patch. Imagine the satisfaction of harvesting your own homegrown gourds, knowing you nurtured them from seed to stunning creation. So, grab your gardening gloves, and let’s dive into the world of gourd planting!
Growing Giant Gourds: My Secret Hack for Blue Ribbon Winners!
Okay, gourd enthusiasts, gather ’round! I’m about to spill the beans (or should I say, the seeds?) on how I consistently grow massive gourds that turn heads at the county fair. It’s not just luck; it’s a combination of careful planning, a little bit of science, and this one key hack that I’ve perfected over the years. Get ready to take your gourd game to the next level!
Choosing the Right Gourd Variety
Before we even think about planting, it’s crucial to select the right gourd variety. Not all gourds are created equal when it comes to size potential.
* Atlantic Giant Pumpkins: Yes, I know, pumpkins aren’t gourds technically, but they share similar growing requirements and this hack works wonders on them too! They are the undisputed champions of the giant vegetable world.
* Dill’s Atlantic Giant: A specific strain of Atlantic Giant known for its impressive size.
* Goliath Gourds: Bred specifically for enormous size, these are a great option if you’re serious about growing a monster gourd.
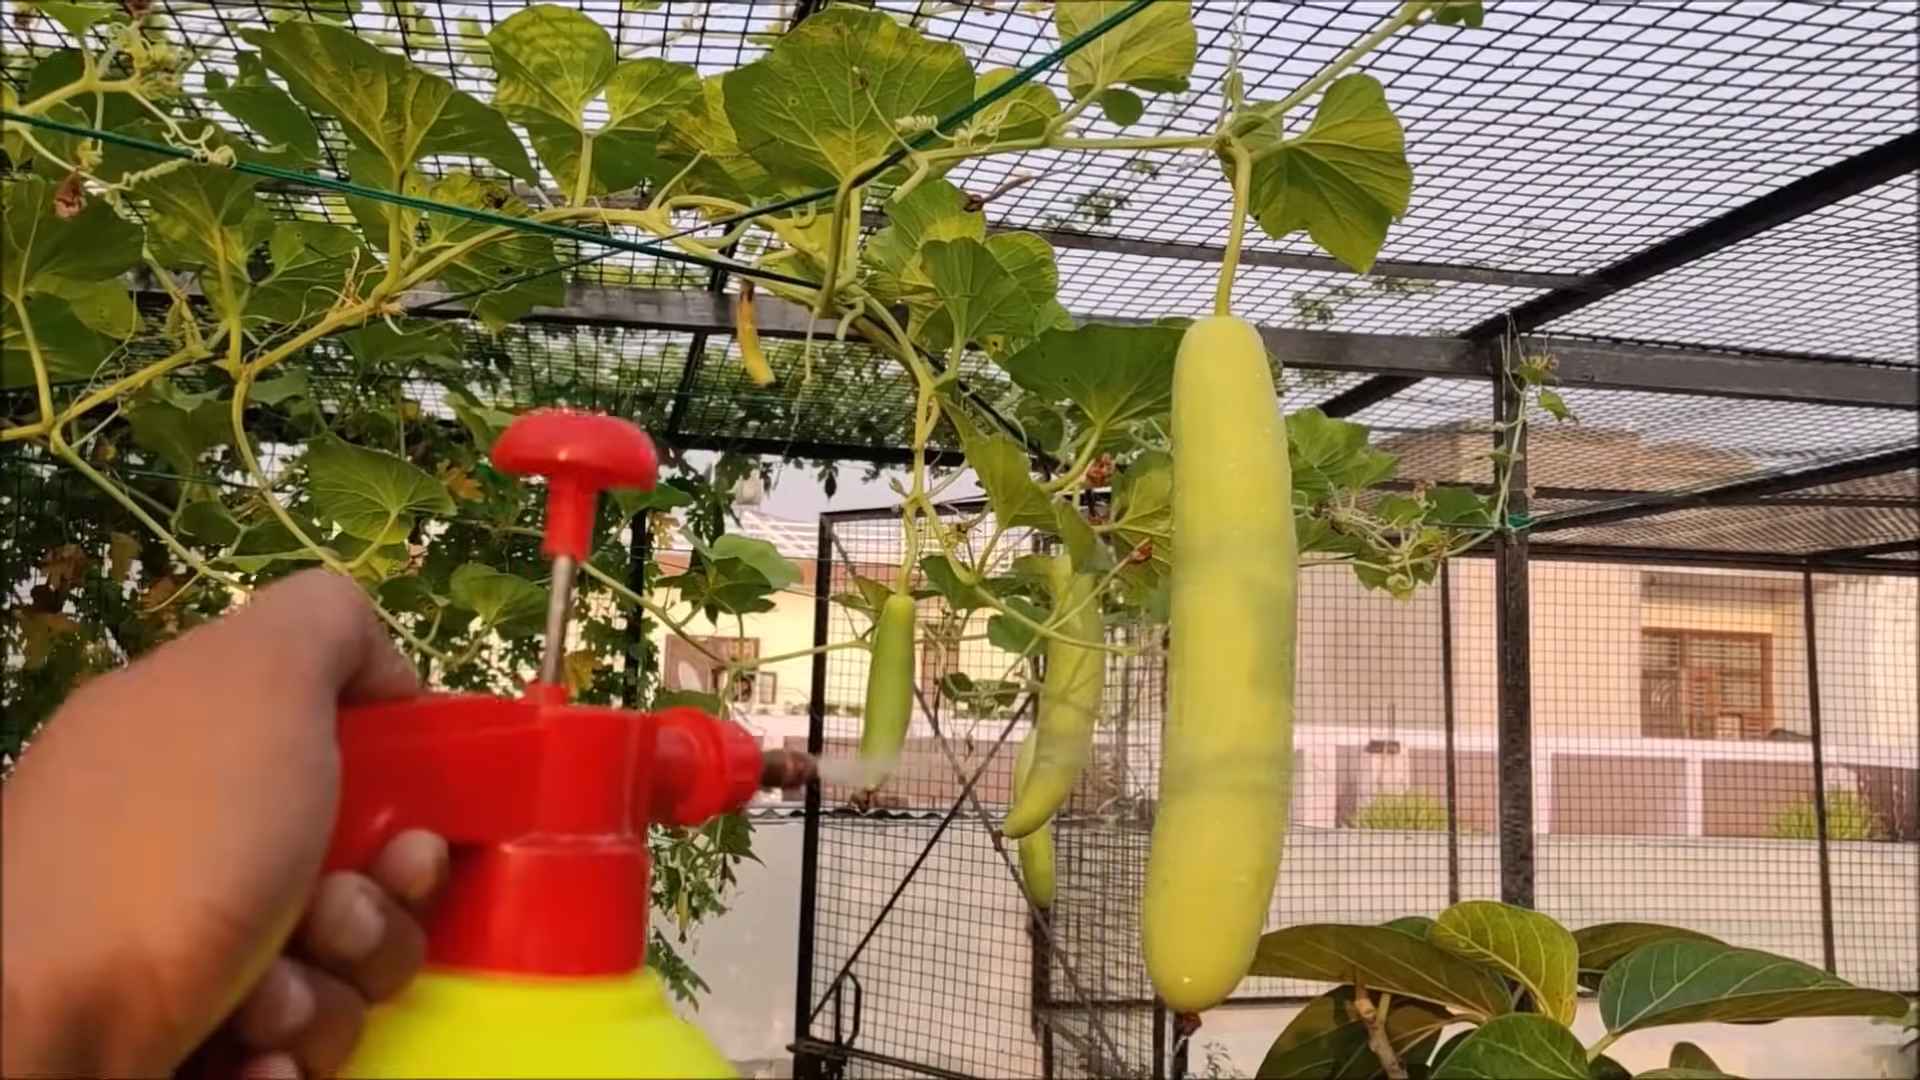
* Long Gourd Varieties: If you’re aiming for length rather than weight, consider varieties like the Birdhouse Gourd or Bottle Gourd. While they won’t get as heavy, they can grow incredibly long.
Preparing the Soil: The Foundation for Success
Think of your soil as the foundation of your giant gourd. A weak foundation will never support a massive structure.
* Soil Testing: This is the first and most important step. Get your soil tested to determine its pH and nutrient levels. Your local agricultural extension office can help with this. Aim for a pH between 6.0 and 6.8.
* Amending the Soil: Based on your soil test results, amend the soil accordingly.
* Compost: Add plenty of compost to improve soil structure, drainage, and nutrient content. I use a mix of homemade compost and well-rotted manure.
* Manure: Aged manure is a fantastic source of nutrients. Avoid fresh manure, as it can burn the roots.
* Fertilizers: Use a balanced fertilizer with a higher phosphorus content to promote root growth. Bone meal is an excellent natural source of phosphorus.
* Micorrhizae: Inoculate the soil with beneficial mycorrhizae fungi. These fungi form a symbiotic relationship with the plant roots, helping them absorb nutrients and water more efficiently.
* Creating a Mound: Build a slightly raised mound of soil to improve drainage and warm the soil faster in the spring. The mound should be about 1-2 feet high and 4-6 feet in diameter.
Starting Your Seeds Indoors: Giving Your Gourds a Head Start
Starting your seeds indoors gives your gourds a crucial head start, especially in regions with shorter growing seasons.
* Timing: Start your seeds about 3-4 weeks before the last expected frost.
* Seed Starting Mix: Use a high-quality seed starting mix that is lightweight and well-draining.
* Containers: Use individual pots or peat pellets to avoid disturbing the roots when transplanting. I prefer using larger pots (at least 4 inches in diameter) to give the seedlings plenty of room to grow.
* Planting Depth: Plant the seeds about 1 inch deep.
* Warmth and Light: Provide warmth and light for germination. Use a heat mat to maintain a soil temperature of 80-85°F. Place the seedlings under grow lights or in a sunny window.
* Watering: Keep the soil consistently moist but not waterlogged.
* Hardening Off: Gradually acclimate the seedlings to outdoor conditions before transplanting. Start by placing them outside for a few hours each day, gradually increasing the time over a week or two.
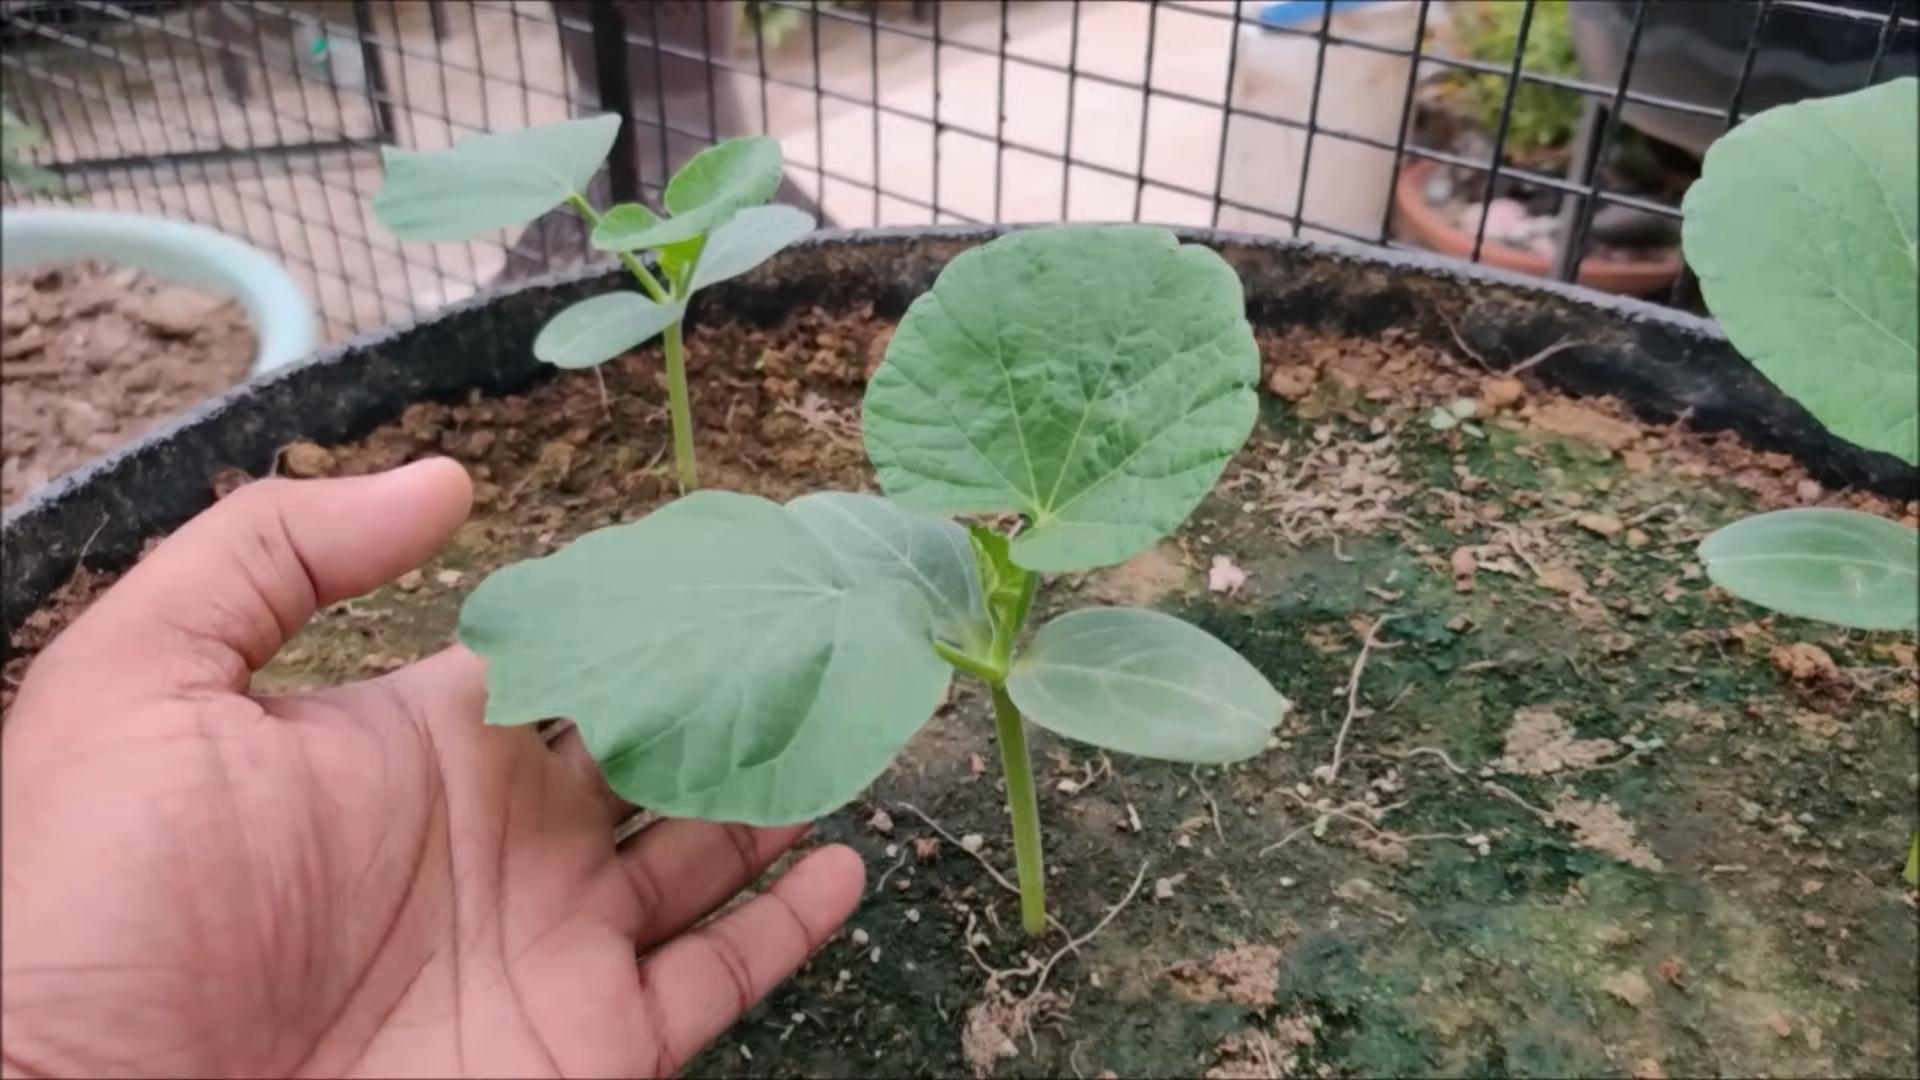
Transplanting Your Seedlings: Setting the Stage for Growth
Transplanting is a delicate process, so handle your seedlings with care.
* Timing: Transplant your seedlings after the last expected frost, when the soil has warmed up to at least 60°F.
* Spacing: Give your gourd plants plenty of space to grow. Space them at least 10-15 feet apart.
* Planting Depth: Plant the seedlings at the same depth they were growing in their containers.
* Watering: Water the seedlings thoroughly after transplanting.
* Protection: Protect the seedlings from pests and diseases. Use row covers or netting to keep insects away.
The Secret Hack: Root Pruning and Directed Growth
This is where the magic happens! This hack focuses on controlling the plant’s energy and directing it towards growing one, maybe two, truly massive gourds.
1. Selecting the Main Vine: Once your plant has established itself and started to send out vines, choose the strongest, healthiest-looking vine to be your “main vine.” This is the vine that will produce your prize-winning gourd.
2. Pruning Secondary Vines: Ruthlessly prune all other vines that emerge from the main stem. This forces the plant to focus all its energy on the main vine. I know it feels counterintuitive, but trust me on this!
3. Root Pruning: This is the key to controlling the plant’s growth. About 2-3 weeks after transplanting, gently dig around the base of the main vine, about 1-2 feet away from the stem. Use a sharp knife or pruning shears to cut any roots that are growing outwards. This will restrict the plant’s access to nutrients and water, forcing it to prioritize the growth of the gourd.
4. Directing the Vine: As the main vine grows, carefully direct it in the direction you want it to go. I usually train mine to grow in a straight line. This helps to prevent the vine from becoming tangled and allows for better air circulation.
5. Pollination: Hand-pollinate the female flowers on the main vine. Female flowers have a small, immature gourd at the base. Use a small paintbrush to transfer pollen from the male flowers (which have a long, slender stem) to the female flowers. Pollinate in the early morning for best results.
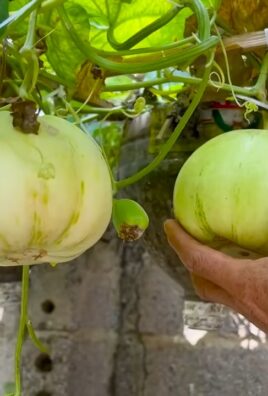
6. Fruit Selection: Once you have a few gourds developing on the main vine, choose the one that looks the most promising. Remove all other gourds from the vine. This will ensure that all the plant’s energy is focused on growing that one gourd.
7. Continued Pruning: Continue to prune any new vines that emerge from the main stem throughout the growing season.
8. Root Pruning (Repeat): Repeat the root pruning process every 2-3 weeks throughout the growing season. This will continue to control the plant’s growth and direct its energy towards the gourd.
Watering and Fertilizing: Keeping Your Gourd Hydrated and Nourished
Consistent watering and fertilization are essential for growing giant gourds.
* Watering: Water deeply and regularly, especially during hot, dry weather. Aim for at least 1-2 inches of water per week. Use a soaker hose or drip irrigation to deliver water directly to the roots.
* Fertilizing: Fertilize regularly with a balanced fertilizer. I like to use a liquid fertilizer diluted to half strength. Apply the fertilizer every 1-2 weeks. Switch to a fertilizer with a higher potassium content as the gourd starts to mature.
* Foliar Feeding: Supplement your regular fertilization with foliar feeding. Spray the leaves with a diluted seaweed extract or fish emulsion. This will help to provide essential micronutrients.
Protecting Your Gourd: Shielding It from the Elements
Giant gourds are susceptible to various pests and diseases.
* Pest Control: Monitor your plants regularly for pests such as squash bugs, squash vine borers, and aphids. Use organic pest control methods such as insecticidal soap, neem oil, or diatomaceous earth.
* Disease Control: Prevent fungal diseases by providing good air circulation and avoiding overhead watering. If diseases do occur, treat them with a fungicide.
* Sun Protection: Protect your gourd from sunburn by shading it with a cloth or umbrella during the hottest part of the day.
* Support: As your gourd grows larger, it may need support to prevent it from breaking off the vine. Use a sling or hammock to support the gourd’s weight.
Harvesting Your Gourd: The Grand Finale
Harvesting your giant gourd is the culmination of all your hard work.
* Timing: Harvest your gourd when the vine starts to die back and the gourd’s skin becomes hard and resistant to scratching.
* Cutting: Use a sharp knife or pruning shears to cut the gourd from the vine, leaving a few inches of stem attached.
* Handling: Handle the gourd with care to avoid bruising or damaging it.
* Curing: Cure the gourd in a dry, well-ventilated place for several weeks to allow the skin to harden and the
Conclusion
So, there you have it! This simple yet incredibly effective gourd planting hack is a game-changer for anyone looking to cultivate a thriving gourd patch. We’ve walked you through the steps, highlighted the benefits, and hopefully, inspired you to ditch the traditional methods and embrace this innovative approach.
Why is this a must-try? Because it addresses some of the most common challenges faced by gourd growers: poor germination rates, susceptibility to soilborne diseases, and inefficient nutrient uptake. By creating a mini-greenhouse environment directly around the seed, you’re giving your gourds the best possible start in life. This translates to stronger seedlings, faster growth, and ultimately, a more bountiful harvest. Imagine the satisfaction of watching your gourds flourish, knowing you played a crucial role in their success with this clever technique.
But the beauty of this gourd planting hack lies not only in its effectiveness but also in its adaptability. Feel free to experiment with different materials for your mini-greenhouses. Clear plastic cups work wonders, but you could also repurpose plastic bottles, yogurt containers, or even create small cloches from netting to protect against pests. Consider adding a layer of mulch around the base of the seedlings once they emerge to further conserve moisture and suppress weeds.
For those in colder climates, you might want to start your gourds indoors using this method a few weeks before the last expected frost. This will give them a head start and ensure they’re strong enough to withstand the transition to the outdoors. Conversely, if you live in a particularly hot and sunny region, be mindful of overheating. You might need to provide some shade during the hottest part of the day to prevent the seedlings from scorching.
Don’t be afraid to get creative and tailor this gourd planting hack to your specific needs and environment. The key is to provide a warm, humid, and protected environment for your seeds to germinate and your seedlings to thrive.
We are confident that this method will significantly improve your gourd-growing experience. But don’t just take our word for it! We wholeheartedly encourage you to try this DIY trick for yourself. Plant a few gourds using the traditional method and a few using this hack, and compare the results. We’re willing to bet you’ll be amazed by the difference.
And most importantly, we want to hear about your experiences! Share your photos, tips, and variations in the comments section below. Let’s create a community of gourd enthusiasts who are passionate about sharing knowledge and helping each other succeed. Your insights could be invaluable to other growers, and together, we can unlock the full potential of this amazing plant. So, grab your seeds, gather your materials, and get ready to witness the magic of this gourd planting hack! Happy growing!
Frequently Asked Questions (FAQ)
What type of gourds does this hack work best for?
This gourd planting hack is beneficial for virtually all types of gourds, from ornamental varieties like birdhouse gourds and bottle gourds to edible gourds like calabash and zucchini (though zucchini is technically a summer squash). The principle of creating a warm, humid microclimate is universally applicable to gourd seeds, regardless of the specific variety. However, keep in mind that larger gourd varieties might require larger containers for their mini-greenhouses.
How long should I leave the cover on the seedlings?
The duration depends on the weather conditions and the growth rate of your seedlings. Generally, you should remove the cover once the seedlings have developed their first true leaves (the leaves that appear after the initial seed leaves, or cotyledons) and are starting to outgrow the container. This typically takes about 1-2 weeks. If the weather is still cool or there’s a risk of frost, you can leave the cover on for a bit longer, but be sure to monitor the seedlings closely to prevent them from becoming leggy or overcrowded. On sunny days, you might need to vent the cover by slightly lifting it to prevent overheating.
What if I don’t have clear plastic cups? Can I use something else?
Absolutely! The key is to use a translucent or transparent material that allows sunlight to penetrate while trapping heat and moisture. Some excellent alternatives include:
* **Cut-off plastic bottles:** Simply cut off the top of a plastic bottle and invert it over the seedling.
* **Yogurt containers:** Clear yogurt or other food containers can be repurposed as mini-greenhouses.
* **Plastic wrap:** Stretch plastic wrap over the top of a small pot or container and secure it with a rubber band.
* **Cloches made from netting:** These provide protection from pests while still allowing air circulation.
Remember to ensure that whatever material you use is clean and free of any harmful chemicals.
How often should I water the seedlings under the cover?
Watering frequency will depend on the weather and the type of soil you’re using. The goal is to keep the soil consistently moist but not waterlogged. Check the soil moisture level daily by inserting your finger into the soil. If the top inch feels dry, it’s time to water. When watering, be gentle and avoid splashing water onto the leaves, as this can promote fungal diseases. It’s often best to water from the bottom by placing the container in a tray of water and allowing the soil to absorb the moisture.
My seedlings are looking leggy and pale. What should I do?
Leggy and pale seedlings are usually a sign of insufficient light. If your seedlings are indoors, make sure they’re receiving at least 6-8 hours of direct sunlight per day. If you’re using artificial lighting, position the lights close to the seedlings and ensure they’re providing adequate light intensity. Also, make sure the seedlings aren’t overcrowded, as this can also contribute to legginess. Thin out the seedlings if necessary to give them more space to grow.
Can I use this method for other plants besides gourds?
Yes, this method can be adapted for other plants that benefit from a warm, humid environment during germination, such as melons, cucumbers, and squash. The same principles apply: create a mini-greenhouse to trap heat and moisture, monitor the seedlings closely, and adjust the watering and ventilation as needed.
What kind of soil is best for gourds?
Gourds thrive in well-drained, fertile soil that is rich in organic matter. Amend your soil with compost or well-rotted manure before planting to improve its drainage and nutrient content. A slightly acidic to neutral soil pH (around 6.0 to 7.0) is ideal.
How do I protect my gourds from pests and diseases?
Prevention is key when it comes to pests and diseases. Start by choosing disease-resistant varieties and practicing good garden hygiene. Remove any diseased or infested plants promptly. Use row covers to protect young plants from pests. Encourage beneficial insects, such as ladybugs and lacewings, to prey on harmful pests. If necessary, use organic pesticides or fungicides as a last resort, following the instructions carefully.
When is the best time to plant gourds?
Gourds are warm-season crops that require a long growing season. Plant them after the last expected frost, when the soil has warmed up to at least 60°F (15°C). In colder climates, you can start your gourds indoors 4-6 weeks before the last frost and transplant them outdoors once the weather is warm enough.
How much space do gourds need?
Gourds can be vigorous growers and require plenty of space. Provide at least 3-4 feet between plants and 6-8 feet between rows. If you’re growing vining gourds, provide a trellis or other support for them to climb on.
Leave a Comment