
Grow Dill Indoors? Absolutely! Imagine fresh, fragrant dill readily available right in your kitchen, ready to elevate your culinary creations. No more last-minute trips to the grocery store or settling for dried herbs that lack that vibrant, fresh flavor. For centuries, cultivating herbs indoors has been a practice cherished across cultures, from ancient Egyptians growing medicinal plants to medieval monks tending their monastery gardens. It’s a tradition rooted in self-sufficiency and a deep connection to nature.
But let’s be honest, in today’s busy world, who has the time and space for a sprawling outdoor garden? That’s where the magic of indoor herb gardening comes in! I’m here to show you how easy and rewarding it can be to grow dill indoors, even if you have limited space or a less-than-green thumb. This DIY guide is packed with simple tricks and hacks that will empower you to cultivate your own thriving dill plant, bringing a touch of freshness and flavor into your home all year round.
Why is this DIY trick essential? Because fresh dill is a game-changer! It adds a burst of flavor to everything from creamy dips and tangy sauces to grilled fish and roasted vegetables. Plus, growing your own herbs is incredibly satisfying and a fantastic way to reduce your carbon footprint. So, let’s dive in and unlock the secrets to successfully growing dill indoors!
Cooking with Swiss Chard: From Garden to Gourmet (Almost!)
Okay, so you’ve got a bunch of Swiss chard, maybe from your garden, maybe from the farmer’s market, and you’re thinking, “Now what?” Don’t worry, I’ve been there! Swiss chard can seem intimidating, but it’s actually super versatile and packed with nutrients. This guide will walk you through everything you need to know, from prepping the chard to whipping up some delicious dishes.
Understanding Swiss Chard: A Quick Primer
Before we dive in, let’s talk a little about what we’re dealing with. Swiss chard is a leafy green vegetable, related to beets and spinach. It comes in a rainbow of colors, from bright red and orange to yellow and white. The leaves are similar to spinach, while the stalks are thicker and a bit like celery. Both the leaves and stalks are edible, and they have slightly different textures and cooking times.
Prepping Your Swiss Chard: The Foundation for Flavor
Proper preparation is key to making Swiss chard taste its best. Here’s how I get mine ready:
- Washing: Swiss chard can be a bit sandy, so thorough washing is crucial.
- Separating: I usually separate the leaves from the stalks. This is because the stalks take longer to cook.
- Chopping: Chop the stalks into smaller pieces, about 1/2 inch thick. Roughly chop the leaves, keeping in mind they will wilt down considerably during cooking.
Step-by-Step Guide: Preparing Swiss Chard
1. Wash the Chard: Fill a large bowl or your sink with cold water. Submerge the Swiss chard leaves and stalks, swishing them around to dislodge any dirt or sand. Let them soak for a few minutes, then lift them out of the water, leaving any sediment behind. Repeat this process until the water runs clear. I sometimes use a salad spinner to dry the leaves after washing.
2. Separate Leaves and Stalks: Lay a chard leaf flat on a cutting board. Using a sharp knife, cut along both sides of the stalk, removing the leafy part. Repeat for all the leaves. Don’t throw away the stalks! They’re delicious.
3. Chop the Stalks: Stack the stalks together and chop them crosswise into 1/2-inch pieces. The smaller the pieces, the faster they will cook. I like to keep them uniform in size for even cooking.
4. Chop the Leaves: Stack the leaves together and roll them up tightly like a cigar. Then, slice the roll crosswise into ribbons. This is called a chiffonade cut. If you prefer, you can simply roughly chop the leaves. I find the chiffonade cut looks nicer in some dishes.
5. Dry the Leaves (Optional): If you’re planning to sauté the chard, it’s helpful to dry the leaves as much as possible. Excess water can cause them to steam instead of sauté, which will affect the texture and flavor. You can use a salad spinner or pat them dry with paper towels.
Cooking Methods: Unleashing the Flavor of Swiss Chard
Now that your Swiss chard is prepped, let’s explore some cooking methods. I’ll share my favorite techniques and tips for each.
Sautéing: Quick, Easy, and Delicious
Sautéing is my go-to method for cooking Swiss chard. It’s quick, easy, and allows the natural flavors of the chard to shine.
1. Heat the Oil: Heat a tablespoon or two of olive oil (or your favorite cooking oil) in a large skillet over medium heat. Make sure the skillet is large enough to accommodate all the chard without overcrowding it. Overcrowding will lower the temperature of the pan and cause the chard to steam instead of sauté.
2. Sauté the Stalks: Add the chopped chard stalks to the skillet and sauté for 3-5 minutes, or until they are tender-crisp. Stir frequently to prevent them from burning. You can add a pinch of salt and pepper to season them.
3. Add the Leaves: Add the chopped chard leaves to the skillet and sauté for another 3-5 minutes, or until they are wilted and tender. Stir frequently to ensure even cooking. The leaves will shrink down considerably as they cook.
4. Season to Taste: Season the sautéed chard with salt, pepper, and any other seasonings you like. I often add a squeeze of lemon juice or a sprinkle of red pepper flakes for extra flavor.
5. Serve: Serve the sautéed chard immediately as a side dish or use it as an ingredient in other recipes.
Steaming: A Gentle Approach
Steaming is a great way to cook Swiss chard if you want to preserve its nutrients and keep it tender.
1. Prepare the Steamer: Fill a pot with about an inch of water and bring it to a boil. Place a steamer basket inside the pot, making sure the water doesn’t touch the bottom of the basket.
2. Add the Chard: Place the chopped chard leaves and stalks in the steamer basket.
3. Steam: Cover the pot and steam for 5-7 minutes, or until the chard is tender. The stalks will take slightly longer to cook than the leaves.
4. Season and Serve: Remove the steamed chard from the steamer basket and season with salt, pepper, and any other seasonings you like. Serve immediately.
Boiling: A Simple Method
Boiling is the simplest method, but it can leach out some of the nutrients and flavor. I usually reserve this for when I’m adding the chard to soups or stews.
1. Boil Water: Bring a pot of salted water to a boil.
2. Add the Chard: Add the chopped chard leaves and stalks to the boiling water.
3. Cook: Cook for 3-5 minutes, or until the chard is tender.
4. Drain and Serve: Drain the chard in a colander and season with salt, pepper, and any other seasonings you like. Serve immediately.
Baking: A Unique Twist
Baking Swiss chard can create a slightly different texture and flavor. I like to use this method for gratins or casseroles.
1. Preheat Oven: Preheat your oven to 375°F (190°C).
2. Prepare the Chard: Sauté the chopped chard stalks in a skillet with a little olive oil until they are tender-crisp. Add the chopped chard leaves and sauté until they are wilted.
3. Combine with Other Ingredients: Combine the sautéed chard with other ingredients, such as cheese, breadcrumbs, and a sauce.
4. Bake: Transfer the mixture to a baking dish and bake for 20-25 minutes, or until it is heated through and the top is golden brown.
5. Serve: Let the baked chard cool slightly before serving.
Flavor Pairings: What Goes Well with Swiss Chard?
Swiss chard has a mild, slightly earthy flavor that pairs well with a variety of ingredients. Here are some of my favorite flavor combinations:
- Garlic: Garlic and Swiss chard are a match made in heaven.
- Onion: Onions add sweetness and depth of flavor.
- Lemon: Lemon juice brightens up the flavor of Swiss chard.
- Red Pepper Flakes: Red pepper flakes add a touch of heat.
- Parmesan Cheese: Parmesan cheese adds a salty, savory flavor.
- Pine Nuts: Pine nuts add a nutty crunch.
- Raisins: Raisins add a touch of sweetness.
- Balsamic Vinegar: Balsamic vinegar adds a tangy, slightly sweet flavor.
- Eggs: Swiss chard is delicious in omelets, frittatas, and quiches.
- Potatoes: Swiss chard and potatoes are a classic combination.
- Beans: Swiss chard pairs well with white beans, chickpeas, and other beans.
Recipe Ideas: Putting It All Together
Now that you know how to prep and cook Swiss chard, let’s get inspired with some recipe ideas!
Sautéed Swiss Chard with Garlic and Lemon
This is a simple and delicious side dish that highlights the natural flavors of Swiss chard.
1. Sauté the chopped chard stalks in olive oil with minced garlic until tender-crisp.
2. Add the chopped chard leaves and sauté until wilted.
3. Season with salt, pepper, and a squeeze of lemon juice.
4. Serve immediately.
Swiss Chard and Potato Frittata
This frittata is a hearty and flavorful

Conclusion
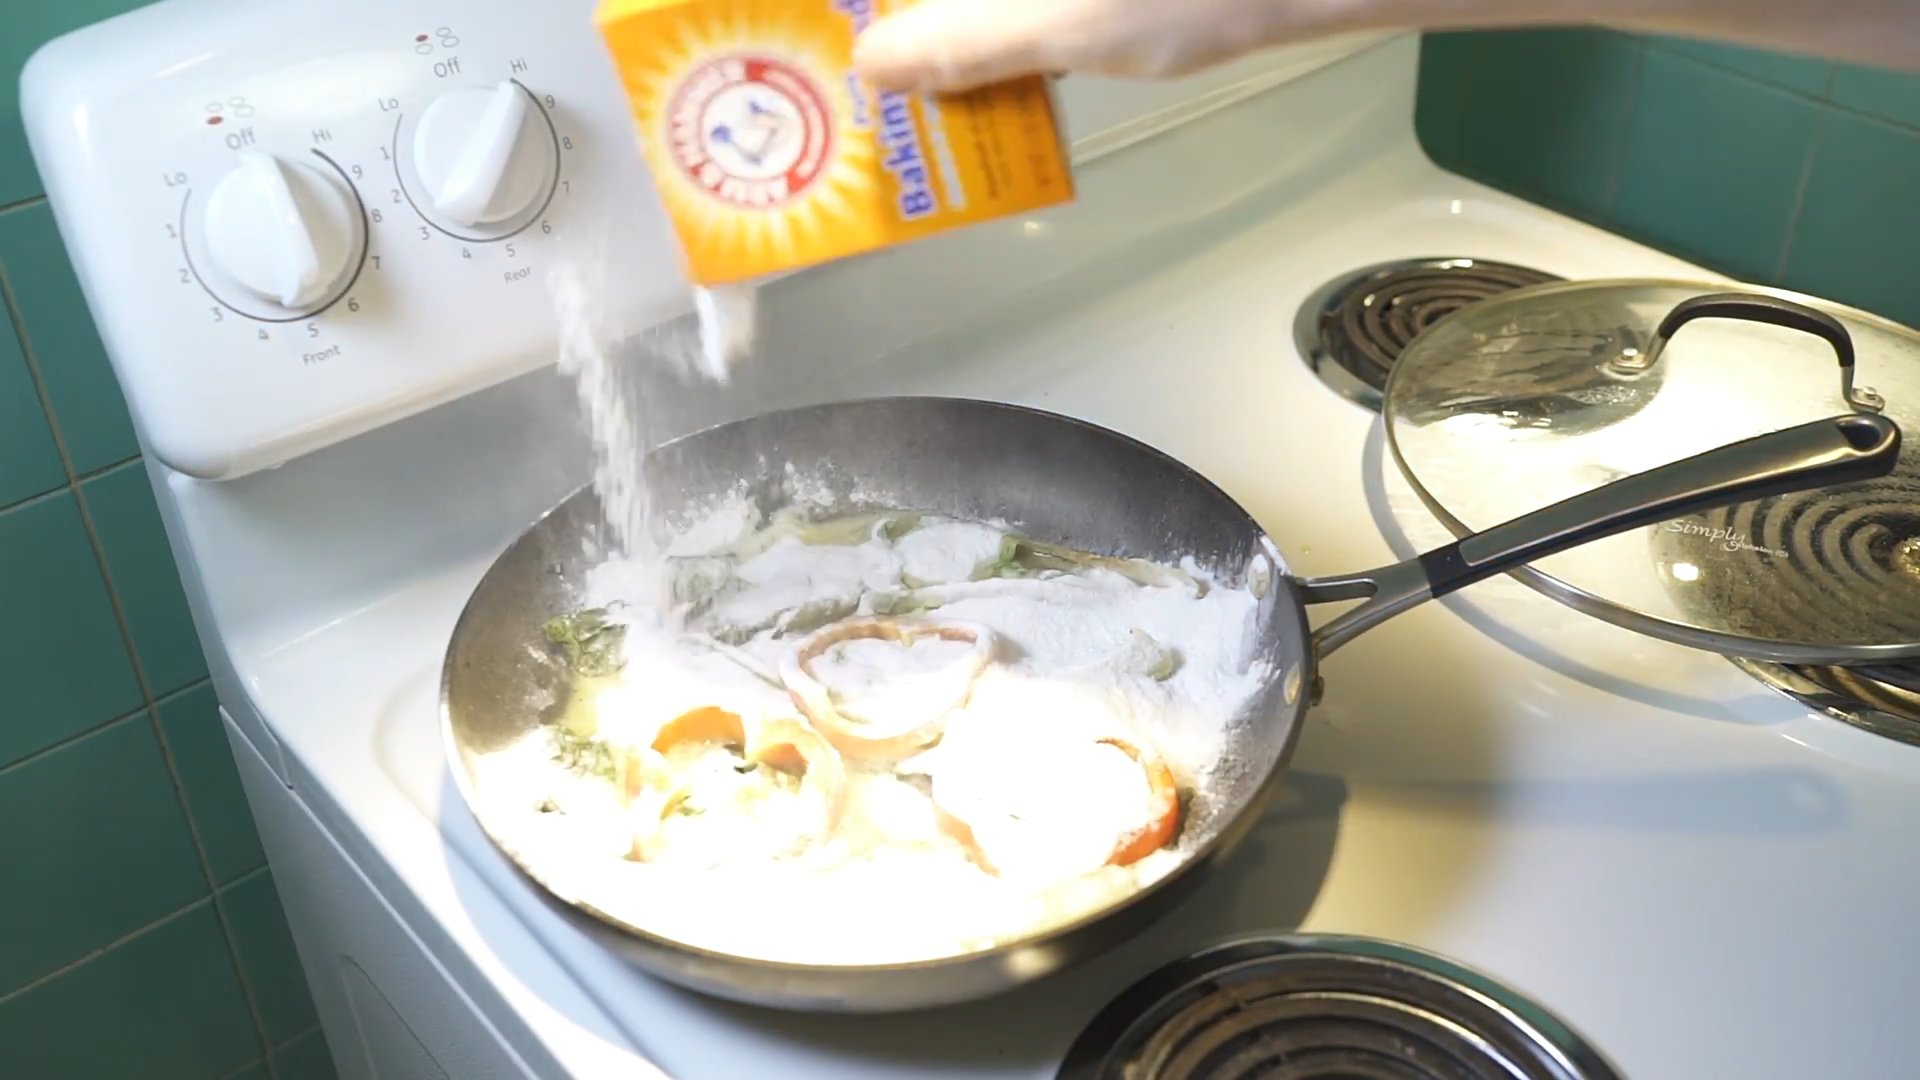
So, there you have it! Unlocking the power of baking soda isn’t just about keeping your fridge fresh; it’s about revolutionizing your daily routines. From creating a sparkling clean home to enhancing your beauty regimen and even boosting your culinary creations, the versatility of this humble ingredient is truly astounding. These baking soda life hacks are more than just clever tricks; they are practical, cost-effective solutions that can simplify your life and save you money.
Why is this a must-try? Because it’s accessible, affordable, and effective. You likely already have a box of baking soda sitting in your pantry. Instead of reaching for expensive, chemical-laden cleaners or specialized products, you can harness the natural power of baking soda to achieve remarkable results. It’s a sustainable choice, reducing your reliance on harsh chemicals and contributing to a healthier environment. Plus, the satisfaction of creating your own solutions and seeing them work wonders is incredibly rewarding.
But don’t stop there! The possibilities with baking soda are endless. Experiment with different variations to find what works best for you. For example, if you’re using baking soda as a natural deodorant, try adding a few drops of your favorite essential oil for a personalized scent. If you’re using it to clean your oven, create a paste with water and let it sit overnight for even more stubborn stains. For a more abrasive scrub, mix baking soda with a bit of salt. The key is to be creative and adapt these hacks to your specific needs and preferences.
We encourage you to embrace these baking soda life hacks and discover the transformative power of this simple ingredient. Start with one or two that resonate with you and gradually incorporate more into your daily routine. You’ll be amazed at the difference it can make.
Don’t just take our word for it, though. Try these baking soda life hacks for yourself and see the results firsthand. We’re confident that you’ll be impressed. And most importantly, we want to hear about your experiences! Share your favorite baking soda hacks, tips, and variations in the comments below. Let’s create a community of baking soda enthusiasts and learn from each other. What unexpected uses have you discovered? What challenges have you overcome? Your insights can help others unlock the full potential of this amazing ingredient. Let’s spread the word about the incredible versatility of baking soda and make our lives a little bit easier, cleaner, and more sustainable. So go ahead, grab that box of baking soda and start experimenting! You won’t regret it.
Frequently Asked Questions (FAQ)
Is baking soda safe to use on all surfaces?
While baking soda is generally safe and gentle, it’s always a good idea to test it on an inconspicuous area first, especially on delicate surfaces like polished wood or certain types of stone. Baking soda is mildly abrasive, so excessive scrubbing on sensitive materials could potentially cause scratches. Avoid using baking soda on aluminum, as it can cause discoloration. For surfaces you’re unsure about, dilute the baking soda with more water or consult the manufacturer’s recommendations for cleaning.
Can I use baking soda internally?
While some people advocate for internal uses of baking soda, such as for heartburn relief or as an antacid, it’s crucial to exercise extreme caution and consult with a healthcare professional before doing so. Baking soda can interact with certain medications and may not be suitable for individuals with certain medical conditions, such as kidney problems or high blood pressure. Overconsumption of baking soda can lead to electrolyte imbalances and other health issues. Always prioritize your health and safety by seeking professional medical advice before using baking soda internally.
How long does baking soda last?
An unopened box of baking soda can last for several years if stored in a cool, dry place. Once opened, it’s best to use it within six months to a year for optimal effectiveness. To test if your baking soda is still active, pour a small amount of vinegar into a bowl and add a spoonful of baking soda. If it fizzes vigorously, it’s still good to use. If there’s little to no fizzing, it’s time to replace it. Even if it’s lost some of its potency for baking, you can still use older baking soda for cleaning and deodorizing purposes.
What’s the difference between baking soda and baking powder?
Baking soda (sodium bicarbonate) is a single ingredient that requires an acidic ingredient (like vinegar, lemon juice, or buttermilk) to activate its leavening power. Baking powder, on the other hand, contains both baking soda and an acid, so it only needs moisture to activate. They are not interchangeable in recipes. Using baking soda instead of baking powder will result in a flat, dense baked good, while using baking powder instead of baking soda may result in a bitter taste.
Can baking soda remove tough stains from clothing?
Yes, baking soda is an excellent natural stain remover for clothing. For tough stains, create a paste of baking soda and water and apply it directly to the stain. Let it sit for 30 minutes to an hour, then scrub gently and wash as usual. For whitening clothes, add a half cup of baking soda to your washing machine along with your regular detergent. Baking soda can also help to deodorize smelly laundry.
Is baking soda safe for pets?
Baking soda is generally considered safe for pets in small amounts. It can be used to deodorize pet bedding or to freshen up their fur. However, avoid allowing your pet to ingest large quantities of baking soda, as it can cause digestive upset. If your pet has ingested a significant amount of baking soda, consult with your veterinarian.
Can I use baking soda to unclog drains?
Yes, baking soda is a great natural alternative to harsh chemical drain cleaners. Pour about a cup of baking soda down the drain, followed by a cup of vinegar. Let it fizz for 30 minutes, then flush with hot water. This combination can help to break down grease and grime that are clogging your drain. For more stubborn clogs, you may need to repeat the process or use a plunger.
How can I use baking soda to freshen my refrigerator?
Baking soda is a classic refrigerator deodorizer. Simply place an open box of baking soda in your refrigerator to absorb odors. Replace the box every three months or sooner if you notice any lingering smells. You can also sprinkle baking soda on a damp sponge and wipe down the interior of your refrigerator to remove spills and odors.
Are there any safety precautions I should take when using baking soda?
While baking soda is generally safe, it’s always a good idea to wear gloves when using it for cleaning, especially if you have sensitive skin. Avoid getting baking soda in your eyes, as it can cause irritation. If you do get baking soda in your eyes, rinse them thoroughly with water. As mentioned earlier, avoid ingesting large quantities of baking soda and consult with a healthcare professional before using it internally.


Leave a Comment