
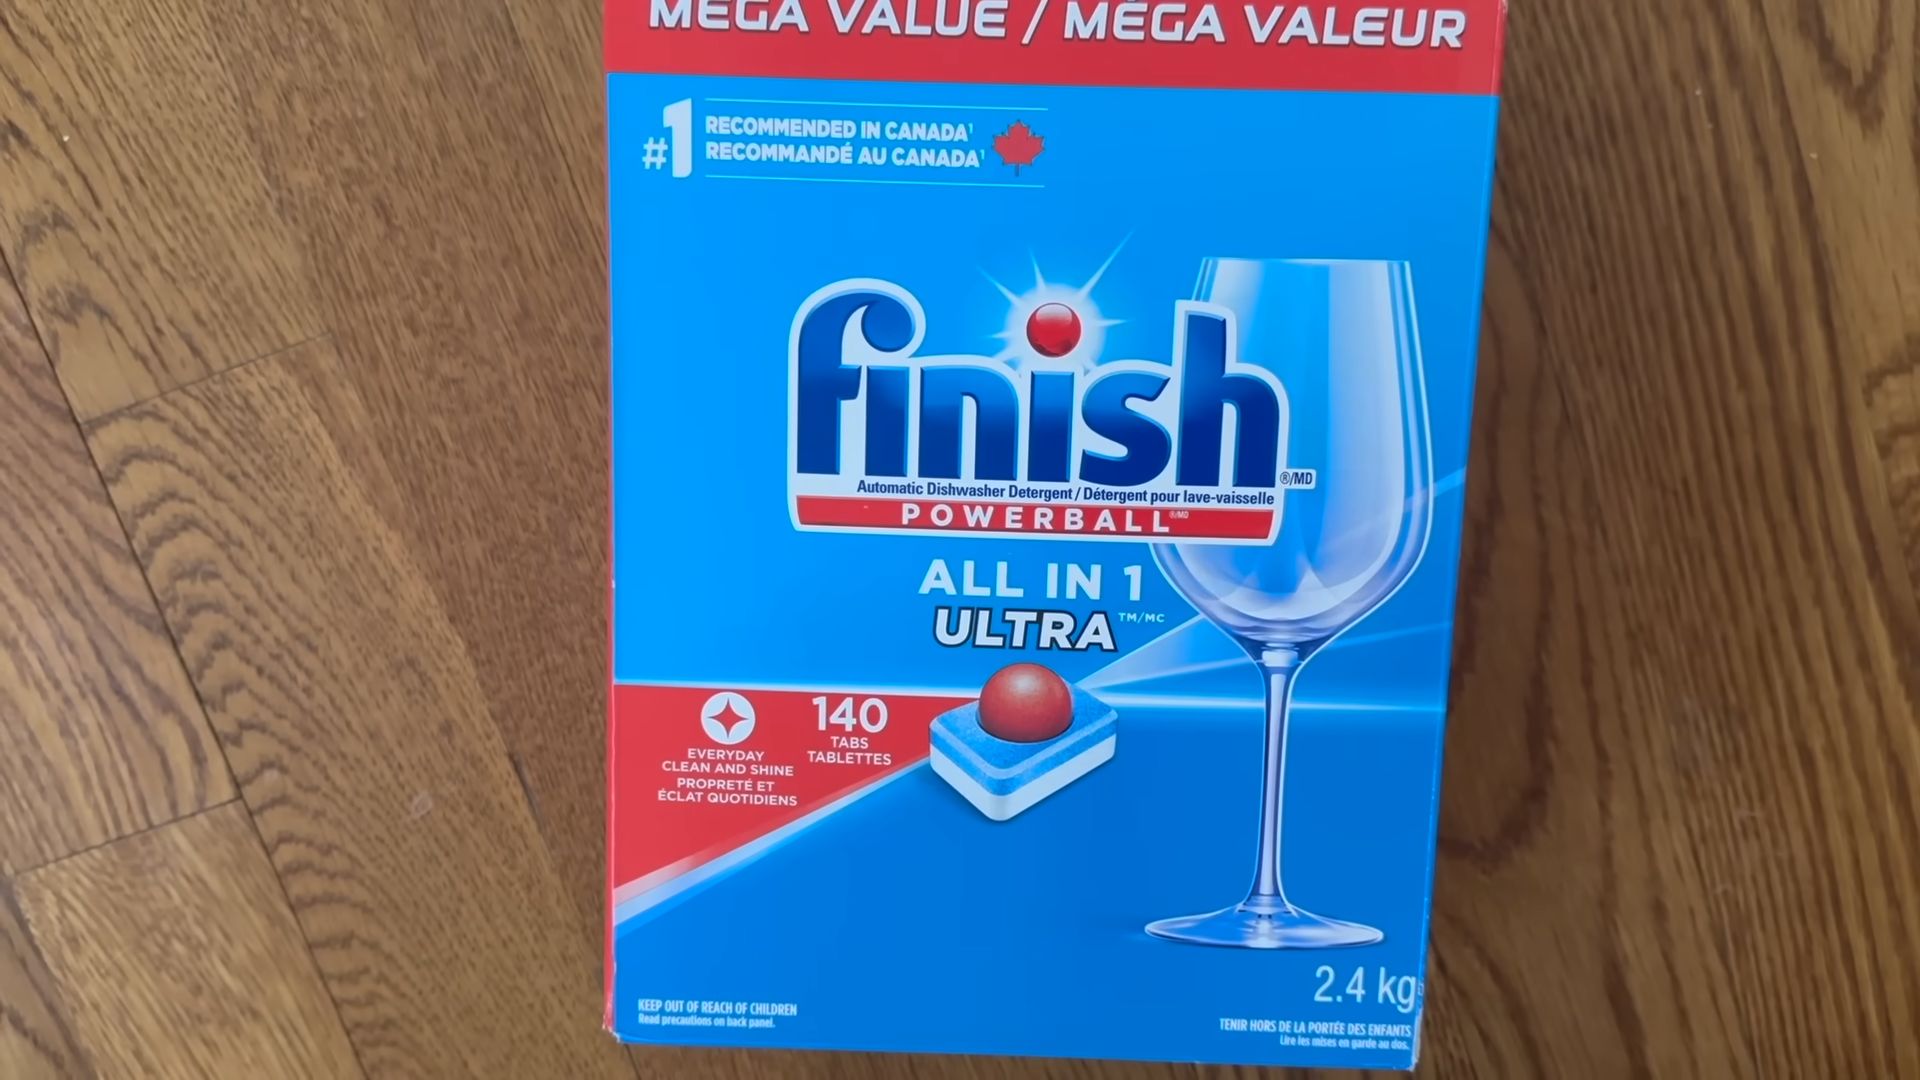
Finish Powerball Uses: Beyond sparkling dishes, did you know that humble dishwasher tablet holds a treasure trove of cleaning secrets for your home? I know, it sounds crazy, right? But trust me, this isn’t your grandma’s cleaning advice (unless your grandma was secretly a cleaning genius!). For generations, we’ve relied on elbow grease and harsh chemicals to tackle tough stains and grime. But what if I told you there’s a simpler, more effective way to conquer those household chores using something you probably already have under your sink?
The history of cleaning agents is fascinating, evolving from simple soaps made with animal fats and ashes to the complex chemical formulations we use today. While modern cleaning products offer convenience, many contain harsh ingredients that can be harmful to our health and the environment. That’s where these DIY Finish Powerball uses come in! They offer a gentler, often more effective, alternative for tackling a variety of cleaning challenges.
Let’s face it, nobody enjoys spending hours scrubbing stubborn stains or battling mildew. We all crave a cleaner home, but we also want to save time and money. That’s why I’m so excited to share these amazing DIY tricks and hacks that will revolutionize your cleaning routine. From sparkling toilets to stain-free laundry, prepare to be amazed by the versatility of the Finish Powerball. Get ready to unlock the hidden potential of this everyday household item and discover a whole new world of cleaning possibilities!
DIY: Transforming Empty Finish Powerball Containers into Adorable Succulent Planters
Hey there, fellow DIY enthusiasts! Are you tired of tossing those empty Finish Powerball containers into the recycling bin? Well, I’ve got a super fun and eco-friendly project for you! We’re going to transform those humble plastic shells into charming little succulent planters. It’s a great way to add a touch of green to your home, reduce waste, and unleash your creativity. Plus, it’s incredibly easy, even if you’re a beginner. Let’s get started!
Materials You’ll Need:
* Empty Finish Powerball containers (cleaned and dried thoroughly)
* Craft knife or sharp scissors
* Small pebbles or gravel
* Cactus or succulent potting mix
* Succulents of your choice (small varieties work best)
* Optional: Acrylic paints, paintbrushes, sealant, decorative stones, moss, or other embellishments
Tools You Might Find Helpful:
* Gloves (to protect your hands when cutting)
* Sandpaper (for smoothing rough edges)
* Small trowel or spoon (for planting)
* Hot glue gun (for attaching decorations)
Preparing the Powerball Containers:
This is the most important part, so pay close attention! We need to create a suitable opening for our succulents and ensure proper drainage.
1. Cleaning is Key: First things first, make sure your Finish Powerball containers are squeaky clean. Rinse them thoroughly with warm, soapy water to remove any residue. Let them dry completely before moving on. Any leftover detergent can harm your plants.
2. Marking the Cut Line: Decide where you want to cut the container to create the opening for your planter. I usually aim for about halfway down, but you can adjust this based on the size of your succulents and your desired aesthetic. Use a marker to draw a clear line around the container where you plan to cut. A straight line is easiest, but you can get creative with wavy or scalloped edges if you’re feeling adventurous!
3. Cutting the Container: This is where the craft knife or scissors come in. Be extremely careful during this step! If using a craft knife, place the container on a stable surface and slowly and carefully score along the marked line. Apply gentle pressure and repeat the scoring several times until you’ve cut all the way through. If using scissors, carefully pierce the plastic along the line and then cut around the container. Remember, safety first! Wear gloves to protect your hands.
4. Smoothing the Edges: Once you’ve cut the container, the edges might be a bit rough. Use sandpaper to smooth them down and prevent any accidental cuts later on. This step is optional, but it definitely gives your planter a more polished look.
5. Creating Drainage Holes: Succulents don’t like sitting in soggy soil, so drainage is crucial. Use the tip of your craft knife or a small drill bit to create a few small drainage holes in the bottom of the container. I usually make about 3-4 holes, evenly spaced.
Planting Your Succulents:
Now for the fun part – bringing your little planters to life!
1. Adding a Drainage Layer: Pour a layer of small pebbles or gravel into the bottom of the container. This will help improve drainage and prevent the soil from becoming waterlogged. About an inch or two of pebbles should do the trick.
2. Filling with Potting Mix: Next, fill the container with cactus or succulent potting mix. This type of soil is specifically formulated for succulents and provides the right balance of drainage and nutrients. Leave about an inch of space at the top of the container.
3. Planting Your Succulents: Gently remove your succulents from their nursery pots. Loosen the roots slightly with your fingers. Dig a small hole in the potting mix and carefully place the succulent into the hole. Make sure the top of the root ball is level with the soil surface.
4. Adding More Soil: Fill in any gaps around the succulent with more potting mix. Gently pat down the soil to secure the plant in place.
5. Watering: Water your newly planted succulents sparingly. Succulents prefer to dry out completely between waterings. Water thoroughly until water drains out of the drainage holes, then let the soil dry completely before watering again. Overwatering is the most common mistake people make with succulents!
Decorating Your Planters (Optional):
This is where you can really let your creativity shine! There are endless ways to decorate your Finish Powerball planters and make them truly unique.
1. Painting: Acrylic paints are perfect for decorating plastic containers. You can paint them any color you like, add patterns, or even create miniature landscapes. Be sure to use a sealant after painting to protect the paint from chipping and fading.
2. Adding Decorative Stones or Moss: Small decorative stones or moss can add a natural touch to your planters. You can arrange them around the base of the succulents or use them to cover the soil surface.
3. Hot Glue Embellishments: Use a hot glue gun to attach small embellishments like beads, buttons, shells, or anything else you can think of. Just be careful not to burn yourself!
4. Creating a Terrarium Effect: You can even create a mini terrarium effect by adding a layer of decorative sand or gravel on top of the soil.
Displaying Your Succulent Planters:
Now that you’ve created your adorable succulent planters, it’s time to show them off!
* Windowsills: Windowsills are a great place to display your succulents, as they provide plenty of sunlight.
* Desks: Add a touch of green to your workspace by placing a succulent planter on your desk.
* Shelves: Succulent planters look great on shelves, adding a pop of color and texture to your décor.
* Outdoor Patios or Balconies: If you live in a warm climate, you can display your succulent planters outdoors on your patio or balcony. Just make sure they’re protected from extreme temperatures and direct sunlight.
* Hanging Planters: You can even convert your Finish Powerball planters into hanging planters by attaching some string or wire to the sides.
Succulent Care Tips:
To keep your succulents happy and healthy, here are a few essential care tips:
* Sunlight: Succulents need plenty of sunlight, so place them in a bright location.
* Watering: Water sparingly, allowing the soil to dry out completely between waterings.
* Soil: Use cactus or succulent potting mix for optimal drainage.
* Fertilizing: Fertilize succulents sparingly, using a diluted cactus fertilizer during the growing season (spring and summer).
* Repotting: Repot your succulents every year or two, as they outgrow their containers.
Troubleshooting:
* Yellowing Leaves: This could be a sign of overwatering. Allow the soil to dry out completely before watering again.
* Drooping Leaves: This could be a sign of underwatering. Water thoroughly until water drains out of the drainage holes.
* Leggy Growth: This could be a sign of insufficient sunlight. Move your succulents to a brighter location.
Final Thoughts:
I hope you enjoyed this DIY project! Transforming empty Finish Powerball containers into succulent planters is a fun, easy, and eco-friendly way to add a touch of green to your home. So, next time you finish a pack of dishwasher tablets, don’t throw away the container – turn it into something beautiful! Happy planting!
Conclusion
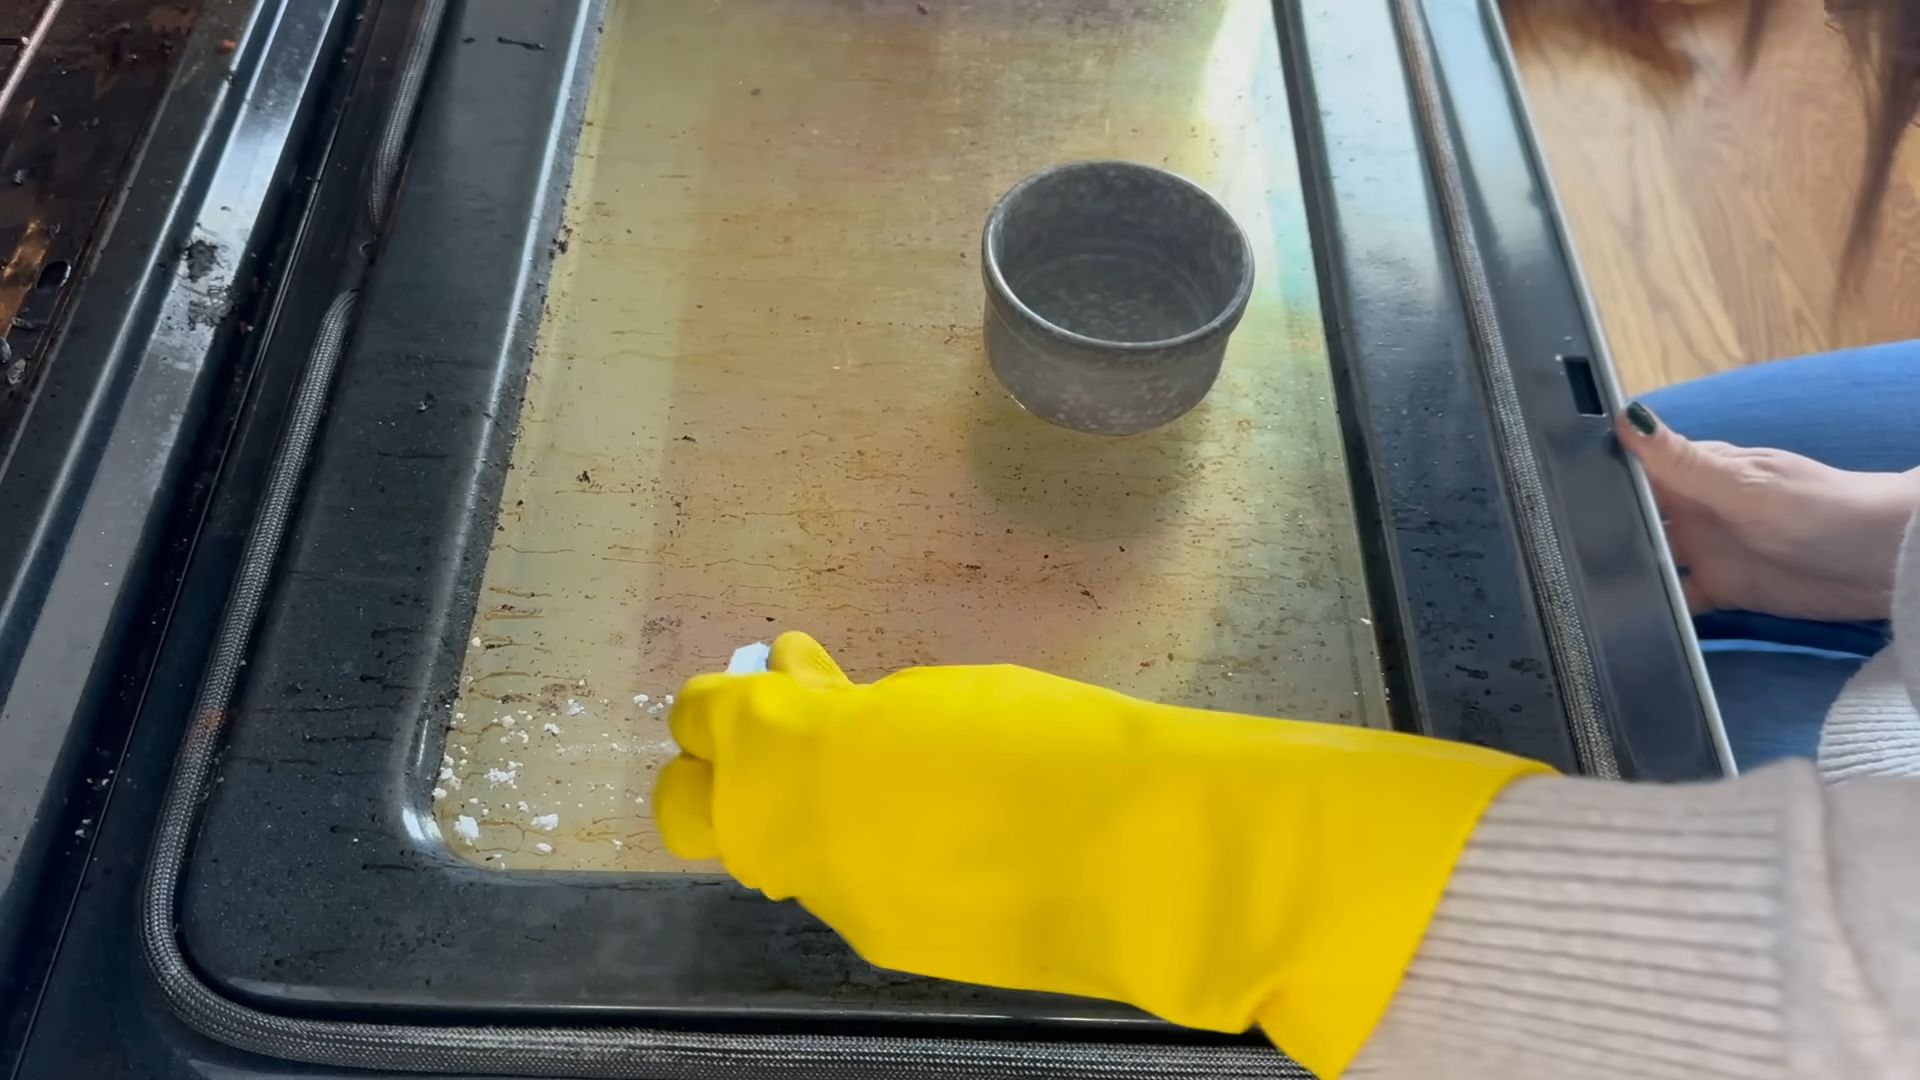
So, there you have it! This simple yet effective DIY trick using Finish Powerball tabs to tackle [Specific Problem the trick solves, e.g., stubborn baked-on food, greasy residue, etc.] is a game-changer for anyone looking to simplify their cleaning routine and achieve sparkling results without harsh chemicals or excessive scrubbing. We’ve shown you how easy it is to repurpose these readily available dishwasher tabs for a multitude of cleaning tasks beyond just your dishwasher.
Why is this a must-try? Because it’s economical, efficient, and surprisingly versatile. Think about it: you’re already buying Finish Powerball tabs for your dishwasher. Now, you can unlock their full potential and use them to clean everything from your oven and stovetop to your shower and even your toilet bowl. This means fewer specialized cleaning products cluttering your cabinets and a lighter load on your wallet.
But the benefits don’t stop there. This DIY approach is also a more environmentally friendly alternative to many harsh chemical cleaners. By diluting the Powerball tab in water, you’re reducing the concentration of chemicals used and minimizing the potential impact on the environment.
Looking for variations? Absolutely! For extra stubborn grime, try using a slightly more concentrated solution or letting the solution sit for a longer period before scrubbing. You can also add a few drops of essential oil, like lemon or tea tree, to the solution for a pleasant scent and added antibacterial properties. For delicate surfaces, always test the solution in an inconspicuous area first to ensure it doesn’t cause any damage or discoloration. Consider using a microfiber cloth for gentle yet effective cleaning. Experiment with different application methods, such as a spray bottle for larger areas or a sponge for targeted cleaning.
We’re confident that once you try this DIY Finish Powerball cleaning trick, you’ll be amazed by the results. It’s a simple, effective, and budget-friendly way to keep your home sparkling clean.
Now, we want to hear from you! Give this DIY a try and share your experiences in the comments below. Let us know what surfaces you’ve cleaned, what variations you’ve tried, and what results you’ve achieved. Your feedback will help other readers discover the full potential of this amazing cleaning hack. Don’t forget to share this article with your friends and family so they can benefit from this simple yet powerful cleaning solution too! Let’s revolutionize our cleaning routines, one Finish Powerball tab at a time!
Frequently Asked Questions (FAQs)
1. What exactly can I clean with this DIY Finish Powerball solution?
This is where the magic happens! The versatility of this solution is truly impressive. You can use it to clean a wide range of surfaces, including:
* **Ovens and Stovetops:** Baked-on food and grease are no match for the cleaning power of Finish Powerball.
* **Shower and Bathtub:** Soap scum, mildew, and hard water stains can be easily removed.
* **Toilets:** The solution can help to clean and deodorize your toilet bowl.
* **Sinks and Faucets:** Remove water spots and grime for a sparkling clean.
* **Countertops:** (Always test in an inconspicuous area first, especially on delicate surfaces like marble or granite).
* **Floors:** (Again, test in an inconspicuous area first, especially on hardwood floors).
* **Grills:** Clean greasy grill grates with ease.
* **Even Laundry Stains:** Pre-treat tough laundry stains before washing.
The possibilities are endless! Just remember to always test the solution in an inconspicuous area first, especially on delicate surfaces.
2. How do I make the DIY Finish Powerball cleaning solution?
The process is incredibly simple:
1. Fill a bucket or container with warm water. The amount of water will depend on the size of the area you’re cleaning.
2. Add one Finish Powerball tab to the water.
3. Allow the tab to dissolve completely. This may take a few minutes. You can gently stir the water to help the tab dissolve faster.
4. Once the tab is dissolved, your cleaning solution is ready to use!
3. Is this DIY cleaning solution safe for all surfaces?
While the Finish Powerball solution is generally safe for most surfaces, it’s always best to err on the side of caution. **Always test the solution in an inconspicuous area first** to ensure it doesn’t cause any damage or discoloration. Avoid using the solution on delicate surfaces like marble, granite, or wood without testing first. If you’re unsure, consult the manufacturer’s instructions for the surface you’re cleaning.
4. Can I use any brand of dishwasher tab for this DIY cleaning trick?
While Finish Powerball tabs are specifically mentioned in this article, other brands of dishwasher tabs may also work. However, the results may vary depending on the ingredients and formulation of the tab. It’s always best to start with a small test area to see how the solution performs.
5. Is this DIY cleaning solution safe for pets and children?
While the diluted solution is less harsh than concentrated cleaning products, it’s still important to keep it out of reach of children and pets. Avoid allowing pets or children to ingest the solution or come into contact with it. If ingestion or contact occurs, rinse thoroughly with water and seek medical attention if necessary.
6. How long does the DIY Finish Powerball cleaning solution last?
It’s best to use the cleaning solution immediately after preparing it. Over time, the solution may lose its effectiveness. If you have any leftover solution, discard it properly.
7. Can I store the DIY Finish Powerball cleaning solution for later use?
It’s not recommended to store the cleaning solution for later use. The solution may lose its effectiveness over time, and the ingredients may separate. It’s best to prepare a fresh batch of solution each time you need it.
8. What safety precautions should I take when using this DIY cleaning solution?
* Wear gloves to protect your hands from irritation.
* Avoid contact with eyes. If contact occurs, rinse thoroughly with water.
* Ensure adequate ventilation when using the solution in enclosed spaces.
* Keep the solution out of reach of children and pets.
* Never mix the solution with other cleaning products, as this could create harmful fumes.
9. What if I don’t have Finish Powerball tabs? Can I use something else?
If you don’t have Finish Powerball tabs, you can try using other types of dishwasher detergent, such as powder or liquid. However, the results may vary. You can also try using a combination of baking soda and vinegar for a more natural cleaning solution.
10. How can I make the cleaning solution stronger for tough stains?
For extra stubborn stains, you can try using a more concentrated solution by using less water or adding an extra half of a Finish Powerball tab. You can also let the solution sit on the stain for a longer period before scrubbing. For extremely tough stains, you may need to use a specialized cleaning product.
11. Can I use this solution to clean my car?
While the solution may be effective for cleaning some parts of your car, such as the interior plastic surfaces, it’s not recommended for cleaning the exterior paint. The solution may damage the paint or clear coat. Use specialized car cleaning products for cleaning your car’s exterior.
12. What are some other uses for Finish Powerball tabs besides cleaning?
While cleaning is the primary use, some people have found other creative uses for Finish Powerball tabs, such as:
* **Unclogging drains:** Some people have reported success using a Finish Powerball tab to unclog a slow-draining drain.
* **Removing coffee stains from mugs:** Soak stained mugs in a solution of water and a Finish Powerball tab.
Remember to always exercise caution and test in an inconspicuous area first before trying any unconventional uses.
We hope these FAQs have answered all of your questions about this amazing DIY Finish Powerball cleaning trick. Now it’s time to give it a try and see the results for yourself!
Leave a Comment