
Easy cleaning tricks – who doesn’t want them? Let’s be honest, cleaning isn’t exactly anyone’s favorite pastime. We all dream of sparkling homes without spending hours scrubbing and sweating. But what if I told you that achieving a clean and tidy space could be easier and faster than you ever imagined? This article is your ultimate guide to unlocking a treasure trove of DIY cleaning hacks that will revolutionize your cleaning routine.
Throughout history, people have sought clever ways to maintain cleanliness. From ancient civilizations using natural remedies to modern innovations, the quest for effective cleaning solutions has always been a priority. Think about it – our grandmothers had their own secret concoctions and time-tested methods for keeping their homes spotless. Now, we’re building on that legacy with a blend of traditional wisdom and modern ingenuity.
In today’s busy world, time is precious. Juggling work, family, and social life leaves little room for extensive cleaning sessions. That’s where these easy cleaning tricks come in! They’re designed to save you time, money, and effort, allowing you to enjoy a cleaner, healthier home without sacrificing your precious free time. Imagine spending less time scrubbing and more time doing the things you love. Sounds good, right? So, let’s dive into these simple yet effective DIY cleaning hacks that will transform your home and your life!
DIY Cleaning Hacks That Will Save You Time and Money!
Okay, let’s be honest, cleaning isn’t exactly anyone’s favorite pastime. But a clean home is a happy home, right? I’ve gathered some of my absolute favorite DIY cleaning hacks that are not only super effective but also incredibly budget-friendly. Get ready to ditch those harsh chemicals and embrace the power of natural ingredients!
Cleaning Your Microwave Like a Pro
Microwaves can get pretty gross, pretty quickly. Splatters, spills, and lingering odors are just part of the deal. But fear not! This hack will have your microwave sparkling in minutes, with minimal effort.
What You’ll Need:
* 1 cup of water
* 1 tablespoon of white vinegar or lemon juice
* Microwave-safe bowl
* Clean sponge or cloth
Step-by-Step Instructions:
1. Combine Water and Vinegar/Lemon Juice: In your microwave-safe bowl, mix together the water and either the white vinegar or lemon juice. I personally love using lemon juice because it leaves a fresh, citrusy scent.
2. Microwave the Mixture: Place the bowl in the microwave and heat it on high for 5-5 minutes. You want the mixture to boil and create steam inside the microwave. This steam is what will loosen all the grime and splatters.
3. Let it Sit: Once the timer goes off, don’t open the microwave door immediately! Let the bowl sit inside for another 2-3 minutes. This allows the steam to continue working its magic.
4. Wipe it Clean: Carefully remove the bowl (it will be hot!). Then, using your clean sponge or cloth, wipe down the inside of the microwave. You’ll be amazed at how easily the grime comes off! For stubborn spots, you might need to scrub a little, but most of it should wipe away effortlessly.
5. Dry and Enjoy: Finally, dry the inside of the microwave with a clean cloth. And that’s it! Your microwave should be clean, fresh, and ready to use.
Unclogging Drains Naturally
Clogged drains are a common household problem, and those chemical drain cleaners can be harsh and expensive. This natural solution is just as effective and much gentler on your pipes and the environment.
What You’ll Need:
* 1/2 cup baking soda
* 1 cup white vinegar
* Boiling water
Step-by-Step Instructions:
1. Pour in the Baking Soda: Carefully pour the 1/2 cup of baking soda down the clogged drain. Try to get as much of it down the drain as possible.
2. Add the Vinegar: Next, pour the 1 cup of white vinegar down the drain. You’ll notice a fizzing reaction – this is exactly what you want! The baking soda and vinegar are working together to break down the clog.
3. Let it Fizz: Let the mixture fizz and bubble for about 30 minutes. This gives it time to work its magic and dissolve the gunk.
4. Flush with Boiling Water: After 30 minutes, carefully pour a pot of boiling water down the drain. The hot water will help to flush away the loosened clog.
5. Repeat if Necessary: If the drain is still clogged, repeat the process one more time. For really stubborn clogs, you might need to use a plunger after the baking soda and vinegar treatment.
Making Your Own All-Purpose Cleaner
Why spend a fortune on store-bought all-purpose cleaners when you can easily make your own with just a few simple ingredients? This DIY cleaner is effective, eco-friendly, and smells amazing!
What You’ll Need:
* Spray bottle
* 1/4 cup white vinegar
* 1 tablespoon baking soda
* Water
* 10-15 drops of your favorite essential oil (optional, but I love using lemon, lavender, or tea tree oil)
Step-by-Step Instructions:
1. Combine Ingredients in Spray Bottle: In your spray bottle, combine the white vinegar and baking soda. Be careful, as the mixture will fizz up a bit.
2. Add Water: Slowly add water to the spray bottle, leaving some room at the top.
3. Add Essential Oils (Optional): If you’re using essential oils, add 10-15 drops to the mixture. This will give your cleaner a pleasant scent and can also add extra cleaning power (tea tree oil is a great antibacterial option).
4. Shake Well: Secure the spray bottle lid and shake well to combine all the ingredients.
5. Use and Enjoy: Your all-purpose cleaner is now ready to use! Simply spray it on surfaces and wipe clean with a cloth or sponge. This cleaner is great for countertops, sinks, appliances, and more.
Cleaning Grout Like a Boss
Dirty grout can make your entire bathroom or kitchen look dingy. This simple paste will brighten your grout and make it look like new again.
What You’ll Need:
* Baking soda
* Water
* Old toothbrush or grout brush
Step-by-Step Instructions:
1. Make a Paste: In a small bowl, mix baking soda and water to form a thick paste. The consistency should be similar to toothpaste.
2. Apply to Grout: Using your old toothbrush or grout brush, apply the baking soda paste to the grout lines.
3. Let it Sit: Let the paste sit on the grout for about 10-15 minutes. This gives the baking soda time to loosen the dirt and grime.
4. Scrub the Grout: After 10-15 minutes, scrub the grout lines with the toothbrush or grout brush. You’ll see the dirt and grime start to lift away.
5. Rinse with Water: Rinse the grout with clean water to remove the baking soda paste. You can use a damp sponge or cloth to wipe away any residue.
6. Dry and Admire: Dry the grout with a clean cloth. You’ll be amazed at how much brighter and cleaner your grout looks!
Freshening Up Your Mattress
We spend a lot of time on our mattresses, so it’s important to keep them clean and fresh. This simple trick will help to eliminate odors and keep your mattress feeling like new.
What You’ll Need:
* Baking soda
* Essential oil (optional, lavender is a great choice for relaxation)
* Vacuum cleaner with upholstery attachment
Step-by-Step Instructions:
1. Strip the Bed: Remove all bedding from your mattress, including sheets, blankets, and pillows.
2. Sprinkle Baking Soda: Generously sprinkle baking soda over the entire surface of your mattress.
3. Add Essential Oil (Optional): If you’re using essential oil, add a few drops to the baking soda before sprinkling it on the mattress. This will give your mattress a pleasant scent.
4. Let it Sit: Let the baking soda sit on the mattress for at least 30 minutes, or even longer if possible (a few hours is ideal). This allows the baking soda to absorb odors and moisture.
5. Vacuum Thoroughly: After the baking soda has sat for the desired amount of time, vacuum the entire mattress thoroughly using the upholstery attachment. Make sure to get into all the nooks and crannies.
6. Flip and Repeat: Flip the mattress over and repeat the process on the other side.
7. Put Your Bedding Back On: Once you’ve vacuumed both sides of the mattress, you can put your clean bedding back on. Enjoy your fresh and clean mattress!
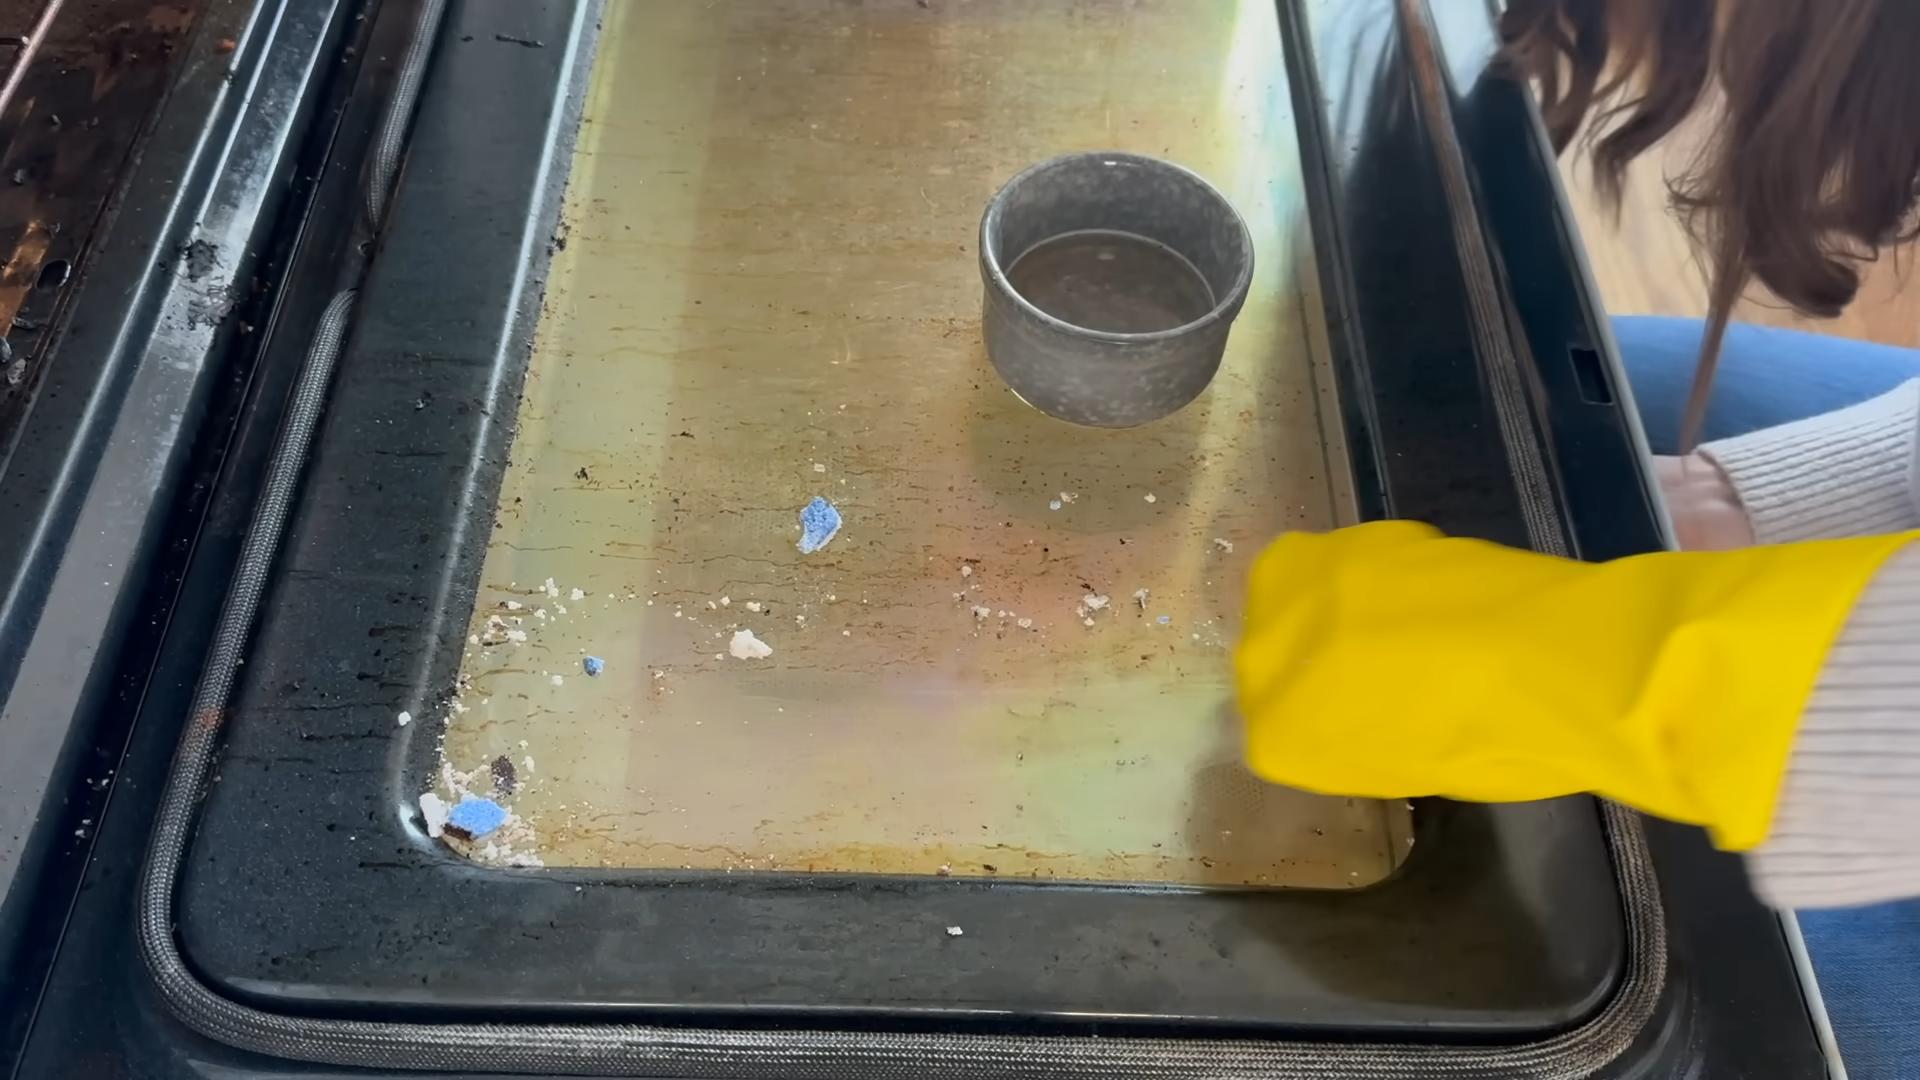
Cleaning Burnt Pots and Pans
Burnt food in pots and pans is a common kitchen mishap. Don’t throw them away! This simple trick can save your cookware.
What You’ll Need:
* Water
* Baking soda
* Dish soap
* Scrubbing sponge or pad
Step-by-Step Instructions:
1. Cover the Burnt Area with Water: Fill the burnt pot or pan with enough water to cover the burnt food residue.
2. Add Baking Soda: Add a generous amount of baking soda to the water (about 2 tablespoons per quart of water).
3. Boil the Mixture: Bring the water and baking soda mixture to a boil on the stovetop.
4. Simmer for 10-15 Minutes: Reduce the heat and let the mixture simmer for 10-15 minutes. This will help to loosen the burnt food.
5. Let it Cool: Remove the pot or pan from the heat and let it cool slightly.
6. Scrub Away the Residue: Once the pot or pan is cool enough to handle, pour out the water and baking soda mixture. Then, using a scrubbing sponge or pad, scrub
Conclusion
So, there you have it! Mastering these easy cleaning tricks isn’t just about achieving a spotless home; it’s about reclaiming your time and energy. We’ve explored simple, effective methods that utilize everyday items, transforming your cleaning routine from a dreaded chore into a manageable, even enjoyable, task.
Think about it: no more expensive, harsh chemicals filling your cabinets. No more spending hours scrubbing away at stubborn stains. Instead, you’ll have a toolkit of clever solutions at your fingertips, ready to tackle any mess with ease. From the magic of baking soda and vinegar to the surprising power of lemon juice, these tricks are not only budget-friendly but also environmentally conscious.
But the real beauty of these easy cleaning tricks lies in their adaptability. Feel free to experiment and find what works best for you and your home. For instance, if you’re dealing with particularly stubborn hard water stains on your showerhead, try soaking it in a bag filled with vinegar overnight. Or, if you’re looking for a natural way to freshen up your carpets, sprinkle baking soda mixed with a few drops of your favorite essential oil before vacuuming. The possibilities are endless!
Don’t be afraid to get creative and personalize these techniques to suit your specific needs. Maybe you discover a new combination of ingredients that works wonders on your kitchen counters, or perhaps you find a unique way to utilize an old toothbrush for detailed cleaning. The key is to embrace the spirit of experimentation and have fun with it.
We truly believe that these easy cleaning tricks can make a significant difference in your daily life. They’re not just about cleaning; they’re about creating a more comfortable, healthier, and happier home environment. Imagine the satisfaction of knowing that you’re using safe, natural ingredients to keep your living space sparkling clean.
So, what are you waiting for? Give these tricks a try and see for yourself how easy and effective they can be. We’re confident that you’ll be amazed by the results. And more importantly, we want to hear about your experiences! Share your successes, your challenges, and any variations you discover in the comments below. Let’s create a community of cleaning enthusiasts who are passionate about making their homes shine.
Remember, a clean home is a happy home, and with these easy cleaning tricks, you’re well on your way to achieving both! We encourage you to embrace these simple yet powerful techniques and transform your cleaning routine for the better. Happy cleaning!
Frequently Asked Questions
What if I don’t have all the ingredients listed for a specific cleaning trick?
That’s perfectly fine! The beauty of these easy cleaning tricks is that they are often adaptable. Many of the ingredients can be substituted with similar alternatives. For example, if you don’t have white vinegar, you can often use apple cider vinegar as a substitute, although the scent might be slightly different. If a recipe calls for lemon juice and you only have lemons, simply juice them! The key is to understand the purpose of each ingredient and find a suitable replacement. Baking soda, for instance, is a great all-purpose cleaner and deodorizer, so if a recipe calls for it, try to find a substitute with similar properties. Don’t be afraid to experiment and see what works best for you.
Are these cleaning tricks safe for all surfaces?
While most of these easy cleaning tricks are generally safe for a wide range of surfaces, it’s always a good idea to test them in an inconspicuous area first, especially on delicate or sensitive materials like wood, marble, or painted surfaces. For example, vinegar, while a great cleaner, can be acidic and may damage certain types of stone or wood finishes. Similarly, abrasive cleaners like baking soda should be used with caution on surfaces that scratch easily. Always read the manufacturer’s instructions for your surfaces and appliances before using any new cleaning product or technique. When in doubt, err on the side of caution and test a small, hidden area first.
How often should I use these cleaning tricks?
The frequency with which you use these easy cleaning tricks will depend on your individual needs and lifestyle. For high-traffic areas like kitchens and bathrooms, you may want to use them more frequently, perhaps once or twice a week. For less frequently used areas, such as guest rooms or storage spaces, you may only need to clean them once a month or even less often. The key is to establish a cleaning routine that works for you and stick to it as much as possible. Regular maintenance will prevent dirt and grime from building up and make your cleaning tasks much easier in the long run.
Can I use these cleaning tricks if I have allergies or sensitivities?
If you have allergies or sensitivities, it’s essential to be extra cautious when using any new cleaning product or technique, including these easy cleaning tricks. Always read the ingredient list carefully and avoid using anything that you know you are allergic to. When in doubt, consult with your doctor or allergist before trying a new cleaning method. You may also want to wear gloves and a mask to protect yourself from potential irritants. Additionally, ensure proper ventilation when cleaning to avoid inhaling any fumes or dust. If you experience any adverse reactions, such as skin irritation, breathing difficulties, or headaches, stop using the product immediately and seek medical attention if necessary.
How do I store homemade cleaning solutions?
Proper storage is crucial for maintaining the effectiveness and safety of your homemade cleaning solutions. Always store them in clean, airtight containers, preferably made of glass or food-grade plastic. Label each container clearly with the name of the solution and the date it was made. This will help you avoid confusion and ensure that you use the solutions within a reasonable timeframe. Store the containers in a cool, dark place away from direct sunlight and heat, as these can degrade the ingredients over time. Keep them out of reach of children and pets to prevent accidental ingestion. For solutions containing essential oils, use dark-colored bottles to protect the oils from light degradation.
What are some other variations of these easy cleaning tricks?
The possibilities are endless when it comes to variations on these easy cleaning tricks! For example, instead of using plain water to clean your windows, try adding a few drops of vinegar or lemon juice to the water for extra shine. You can also use a microfiber cloth instead of paper towels to reduce waste and prevent streaks. For cleaning grout, try making a paste of baking soda and hydrogen peroxide and applying it to the grout lines. Let it sit for a few minutes, then scrub with a brush and rinse with water. To freshen up your garbage disposal, toss in a few lemon or orange peels and run the disposal with cold water. These are just a few examples, but the key is to be creative and experiment with different ingredients and techniques to find what works best for you.
How can I make these cleaning tricks more eco-friendly?
Making these easy cleaning tricks even more eco-friendly is a great way to reduce your environmental impact. Start by using reusable containers and cloths instead of disposable ones. Opt for organic or sustainably sourced ingredients whenever possible. Consider composting your food scraps instead of throwing them away, as this can reduce the amount of waste that ends up in landfills. When purchasing cleaning supplies, look for products that are biodegradable and free of harsh chemicals. You can also make your own cleaning solutions using natural ingredients like vinegar, baking soda, lemon juice, and essential oils. By making small changes to your cleaning routine, you can significantly reduce your carbon footprint and create a healthier home environment.
Leave a Comment