
DIY Vinegar Cleaning Solutions: Unlock the sparkling potential of your home with a secret weapon that’s been around for centuries! Forget harsh chemicals and expensive cleaners – I’m about to show you how humble vinegar can become your all-in-one cleaning powerhouse.
Vinegar’s cleaning prowess isn’t exactly new. In fact, archaeological evidence suggests that ancient civilizations, from the Egyptians to the Romans, used vinegar for everything from preserving food to disinfecting wounds. It’s a testament to its natural antibacterial and antifungal properties that it’s remained a household staple for so long.
But in our modern world, bombarded with advertisements for specialized cleaning products, it’s easy to forget the simple, effective solutions that are right under our noses. That’s where these DIY vinegar cleaning solutions come in. I know, I know, the smell can be a bit off-putting at first, but trust me, the results are worth it! Plus, I’ll share some tips on how to mask the scent with essential oils for a truly pleasant cleaning experience.
Why do you need these DIY tricks? Because they’re cost-effective, eco-friendly, and incredibly versatile. You can clean everything from your windows and mirrors to your kitchen counters and bathroom tiles with just a few simple vinegar-based recipes. I’m excited to show you how to ditch the chemicals and embrace a cleaner, greener, and more budget-friendly way to keep your home sparkling!
DIY Vinegar Cleaning Solutions: Your Guide to a Sparkling Home
Hey there, fellow cleaning enthusiasts! I’m so excited to share my favorite DIY vinegar cleaning solutions with you. Vinegar is a powerhouse cleaner, and it’s incredibly affordable and eco-friendly. Plus, you probably already have it in your pantry! Let’s dive into how you can harness the cleaning magic of vinegar to make your home shine.
Why Vinegar?
Before we get started, let’s talk about why vinegar is such a great cleaning agent. It’s a mild acid, which means it’s fantastic at cutting through grease, dissolving mineral deposits, and killing bacteria. It’s also non-toxic, making it a safer alternative to many commercial cleaners.
General Guidelines for Using Vinegar
* Always dilute vinegar with water. Using it full strength can be too harsh for some surfaces. A 50/50 solution is usually a good starting point.
* Test in an inconspicuous area first. Before cleaning an entire surface, test your vinegar solution on a small, hidden spot to make sure it doesn’t cause any damage or discoloration.
* Don’t mix vinegar with bleach. This creates toxic chlorine gas, which is extremely dangerous.
* Use white distilled vinegar. This is the most common and versatile type of vinegar for cleaning.
* Store your solutions properly. Keep your DIY vinegar cleaners in labeled spray bottles and out of reach of children and pets.
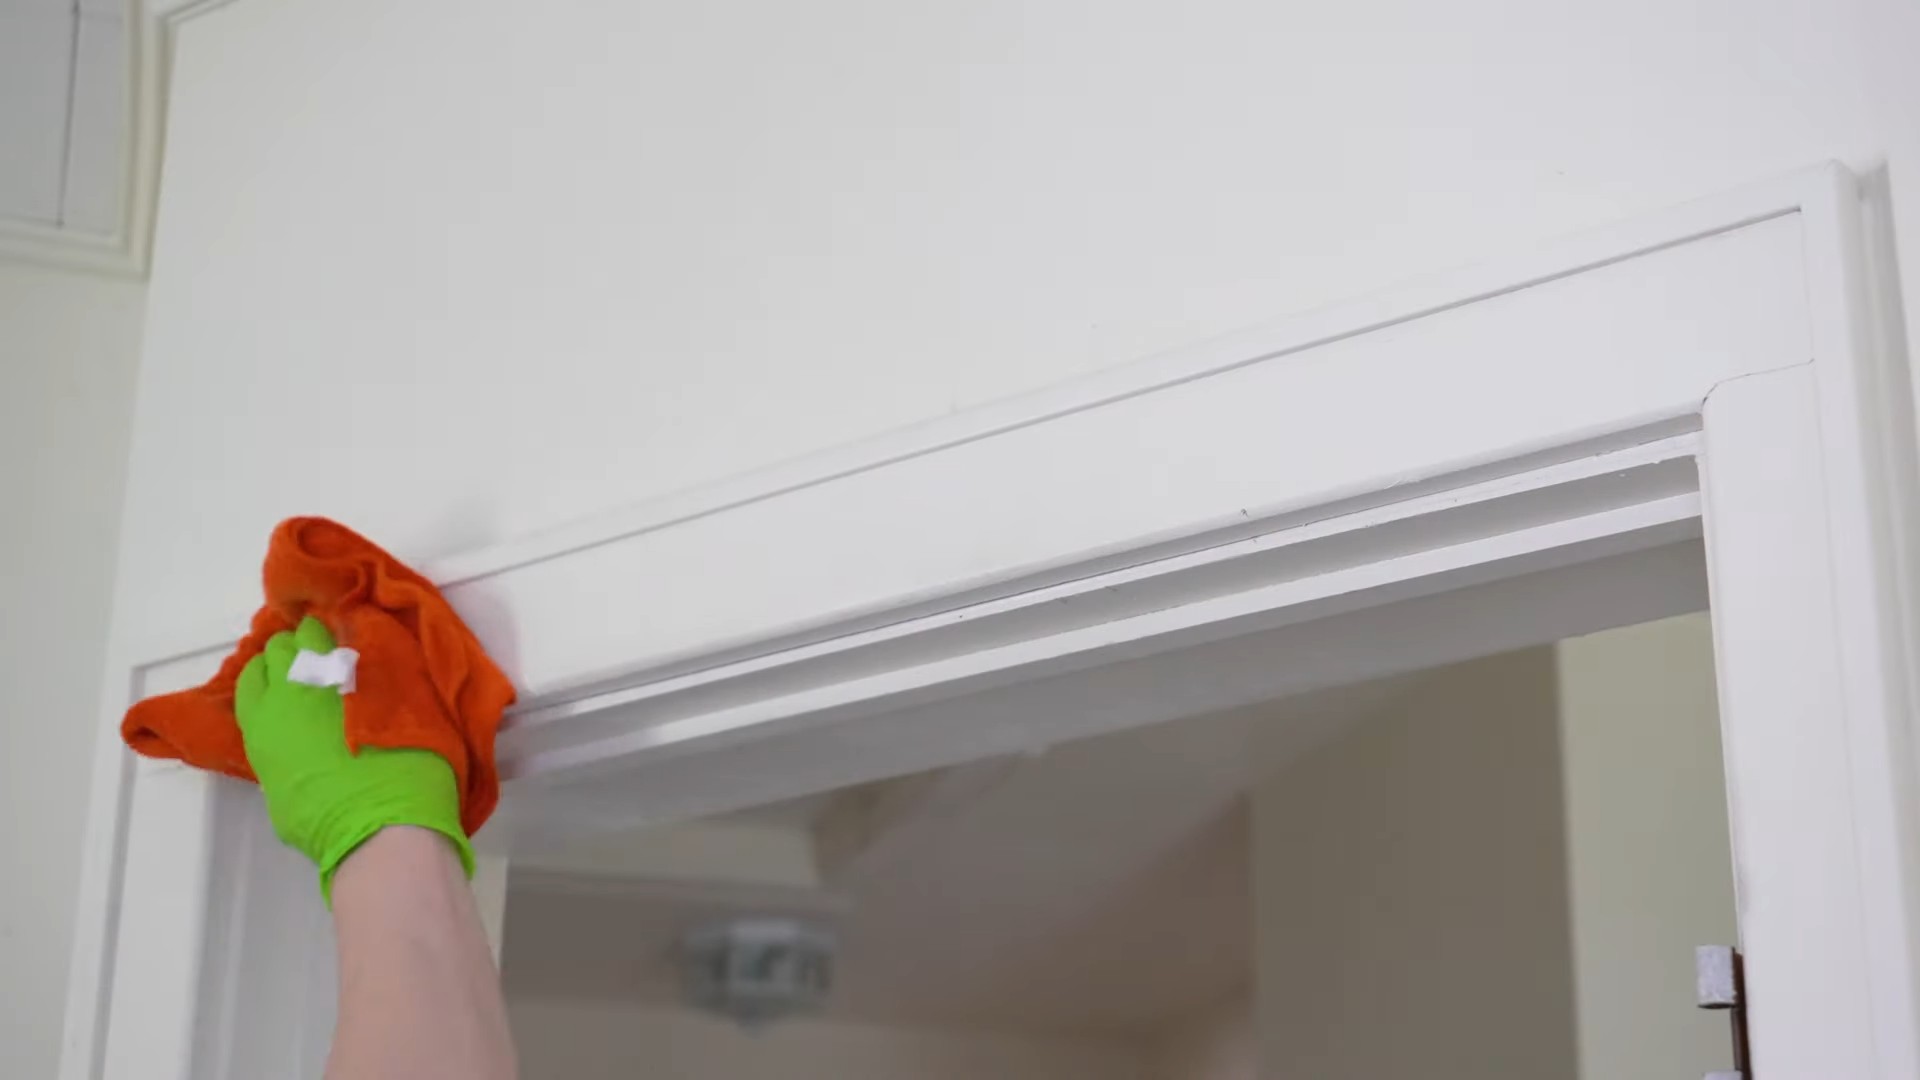
All-Purpose Vinegar Cleaner
This is my go-to cleaner for almost everything! It’s perfect for countertops, sinks, appliances, and even floors (with some caveats, which I’ll explain later).
Ingredients:
* 1 cup white distilled vinegar
* 1 cup water
* 10-20 drops of your favorite essential oil (optional, for scent)
Instructions:
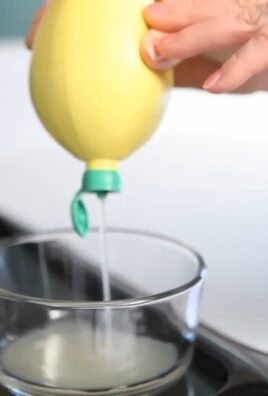
1. Combine the ingredients: In a clean spray bottle, combine the vinegar and water.
2. Add essential oils (optional): If you want to add a pleasant scent, add 10-20 drops of your favorite essential oil. Lemon, lavender, tea tree, and eucalyptus are all great choices.
3. Shake well: Shake the bottle well to mix the ingredients.
4. Spray and wipe: Spray the solution onto the surface you want to clean and wipe it down with a clean cloth or sponge.
5. Dry if needed: If the surface is particularly wet, dry it with a clean towel.
Vinegar Window and Glass Cleaner
Say goodbye to streaks! This vinegar window cleaner will leave your windows and mirrors sparkling clean.
Ingredients:
* 1/4 cup white distilled vinegar
* 2 cups water
* Spray bottle
* Microfiber cloth
Instructions:
1. Mix the solution: In a clean spray bottle, mix the vinegar and water.
2. Spray the glass: Spray the solution onto the window or mirror.
3. Wipe with a microfiber cloth: Wipe the glass with a clean microfiber cloth. Microfiber cloths are essential for streak-free cleaning.
4. Dry if needed: If there are any streaks remaining, use a dry microfiber cloth to buff the glass until it’s clear.
Vinegar Shower Cleaner
Tired of soap scum and mildew in your shower? This vinegar shower cleaner is your answer!
Ingredients:
* 1 cup white distilled vinegar
* 1 cup water
* Spray bottle
Instructions:
1. Heat the vinegar (optional): For extra cleaning power, you can heat the vinegar in the microwave for a minute or two. Be careful not to boil it!
2. Mix the solution: In a clean spray bottle, mix the vinegar and water (or heated vinegar and water).
3. Spray the shower: Spray the solution onto the shower walls, floor, and fixtures.
4. Let it sit: Let the solution sit for 15-30 minutes to allow the vinegar to break down the soap scum and mildew.
5. Scrub and rinse: Scrub the shower with a sponge or brush, then rinse thoroughly with water.
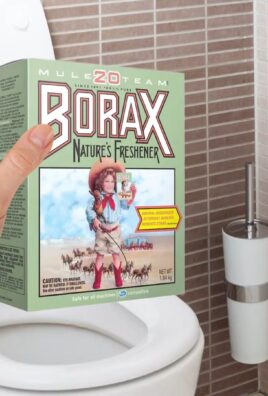
Vinegar Toilet Bowl Cleaner
Keep your toilet bowl clean and fresh with this simple vinegar solution.
Ingredients:
* 1 cup white distilled vinegar
* Toilet brush
Instructions:
1. Pour vinegar into the bowl: Pour the vinegar into the toilet bowl.
2. Let it sit: Let the vinegar sit for at least 30 minutes, or even overnight for stubborn stains.
3. Scrub and flush: Scrub the toilet bowl with a toilet brush, then flush.
Vinegar Drain Cleaner
Clogged drains are a pain, but vinegar can help! This solution is a great alternative to harsh chemical drain cleaners.
Ingredients:
* 1 cup baking soda
* 1 cup white distilled vinegar
* Hot water
Instructions:
1. Pour baking soda down the drain: Pour the baking soda down the clogged drain.
2. Pour vinegar down the drain: Pour the vinegar down the drain after the baking soda.
3. Let it fizz: Let the mixture fizz for 30 minutes. The chemical reaction between the baking soda and vinegar will help to break down the clog.
4. Flush with hot water: After 30 minutes, flush the drain with hot water. You may need to repeat this process a few times for stubborn clogs.
Vinegar Coffee Maker Cleaner
Keep your coffee maker running smoothly and your coffee tasting great with this vinegar cleaning method.
Instructions:
1. Fill the water reservoir: Fill the water reservoir of your coffee maker with a 50/50 solution of white distilled vinegar and water.
2. Run a brewing cycle: Run a full brewing cycle with the vinegar solution.
3. Rinse with water: After the brewing cycle is complete, run two or three cycles with fresh water to rinse out any remaining vinegar.
Vinegar Laundry Booster
Vinegar can also be used as a laundry booster to brighten clothes, remove odors, and soften fabrics.
Instructions:
1. Add vinegar to the wash: Add 1/2 cup of white distilled vinegar to your washing machine during the rinse cycle.
2. Enjoy fresh, clean laundry: Your clothes will come out brighter, softer, and free of odors.
Vinegar Floor Cleaner (Use with Caution!)
While vinegar can be used to clean floors, it’s important to be careful about the type of flooring you have. Do NOT use vinegar on hardwood floors, marble, granite, or other natural stone surfaces. The acidity of the vinegar can damage these materials.
Ingredients (for tile or vinyl floors):
* 1/2 cup white distilled vinegar
* 1 gallon warm water
Instructions:
1. Mix the solution: In a bucket, mix the vinegar and water.
2. Mop the floor: Mop the floor with the vinegar solution.
3. Rinse with water (optional): If you want to remove any vinegar residue, you can rinse the floor with clean water.
4. Dry the floor: Allow the floor to air dry or dry it with a clean towel.
Vinegar Microwave Cleaner
This is a super easy way to clean your microwave without any harsh chemicals.
Ingredients:
* 1 cup water
* 2 tablespoons white distilled vinegar
* Microwave-safe bowl
Instructions:
1. Combine water and vinegar: In a microwave-safe bowl, combine the water and vinegar.
2. Microwave for 5 minutes: Microwave the mixture on high for 5 minutes. The steam will loosen any food splatters and grime.
3. Let it sit for 5 minutes: After microwaving, let the bowl sit in the microwave for another 5 minutes. This will allow the steam to further loosen the grime.
4. Wipe clean: Carefully remove the bowl and wipe down the inside of the microwave with a clean cloth or sponge.
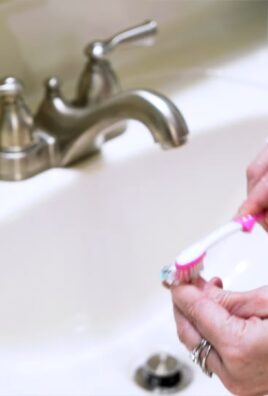
Vinegar Cutting Board Sanitizer
Cutting boards can harbor bacteria, so it’s important to sanitize them regularly. Vinegar is a great natural sanitizer.
Instructions:
1. Spray with vinegar: Spray the cutting board with white distilled vinegar.
2. Let it sit for a few minutes: Let the vinegar sit on the cutting board for a few minutes to kill bacteria.
3. Rinse with water: Rinse the cutting board thoroughly with water.
Removing Stickers and Labels with Vinegar
Stubborn stickers and labels can be a real pain to remove. Vinegar to the rescue!
Instructions:
1. Soak a cloth in vinegar: Soak a clean cloth in white distilled vinegar.
2. Apply to the sticker: Place the vinegar-soaked cloth over the sticker

Conclusion
So, there you have it! Ditching those expensive, chemical-laden cleaners and embracing the power of DIY vinegar cleaning solutions is not just a trend; it’s a smart, sustainable, and surprisingly effective way to keep your home sparkling. We’ve explored the versatility of vinegar, from its grease-busting prowess in the kitchen to its ability to banish hard water stains in the bathroom. But the real magic lies in its simplicity and affordability. You’re likely already have a bottle of vinegar sitting in your pantry, ready to be transformed into a cleaning powerhouse.
Why is this a must-try? Because it’s a win-win-win. You’re saving money, reducing your exposure to harsh chemicals, and contributing to a healthier planet. Commercial cleaners often contain ingredients that can irritate skin, trigger allergies, and even release harmful VOCs into the air. With DIY vinegar solutions, you know exactly what’s going into your cleaner, giving you peace of mind and control over your home environment.
But the best part is the adaptability. Feel free to experiment with different essential oil combinations to create your signature scent. Lavender and lemon offer a calming and refreshing aroma, while tea tree oil adds an extra boost of antibacterial power. For tougher stains, consider adding a bit of baking soda to your vinegar solution for a fizzing, scrubbing action. You can even infuse your vinegar with citrus peels for a naturally fragrant and potent cleaner. The possibilities are truly endless!
Don’t be afraid to adjust the ratios to suit your specific needs. If you’re tackling a particularly stubborn grime, increase the concentration of vinegar. For delicate surfaces, dilute the solution further to prevent any potential damage. Always test your DIY vinegar cleaning solutions on an inconspicuous area first, especially on natural stone or wood, to ensure compatibility.
We’re confident that once you experience the cleaning power and cost-effectiveness of DIY vinegar cleaning solutions, you’ll never go back to store-bought cleaners. It’s a simple change that can make a big difference in your home and your wallet.
So, what are you waiting for? Grab that bottle of vinegar, gather your favorite essential oils, and get ready to transform your cleaning routine. We encourage you to try these DIY vinegar cleaning solutions and share your experiences with us! Let us know your favorite recipes, your most successful cleaning triumphs, and any variations you’ve discovered. Your insights can help others embrace the power of natural cleaning and create a healthier, happier home. Share your stories in the comments below – we can’t wait to hear from you!
Frequently Asked Questions (FAQs)
Is vinegar safe to use on all surfaces?
No, vinegar is not safe to use on all surfaces. While it’s a fantastic cleaner for many areas of your home, its acidity can damage certain materials. Avoid using vinegar on natural stone surfaces like marble, granite, and limestone, as it can etch and dull the finish. It’s also best to avoid using vinegar on waxed wood furniture, as it can strip the wax and damage the wood. Unsealed grout can also be damaged by vinegar. Always test your DIY vinegar cleaning solutions on an inconspicuous area first to ensure compatibility. If you’re unsure, consult the manufacturer’s recommendations for cleaning specific surfaces.
What type of vinegar is best for cleaning?
Distilled white vinegar is the best choice for cleaning. It’s inexpensive, readily available, and has a consistent acidity level, making it ideal for a wide range of cleaning tasks. Avoid using other types of vinegar, such as apple cider vinegar or balsamic vinegar, as they may contain sugars or coloring that can leave behind a sticky residue or stain surfaces.
Can I mix vinegar with bleach?
Never mix vinegar with bleach! This combination creates toxic chlorine gas, which can be extremely harmful and even fatal. Always use vinegar and bleach separately, and never in the same cleaning solution.
What essential oils can I add to my vinegar cleaning solutions?
The possibilities are endless! Some popular essential oil choices for cleaning include:
* **Lemon:** For its fresh scent and degreasing properties.
* **Lavender:** For its calming aroma and antibacterial properties.
* **Tea Tree:** For its strong antibacterial and antifungal properties.
* **Eucalyptus:** For its refreshing scent and antiseptic properties.
* **Peppermint:** For its invigorating scent and insect-repelling properties.
* **Orange:** For its uplifting scent and degreasing properties.
Experiment with different combinations to find your favorite scent. Start with a few drops of essential oil per cup of vinegar solution and adjust to your preference.
How do I get rid of the vinegar smell?
The vinegar smell will dissipate quickly after cleaning. However, if you’re sensitive to the scent, you can add essential oils to your cleaning solution to mask the odor. You can also open windows and ventilate the area while cleaning. Another tip is to rinse the cleaned surface with plain water after wiping it down with the vinegar solution.
Can I use vinegar to clean my laundry?
Yes, vinegar can be a great addition to your laundry routine. Adding a cup of white vinegar to the rinse cycle can help soften fabrics, remove odors, and brighten colors. It can also help remove soap residue from your washing machine. However, avoid using vinegar with bleach in the laundry, as this can create harmful fumes.
How long will my DIY vinegar cleaning solutions last?
DIY vinegar cleaning solutions can last for several months when stored properly in a cool, dark place. However, it’s always a good idea to make fresh batches every few weeks to ensure maximum effectiveness. Be sure to label your spray bottles with the date you made the solution.
Can I use vinegar to clean my coffee maker?
Yes, vinegar is an excellent way to clean your coffee maker and remove mineral buildup. Fill the water reservoir with a solution of equal parts white vinegar and water. Run the coffee maker through a full brewing cycle. Then, run two cycles with plain water to rinse away any remaining vinegar.
Is vinegar safe for septic systems?
Yes, vinegar is generally considered safe for septic systems. It’s a natural and biodegradable cleaner that won’t harm the beneficial bacteria in your septic tank. However, avoid using excessive amounts of vinegar, as it could potentially disrupt the pH balance of your septic system.
What if my DIY vinegar cleaning solution isn’t working?
If your DIY vinegar cleaning solution isn’t working as expected, consider the following:
* **Increase the concentration of vinegar:** For tougher stains, try using a higher ratio of vinegar to water.
* **Add baking soda:** Baking soda can provide extra scrubbing power and help remove stubborn grime.
* **Let it sit:** Allow the vinegar solution to sit on the stain for a few minutes before wiping it away.
* **Use a scrub brush:** For textured surfaces or stubborn stains, use a scrub brush to agitate the area.
* **Try a different cleaning method:** Some stains may require a different cleaning approach altogether.
Remember to always test your cleaning solution on an inconspicuous area first.
Leave a Comment