
DIY Indoor Microgreens System: Ever dreamt of having a tiny, vibrant garden bursting with flavor right on your kitchen counter? Imagine snipping fresh, nutrient-packed greens to sprinkle on your salad, sandwich, or smoothie, all grown by your own two hands! Well, stop dreaming and start doing because this article is your ultimate guide to creating your very own DIY indoor microgreens system.
Growing microgreens isn’t just a trendy new hobby; it’s a practice with roots stretching back centuries. While the exact origins are debated, evidence suggests that microgreens were enjoyed in fine dining restaurants in California as early as the 1990s, quickly gaining popularity for their intense flavors and visual appeal. Now, you can bring that gourmet experience home!
Why should you embark on this green adventure? Because let’s face it, fresh produce from the grocery store can be expensive and sometimes lacks that vibrant, just-picked taste. With a DIY Indoor Microgreens System, you’ll have a constant supply of fresh, organic greens at your fingertips, all while saving money and reducing your carbon footprint. Plus, it’s incredibly rewarding to watch those tiny seeds sprout into a delicious harvest. I’m excited to share my favorite tips and tricks to help you build your own system and enjoy the incredible benefits of homegrown microgreens!
Build Your Own Thriving Indoor Microgreens System
Hey there, fellow plant enthusiasts! Are you ready to bring the vibrant flavors and nutritional power of microgreens right into your home? I’m so excited to share this DIY project with you – building your own indoor microgreens system is easier than you might think, and the rewards are incredibly delicious and satisfying. Get ready to enjoy fresh, homegrown greens all year round!
What are Microgreens, Anyway?
Before we dive in, let’s quickly cover what microgreens actually are. They’re essentially baby vegetable greens, harvested just after the cotyledon leaves (the first leaves to emerge from the seed) have developed. They’re packed with nutrients, often more so than their mature counterparts, and they add a burst of flavor and color to salads, sandwiches, soups, and just about anything else you can imagine. Plus, they’re super easy to grow indoors, even if you don’t have a green thumb!
Why Build a DIY System?
You might be wondering, “Why not just buy microgreens at the store?” Well, there are a few compelling reasons to build your own system:
* Freshness: Nothing beats the taste of freshly harvested microgreens. Store-bought greens can sometimes be a few days old, losing some of their flavor and nutrients.
* Cost-Effectiveness: Over time, growing your own microgreens is significantly cheaper than buying them regularly.
* Control: You have complete control over the growing environment, ensuring that your greens are grown organically and without harmful chemicals.
* Sustainability: Reduce your carbon footprint by growing your own food locally.
* It’s Fun! Seriously, watching those tiny seeds sprout and grow is incredibly rewarding.
Materials You’ll Need
Okay, let’s gather our supplies! Here’s what you’ll need to build a basic indoor microgreens system:
* Growing Trays: I recommend using shallow trays with drainage holes. You’ll need two trays for each growing cycle – one for planting and one to act as a bottom tray to catch excess water. Standard 10×20 inch trays are a good size.
* Growing Medium: You have a few options here. I personally prefer coconut coir (also known as coco coir) because it’s sustainable, holds moisture well, and is pH neutral. Other options include seed starting mix or even paper towels (for certain types of microgreens).
* Seeds: Choose your favorite microgreen seeds! Some popular options include:
* Radish
* Broccoli
* Sunflower
* Pea shoots
* Arugula
* Mustard
* Kale
* Cress
* Spray Bottle: For misting the seeds and seedlings.
* Water: Filtered water is best.
* Light Source: Microgreens need light to grow. A sunny windowsill can work, but a grow light will provide more consistent and reliable results, especially during the darker months. I use a simple LED grow light panel.
* Optional:
* Heat mat (to speed up germination)
* Humidity dome (to maintain moisture)
* Hydrogen peroxide (to prevent mold)
Step-by-Step Instructions: Planting Your Microgreens
Alright, let’s get our hands dirty! Here’s how to plant your microgreens:
1. Prepare Your Growing Trays
* First, make sure your trays are clean. Wash them with soap and water to remove any dirt or debris.
* Place the tray *without* drainage holes on a flat surface. This will be your bottom tray to catch excess water.
* Place the tray *with* drainage holes inside the bottom tray.
2. Hydrate Your Growing Medium
* If you’re using coconut coir, you’ll need to hydrate it. Place the coir in a large bowl or bucket and add water according to the package instructions. It should be moist but not soggy.
* If you’re using seed starting mix, simply moisten it with water until it’s evenly damp.
3. Fill the Growing Tray
* Fill the tray with drainage holes with your moistened growing medium. Spread it evenly and gently press it down to create a level surface. You want the medium to be about 1-2 inches deep.
4. Sow the Seeds
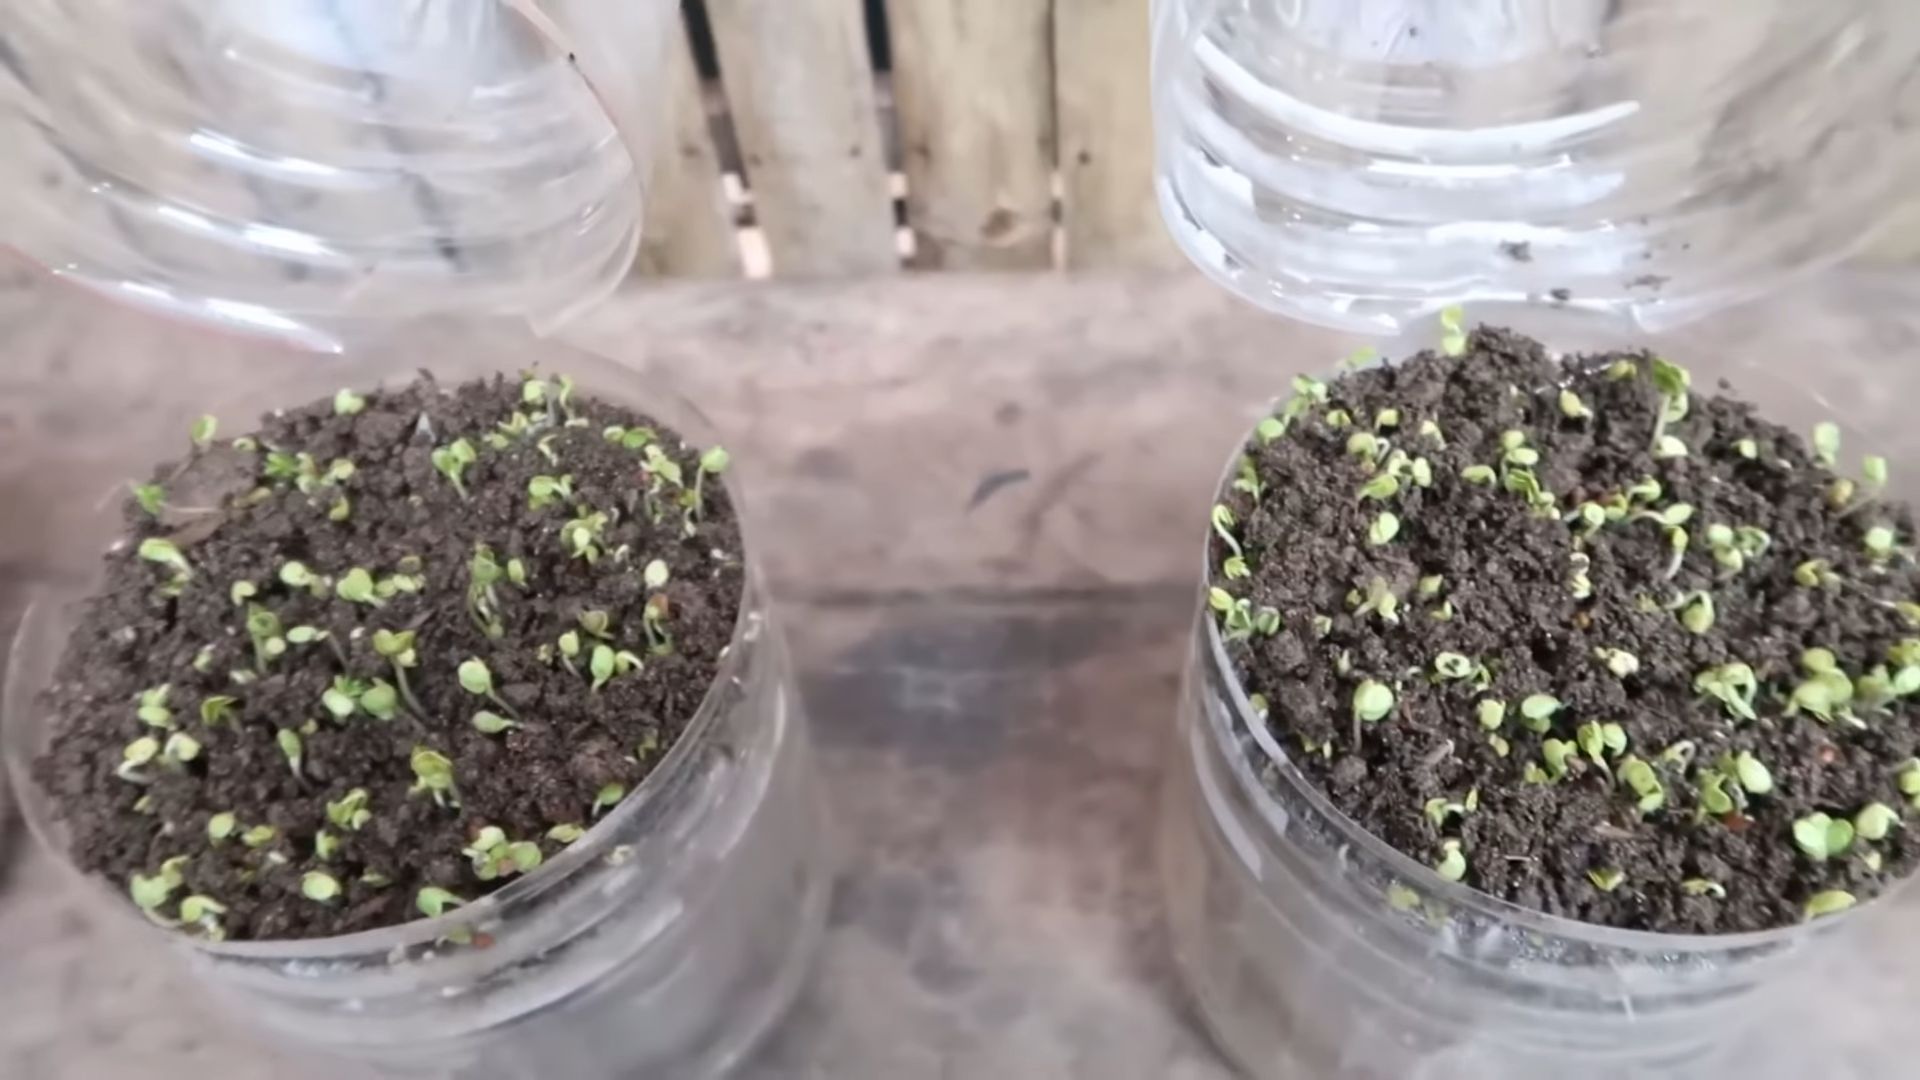
* This is where the magic happens! Sprinkle the seeds evenly over the surface of the growing medium. The density of the seeds will depend on the type of microgreen you’re growing. For smaller seeds like radish or broccoli, you can sow them quite densely. For larger seeds like sunflower or pea shoots, you’ll want to space them out a bit more.
* Don’t be afraid to experiment to find the right density for each type of seed. A good rule of thumb is to aim for about 1-2 seeds per square inch.
5. Gently Press the Seeds
* After sowing the seeds, gently press them into the growing medium. This will help them make good contact with the moisture. You can use your hand or a small piece of cardboard to do this.
6. Mist with Water
* Using your spray bottle, mist the seeds thoroughly with water. You want to make sure the seeds are moist but not soaking wet.
7. Cover and Weigh Down (Optional)
* This step is optional, but I find it helps with germination. Cover the tray with a lid or another tray to create a dark and humid environment. You can also place a light weight on top of the cover, such as a book or a brick wrapped in plastic. This will help the seeds make even better contact with the growing medium.
8. Germination Time
* Place the tray in a warm, dark place. The ideal temperature for germination is around 70-75°F (21-24°C). If you have a heat mat, you can place the tray on top of it to speed up the process.
* Check the tray daily to make sure the growing medium is still moist. Mist with water as needed.
* Germination times vary depending on the type of seed. Some seeds, like radish, will germinate in as little as 1-2 days. Others, like sunflower, may take 3-5 days.
Step-by-Step Instructions: Growing Your Microgreens
Once your seeds have germinated, it’s time to move on to the growing phase!
1. Introduce Light
* Once you see the seeds sprouting, remove the cover and introduce light. If you’re using a grow light, position it about 6-12 inches above the tray. If you’re using a windowsill, make sure it gets plenty of sunlight.
* Rotate the tray regularly to ensure that all the microgreens receive even light.
2. Water Regularly
* Microgreens need consistent moisture to thrive. Water them regularly, but be careful not to overwater. The growing medium should be moist but not soggy.
* The best way to water microgreens is from the bottom. Pour water into the bottom tray and let the growing medium absorb it. This will help prevent mold and mildew.
* Check the moisture level of the growing medium daily and water as needed.
3. Monitor for Mold
* Mold can be a common problem with microgreens, especially in humid environments. To prevent mold, make sure the growing medium is well-ventilated and avoid overwatering.
* If you see any signs of mold, you can spray the affected area with a diluted solution of hydrogen peroxide (1 part hydrogen peroxide to 10 parts water).
4. Harvesting Your Microgreens
* The moment you’ve been waiting for! Your microgreens are ready to harvest when they have developed their cotyledon leaves (the first leaves to emerge from the seed) and possibly their first set of true leaves. This usually takes about 7-14 days, depending on the type of microgreen.
* To harvest, simply use scissors or a sharp knife to cut the microgreens just above the growing medium.
* Wash the microgreens gently with water and pat them dry.
5. Enjoy!
* Now it’s time to enjoy the fruits (or rather, greens!) of your labor. Add your microgreens to salads, sandwiches, soups, smoothies, or use them as a garnish. The possibilities are endless!
Tips and Tricks for Success
Here are a few extra tips to help you grow the best microgreens possible:
* Use high-quality seeds: The quality of your seeds will have a big impact on the success of your microgreens. Choose seeds that are specifically labeled for microgreens or sprouting.
* Don’t overcrowd the seeds: Overcrowding can lead to mold and other problems.
* Provide adequate light: Microgreens need plenty of light to grow strong and healthy.
* Water properly: Overwatering or underwatering can both be detrimental to your microgreens.
* Experiment with different varieties: Try growing different types of micro
Conclusion
So, there you have it! Creating your own DIY indoor microgreens system isn’t just a fun project; it’s a gateway to a world of fresh, nutrient-packed flavor right at your fingertips. We’ve walked you through the simple steps, highlighting how accessible and rewarding this endeavor can be. Forget those expensive, pre-packaged microgreens from the grocery store that often wilt before you even get them home. With this system, you control the quality, the variety, and, most importantly, the freshness.
Why is this DIY trick a must-try? Because it empowers you to take control of your food source, even in the smallest of spaces. It’s an incredibly sustainable way to add vibrant greens to your diet, reducing your reliance on commercially grown produce and minimizing your environmental footprint. Plus, it’s incredibly satisfying to watch those tiny seeds sprout and flourish under your care. Imagine the pride you’ll feel when you sprinkle your homegrown microgreens on salads, sandwiches, soups, or even as a garnish for your favorite dishes. The burst of flavor and the added nutritional boost will be a testament to your efforts.
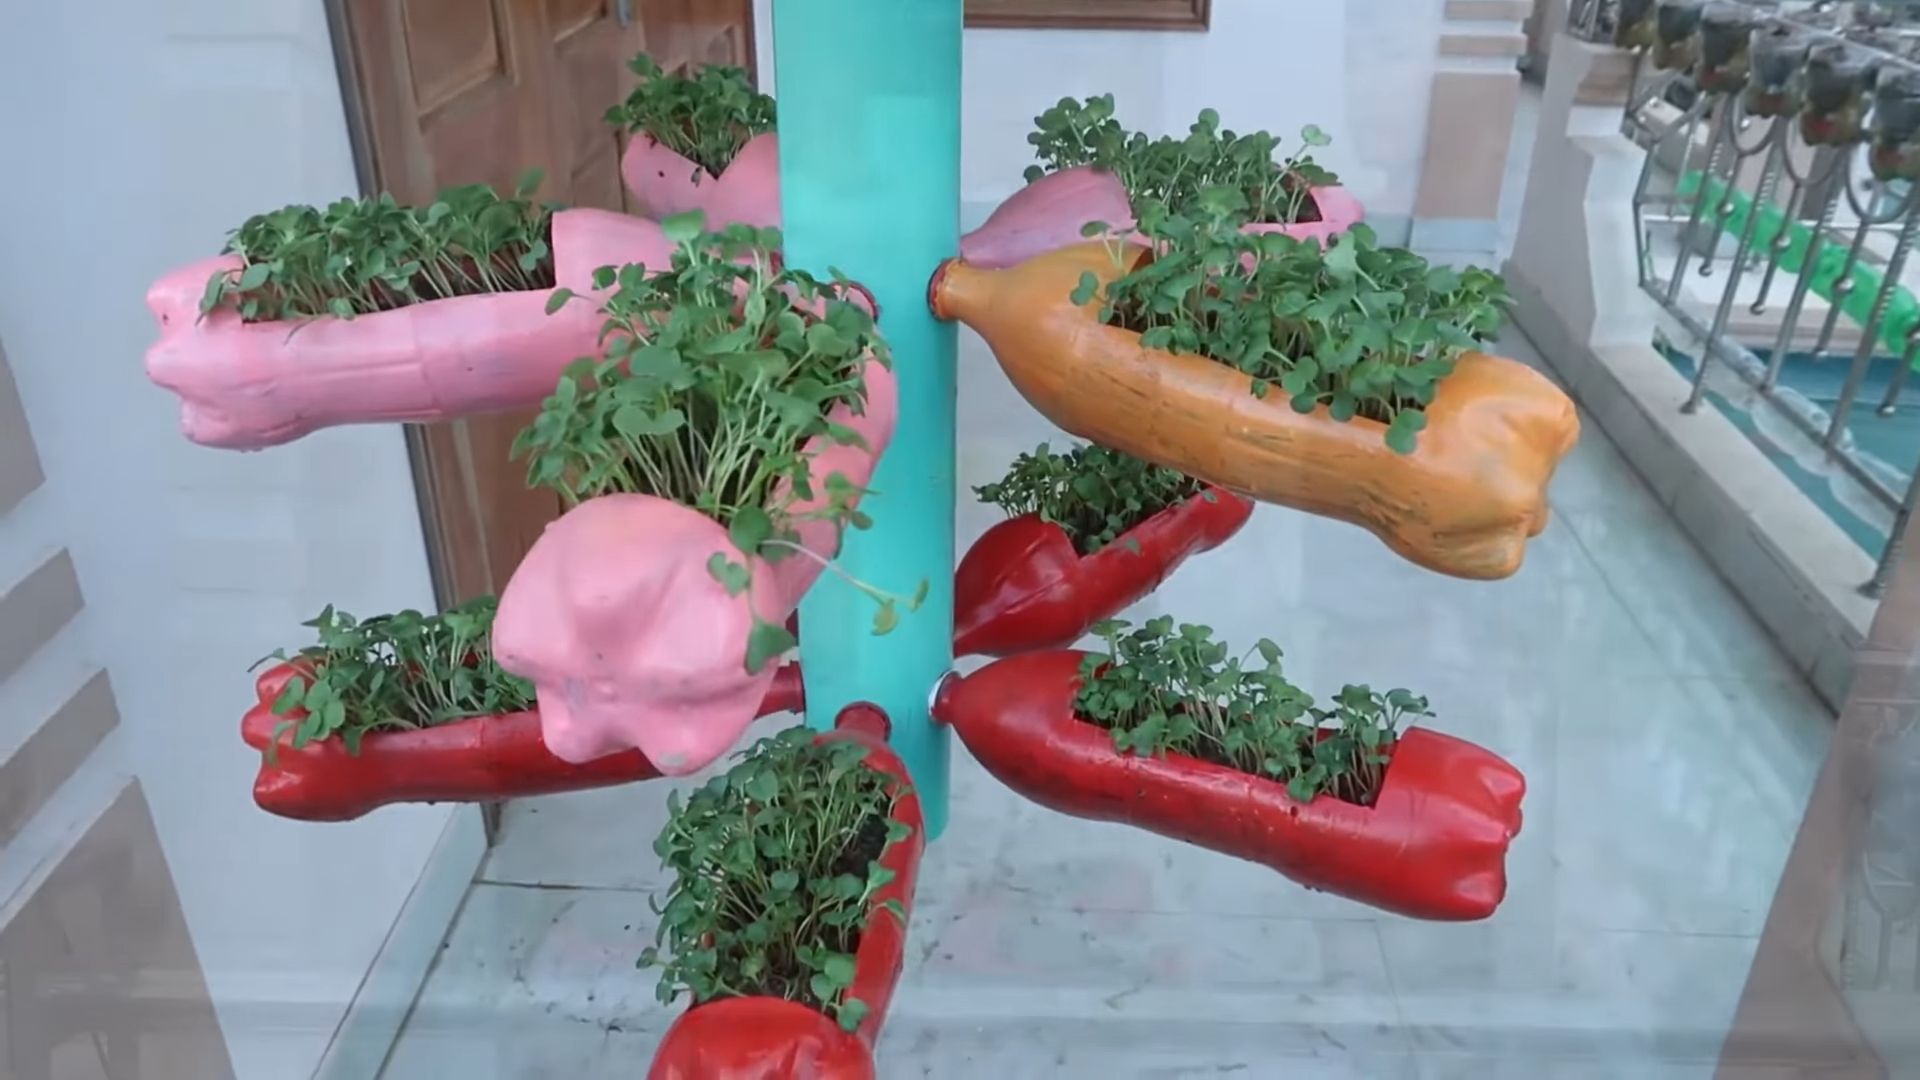
But the beauty of this DIY indoor microgreens system lies in its adaptability. Feel free to experiment with different containers – upcycled plastic containers, repurposed trays, or even tiered shelving systems can all work wonders. Consider varying the growing medium. While we recommended soil, you can also explore hydroponic options using coconut coir or even just water. The possibilities are endless!
And don’t limit yourself to just one type of microgreen. Radish, broccoli, sunflower, pea shoots, and mustard greens are all excellent choices, each offering a unique flavor profile and nutritional benefits. Try a mix of different seeds for a vibrant and flavorful blend. You can even tailor your microgreen selection to complement specific meals or dietary needs.
Beyond the practical benefits, this project is also a fantastic learning experience. It’s a great way to teach children about the life cycle of plants, the importance of sustainable food practices, and the joy of growing your own food. It’s a hands-on activity that can spark curiosity and foster a deeper appreciation for nature.
We wholeheartedly encourage you to give this DIY indoor microgreens system a try. It’s a simple, affordable, and incredibly rewarding project that will transform the way you think about fresh produce. Once you experience the satisfaction of harvesting your own microgreens, you’ll never look back.
Don’t be afraid to get creative, experiment with different techniques, and personalize your system to suit your needs and preferences. And most importantly, share your experience with us! We’d love to hear about your successes, your challenges, and any tips or tricks you discover along the way. Share your photos, your recipes, and your stories in the comments section below. Let’s build a community of microgreen enthusiasts and inspire others to embrace the joy of homegrown goodness. So, grab your seeds, your containers, and your growing medium, and get ready to embark on a delicious and rewarding journey!
Frequently Asked Questions (FAQ)
What exactly are microgreens, and why should I grow them?
Microgreens are young vegetable greens that are typically harvested 7-14 days after germination, when the first true leaves have emerged. They are essentially baby versions of mature vegetables and herbs, packed with intense flavor and a concentrated dose of nutrients. Growing them yourself allows you to have access to fresh, organic greens year-round, regardless of the weather or your location. They are also significantly more affordable than buying them from the store, and you have complete control over the growing process, ensuring they are free from pesticides and other harmful chemicals.
What kind of seeds are best for growing microgreens?
The best seeds for growing microgreens are those that are specifically labeled for microgreens or sprouting. These seeds are typically untreated and have a high germination rate. Popular choices include radish, broccoli, sunflower, pea shoots, mustard greens, kale, arugula, and cilantro. Avoid using seeds that are treated with fungicides or other chemicals, as these can be harmful to your health. You can find microgreen seeds at most garden centers or online retailers. Experiment with different varieties to find your favorites!
What kind of soil should I use for my DIY indoor microgreens system?
A good quality potting mix is ideal for growing microgreens. Look for a mix that is well-draining and contains a blend of peat moss, perlite, and vermiculite. Avoid using garden soil, as it can be too heavy and may contain pests or diseases. You can also use soilless growing mediums like coconut coir or even just water for hydroponic microgreens.
How much light do microgreens need?
Microgreens need plenty of light to thrive. Ideally, they should receive at least 6-8 hours of direct sunlight per day. If you don’t have access to enough natural light, you can supplement with artificial grow lights. Fluorescent or LED grow lights are a good option. Position the lights a few inches above the microgreens to prevent them from burning.
How often should I water my microgreens?
Microgreens need to be kept consistently moist, but not soggy. Water them gently with a spray bottle or watering can, being careful not to disturb the seeds or seedlings. Check the soil moisture daily and water as needed. The frequency of watering will depend on the humidity and temperature of your environment.
How long does it take for microgreens to grow?
Microgreens typically take 7-14 days to grow, depending on the variety. Radish and mustard greens tend to grow the fastest, while sunflower and pea shoots may take a bit longer. You’ll know they’re ready to harvest when the first true leaves have emerged.
How do I harvest microgreens?
Harvest microgreens by snipping them off at the base of the stem with scissors or a sharp knife. Wash them gently before using them. It’s best to harvest them just before you’re ready to use them for the best flavor and nutritional value.
Can I reuse the soil after harvesting microgreens?
It’s generally not recommended to reuse the soil after harvesting microgreens, as it may contain fungal spores or other pathogens. It’s best to start with fresh soil for each batch of microgreens. You can compost the used soil to enrich your garden.
What if my microgreens get moldy?
Mold can be a common problem when growing microgreens, especially in humid environments. To prevent mold, ensure good air circulation and avoid overwatering. If you see mold, remove the affected areas immediately. You can also try spraying the microgreens with a diluted solution of hydrogen peroxide and water.
Can I grow microgreens indoors year-round?
Yes, you can grow microgreens indoors year-round! With the right lighting and temperature, you can enjoy fresh, homegrown microgreens no matter the season. This is one of the biggest advantages of using a DIY indoor microgreens system.
Are there any microgreens I should avoid growing?
While most vegetable and herb seeds can be grown as microgreens, there are a few exceptions. Avoid growing microgreens from the nightshade family (tomatoes, peppers, eggplants), as their leaves can be toxic. Also, avoid growing rhubarb leaves, as they contain high levels of oxalic acid. Always research the specific variety before growing it as a microgreen to ensure it is safe to consume.
How can I make my microgreens taste better?
The flavor of microgreens can vary depending on the variety and growing conditions. To enhance the flavor, ensure they receive adequate light and water. You can also try adding a small amount of fertilizer to the growing medium. Experiment with different varieties to find the flavors you enjoy most.
How do I store harvested microgreens?
Store harvested microgreens in the refrigerator in a sealed container lined with a paper towel. This will help to absorb excess moisture and keep them fresh for longer. They typically last for about a week in the refrigerator.
What are some creative ways to use microgreens?
Microgreens are incredibly versatile and can be used in a variety of dishes. Add them to salads, sandwiches, soups, smoothies, or use them as a garnish for your favorite meals. They can also be used to add flavor and texture to dips, sauces, and spreads. Get creative and experiment with different ways to incorporate them into your diet!


Leave a Comment