
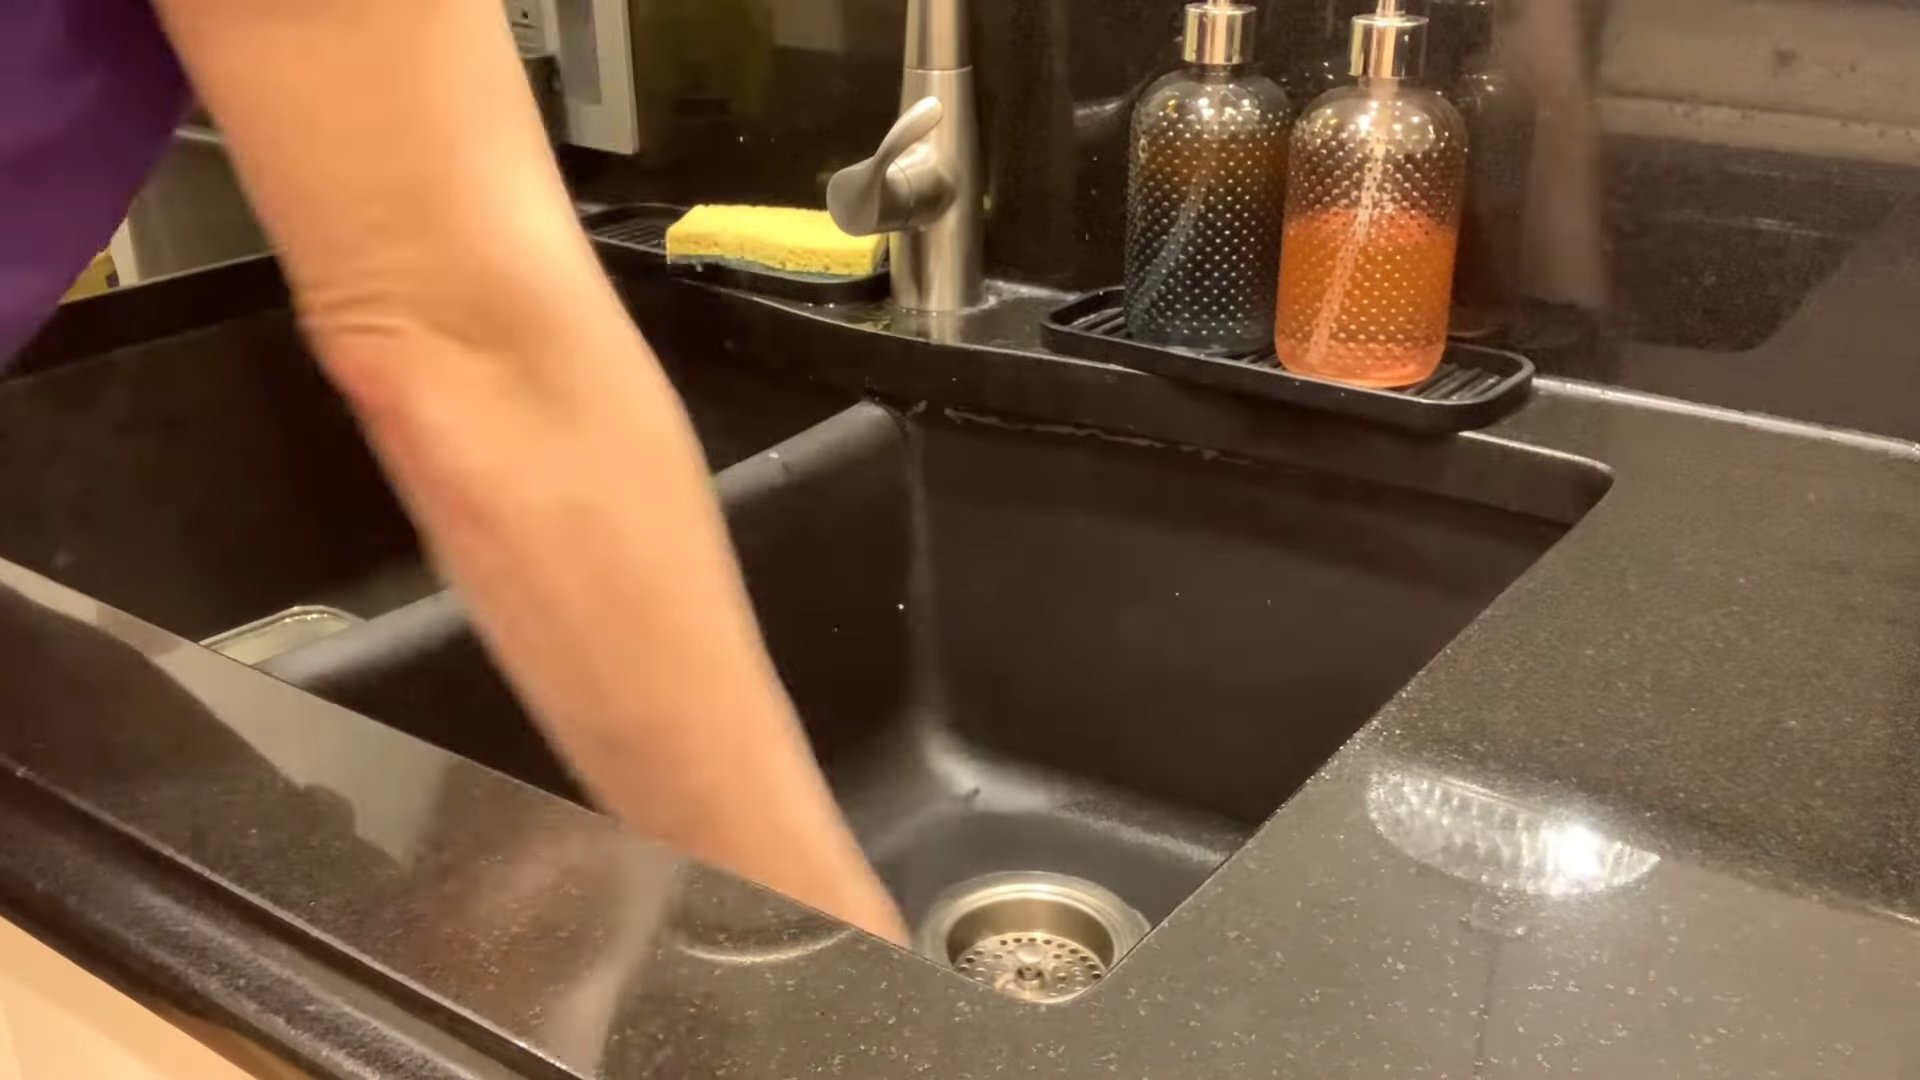
DIY All Purpose Cleaner: Are you tired of spending a fortune on cleaning products filled with harsh chemicals? I know I was! That’s why I dove headfirst into the world of homemade cleaning solutions, and let me tell you, it’s been a game-changer. Imagine a sparkling clean home, achieved with ingredients you probably already have in your pantry. Sounds good, right?
The history of homemade cleaning solutions stretches back centuries. Before the advent of mass-produced cleaners, people relied on natural ingredients like vinegar, baking soda, and lemon juice to keep their homes fresh and tidy. These time-tested methods are not only effective but also environmentally friendly. In many cultures, these recipes were passed down through generations, a testament to their enduring value.
In today’s world, the need for a good DIY All Purpose Cleaner is more pressing than ever. We’re increasingly aware of the potential health risks associated with synthetic chemicals found in commercial products. Plus, let’s be honest, those bottles can be expensive! By making your own cleaner, you’re not only saving money but also taking control of what you’re bringing into your home. This article will guide you through simple, effective recipes that will leave your surfaces sparkling and your conscience clear. Get ready to ditch the store-bought stuff and embrace the power of homemade!
Grow Your Own Cilantro Indoors: A Step-by-Step Guide
Hey there, fellow plant enthusiasts! Are you tired of buying cilantro at the grocery store, only to have it wilt away in your fridge before you can even use half of it? I know I was! That’s why I decided to take matters into my own hands and learn how to grow cilantro indoors. And guess what? It’s easier than you think! This guide will walk you through everything you need to know to have a thriving cilantro patch right in your kitchen.
What You’ll Need
Before we dive in, let’s gather our supplies. Here’s a checklist of everything you’ll need to successfully grow cilantro indoors:
* **Cilantro Seeds:** You can find these at most garden centers or online. Make sure you’re getting seeds specifically for cilantro (also known as coriander).
* **Potting Mix:** Use a well-draining potting mix. Avoid using garden soil, as it can compact too much in containers.
* **Pots:** Choose pots that are at least 6 inches deep and have drainage holes. Cilantro needs room for its roots to grow.
* **Grow Lights (Optional but Recommended):** Cilantro needs a lot of light, so if you don’t have a sunny windowsill, grow lights are a must.
* **Watering Can or Spray Bottle:** For gentle watering.
* **Small Shovel or Trowel:** For planting the seeds.
* **Fertilizer (Optional):** A balanced liquid fertilizer can help boost growth.
Choosing the Right Location
Location is key for happy cilantro! Here’s what to consider:
* **Sunlight:** Cilantro needs at least 6 hours of sunlight per day. A south-facing windowsill is ideal. If you don’t have enough natural light, use grow lights.
* **Temperature:** Cilantro prefers cooler temperatures, between 60-75°F (15-24°C). Avoid placing it near heat sources like radiators.
* **Air Circulation:** Good air circulation helps prevent fungal diseases.
Planting Your Cilantro Seeds
Now for the fun part – planting!
1. **Prepare the Pots:** Fill your pots with potting mix, leaving about an inch of space at the top. Gently pat down the soil.
2. **Sow the Seeds:** Sprinkle the cilantro seeds evenly over the surface of the soil. You can plant them fairly densely, as you can always thin them out later.
3. **Cover the Seeds:** Cover the seeds with a thin layer of potting mix, about ¼ inch deep.
4. **Water Gently:** Water the soil gently using a watering can or spray bottle. Make sure the soil is moist but not soggy.
5. **Label Your Pots:** Don’t forget to label your pots with the date you planted the seeds! This will help you keep track of their progress.
Germination and Early Growth
This is where the magic happens!
1. **Maintain Moisture:** Keep the soil consistently moist during the germination period. You can cover the pots with plastic wrap to help retain moisture, but be sure to remove it once the seedlings emerge.
2. **Provide Light:** Place the pots in a sunny location or under grow lights. If using grow lights, keep them about 6 inches above the soil surface.
3. **Monitor Germination:** Cilantro seeds typically germinate in 7-10 days. Be patient!
4. **Thin Seedlings (If Necessary):** Once the seedlings have a few sets of leaves, thin them out if they’re too crowded. Aim for about 2-3 inches between plants. To thin, gently snip off the unwanted seedlings at the soil line with scissors. Don’t pull them out, as this can disturb the roots of the remaining plants.
Caring for Your Cilantro Plants
Consistent care is essential for a bountiful harvest.
1. **Watering:** Water your cilantro plants regularly, keeping the soil consistently moist but not waterlogged. Check the soil moisture by sticking your finger into the soil. If the top inch feels dry, it’s time to water.
2. **Fertilizing (Optional):** If you want to give your cilantro a boost, you can fertilize it every 2-3 weeks with a balanced liquid fertilizer. Follow the instructions on the fertilizer label.
3. **Pinching Back:** Pinching back the stems encourages bushier growth and delays bolting (flowering). When the plants are about 4-6 inches tall, pinch off the top set of leaves on each stem.
4. **Preventing Bolting:** Cilantro is prone to bolting, especially in hot weather. Bolting means the plant starts to flower, which makes the leaves taste bitter. To prevent bolting, keep the plants in a cool location and provide plenty of water. You can also try growing cilantro varieties that are more bolt-resistant.
5. **Pest Control:** Cilantro is generally pest-resistant, but keep an eye out for aphids or spider mites. If you spot any pests, you can try spraying the plants with insecticidal soap.
Harvesting Your Cilantro
The moment we’ve all been waiting for!
1. **When to Harvest:** You can start harvesting cilantro leaves when the plants are about 6-8 inches tall.
2. **How to Harvest:** Use scissors to cut off the stems near the base of the plant. Avoid cutting off more than one-third of the plant at a time.
3. **Regular Harvesting:** Regular harvesting encourages the plant to produce more leaves.
4. **Extending the Harvest:** To extend the harvest, you can succession plant cilantro seeds every few weeks. This will ensure that you always have a fresh supply of cilantro.
Troubleshooting Common Problems
Even with the best care, you might encounter some challenges. Here are some common problems and how to fix them:
* **Yellowing Leaves:** This can be caused by overwatering, underwatering, or nutrient deficiencies. Adjust your watering schedule and consider fertilizing the plants.
* **Leggy Growth:** This is usually caused by insufficient light. Move the plants to a sunnier location or use grow lights.
* **Bolting:** As mentioned earlier, bolting is when the plant starts to flower. To prevent bolting, keep the plants in a cool location and provide plenty of water. You can also try growing bolt-resistant varieties.
* **Pests:** Keep an eye out for aphids or spider mites. If you spot any pests, you can try spraying the plants with insecticidal soap.
Saving Cilantro Seeds
If you let your cilantro plants bolt (flower), you can save the seeds for future planting.
1. **Allow the Plant to Flower:** Let the cilantro plant flower and produce seeds.
2. **Harvest the Seeds:** Once the seed pods are dry and brown, cut off the stems and place them in a paper bag.
3. **Dry the Seeds:** Allow the seeds to dry completely in a cool, dry place.
4. **Store the Seeds:** Once the seeds are dry, separate them from the stems and store them in an airtight container in a cool, dark place.
Enjoy Your Homegrown Cilantro!
Now that you know how to grow cilantro indoors, you can enjoy fresh, flavorful cilantro whenever you want! Add it to your favorite Mexican dishes, salads, or soups. The possibilities are endless! I hope this guide has been helpful. Happy gardening!
Conclusion
So, there you have it! Creating your own DIY all-purpose cleaner is not just a cost-effective alternative to store-bought options; it’s a conscious choice to reduce your environmental impact and control the ingredients you bring into your home. You’re ditching harsh chemicals and embracing a safer, more natural cleaning solution that’s surprisingly simple to make.
Think about it: no more deciphering complicated ingredient lists filled with unpronounceable chemicals. No more worrying about the potential health effects of lingering fumes. With this DIY approach, you know exactly what’s in your cleaner, and you can tailor it to your specific needs and preferences.
Beyond the basic recipe, the possibilities are endless. Want a more potent disinfectant? Add a few extra drops of tea tree oil. Prefer a citrusy scent? Increase the amount of lemon essential oil or even infuse your vinegar with citrus peels for a few weeks before using it. Need a gentle cleaner for delicate surfaces? Dilute the solution further with water. You can even experiment with different essential oil combinations to create your signature scent. Lavender and eucalyptus offer a calming and refreshing aroma, while peppermint and rosemary provide an invigorating and energizing boost.
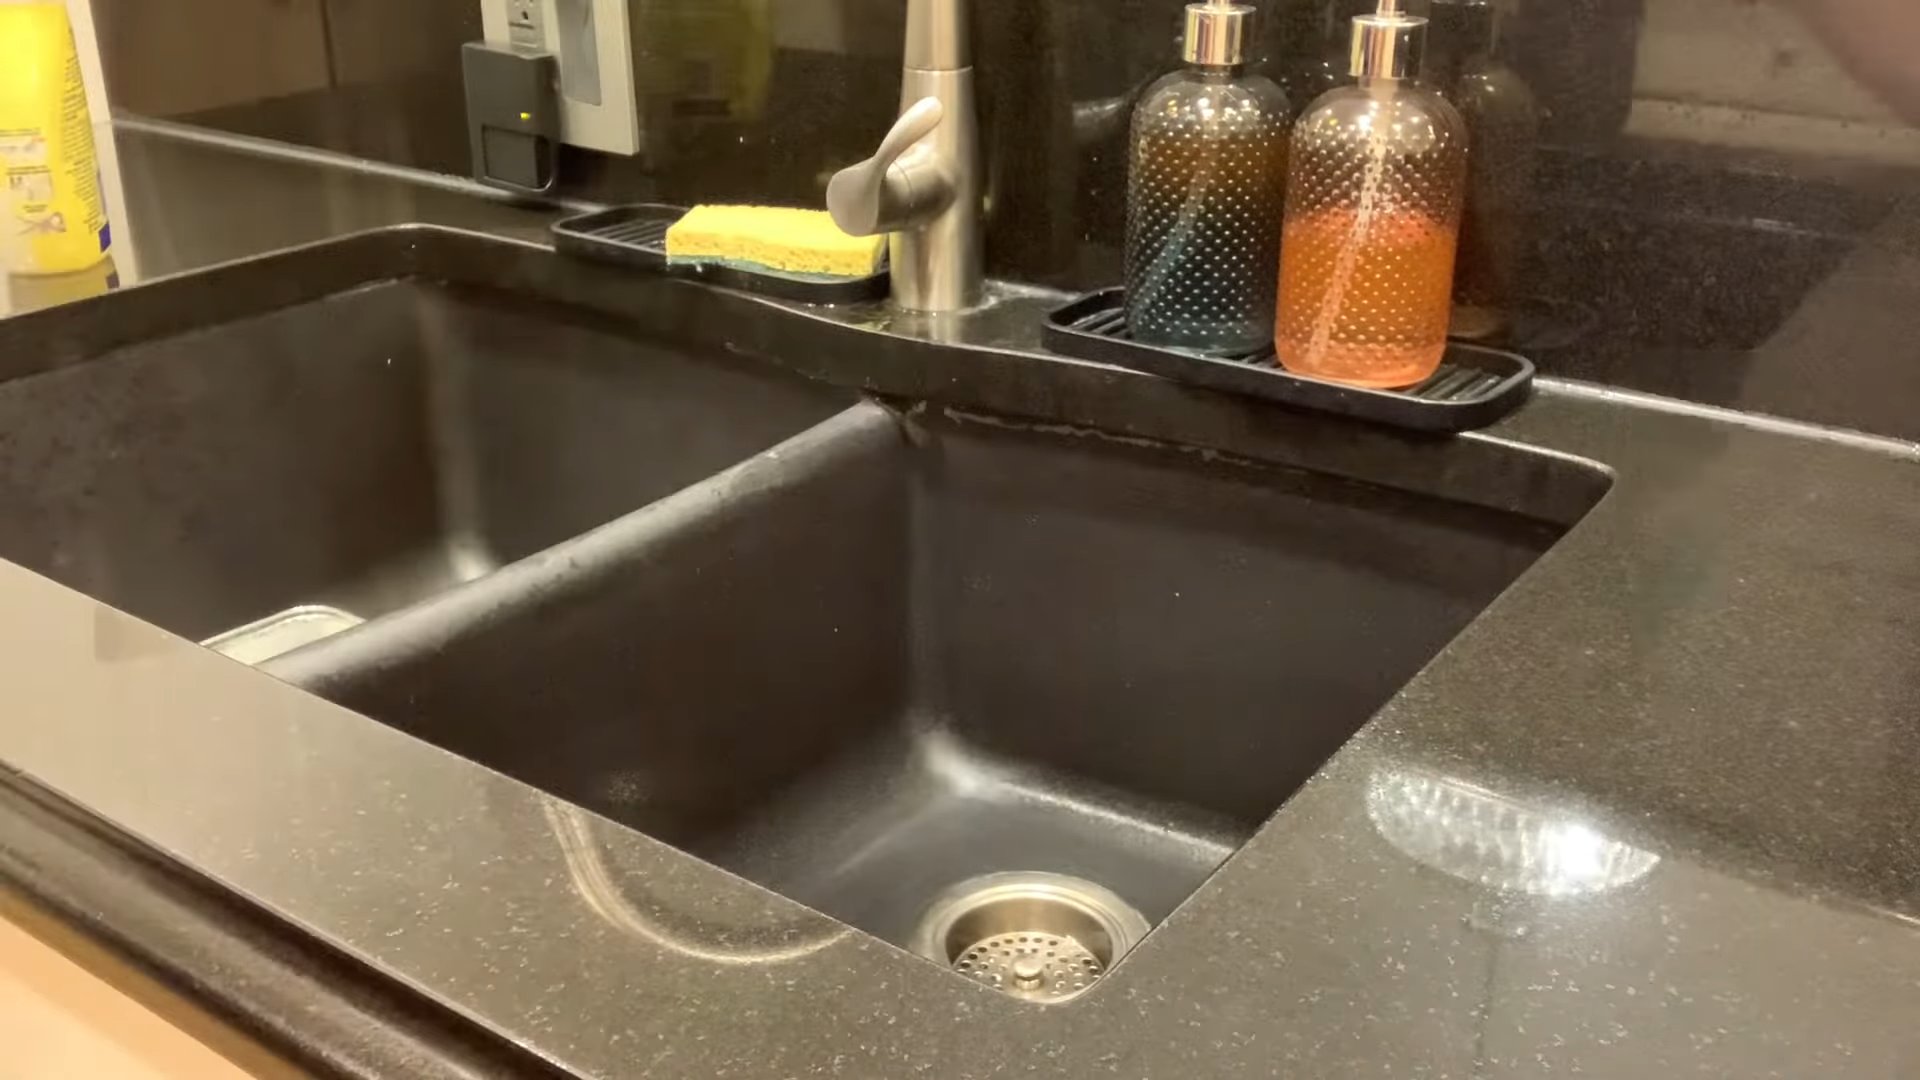
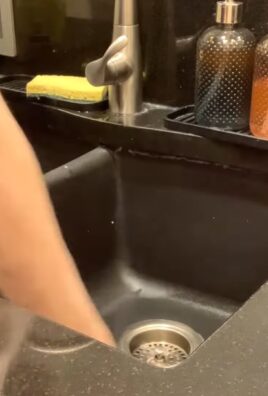
This DIY all-purpose cleaner is truly a game-changer for your cleaning routine. It’s effective on a wide range of surfaces, from kitchen countertops and bathroom tiles to floors and windows. It cuts through grease, grime, and dirt with ease, leaving your home sparkling clean and smelling fresh.
But the real beauty of this DIY project lies in its simplicity and accessibility. You likely already have most of the ingredients in your pantry. The process is quick and easy, taking just a few minutes to whip up a batch. And the satisfaction of knowing you’re using a safe, natural, and effective cleaner is truly rewarding.
We wholeheartedly encourage you to give this DIY all-purpose cleaner a try. It’s a small change that can make a big difference in your home and your health. Once you experience the benefits of this homemade cleaner, you’ll never go back to store-bought options.
Don’t just take our word for it, though. Experiment with the recipe, find your favorite variations, and see for yourself how effective and versatile this DIY cleaner can be. And most importantly, share your experience with us! We’d love to hear your tips, tricks, and favorite essential oil combinations. Let’s build a community of DIY cleaning enthusiasts and inspire others to embrace a more natural and sustainable lifestyle. Share your photos and stories on social media using #DIYAllPurposeCleaner and let us know how it worked for you! We can’t wait to see your sparkling clean homes!
Frequently Asked Questions (FAQ)
1. What exactly is in this DIY all-purpose cleaner, and why are those ingredients chosen?
This DIY all-purpose cleaner typically consists of white vinegar, water, and essential oils. White vinegar is a natural disinfectant and degreaser, effectively cutting through grime and killing bacteria. Water acts as a diluent, making the solution safe for various surfaces. Essential oils provide a pleasant scent and can also offer additional antibacterial or antifungal properties. For example, tea tree oil is known for its antiseptic qualities, while lemon oil is a powerful degreaser and adds a refreshing aroma. The combination of these ingredients creates a powerful yet safe cleaning solution.
2. Can I use this DIY all-purpose cleaner on all surfaces in my home? Are there any surfaces I should avoid?
While this DIY all-purpose cleaner is generally safe for most surfaces, there are a few exceptions. Avoid using it on natural stone surfaces like granite or marble, as the acidity of the vinegar can etch and damage them over time. It’s also best to avoid using it on waxed wood furniture, as it can strip the wax finish. Always test the cleaner on an inconspicuous area first to ensure it doesn’t cause any discoloration or damage. For delicate surfaces, consider diluting the solution further with water.
3. How long does this DIY all-purpose cleaner last? Does it need to be refrigerated?
This DIY all-purpose cleaner has a relatively long shelf life due to the preservative properties of vinegar. It can typically last for several months when stored in a cool, dark place. Refrigeration is not necessary. However, if you notice any changes in color, smell, or consistency, it’s best to discard the solution and make a fresh batch. Using a dark-colored spray bottle can also help prolong its shelf life by protecting it from light.
4. What essential oils are best to use in this DIY all-purpose cleaner, and what are their benefits?
The best essential oils to use in this DIY all-purpose cleaner depend on your personal preferences and desired benefits. Some popular options include:
* **Lemon:** A powerful degreaser with a refreshing citrus scent.
* **Tea Tree:** Known for its antiseptic, antibacterial, and antifungal properties.
* **Lavender:** Offers a calming and relaxing aroma and has mild antibacterial properties.
* **Eucalyptus:** Provides a refreshing and invigorating scent and has antibacterial and antiviral properties.
* **Peppermint:** Offers an energizing and refreshing aroma and has antibacterial properties.
* **Orange:** A natural degreaser with a cheerful and uplifting scent.
Experiment with different combinations to find your favorite scent and enjoy the added benefits of each essential oil.
5. Can I use something other than vinegar in this recipe? What are the alternatives?
While vinegar is a key ingredient in this DIY all-purpose cleaner due to its disinfecting and degreasing properties, you can explore alternatives, although they might not be as effective. One option is to use rubbing alcohol (isopropyl alcohol), which is a strong disinfectant. However, it has a strong odor and should be used with caution. Another alternative is to use castile soap, a gentle and natural soap made from vegetable oils. However, castile soap can leave a residue on some surfaces, so it’s important to rinse thoroughly. If using castile soap, avoid combining it with vinegar, as they can react and create a cloudy, ineffective solution.
6. Is this DIY all-purpose cleaner safe to use around children and pets?
This DIY all-purpose cleaner is generally safer than store-bought cleaners, as it doesn’t contain harsh chemicals. However, it’s still important to exercise caution when using it around children and pets. Keep the cleaner out of their reach and avoid spraying it directly on them. If they accidentally ingest the cleaner, contact a medical professional or veterinarian immediately. While essential oils are natural, some can be toxic to pets, so research the safety of specific oils before using them in your cleaner.
7. How do I adjust the recipe for different cleaning needs, such as a stronger disinfectant or a gentler cleaner?
You can easily adjust the recipe to suit your specific cleaning needs. For a stronger disinfectant, increase the amount of vinegar in the solution. For example, you can use a 1:1 ratio of vinegar to water instead of a 1:2 ratio. You can also add more tea tree oil, which is a powerful antiseptic. For a gentler cleaner, dilute the solution further with water. You can also reduce the amount of vinegar or use a milder alternative like castile soap. Always test the cleaner on an inconspicuous area first to ensure it doesn’t cause any damage.
8. What type of spray bottle is best to use for this DIY all-purpose cleaner?
A plastic spray bottle is generally suitable for this DIY all-purpose cleaner. However, some essential oils can degrade certain types of plastic over time. To prevent this, consider using a glass spray bottle or a plastic spray bottle made from high-density polyethylene (HDPE), which is more resistant to essential oils. A dark-colored spray bottle can also help protect the cleaner from light, prolonging its shelf life. Make sure the spray bottle is clean and free of any residue before filling it with the DIY cleaner.
9. My DIY all-purpose cleaner smells too strongly of vinegar. How can I reduce the vinegar smell?
The vinegar smell will dissipate quickly after spraying the cleaner. However, if you find the smell too strong, you can try a few things. First, use a higher concentration of essential oils to mask the vinegar scent. Citrus essential oils like lemon and orange are particularly effective at neutralizing the vinegar smell. You can also infuse your vinegar with citrus peels for a few weeks before using it. This will impart a pleasant citrus scent to the vinegar itself. Finally, ensure proper ventilation while cleaning to help dissipate the vinegar smell more quickly.
10. Can I add baking soda to this DIY all-purpose cleaner?
While baking soda is a great cleaning agent on its own, it’s not recommended to add it directly to this DIY all-purpose cleaner containing vinegar. Vinegar is an acid, and baking soda is a base. When combined, they react and neutralize each other, creating carbon dioxide and water. This reaction can cause pressure to build up in the spray bottle, potentially leading to leaks or even explosions. Furthermore, the resulting solution will be less effective at cleaning. If you want to use baking soda for cleaning, it’s best to use it separately as a scrub or paste.

Leave a Comment