
DIY all-purpose cleaner: Are you tired of spending a fortune on cleaning products filled with harsh chemicals? Do you dream of a sparkling clean home without the lingering artificial scents? Well, you’re in the right place! I’m about to share some amazing secrets to create your own powerful and effective all-purpose cleaner right in your kitchen.
The tradition of homemade cleaning solutions stretches back centuries. Before the advent of mass-produced chemicals, resourceful individuals relied on natural ingredients like vinegar, baking soda, and essential oils to keep their homes clean and fresh. These time-tested methods are not only effective but also environmentally friendly and gentle on your skin.
In today’s world, many of us are becoming increasingly aware of the potential health risks associated with commercial cleaning products. From allergies to respiratory issues, the chemicals in these products can have a significant impact on our well-being. That’s why learning how to make your own DIY all-purpose cleaner is more important than ever. It’s a simple yet powerful way to take control of your home environment and create a healthier living space for yourself and your family.
This article will guide you through easy-to-follow recipes, using readily available ingredients, to create a cleaner that tackles grime, grease, and everyday messes. Get ready to ditch the store-bought stuff and embrace the power of homemade!
DIY All-Purpose Cleaner: Sparkling Clean Without the Harsh Chemicals
Hey there, fellow DIY enthusiasts! I’m so excited to share my go-to recipe for an all-purpose cleaner that’s not only incredibly effective but also gentle on your home and the environment. Forget those harsh chemicals and overpowering scents – this cleaner is made with simple, natural ingredients you probably already have in your pantry. Let’s get started!
What You’ll Need: The Ingredient Lineup
Before we dive into the mixing process, let’s gather our supplies. This is a super simple recipe, so you won’t need anything fancy.
* White Vinegar: This is the workhorse of our cleaner. Vinegar is a natural disinfectant and degreaser, perfect for tackling grime and bacteria.
* Water: Dilutes the vinegar and makes the cleaner less harsh on surfaces. Distilled water is best to prevent mineral buildup, but tap water works just fine too.
* Rubbing Alcohol (Isopropyl Alcohol): Boosts the disinfecting power and helps the cleaner dry faster, preventing streaks.
* Essential Oils (Optional): This is where you can customize your cleaner’s scent! Lavender, lemon, tea tree, and eucalyptus are all great choices for their cleaning and antibacterial properties.
* Spray Bottle: A clean, empty spray bottle is essential for dispensing your cleaner. I prefer a dark-colored bottle to protect the essential oils from light degradation, but any spray bottle will do.
* Measuring Cups and Spoons: For accurate measurements, which are important for the cleaner’s effectiveness.
* Funnel (Optional): Makes pouring the ingredients into the spray bottle much easier and less messy.
The Magic Ratio: Getting the Proportions Right
The key to a great all-purpose cleaner is getting the proportions of the ingredients just right. This recipe is my tried-and-true formula, but feel free to experiment a little to find what works best for you.
* 1/2 cup White Vinegar
* 1 1/2 cups Water
* 1/4 cup Rubbing Alcohol (70% or higher)
* 15-20 drops Essential Oils (optional)
Step-by-Step Instructions: Mixing Your All-Purpose Cleaner
Now for the fun part! Let’s mix up our cleaner.
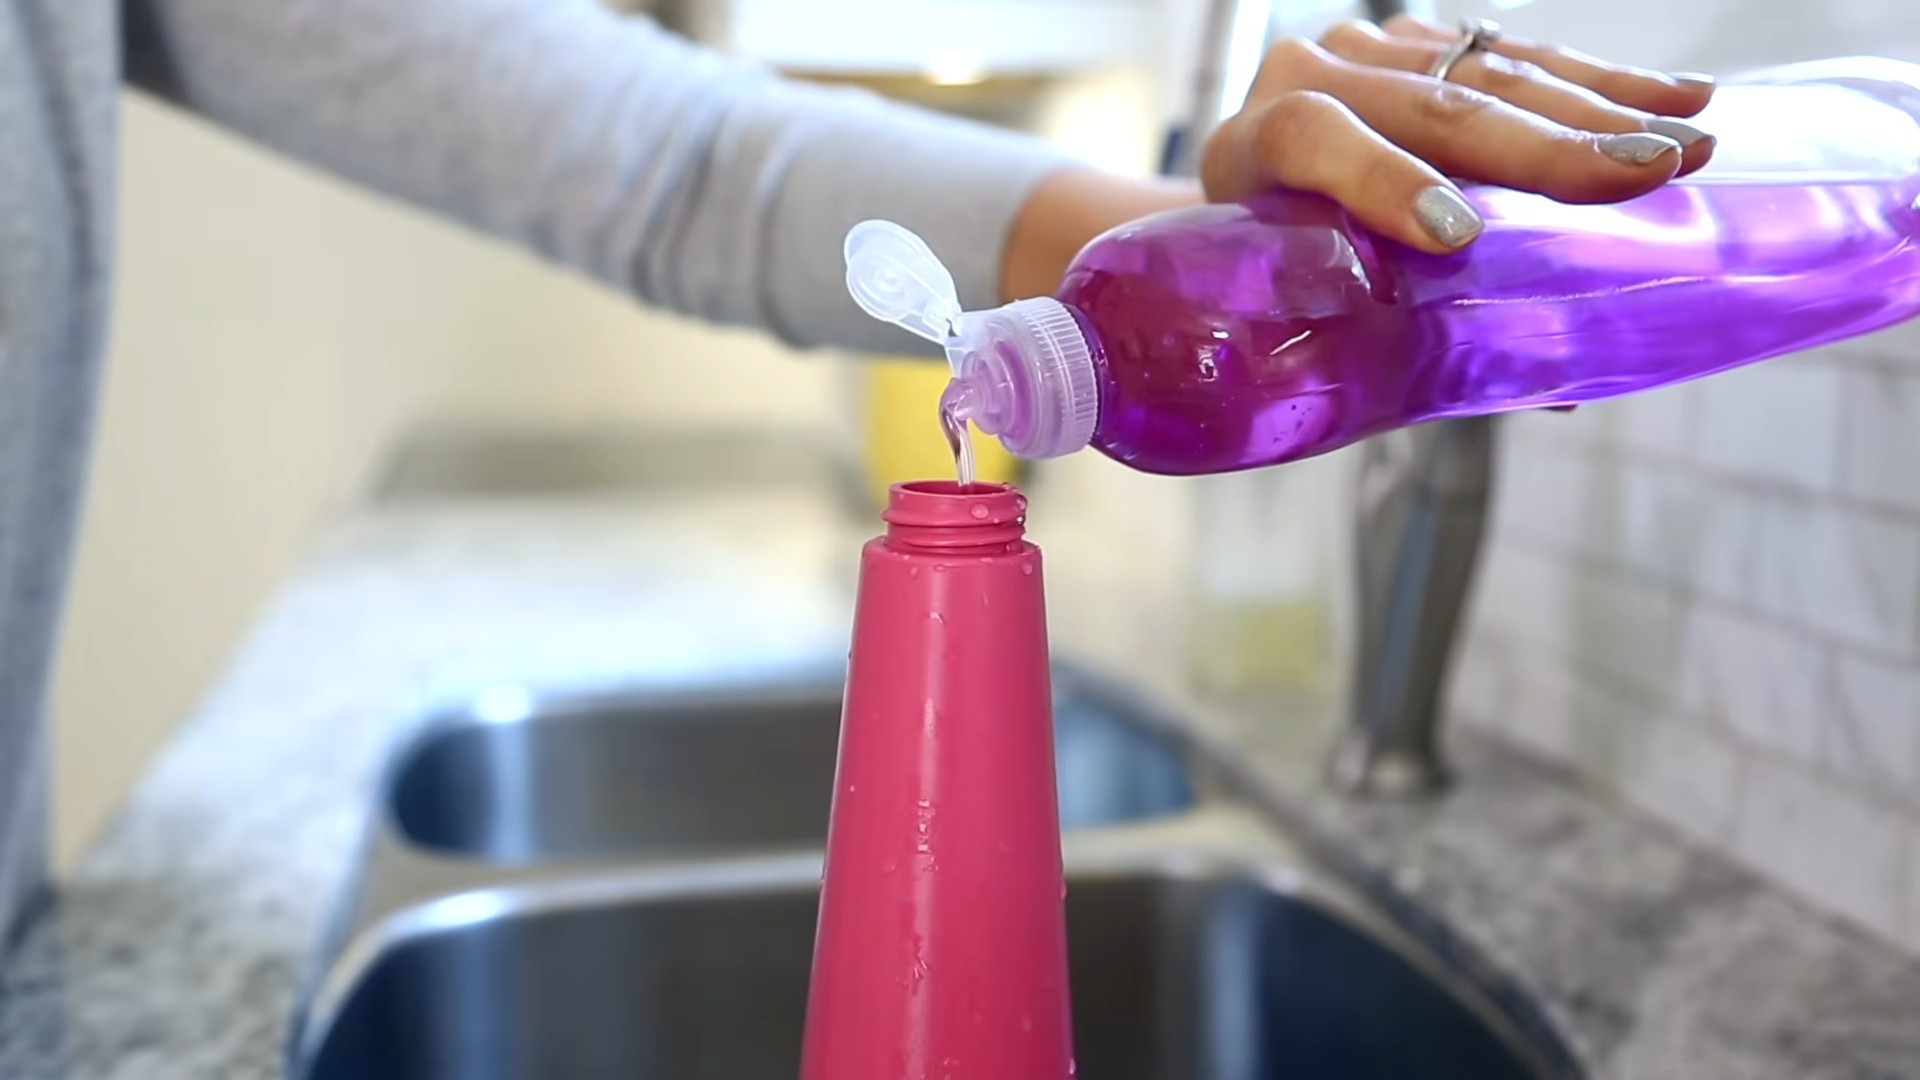
1. Prepare Your Spray Bottle: Make sure your spray bottle is clean and dry. If it’s a new bottle, give it a quick rinse with water. If you’re reusing an old bottle, wash it thoroughly with soap and water and let it dry completely. This prevents any residue from previous cleaners from interfering with our new formula.
2. Pour in the Vinegar: Using your measuring cup, carefully pour 1/2 cup of white vinegar into the spray bottle. The vinegar smell might be a bit strong at first, but don’t worry, it will dissipate as the cleaner dries.
3. Add the Water: Next, add 1 1/2 cups of water to the spray bottle. If you’re using distilled water, great! If not, tap water is perfectly fine.
4. Incorporate the Rubbing Alcohol: Now, pour in 1/4 cup of rubbing alcohol. This will help to disinfect surfaces and prevent streaking.
5. Add Essential Oils (Optional): If you’re using essential oils, now’s the time to add them. I usually go for 15-20 drops, but you can adjust the amount to your liking. Remember, some essential oils are stronger than others, so start with a smaller amount and add more if needed. My personal favorites are lemon for its fresh scent and degreasing properties, lavender for its calming aroma, and tea tree for its antibacterial benefits. You can even create your own blend!
6. Secure the Spray Nozzle: Carefully screw the spray nozzle back onto the bottle, making sure it’s on tight to prevent leaks.
7. Shake Well: Give the bottle a good shake to thoroughly combine all the ingredients. This ensures that the essential oils are evenly distributed throughout the cleaner.
8. Label Your Bottle: This is a crucial step! Label your spray bottle clearly with the name “All-Purpose Cleaner” and the date you made it. This will prevent any confusion and ensure that you know what’s inside.
Putting Your Cleaner to Work: Where to Use It
Now that you’ve made your all-purpose cleaner, it’s time to put it to work! This cleaner is incredibly versatile and can be used on a variety of surfaces throughout your home.
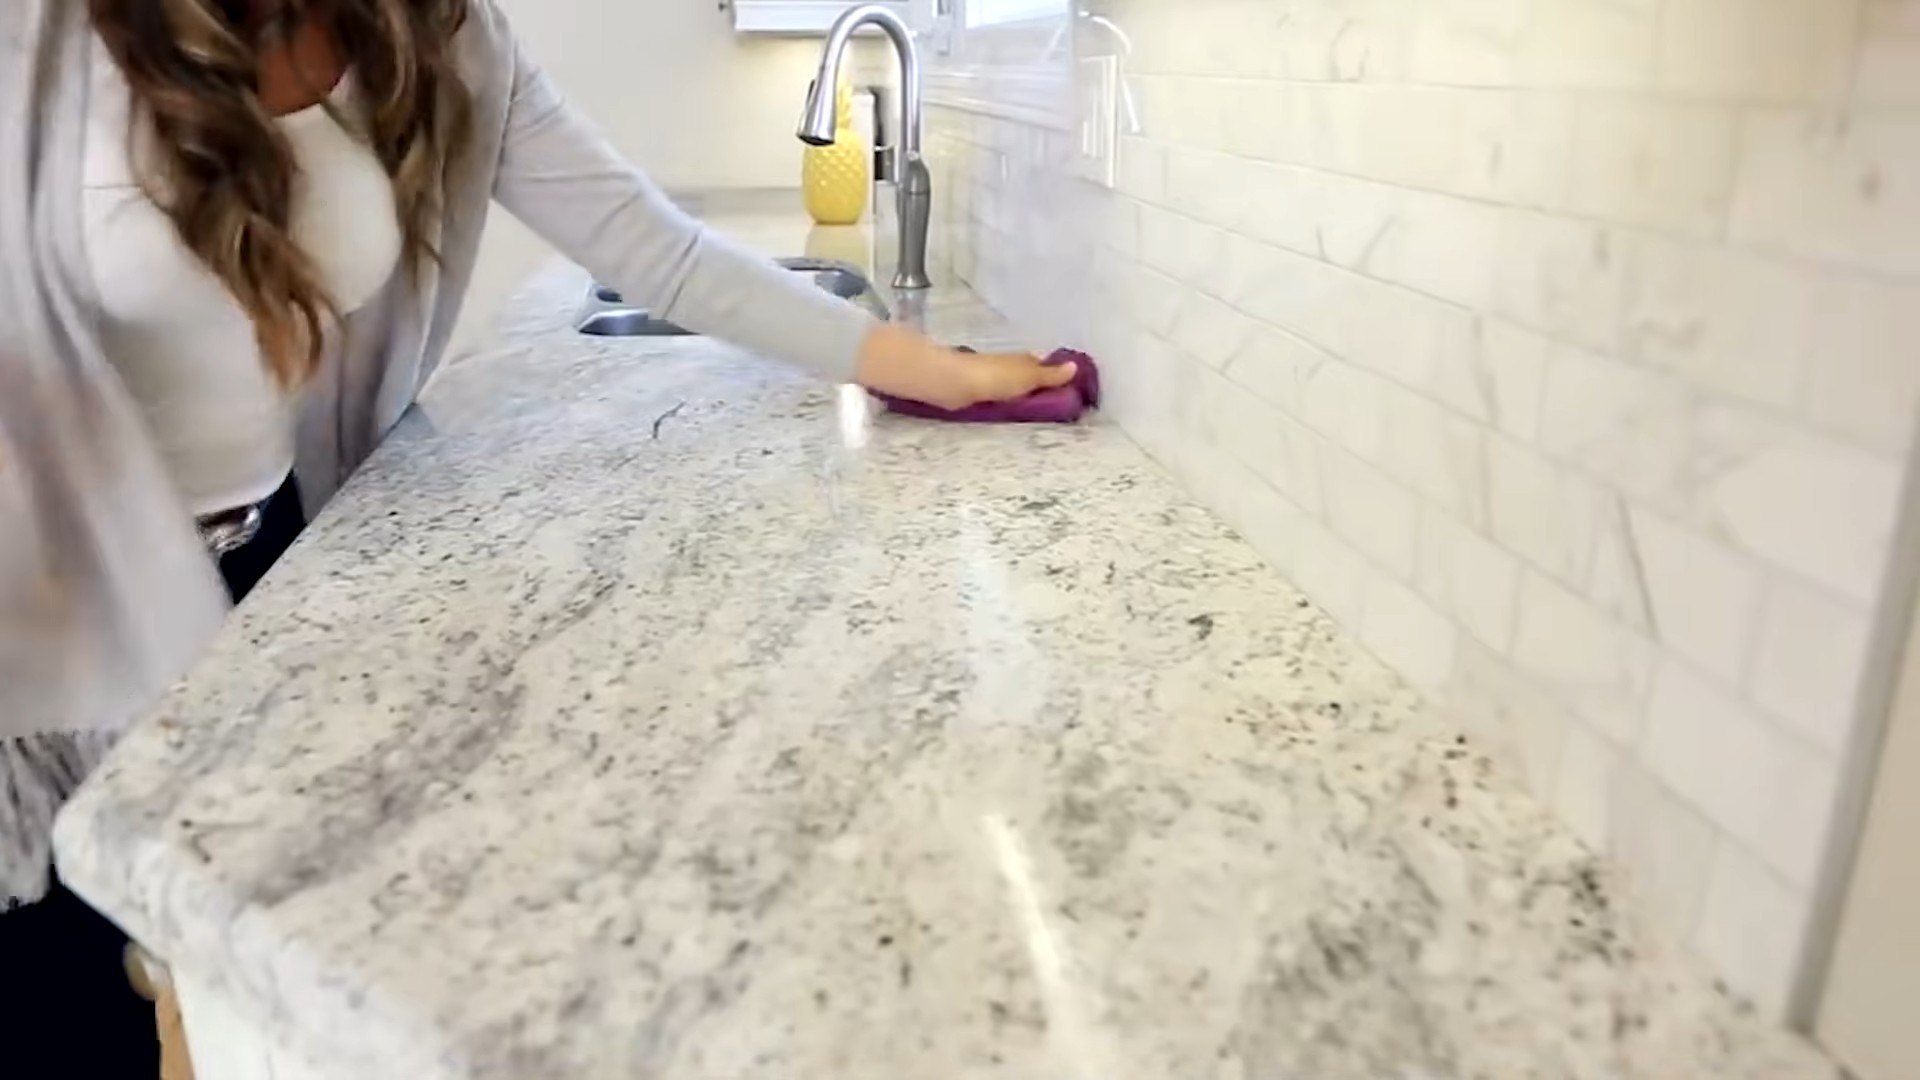
* Kitchen Counters: This cleaner is perfect for wiping down kitchen counters after meal prep. It effectively removes food residue, grease, and grime, leaving your counters sparkling clean.
* Bathroom Surfaces: Use it to clean bathroom sinks, countertops, and even the toilet seat. The vinegar and rubbing alcohol will help to disinfect these high-touch areas.
* Floors: Dilute the cleaner with water in a bucket and use it to mop your floors. It’s safe for most types of flooring, but always test it in an inconspicuous area first.
* Windows and Mirrors: This cleaner works wonders on windows and mirrors, leaving them streak-free and sparkling.
* Appliances: Wipe down the exterior of your appliances, such as your refrigerator, oven, and microwave, to keep them looking clean and shiny.
* Doorknobs and Light Switches: These are high-touch areas that can harbor germs, so give them a quick spray and wipe down with your all-purpose cleaner.
Important Considerations: Surfaces to Avoid
While this all-purpose cleaner is generally safe for most surfaces, there are a few exceptions. Avoid using it on the following:
* Marble and Granite: The acidity of the vinegar can etch and damage natural stone surfaces like marble and granite.
* Waxed Furniture: The cleaner can strip the wax finish from furniture, leaving it dull and damaged.
* Electronics: Avoid spraying the cleaner directly onto electronic devices. Instead, spray it onto a cloth and then wipe down the surface.
* Unsealed Wood: The cleaner can penetrate unsealed wood and cause it to warp or stain.
Tips and Tricks: Maximizing Your Cleaner’s Effectiveness
Here are a few extra tips and tricks to help you get the most out of your DIY all-purpose cleaner:
* Test Before You Commit: Before using the cleaner on a large surface, always test it in an inconspicuous area first to make sure it doesn’t damage or discolor the material.
* Let It Sit: For tougher stains and grime, spray the cleaner onto the surface and let it sit for a few minutes before wiping it away. This will give the cleaner time to penetrate the dirt and loosen it up.
* Use a Microfiber Cloth: Microfiber cloths are excellent for cleaning because they trap dirt and grime without leaving streaks.
* Store in a Cool, Dark Place: To prolong the shelf life of your cleaner, store it in a cool, dark place away from direct sunlight.
* Make a New Batch Regularly: While the cleaner doesn’t technically expire, it’s best to make a fresh batch every few months to ensure its effectiveness.
* Adjust the Scent: Don’t be afraid to experiment with different essential oil combinations to find your favorite scent. You can also add a few drops of lemon juice for extra cleaning power.
* For Extra Grime: For really tough messes, like baked-on food in the oven, make a paste of baking soda and water and apply it to the area. Let it sit for a few minutes, then spray with your all-purpose cleaner and wipe clean.
Troubleshooting: Common Issues and Solutions
Even with the best recipes, sometimes things don’t go exactly as planned. Here are a few common issues you might encounter and how to fix them:
* Strong Vinegar Smell: If the vinegar smell is too strong for your liking, try adding a few more drops of essential oils or diluting the cleaner with more water. The smell will also dissipate as the cleaner dries.
* Streaking: If you’re experiencing streaking, it could be due to hard water or too much cleaner. Try using distilled water or reducing the amount of cleaner you’re using. You can also try wiping the surface with a clean, dry microfiber cloth after cleaning.
* Cloudy Cleaner: If your cleaner appears cloudy, it could be due to the essential oils not fully dissolving in the water. Try shaking the bottle more vigorously or adding a small amount of rubbing alcohol to help the oils dissolve.
* Clogged Sprayer: If your sprayer gets clogged, try rinsing it with warm water. If that doesn’t work, you may need to replace the sprayer.
Why I Love This Cleaner: The Benefits of DIY
I absolutely love this DIY all-purpose cleaner for so many reasons. Not only is it incredibly effective at cleaning my home, but it’s also:
* Eco-Friendly: By making my own cleaner, I
Conclusion
So, there you have it! Ditching the store-bought chemicals and embracing this DIY all purpose cleaner is more than just a trend; it’s a conscious choice for a healthier home and a happier planet. We’ve walked you through a simple, effective recipe that utilizes ingredients you likely already have in your pantry. But why should you actually make the switch?
First and foremost, you’re gaining complete control over what you’re bringing into your living space. No more deciphering cryptic ingredient lists filled with unpronounceable chemicals. You know exactly what’s in your cleaner, and you can rest assured that it’s safe for your family, your pets, and the environment. This is especially crucial for households with young children or individuals with sensitivities to harsh chemicals.
Beyond the health benefits, this DIY approach is incredibly cost-effective. Think about it: vinegar, baking soda, essential oils – these are all budget-friendly staples. You’ll be amazed at how much money you can save by making your own cleaner instead of constantly restocking expensive commercial products. Plus, you’re reducing plastic waste by refilling your existing spray bottles, contributing to a more sustainable lifestyle.
But the advantages don’t stop there. This DIY all purpose cleaner is surprisingly versatile. It’s effective on a wide range of surfaces, from kitchen countertops and bathroom tiles to windows and mirrors. The essential oils not only add a pleasant fragrance but also offer additional cleaning and disinfecting properties.
Feeling adventurous? Don’t be afraid to experiment with different essential oil combinations to create your own signature scent. Lavender and tea tree oil offer antibacterial benefits, while lemon and orange provide a refreshing, uplifting aroma. You can also adjust the ratio of vinegar to water depending on the specific cleaning task. For tougher stains, try using a slightly stronger vinegar solution.
Consider adding a tablespoon of washing soda (sodium carbonate) for extra cleaning power, especially when tackling greasy surfaces. Just be sure to wear gloves when handling washing soda, as it can be irritating to the skin. Another variation involves infusing your vinegar with citrus peels for a few weeks before using it in the cleaner. This adds a natural citrus scent and boosts the cleaning power. Simply place citrus peels (lemon, orange, grapefruit) in a jar, cover with white vinegar, and let it sit in a cool, dark place for 2-3 weeks. Strain the vinegar before using it in your DIY all purpose cleaner recipe.
We truly believe that once you try this DIY all purpose cleaner, you’ll never go back to store-bought alternatives. It’s simple, effective, affordable, and environmentally friendly. It’s a win-win-win situation!
So, what are you waiting for? Gather your ingredients, grab your spray bottle, and get ready to experience the joy of a clean and healthy home, powered by your own homemade solution. We’re confident that you’ll be thrilled with the results.
We’d love to hear about your experience! Share your thoughts, tips, and variations in the comments below. Let us know what essential oil combinations you’ve tried and how this DIY all purpose cleaner has transformed your cleaning routine. Your feedback will not only help us improve this recipe but also inspire others to embrace the power of DIY cleaning. Let’s create a community of conscious consumers who are committed to a cleaner, healthier, and more sustainable future!
Frequently Asked Questions (FAQ)
Is this DIY all purpose cleaner safe for all surfaces?
While this DIY all purpose cleaner is generally safe for most surfaces, it’s always a good idea to test it in an inconspicuous area first, especially on delicate materials like marble, granite, or waxed wood. The acidity of vinegar can potentially damage these surfaces over time. For these surfaces, consider using a milder cleaning solution, such as a mixture of water and a few drops of mild dish soap. You can also use a baking soda paste for scrubbing stubborn stains on these surfaces, but be gentle to avoid scratching. Always wipe down the surface with a clean, damp cloth after cleaning to remove any residue.
How long does this DIY all purpose cleaner last?
This DIY all purpose cleaner doesn’t have a long shelf life like commercial cleaners, primarily because it doesn’t contain preservatives. However, it should last for about 2-3 months when stored in a cool, dark place. The essential oils can help to inhibit bacterial growth, but it’s still best to use it within a reasonable timeframe. If you notice any changes in color, odor, or consistency, it’s best to discard the cleaner and make a fresh batch. To maximize its shelf life, store it in a dark-colored spray bottle to protect it from light.
Can I use a different type of vinegar?
White vinegar is the most commonly used vinegar for cleaning due to its high acidity and lack of color, which prevents staining. However, you can experiment with other types of vinegar, such as apple cider vinegar, but be aware that it may have a slight color and odor that could affect the final product. Avoid using balsamic vinegar, as its dark color and high sugar content can leave stains and sticky residue. If you’re concerned about the vinegar smell, you can add more essential oils to mask the odor or let the cleaner sit for a few minutes after spraying before wiping it down. The vinegar smell will dissipate quickly as it dries.
What essential oils are best to use in this DIY all purpose cleaner?
The best essential oils to use in this DIY all purpose cleaner depend on your personal preferences and desired benefits. Some popular choices include:
* **Lemon:** Provides a fresh, citrusy scent and has antibacterial properties.
* **Tea Tree:** A powerful antiseptic and antifungal agent.
* **Lavender:** Offers a calming aroma and has antibacterial properties.
* **Eucalyptus:** Has a refreshing scent and can help to disinfect surfaces.
* **Peppermint:** Provides a cooling sensation and has antibacterial properties.
* **Orange:** Offers a cheerful scent and has degreasing properties.
You can use a single essential oil or create a blend of several oils to achieve your desired scent and cleaning power. Start with a small amount of essential oil (around 10-20 drops per bottle) and adjust to your liking.
Is this DIY all purpose cleaner safe for pets?
While the ingredients in this DIY all purpose cleaner are generally considered safe, some essential oils can be toxic to pets, especially cats. Avoid using essential oils like tea tree, peppermint, and citrus oils around pets, as they can cause skin irritation, respiratory problems, or even liver damage if ingested. If you have pets, it’s best to use pet-safe essential oils like lavender or chamomile, or simply omit the essential oils altogether. Always ensure that your pets are not in the area when you are cleaning and that the surfaces are completely dry before allowing them back in.
Can I use this DIY all purpose cleaner on glass and mirrors?
Yes, this DIY all purpose cleaner can be used on glass and mirrors. However, vinegar can sometimes leave streaks, so it’s important to use a clean microfiber cloth and wipe the surface thoroughly. You can also add a small amount of rubbing alcohol to the cleaner to help prevent streaking. Another tip is to use distilled water instead of tap water, as tap water can contain minerals that can leave residue on glass.
What if I don’t have essential oils?
If you don’t have essential oils, you can still make this DIY all purpose cleaner without them. The vinegar and water mixture will still provide effective cleaning power. You can also add a few drops of lemon juice or a small amount of dried herbs like lavender or rosemary to infuse the cleaner with a natural scent.
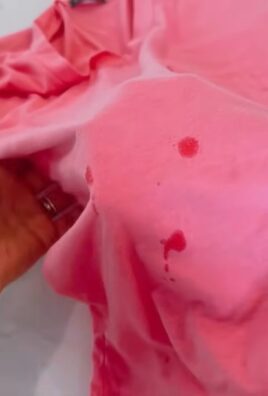
How do I clean up spills with this DIY all purpose cleaner?
For spills, first blot up as much of the liquid as possible with a clean cloth or paper towel. Then, spray the affected area with the DIY all purpose cleaner and let it sit for a few minutes to loosen any remaining residue. Wipe the area clean with a fresh cloth and repeat if necessary. For stubborn stains, you can make a paste of baking soda and water and apply it to the stain before spraying with the cleaner.
Can I use this DIY all purpose cleaner to clean my toilet?
Yes, this DIY all purpose cleaner can be used to clean your toilet. Spray the cleaner inside the bowl and around the rim, let it sit for a few minutes, and then scrub with a toilet brush. For extra cleaning power, you can sprinkle baking soda into the bowl before spraying with the cleaner. Flush the toilet to rinse.

Leave a Comment