
Cucumber Growing Mistakes: We’ve all been there, haven’t we? You envision a bountiful harvest of crisp, refreshing cucumbers from your own garden, ready for salads, pickles, and everything in between. But instead, you’re left scratching your head, wondering why your cucumber plants are struggling, yielding misshapen fruits, or simply refusing to thrive. Don’t worry, you’re not alone!
Growing cucumbers has been a practice dating back thousands of years, with roots in ancient India. These versatile veggies have nourished civilizations and graced tables across the globe. But even with centuries of cultivation under our belts, cucumber growing mistakes are surprisingly common.
That’s why I’ve put together this guide to help you avoid the pitfalls and unlock the secrets to a successful cucumber harvest. From choosing the right variety to mastering watering techniques, we’ll cover the most common errors that can sabotage your efforts. Learning these DIY tricks and hacks is essential because nobody wants to waste time, effort, and precious garden space on a disappointing crop. Let’s dive in and transform your cucumber dreams into a delicious reality!
Growing Celery on a Fence: A DIY Guide for Vertical Cultivation
Hello, dear garden friends! Do you also have the problem of your garden not being infinitely large, but you still want to grow fresh vegetables? Then I have a great solution for you today: growing celery on a fence! This saves space, looks great, and is not as difficult as you might think. I’ll show you how you can create a vertical celery garden on your fence with simple means.
Why Grow Celery on a Fence?
Before we get started, here are a few reasons why this method is so brilliant:
- Space-saving: Perfect for small gardens, balconies, or patios.
- Aesthetically pleasing: A green celery fence is a real eye-catcher.
- Protection from pests: The elevated position makes the plants less susceptible to slugs and other pests.
- Better ventilation: The plants dry off faster, which reduces the risk of fungal diseases.
- Easier harvesting: No more bending over!
What You Need for Your Vertical Celery Garden
Here is a list of the materials and tools you will need:
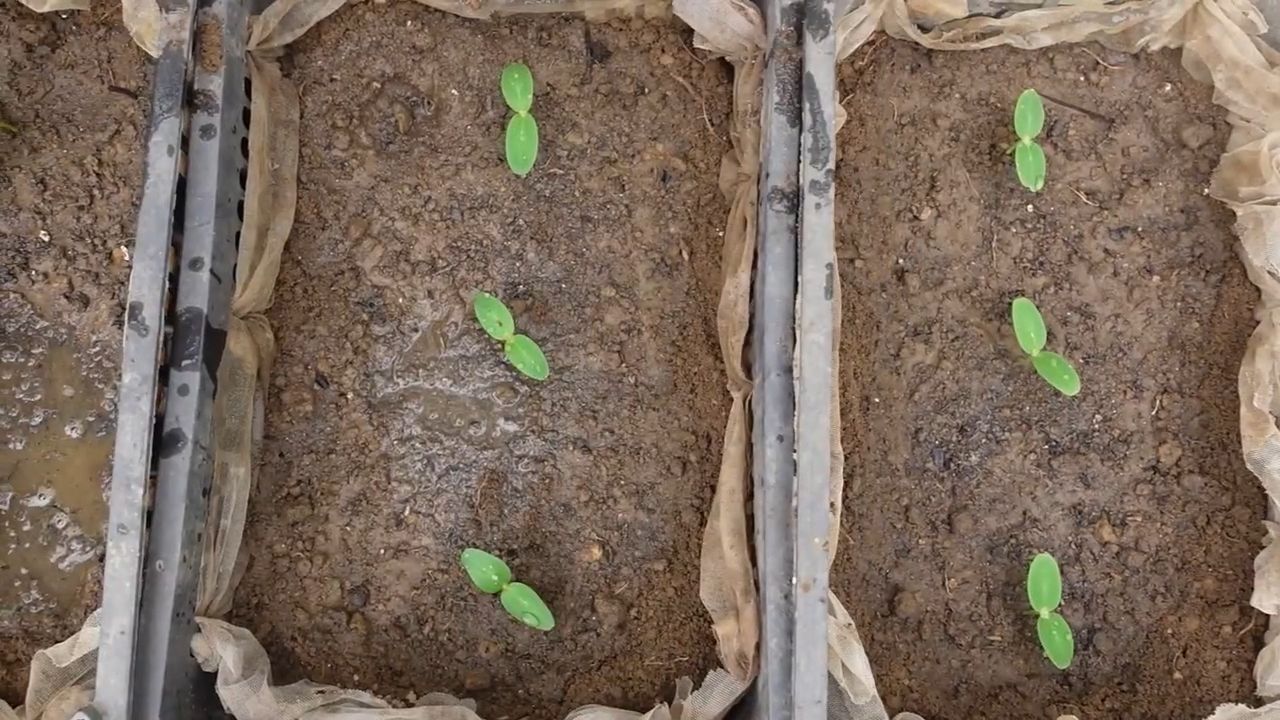
- Celery plants: Young plants from the garden center or self-grown seedlings are best.
- Fence: A sturdy fence is the foundation. It should ideally be made of wood or metal.
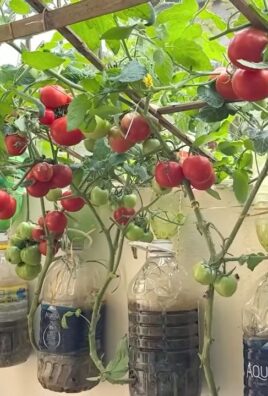
- Planters: Hanging baskets, planting bags, or recycled plastic bottles – there are no limits to your creativity! Make sure the containers are large enough (at least 15 cm in diameter) and have drainage holes.
- Potting soil: High-quality vegetable soil is important for healthy growth.
- Coconut coir or expanded clay: For good drainage in the planters.
- Fertilizer: Organic vegetable fertilizer or compost.
- Fastening material: Zip ties, hooks, wire, or string, depending on the planters you use.
- Watering can or garden hose: For watering.
- Scissors or knife: For cutting fastening material.
- Gloves: To protect your hands.
- Optional: A small trowel or planting scoop.
The Preparation: How to Lay the Foundation
Before we start planting, we need to prepare the fence and attach the planters.
- Check the fence: Make sure your fence is sturdy enough to support the weight of the planted containers. If necessary, reinforce it with additional posts or braces.
- Select and prepare planters: Decide on the type of planters you want to use. If you are using recycled plastic bottles, cut them to size and drill drainage holes in the bottom. Hanging baskets often come with a coconut liner; otherwise, you should add one.
- Prepare drainage: Fill a layer of coconut coir or expanded clay into the bottom of the planters to ensure good drainage. This prevents waterlogging and root rot.
- Attach planters: Fasten the planters to the fence. Make sure they hang securely and stably. Use zip ties, hooks, or wire, depending on what works best for your containers and your fence. Plan enough space between the containers so that the celery plants have enough room to grow. I recommend a distance of at least 20-30 cm.
Planting: Now It’s Time for the Celery
Now comes the fun part: planting!
- Fill planters with soil: Fill the planters with high-quality vegetable soil. Leave about 2-3 cm of space to the rim.
- Prepare celery plants: Carefully remove the celery plants from their pots and gently loosen the roots.
- Plant celery: Place the celery plants in the planters. Make sure the top of the root ball is level with the surface of the soil.
- Press down and water: Lightly press the soil around the plants and then water them thoroughly.
Care: Keeping Your Celery Healthy and Happy
For your celery on the fence to thrive, proper care is essential.
- Watering: Celery needs regular water, especially on hot days. It’s best to water the plants in the morning or evening when the sun is not so strong. Make sure the soil is always slightly moist, but not wet.
- Fertilizing: Fertilize the celery plants regularly with organic vegetable fertilizer or compost. Start about two weeks after planting and repeat the fertilization every 2-3 weeks.
- Pest control: Regularly check the plants for pests such as aphids or slugs. If necessary, you can use natural pesticides.
- Removing side shoots: Regularly remove the side shoots to promote the growth of the main stalks.
- Harvesting: Celery can be harvested as soon as the stalks have reached a sufficient size. Simply cut the stalks with a sharp knife.
Additional Tips and Tricks
- Sunlight: Celery prefers a sunny to partially shaded location. Make sure your plants get enough light.
- Wind protection: If your fence is very windy, you should provide additional protection for the plants, for example, with a windbreak net.
- Variety selection: There are different varieties of celery. Find out which varieties are best suited for growing in containers.
- Companion planting: You can also combine your celery with other plants, for example, with herbs like parsley or chives.
- Overwintering: Celery is not winter-hardy. If you want to overwinter it, you must bring the plants into a frost-free room.
Common Problems and Solutions
- Yellow leaves: Can indicate a nutrient deficiency or waterlogging. Fertilize the plants or improve the drainage.
- Aphids: Combat them with natural pesticides or rinse them off with a jet of water.
- Fungal diseases: Ensure good ventilation and avoid waterlogging. If necessary, you can use a fungicide.
Conclusion: A Green Thumb on the Fence
I hope this guide has inspired you to create your own vertical celery garden on the fence. It’s a great way to save space, grow fresh vegetables, and beautify your garden or balcony. With a little patience and care, you will soon be able to reap a rich harvest. Happy gardening
Conclusion
So, there you have it! Armed with the knowledge of common cucumber growing mistakes and, more importantly, how to avoid them, you’re well on your way to a bountiful harvest of crisp, delicious cucumbers. This isn’t just about avoiding pitfalls; it’s about actively creating an environment where your cucumber plants can thrive. Think of it as nurturing a relationship – understanding their needs, anticipating potential problems, and providing the right support.
Why is addressing these mistakes a must-try? Because the difference between a struggling plant yielding a handful of bitter, misshapen cucumbers and a flourishing vine overflowing with perfectly formed, flavorful ones is often just a matter of correcting a few key errors. Imagine the satisfaction of biting into a cucumber you grew yourself, knowing you overcame the challenges and nurtured it from seed to table. That’s the reward waiting for you.
Don’t be afraid to experiment! Consider these variations to further optimize your cucumber growing experience:
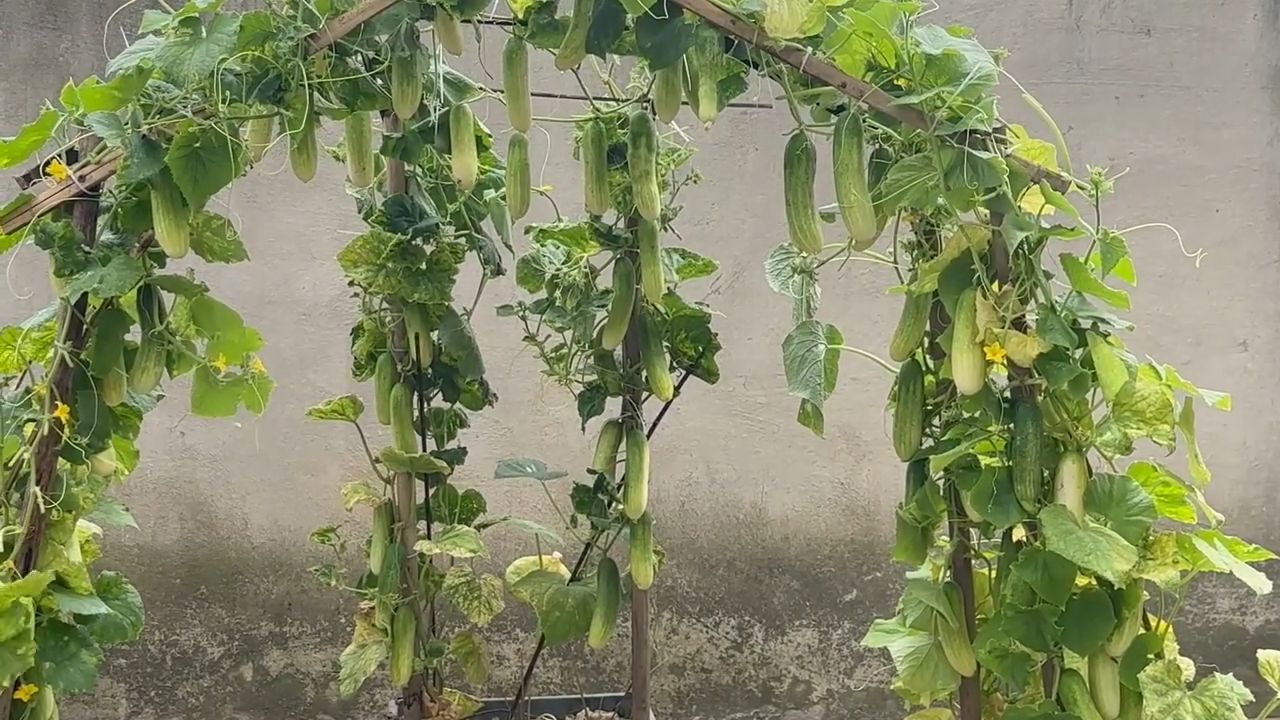
* Vertical Growing: If space is limited, try growing your cucumbers vertically on a trellis or fence. This improves air circulation, reduces the risk of fungal diseases, and makes harvesting easier.
* Companion Planting: Plant basil, marigolds, or nasturtiums near your cucumbers to deter pests and attract beneficial insects.
* Succession Planting: Plant new cucumber seeds every few weeks to ensure a continuous harvest throughout the growing season.
* Different Varieties: Explore different cucumber varieties to find the ones that thrive best in your specific climate and soil conditions. Consider pickling cucumbers, slicing cucumbers, or even specialty varieties like lemon cucumbers.
* Soil Amendments: Regularly amend your soil with compost or other organic matter to improve its fertility and drainage.
Remember, gardening is a journey of learning and discovery. Every season brings new challenges and opportunities to refine your techniques. By actively addressing these common cucumber growing mistakes, you’ll not only improve your yield but also deepen your understanding of these fascinating plants.
We strongly encourage you to put these tips into practice and embark on your own cucumber growing adventure. Don’t be discouraged by initial setbacks – every mistake is a learning opportunity. The key is to observe your plants closely, adapt your approach as needed, and never stop learning.
And most importantly, we want to hear about your experiences! Share your successes, your challenges, and any unique tips or tricks you’ve discovered along the way in the comments below. Let’s create a community of cucumber growers who support and inspire each other. Your insights could be invaluable to someone just starting out. Let’s all learn together how to avoid those frustrating cucumber growing mistakes!
Frequently Asked Questions (FAQ)
Q: My cucumber plants are flowering, but I’m not getting any cucumbers. What’s going on?
A: This is a common issue, and there are several potential causes. First, consider pollination. Some cucumber varieties require pollination by bees or other insects to produce fruit. If you’re not seeing many bees in your garden, you may need to hand-pollinate your cucumbers. Use a small paintbrush to transfer pollen from the male flowers (those with a thin stem behind the flower) to the female flowers (those with a small cucumber-like structure behind the flower). Second, check the temperature. Extreme heat or cold can interfere with pollination. Third, ensure your plants are getting enough water and nutrients. Stress can also prevent fruit set. Finally, some varieties are gynoecious, meaning they produce mostly female flowers. These varieties need a pollinator variety planted nearby to provide pollen.
Q: My cucumber leaves are turning yellow. What could be the problem?
A: Yellowing leaves can indicate several issues. Overwatering is a frequent culprit, leading to root rot. Ensure your soil is well-draining and allow the top inch or two to dry out between waterings. Nutrient deficiencies, particularly nitrogen or magnesium, can also cause yellowing. Test your soil and amend it accordingly. Pests like spider mites or aphids can also suck the sap from leaves, causing them to yellow. Inspect your plants carefully and treat any infestations promptly. Finally, fungal diseases like powdery mildew or downy mildew can also cause yellowing leaves. Improve air circulation around your plants and treat with a fungicide if necessary.
Q: My cucumbers are bitter. Why is this happening?
A: Bitterness in cucumbers is usually caused by high levels of cucurbitacins, compounds that are naturally present in cucumbers but can become concentrated under certain conditions. Stress is the primary driver of cucurbitacin production. Inconsistent watering, especially during hot weather, is a major factor. Ensure your plants receive consistent and adequate moisture. High temperatures can also contribute to bitterness. Providing shade during the hottest part of the day can help. Nutrient deficiencies, particularly potassium, can also play a role. Finally, some cucumber varieties are more prone to bitterness than others. Consider choosing varieties that are known for their mild flavor.
Q: How often should I water my cucumber plants?
A: The frequency of watering depends on several factors, including the weather, soil type, and the size of your plants. As a general rule, water deeply and less frequently, rather than shallowly and often. Aim to keep the soil consistently moist but not waterlogged. Check the soil moisture by sticking your finger into the soil about an inch deep. If it feels dry, it’s time to water. During hot, dry weather, you may need to water daily. In cooler, wetter weather, you may only need to water every few days. Using mulch around your plants can help retain moisture and reduce the need for frequent watering.
Q: What kind of fertilizer should I use for my cucumber plants?
A: Cucumbers are heavy feeders and benefit from regular fertilization. A balanced fertilizer with a higher phosphorus content (e.g., 10-20-10) is a good choice. Phosphorus promotes strong root development and flowering. You can also use a fertilizer specifically formulated for vegetables. Apply fertilizer according to the package directions, typically every 2-3 weeks. Avoid over-fertilizing, as this can lead to excessive foliage growth at the expense of fruit production. Organic options like compost tea or fish emulsion are also excellent choices.
Q: How do I deal with pests on my cucumber plants?
A: Regular inspection is key to preventing pest infestations. Check your plants frequently for signs of pests like aphids, spider mites, cucumber beetles, and squash bugs. Hand-picking pests off your plants is an effective way to control small infestations. You can also use a strong stream of water to dislodge pests. Insecticidal soap or neem oil can be used to treat more severe infestations. Introduce beneficial insects like ladybugs or lacewings to your garden to help control pests naturally. Covering your plants with row covers can also prevent pests from reaching them.
Q: When is the best time to harvest my cucumbers?
A: The best time to harvest cucumbers depends on the variety and your personal preference. Generally, cucumbers are ready to harvest when they are firm, green, and have reached the desired size for their variety. Check the seed packet or plant tag for specific harvesting guidelines. Overripe cucumbers can become yellow, seedy, and bitter. Harvest regularly to encourage continued fruit production. Use a sharp knife or pruners to cut the cucumbers from the vine, leaving a short stem attached.
Q: How can I prevent powdery mildew on my cucumber plants?
A: Powdery mildew is a common fungal disease that affects cucumbers. It appears as a white, powdery coating on the leaves. To prevent powdery mildew, ensure good air circulation around your plants by spacing them properly and pruning away any crowded foliage. Water at the base of the plants to avoid wetting the leaves. Choose cucumber varieties that are resistant to powdery mildew. Apply a fungicide preventatively if powdery mildew is a recurring problem in your garden. Milk spray (a mixture of milk and water) can also be an effective organic treatment.
Q: Can I grow cucumbers in containers?
A: Yes, cucumbers can be successfully grown in containers, but you’ll need to choose a large container (at least 5 gallons) and provide adequate support for the vines. Use a well-draining potting mix and fertilize regularly. Container-grown cucumbers may require more frequent watering than those grown in the ground. Choose bush or compact cucumber varieties for container growing.
Q: What are some good companion plants for cucumbers?
A: Companion planting can help improve the health and productivity of your cucumber plants. Good companion plants for cucumbers include:
* Marigolds: Deter nematodes and other pests.
* Nasturtiums: Attract aphids away from cucumbers.
* Basil: Repels flies and mosquitoes.
* Dill: Attracts beneficial insects like ladybugs and lacewings.
* Beans: Fix nitrogen in the soil, benefiting cucumbers.
* Radishes: Deter cucumber beetles.


Leave a Comment