
Container Okra Gardening: Your Guide to a Bountiful Harvest, No Matter the Space
Container okra gardening has become my absolute passion! Forget sprawling fields; you can enjoy the delicious taste of homegrown okra even if you only have a balcony or a small patio. This article is your complete guide to mastering the art of growing this versatile vegetable in containers, unlocking the secrets to a thriving harvest regardless of your space limitations. I’ll share my tried-and-true container okra gardening techniques, from selecting the perfect container and soil to harvesting those beautiful pods.
Historically, okra has deep roots in African and Asian cultures, playing a significant role in traditional cuisines for centuries. Its versatility in the kitchen, from stews to pickles, makes it a beloved ingredient worldwide. But what if you don’t have acres of land to dedicate to this wonderful plant? That’s where the magic of container okra gardening comes in!
Why should you try this? Because growing your own okra is incredibly rewarding! You get to control the quality of your produce, ensuring it’s free from pesticides and other harmful chemicals. Plus, there’s nothing quite like the taste of freshly picked okra, bursting with flavor. This guide will empower you to experience the joy of homegrown okra, even if you’re working with limited space. Let’s get started and transform your small space into a thriving okra patch!
Container Okra Gardening: A Step-by-Step Guide
Okra, with its unique flavor and versatility, is a rewarding vegetable to grow. But you don’t need a sprawling garden to enjoy a bountiful harvest! I’m going to show you how I successfully grow okra in containers, even on my tiny balcony. Let’s get started!
Choosing Your Container and Location
- Container Size: Okra plants have deep taproots, so you’ll need a large container. I recommend at least 15 gallons, but bigger is better! Think about a large plastic pot, a half-wine barrel, or even a repurposed bucket. Make sure it has drainage holes to prevent root rot.
- Material: Dark-colored containers absorb more heat, which can be beneficial in cooler climates. However, in hot climates, lighter-colored containers might be preferable to prevent the soil from overheating.
- Location: Okra needs at least six to eight hours of direct sunlight daily. Choose a sunny spot on your patio, balcony, or deck. Consider the wind, too – a sheltered location will protect your plants from damage.
- Accessibility: Think about how easily you’ll be able to access your containers for watering, fertilizing, and harvesting. You’ll be doing this regularly, so make it convenient!
Preparing the Soil and Planting
- Select the Right Soil: Okra thrives in well-draining, fertile soil. I use a high-quality potting mix specifically designed for vegetables. You can also amend your garden soil with compost to improve its drainage and nutrient content. Avoid using heavy clay soil in containers.
- Fill the Container: Fill your chosen container with the potting mix, leaving about an inch of space from the top to allow for watering. Gently firm the soil to settle it.
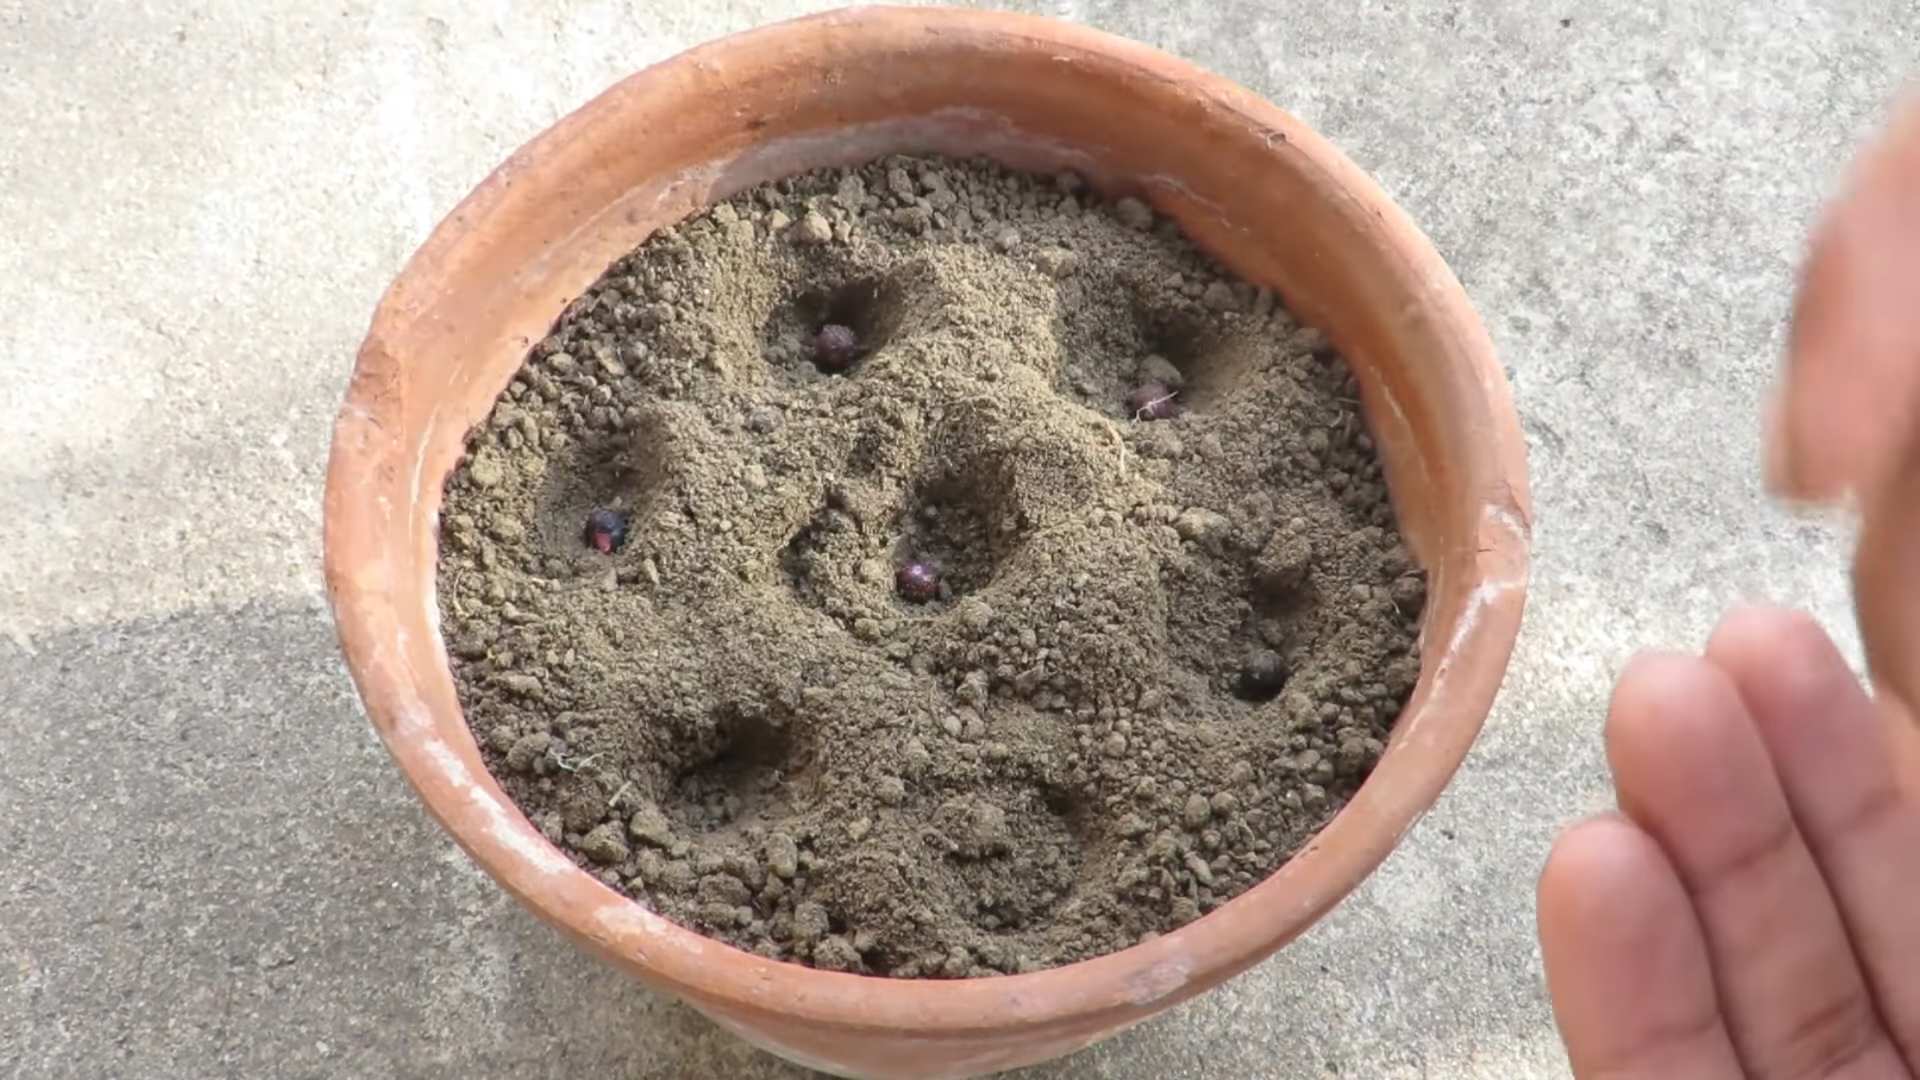
- Planting the Seeds: Okra seeds are quite large. Plant them about ½ to 1 inch deep and 12-18 inches apart, depending on the size of your container. If you’re using seedlings, follow the spacing recommendations on the plant tag.
- Watering: After planting, water thoroughly to settle the soil around the seeds or seedlings. Keep the soil consistently moist, but not soggy.
Ongoing Care and Maintenance
- Watering: Consistent watering is crucial, especially during hot and dry periods. Check the soil moisture regularly by sticking your finger a couple of inches into the soil. Water deeply when the top inch or two feels dry. Avoid overhead watering, which can lead to fungal diseases.
- Fertilizing: Okra is a heavy feeder. Start fertilizing about a month after planting. I use a balanced liquid fertilizer every two weeks, following the instructions on the product label. You can also use slow-release granular fertilizer at planting time.
- Pest and Disease Control: Regularly inspect your plants for pests like aphids, spider mites, and flea beetles. Use insecticidal soap or neem oil to control infestations. Good air circulation helps prevent fungal diseases. Ensure your containers have adequate drainage to prevent root rot.
- Staking or Caging: Okra plants can grow quite tall, especially certain varieties. Consider using stakes or cages to support the plants and prevent them from flopping over, especially if you’re dealing with strong winds.
- Mulching: Applying a layer of mulch around the base of your plants helps retain soil moisture, suppress weeds, and regulate soil temperature. Use organic mulch like straw or shredded bark.
Harvesting Your Okra
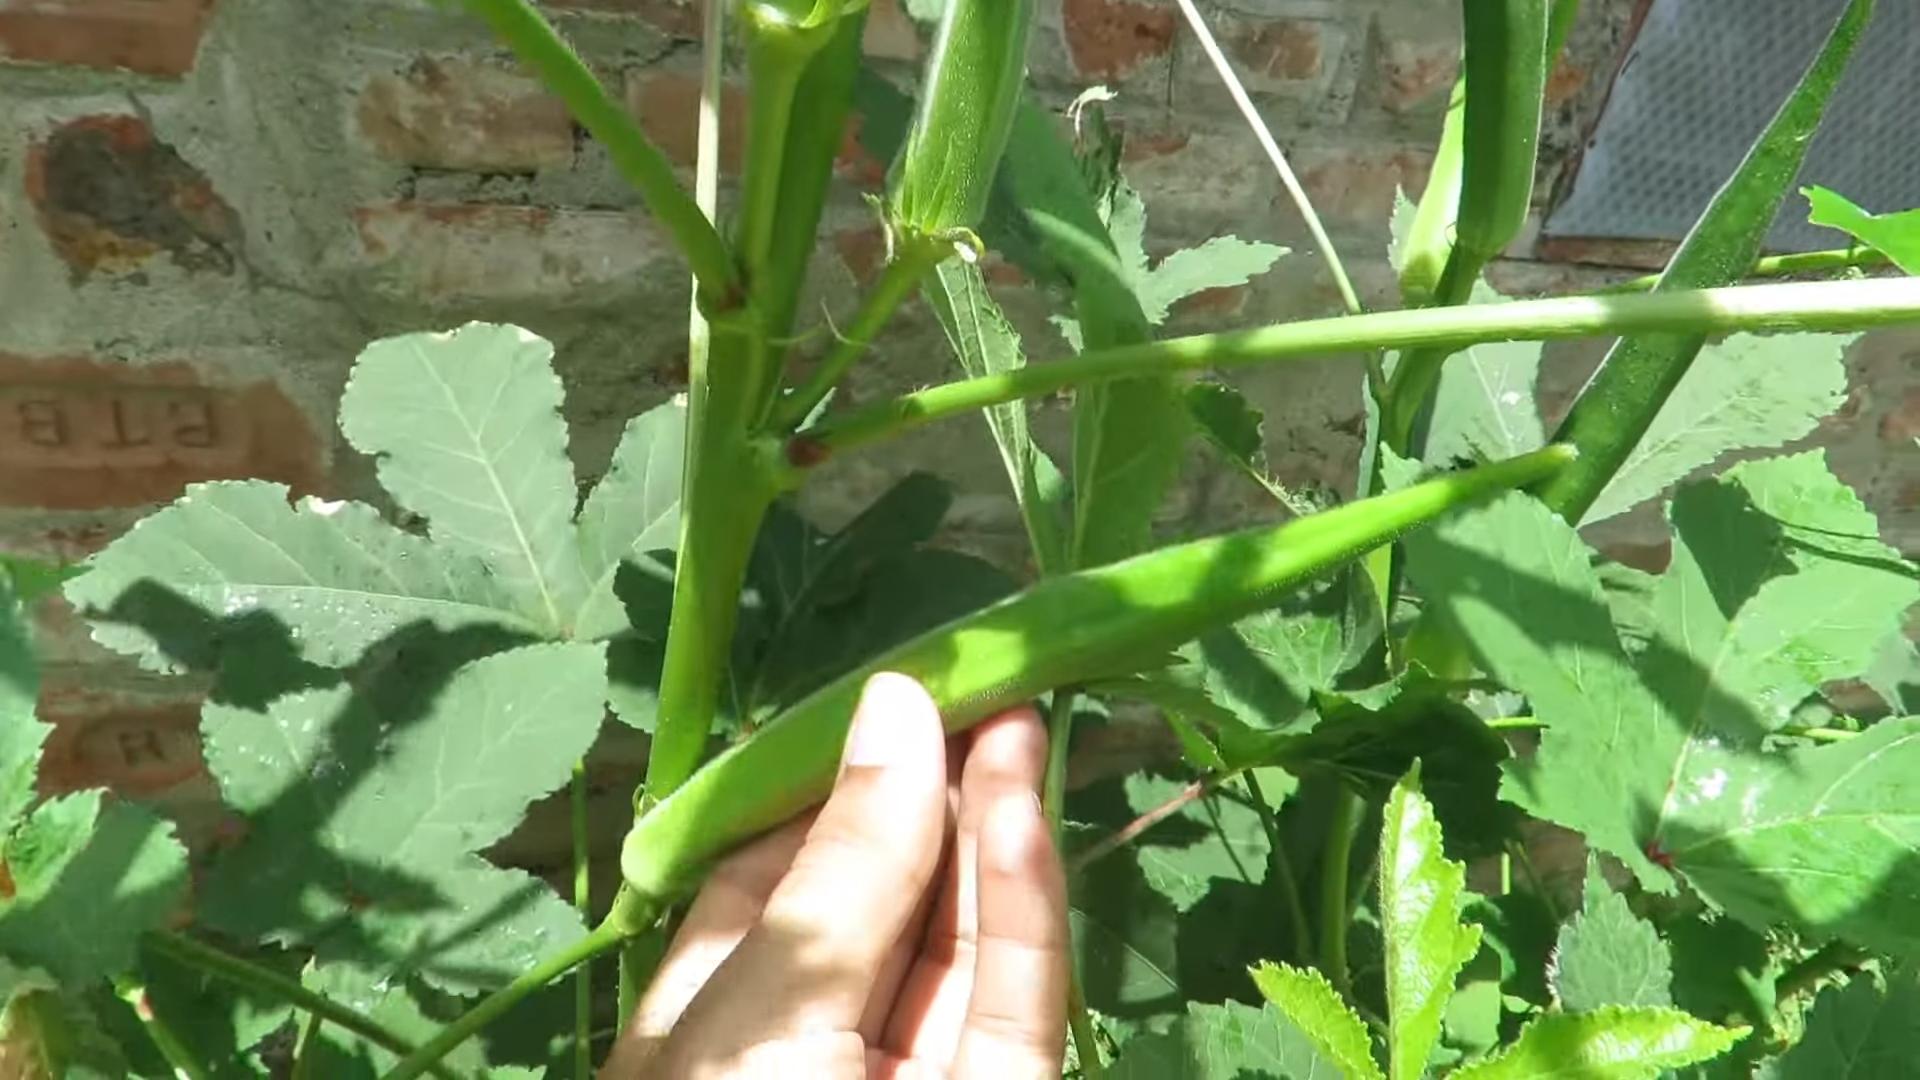
- Harvest Time: Okra pods are ready for harvest when they are 2-3 inches long and tender. The pods will become tough and stringy if left on the plant too long.
- Harvesting Technique: Use a sharp knife or scissors to harvest the pods. Cut them cleanly from the plant, leaving a short stem attached. Harvest regularly to encourage continuous production.
- Storage: Store freshly harvested okra in the refrigerator in a plastic bag. It’s best to use okra within a few days of harvesting for optimal flavor and texture.
Troubleshooting Common Problems
Yellowing Leaves:
Yellowing leaves can indicate several issues, including nutrient deficiencies, overwatering, or underwatering. Check your watering practices and consider adding fertilizer if needed. If the yellowing is localized to lower leaves, it might be natural as the plant matures.
Flowering but No Pods:
This can be due to insufficient pollination. Try hand-pollinating the flowers with a small brush or cotton swab, transferring pollen from the male flower parts to the female parts. Ensure your plants are getting enough sunlight and water.
Pest Infestations:
Regularly inspect your plants for pests. Use appropriate pest control methods, such as insecticidal soap or neem oil, to address infestations promptly. Avoid using harsh chemicals, especially near edible plants.
Root Rot:
Root rot is a common problem in container gardening, especially if the soil is poorly draining or overwatered. Ensure your containers have adequate drainage holes and avoid overwatering. If root rot occurs, it’s often difficult to save the plant.
Choosing Okra Varieties for Containers
Smaller varieties are generally better suited for container gardening. Look for compact or dwarf varieties that are specifically bred for containers. Check seed packets or plant tags for size information.
My Personal Recommendations:
I’ve had great success with ‘Emerald’ and ‘Annie Oakley II’ okra varieties in my containers. They’re both relatively compact and produce a good yield.
Conclusion
So there you have it – a complete guide to mastering the art of container okra gardening! This surprisingly simple DIY trick unlocks a world of fresh, flavorful okra, even if you have limited space or less-than-ideal soil conditions. Container okra gardening offers unparalleled control over your plants’ environment, allowing you to optimize sunlight, watering, and fertilization for maximum yield. The ability to move your containers as needed to chase the sun or protect them from harsh weather is a game-changer, especially for those in unpredictable climates. Beyond the convenience, the satisfaction of nurturing these vibrant plants from seed to harvest is incredibly rewarding. You’ll be amazed at the abundance of healthy, homegrown okra you can produce, all within the confines of your own backyard, patio, or even balcony. This method truly democratizes okra cultivation, making it accessible to everyone regardless of their gardening experience or available space. Don’t let the myth of okra needing vast acreage hold you back – embrace the power of container gardening and enjoy the delicious fruits (or rather, pods!) of your labor.
We encourage you to experiment with different container sizes and types, exploring the possibilities of self-watering containers or even repurposing old buckets or tubs. Try varying your okra varieties to discover your favorites – from the classic Clemson Spineless to the more unique Burgundy okra, the options are vast and exciting. Consider companion planting, incorporating herbs like basil or marigolds to deter pests and enhance the overall health of your okra plants. Remember to regularly monitor your plants for signs of pests or diseases, and address any issues promptly. With a little care and attention, your container okra plants will thrive and reward you with a bountiful harvest.
Above all, we urge you to give this container okra gardening method a try. Share your experiences, successes, and even your challenges with us and other gardening enthusiasts. Post pictures of your thriving okra plants on social media using #ContainerOkraGardening and tag us – we’d love to see your progress and celebrate your achievements! The community aspect of gardening is a significant part of the joy, and we’re excited to connect with you on this journey. Let’s grow some amazing okra together!
Frequently Asked Questions
What size container is best for container okra gardening?
The ideal container size for okra depends on the variety you choose and your desired yield. However, a general guideline is to use containers that are at least 15 gallons in capacity. Larger containers (20 gallons or more) are even better, as they provide more space for root development and allow for a larger, more productive plant. Remember that okra plants have extensive root systems, so ample space is crucial for optimal growth. You can use various containers, including plastic pots, grow bags, or even repurposed buckets or tubs. Just ensure they have adequate drainage holes to prevent waterlogging.
What type of soil is best for container okra gardening?
Okra thrives in well-draining, fertile soil. A good quality potting mix is ideal, as it provides the necessary nutrients and aeration. You can enhance your potting mix by adding compost or other organic matter to improve drainage and fertility. Avoid using heavy clay soils, as they can retain too much water and lead to root rot. Consider using a soil testing kit to determine the pH level of your soil and adjust accordingly. Okra prefers a slightly acidic to neutral pH range (6.0-7.0).
How much sunlight do okra plants need?
Okra is a sun-loving plant and requires at least 6-8 hours of direct sunlight per day to thrive. Choose a location that receives ample sunlight, or consider moving your containers throughout the day to ensure they get the necessary exposure. Insufficient sunlight can lead to poor growth and reduced yields. If you live in a particularly hot climate, consider providing some afternoon shade to prevent scorching.
How often should I water my container okra plants?
Watering frequency depends on several factors, including the size of your container, the type of soil, and the weather conditions. As a general rule, water your okra plants deeply and regularly, ensuring the soil remains consistently moist but not waterlogged. Check the soil moisture level before watering – if the top inch or two of soil feels dry, it’s time to water. During hot and dry periods, you may need to water more frequently. Consider using a self-watering container to help maintain consistent soil moisture.
What are some common problems encountered in container okra gardening?
Some common problems include pests (aphids, spider mites), diseases (fusarium wilt, root rot), and nutrient deficiencies. Regularly inspect your plants for signs of pests or diseases and address any issues promptly. Use appropriate pest control methods and ensure your plants receive adequate nutrients through fertilization. Proper watering and well-draining soil can help prevent root rot. Consider using organic pest control methods whenever possible. Prevention is key – providing optimal growing conditions will significantly reduce the risk of problems.
When can I harvest my container okra?
Okra pods are ready for harvest when they are young and tender, typically 2-3 inches long. Harvesting regularly encourages continued production. Use a sharp knife or scissors to cut the pods from the plant, leaving a short stem attached. Harvesting frequently prevents the pods from becoming tough and fibrous. The best time to harvest is in the morning, after the dew has dried. Enjoy your fresh, homegrown okra!

Leave a Comment