
Collard Greens Meal Prep: Are you ready to ditch the wilted, sad-looking greens and embrace a week of vibrant, flavorful, and healthy meals? I know I am! Let’s face it, prepping collard greens can feel like a Herculean task. All that washing, chopping, and simmering… it’s enough to make anyone reach for takeout. But what if I told you there’s a way to enjoy delicious, Southern-style collard greens all week long, without spending hours in the kitchen every single day?
Collard greens have a rich history, deeply rooted in Southern cuisine and African American culture. They’re more than just a vegetable; they’re a symbol of resilience, resourcefulness, and community. For generations, families have passed down their secret recipes and techniques for preparing these hearty greens. Now, I’m sharing my favorite collard greens meal prep tricks to help you bring that same tradition and flavor into your modern, busy life.
In today’s fast-paced world, finding time for healthy eating can be a real challenge. That’s where this DIY guide comes in. I’ll walk you through simple, step-by-step instructions for prepping your collard greens in advance, so you can enjoy nutritious and delicious meals all week long. Say goodbye to last-minute dinner scrambles and hello to a fridge full of ready-to-eat goodness! Trust me, once you master these techniques, you’ll wonder how you ever lived without them. Let’s get started!
DIY Collard Greens Meal Prep: A Southern Staple Made Easy!
Hey y’all! I’m so excited to share my foolproof method for prepping collard greens. If you’re like me, you love the taste of slow-cooked, tender collard greens, but the thought of all that washing and chopping can be a little daunting. Well, fear not! This guide will break down the process into manageable steps, so you can enjoy delicious, healthy collard greens all week long. Let’s get started!
What You’ll Need:
Before we dive in, let’s gather our supplies. This will make the whole process smoother and more enjoyable.
* Fresh Collard Greens: About 2-3 pounds. Look for vibrant, dark green leaves that aren’t wilted or yellowing.
* Bacon or Smoked Turkey: About 1/2 pound. This adds that classic smoky flavor. You can also use ham hocks or smoked sausage. For a vegetarian option, consider smoked paprika or liquid smoke.
* Onion: 1 large, chopped. Yellow or white onions work best.
* Garlic: 4-6 cloves, minced. Fresh garlic is always best!
* Chicken Broth or Vegetable Broth: 6-8 cups. This is the cooking liquid.
* Apple Cider Vinegar: 2-3 tablespoons. Adds a touch of tanginess.
* Brown Sugar: 1-2 tablespoons (optional). Balances the bitterness of the greens.
* Red Pepper Flakes: 1/2 teaspoon (optional). For a little kick!
* Salt and Pepper: To taste.
* Olive Oil or Cooking Oil: 1-2 tablespoons.
* Large Pot or Dutch Oven: Essential for cooking the greens.
* Large Bowl or Sink: For washing the greens.
* Cutting Board: For chopping.
* Sharp Knife: For prepping the greens and other ingredients.
* Tongs: For handling the greens.
* Storage Containers: For meal prepping. I like using glass containers, but plastic works too.
Preparing the Collard Greens: The Most Important Step!
This is where the magic happens! Properly cleaning and prepping your collard greens is crucial for removing any grit and ensuring they cook evenly.
1. Wash the Greens: Fill a large bowl or your sink with cold water. Submerge the collard greens and swish them around to loosen any dirt or sand. Lift the greens out of the water and drain the dirty water. Repeat this process 2-3 times, or until the water runs clear. Don’t skip this step! Gritty greens are no fun.
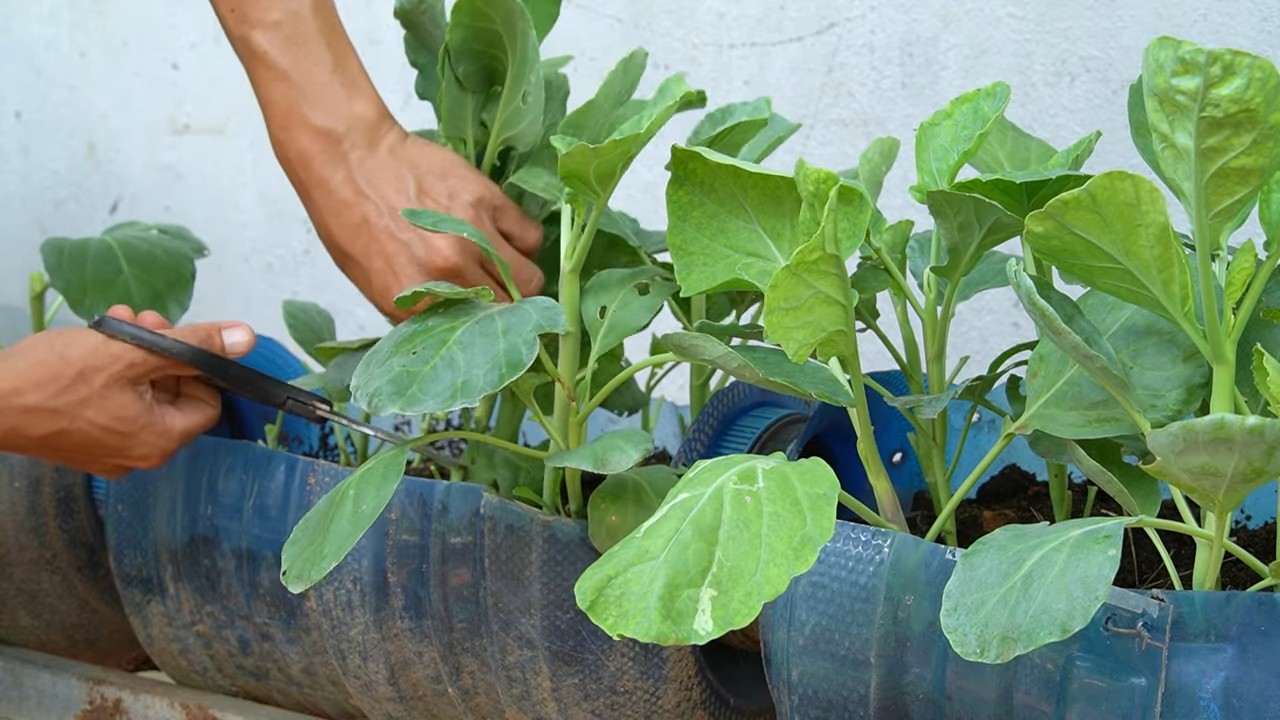
2. Remove the Stems: Lay a collard green leaf flat on your cutting board. Use a sharp knife to cut along both sides of the stem, removing the tough center rib. You can also fold the leaf in half along the stem and cut it out.
3. Chop the Greens: Stack a few de-stemmed leaves on top of each other. Roll them up tightly like a cigar. Then, using your knife, slice the rolled-up greens into 1-2 inch ribbons. This is called a chiffonade cut. Don’t worry about being perfect; just aim for roughly even pieces.
4. Repeat: Continue de-stemming and chopping the remaining collard greens until they’re all prepped.
Cooking the Collard Greens: Slow and Steady Wins the Race!
Now for the fun part – cooking! This is where the flavors really develop.
1. Cook the Bacon (or Smoked Turkey): In your large pot or Dutch oven, cook the bacon or smoked turkey over medium heat until crispy. Remove the bacon/turkey from the pot and set aside. Leave the rendered fat in the pot – this is flavor gold! If you’re using smoked turkey, you might need to add a tablespoon of olive oil to the pot.
2. Sauté the Onion and Garlic: Add the chopped onion to the pot with the bacon/turkey fat and cook until softened and translucent, about 5-7 minutes. Then, add the minced garlic and cook for another minute, until fragrant. Be careful not to burn the garlic!
3. Add the Collard Greens: Add the chopped collard greens to the pot in batches. As the greens wilt, add more until all the greens are in the pot. Stir well to combine with the onion, garlic, and bacon/turkey fat.
4. Add the Broth and Seasonings: Pour in the chicken or vegetable broth. Add the apple cider vinegar, brown sugar (if using), red pepper flakes (if using), salt, and pepper. Stir well to combine.
5. Simmer: Bring the mixture to a boil, then reduce the heat to low, cover the pot, and simmer for at least 1-2 hours, or until the collard greens are tender. The longer they simmer, the more flavorful they become! Stir occasionally to prevent sticking. Taste and adjust seasonings as needed.
6. Add Back the Bacon/Turkey: During the last 30 minutes of cooking, add the cooked bacon or smoked turkey back to the pot. This will allow the flavors to meld together.
7. Check for Tenderness: The collard greens are done when they are very tender and easily pierced with a fork. The cooking time will vary depending on the age and toughness of the greens.
Meal Prepping and Storage: Enjoy Your Greens All Week Long!
Now that your collard greens are cooked to perfection, it’s time to portion them out for easy meal prepping.
1. Cool the Greens: Allow the collard greens to cool slightly before transferring them to storage containers. This will prevent condensation from forming and making the greens soggy.
2. Portion into Containers: Divide the collard greens into individual serving containers. I usually aim for about 1-1.5 cups per serving.
3. Store in the Refrigerator: Store the containers in the refrigerator for up to 5 days.
4. Reheat: When you’re ready to eat, reheat the collard greens in the microwave, on the stovetop, or in the oven. I prefer the stovetop for even heating.
Tips and Variations: Make It Your Own!
* Spice it Up: Add a pinch of cayenne pepper or a dash of hot sauce for extra heat.
* Sweeten it Up: A touch of molasses or maple syrup can add a deeper sweetness.
* Add Other Vegetables: Consider adding diced bell peppers, celery, or carrots to the pot along with the onion and garlic.
* Use Different Meats: Ham hocks, smoked sausage, or even leftover pulled pork would be delicious in collard greens.
* Vegetarian Option: Omit the meat and use vegetable broth. Add smoked paprika or liquid smoke for a smoky flavor. You can also add a can of drained and rinsed black-eyed peas for extra protein and fiber.
* Freezing: Collard greens freeze well! Allow them to cool completely, then portion them into freezer-safe containers or bags. They can be stored in the freezer for up to 2-3 months. Thaw overnight in the refrigerator before reheating.
* Don’t Discard the Pot Liquor: The cooking liquid, also known as “pot liquor,” is packed with nutrients and flavor. Save it and use it as a broth for soups or stews, or simply drink it as a tonic.
* Adjust Cooking Time: The cooking time will vary depending on the age and toughness of the greens. Older, tougher greens will require longer cooking times.
* Salt to Taste: Be mindful of the salt content of your broth and bacon/turkey. Adjust the amount of salt you add accordingly.
* Don’t Overcrowd the Pot: If you’re making a large batch of collard greens, you may need to cook them in batches to avoid overcrowding the pot. Overcrowding can prevent the greens from cooking evenly.
* Use a Heavy-Bottomed Pot: A heavy-bottomed pot or Dutch oven will help to distribute the heat evenly and prevent the greens from sticking to the bottom of the pot.
* Stir Occasionally: Stir the greens occasionally during cooking to prevent them from sticking to the bottom of the pot and to ensure that they cook evenly.
* Taste and Adjust Seasonings: Taste the greens periodically during cooking and adjust the seasonings as needed. You may need to add more salt, pepper, vinegar, or sugar to achieve the desired flavor.
* Let the Greens Rest: After cooking, let the greens rest for a few minutes before serving. This will allow the flavors to meld together and the greens to become even more tender.
I hope you enjoy this recipe and find it helpful for meal prepping your own delicious collard greens! Happy cooking!
Conclusion
So, there you have it! Mastering collard greens meal prep is not just about saving time; it’s about embracing a healthier, more organized lifestyle. We’ve walked through the steps, from selecting the freshest greens to storing them for maximum longevity, ensuring that you have delicious and nutritious collard greens ready whenever hunger strikes.
Why is this DIY trick a must-try? Because it empowers you to take control of your diet, reduce food waste, and enjoy the incredible health benefits of collard greens without the daily hassle. Imagine coming home after a long day and knowing that a vibrant, flavorful side dish is already prepped and waiting for you. No more excuses for unhealthy takeout or skipped meals!
But the beauty of collard greens meal prep lies in its adaptability. Feel free to experiment with different seasonings and cooking methods. For a smoky flavor, add a dash of smoked paprika or a smoked turkey leg while cooking. Craving a bit of heat? A pinch of red pepper flakes or a diced jalapeño will do the trick. Vegetarian? Use vegetable broth instead of chicken broth and add a handful of toasted pecans for added richness. You can even incorporate other vegetables like onions, garlic, or bell peppers during the cooking process to create a more complex flavor profile.
Consider these variations to elevate your collard greens meal prep:
* **Spicy Collard Greens:** Add a generous pinch of cayenne pepper or a few chopped chili peppers to the pot while cooking.
* **Smoked Turkey Collard Greens:** Simmer your collard greens with a smoked turkey leg or wing for a deeply savory flavor. Remove the turkey before serving.
* **Vegan Collard Greens:** Use vegetable broth and add smoked paprika and a touch of liquid smoke to mimic the smoky flavor traditionally achieved with meat.
* **Mediterranean Collard Greens:** Sauté chopped onions, garlic, and sun-dried tomatoes in olive oil before adding the collard greens and vegetable broth. Season with oregano and a squeeze of lemon juice.
* **Asian-Inspired Collard Greens:** Sauté minced ginger and garlic in sesame oil before adding the collard greens and chicken broth. Season with soy sauce, rice vinegar, and a pinch of sugar.
The possibilities are truly endless!
We wholeheartedly encourage you to give this collard greens meal prep method a try. It’s a game-changer for busy individuals and families who want to prioritize healthy eating without sacrificing convenience.
Don’t be afraid to get creative and personalize the recipe to your liking. And most importantly, we want to hear about your experience! Share your photos, tips, and variations on social media using [Your Hashtag] or leave a comment below. Let’s build a community of collard greens enthusiasts who are committed to making healthy eating easy and enjoyable. Your feedback will not only inspire others but also help us refine and improve this guide for future readers. So, go ahead, embrace the power of meal prep, and unlock the delicious potential of collard greens!
Frequently Asked Questions (FAQ)
How long will prepped collard greens last in the refrigerator?
Properly stored, cooked collard greens will typically last for 3-5 days in the refrigerator. To maximize their shelf life, ensure they are cooled completely before transferring them to an airtight container. Avoid leaving cooked collard greens at room temperature for more than two hours, as this can increase the risk of bacterial growth. If you notice any signs of spoilage, such as an off odor or slimy texture, discard them immediately.
Can I freeze cooked collard greens?
Yes, you can absolutely freeze cooked collard greens! Freezing is a great way to extend their shelf life and ensure you always have a healthy side dish on hand. To freeze them, allow the cooked collard greens to cool completely. Then, portion them into freezer-safe bags or containers, leaving a little headspace to allow for expansion. Label the containers with the date and contents. Frozen collard greens can last for up to 2-3 months in the freezer. When you’re ready to use them, thaw them in the refrigerator overnight or microwave them on a low setting. Keep in mind that the texture may be slightly softer after freezing and thawing, but the flavor will remain intact.
What’s the best way to reheat cooked collard greens?
There are several ways to reheat cooked collard greens, depending on your preference and the amount you’re reheating. You can reheat them in the microwave, on the stovetop, or in the oven. For the microwave, place the collard greens in a microwave-safe dish and heat in 30-second intervals, stirring in between, until heated through. For the stovetop, place the collard greens in a saucepan over medium heat and add a splash of water or broth to prevent them from drying out. Heat, stirring occasionally, until heated through. For the oven, preheat the oven to 350°F (175°C). Place the collard greens in an oven-safe dish, cover with foil, and bake for 15-20 minutes, or until heated through.
How do I reduce the bitterness of collard greens?
Collard greens can sometimes have a slightly bitter taste, but there are several ways to reduce it. One effective method is to blanch the collard greens before cooking them. To blanch them, bring a large pot of water to a boil. Add the chopped collard greens and cook for 2-3 minutes. Then, drain the collard greens and rinse them with cold water. This helps to remove some of the bitter compounds. Another way to reduce bitterness is to add an acidic ingredient, such as vinegar or lemon juice, to the cooking liquid. The acid helps to balance the flavors and reduce the bitterness. Additionally, cooking the collard greens for a longer period of time can also help to mellow out the bitterness.
Can I use frozen collard greens for meal prep?
Yes, you can definitely use frozen collard greens for meal prep! Frozen collard greens are a convenient and affordable option, especially if fresh collard greens are not in season or readily available. When using frozen collard greens, there’s no need to thaw them before cooking. Simply add them directly to the pot with your cooking liquid and seasonings. Keep in mind that frozen collard greens may release more water during cooking, so you may need to adjust the amount of liquid accordingly. Also, the texture of frozen collard greens may be slightly softer than fresh collard greens, but the flavor will still be delicious.
What are some healthy additions I can add to my collard greens?
Collard greens are already packed with nutrients, but you can boost their nutritional value even further by adding some healthy additions. Consider adding other vegetables like onions, garlic, bell peppers, or tomatoes for added vitamins and minerals. You can also add protein sources like beans, lentils, or tofu to make your collard greens a more complete meal. For healthy fats, add a drizzle of olive oil or a handful of nuts or seeds. Spices like turmeric, ginger, and garlic not only add flavor but also provide anti-inflammatory benefits.
How do I prevent my collard greens from becoming mushy?
To prevent your collard greens from becoming mushy, avoid overcooking them. Cook them until they are tender but still have a slight bite. Also, avoid adding too much liquid to the pot, as this can cause them to become waterlogged. If you’re using frozen collard greens, be sure to drain off any excess water before adding them to the pot. Finally, avoid stirring the collard greens too frequently, as this can break them down and make them mushy.
What are the best seasonings for collard greens?
The best seasonings for collard greens depend on your personal preferences, but some popular options include salt, pepper, garlic powder, onion powder, smoked paprika, red pepper flakes, and bay leaves. You can also add a splash of vinegar or hot sauce for added flavor. For a more traditional Southern flavor, consider adding a smoked turkey leg or ham hock to the pot while cooking. Experiment with different combinations of seasonings to find your perfect flavor profile.
How do I store uncooked collard greens to keep them fresh?
To store uncooked collard greens and keep them fresh, first, don’t wash them until you’re ready to use them. Moisture promotes spoilage. Wrap the unwashed collard greens loosely in a paper towel and place them in a plastic bag or container in the crisper drawer of your refrigerator. This will help to absorb excess moisture and keep them fresh for longer. Uncooked collard greens can typically last for up to 5-7 days in the refrigerator when stored properly.
Can I use a slow cooker to cook my collard greens?
Yes, a slow cooker is a great option for cooking collard greens, especially if you want to achieve a tender and flavorful result. To cook collard greens in a slow cooker, simply add the chopped collard greens, cooking liquid (such as broth or water), seasonings, and any desired additions (such as smoked turkey or ham hock) to the slow cooker. Cook on low for 6-8 hours or on high for 3-4 hours, or until the collard greens are tender. The slow cooker will allow the flavors to meld together and create a delicious and comforting dish.


Leave a Comment