
Cold Season Radish Growing might sound intimidating, especially if you’re new to gardening, but trust me, it’s one of the most rewarding and quickest wins you can achieve! Imagine plucking crisp, peppery radishes from your own backyard, even as the leaves are turning and a chill is in the air. That’s the magic we’re unlocking today!
Radishes have been cultivated for centuries, with roots (pun intended!) tracing back to ancient Egypt and Greece. They were valued not only for their taste but also for their medicinal properties. Think of them as nature’s little health boosters, packed with vitamins and ready to add a zing to your salads and snacks.
But why bother with cold season radish growing? Well, for starters, many of us think gardening season ends with summer. But radishes thrive in cooler temperatures, meaning you can extend your harvest and enjoy fresh produce for longer. Plus, they mature incredibly fast – often in just 3-4 weeks! This makes them perfect for impatient gardeners (like me!) and a great way to fill in gaps in your garden beds. I’m going to share some simple DIY tricks and hacks that will ensure a bountiful radish harvest, even when the weather is less than ideal. Get ready to impress your friends and family with your gardening prowess!
Growing Radishes in the Cold Season: A DIY Guide
Hey there, fellow gardening enthusiasts! I’m super excited to share my tried-and-true method for growing radishes even when the weather turns chilly. Radishes are fantastic because they’re quick to mature, adding a spicy kick to salads and snacks. Don’t let the cold stop you from enjoying fresh, homegrown radishes! This guide will walk you through everything you need to know, from choosing the right varieties to protecting your crop from frost.
Choosing the Right Radish Varieties
Not all radishes are created equal, especially when it comes to cold-weather growing. Some varieties are more tolerant of cooler temperatures and shorter days. Here are a few of my favorites:
* ‘Cherry Belle’: This is a classic, reliable variety that matures quickly (around 22 days). It’s perfect for beginners and produces bright red, round radishes.
* ‘French Breakfast’: These elongated radishes have a mild flavor and a crisp texture. They’re ready to harvest in about 25 days and are great for snacking.
* ‘Black Spanish’: If you’re looking for something a bit different, try ‘Black Spanish’ radishes. They have a pungent flavor and a long storage life, making them ideal for fall and winter harvests.
* ‘Sparkler’: Another quick grower, ‘Sparkler’ radishes are ready in about 20 days. They have a mild flavor and a pretty red and white appearance.
* ‘Easter Egg’: This mix of radish varieties produces radishes in a range of colors, including red, pink, purple, and white. It’s a fun option for adding visual interest to your garden.
Preparing Your Garden Bed
Radishes need well-drained soil that’s rich in organic matter. Here’s how I prepare my garden bed for a successful radish crop:
* Timing is Key: For a fall harvest, start planting radishes about 4-6 weeks before the first expected frost. For a spring harvest, plant as soon as the soil can be worked.
* Soil Preparation: Radishes prefer loose, fertile soil. Amend your soil with compost or well-rotted manure to improve drainage and add nutrients. Remove any rocks or debris that could hinder root growth.
* Sunlight: Radishes need at least 6 hours of sunlight per day, even in the cooler months. Choose a location that gets plenty of sun.
* pH Level: Radishes prefer a soil pH between 6.0 and 7.0. You can test your soil pH with a home testing kit or send a sample to your local extension office.
* Raised Beds (Optional): I often use raised beds for my radishes, as they provide excellent drainage and warm up faster in the spring.
Planting Your Radish Seeds
Now for the fun part – planting! Here’s my step-by-step guide:
1. Create Furrows: Use a hoe or your finger to create shallow furrows in the soil, about 1/2 inch deep and 1 inch apart.
2. Sow the Seeds: Sprinkle the radish seeds evenly along the furrows. Don’t overcrowd them, as this can lead to smaller radishes.
3. Cover the Seeds: Gently cover the seeds with soil and pat it down lightly.
4. Water Thoroughly: Water the bed thoroughly after planting. Keep the soil consistently moist until the seeds germinate.
5. Succession Planting: To extend your harvest, plant a new batch of radish seeds every 1-2 weeks. This ensures a continuous supply of fresh radishes.
Caring for Your Radishes
Radishes are relatively low-maintenance, but here are a few tips to keep them happy and healthy:
* Watering: Radishes need consistent moisture to grow quickly and develop a crisp texture. Water regularly, especially during dry spells. Avoid overwatering, as this can lead to root rot.
* Thinning: Once the seedlings emerge, thin them to about 1-2 inches apart. This gives the radishes enough space to grow. You can eat the thinnings as microgreens!
* Weeding: Keep the garden bed free of weeds, as they can compete with the radishes for nutrients and water.
* Fertilizing: Radishes don’t need a lot of fertilizer, but you can give them a boost with a light application of compost tea or fish emulsion.
* Pest Control: Radishes are generally pest-resistant, but they can be susceptible to flea beetles. Cover your plants with row covers to protect them from these pests.
Protecting Your Radishes from the Cold
Cold weather can slow down radish growth and even damage the plants. Here are a few ways I protect my radishes from the cold:
* Row Covers: Row covers are lightweight fabric covers that protect plants from frost, wind, and pests. I use them extensively in my cold-weather garden.
* Cold Frames: Cold frames are mini-greenhouses that provide extra warmth and protection. You can build your own cold frame or purchase a pre-made one.
* Mulching: Mulching helps to insulate the soil and retain moisture. I use straw or shredded leaves as mulch around my radishes.
* Cloches: Cloches are glass or plastic covers that protect individual plants from the cold. They’re a good option for smaller gardens.
* Choosing the Right Location: Plant your radishes in a sheltered location that’s protected from wind and frost. A south-facing wall or fence can provide extra warmth.
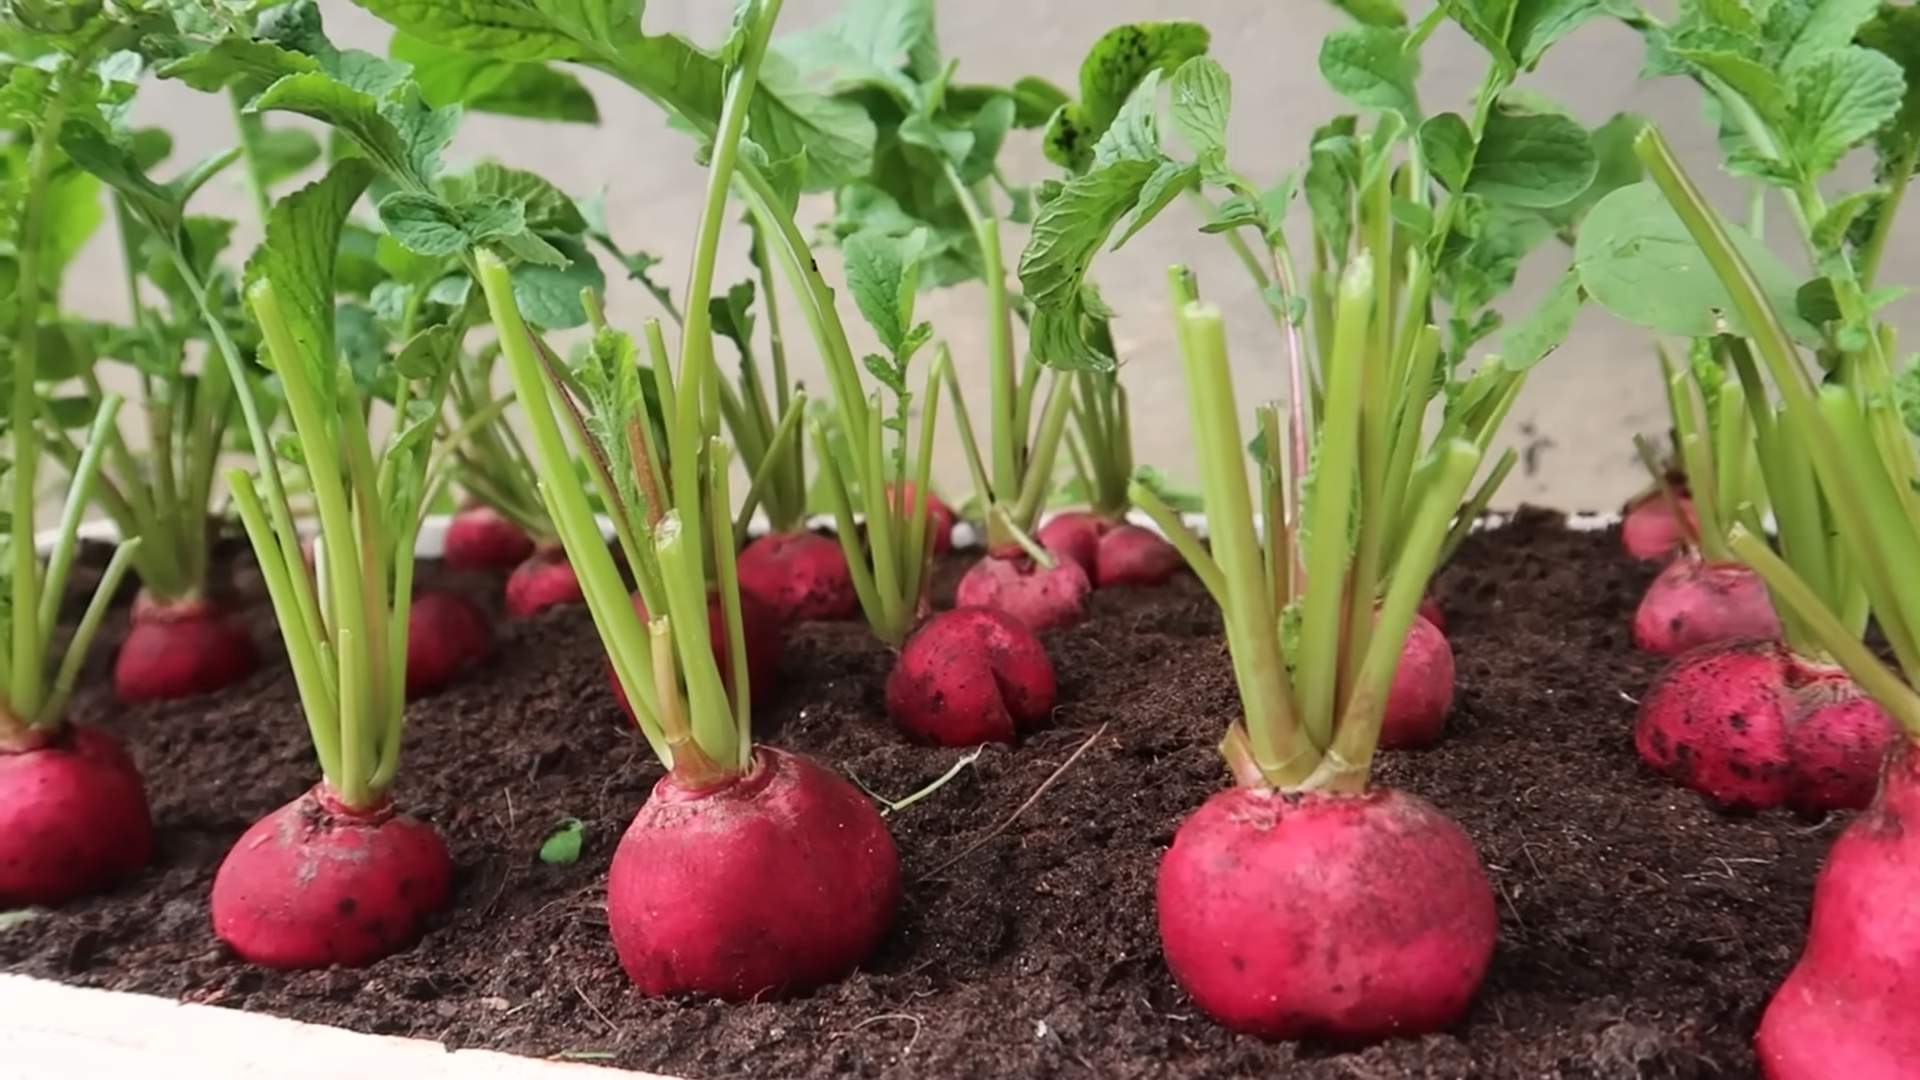
Harvesting Your Radishes
Radishes are ready to harvest when they reach the desired size. This usually takes about 3-4 weeks, depending on the variety.
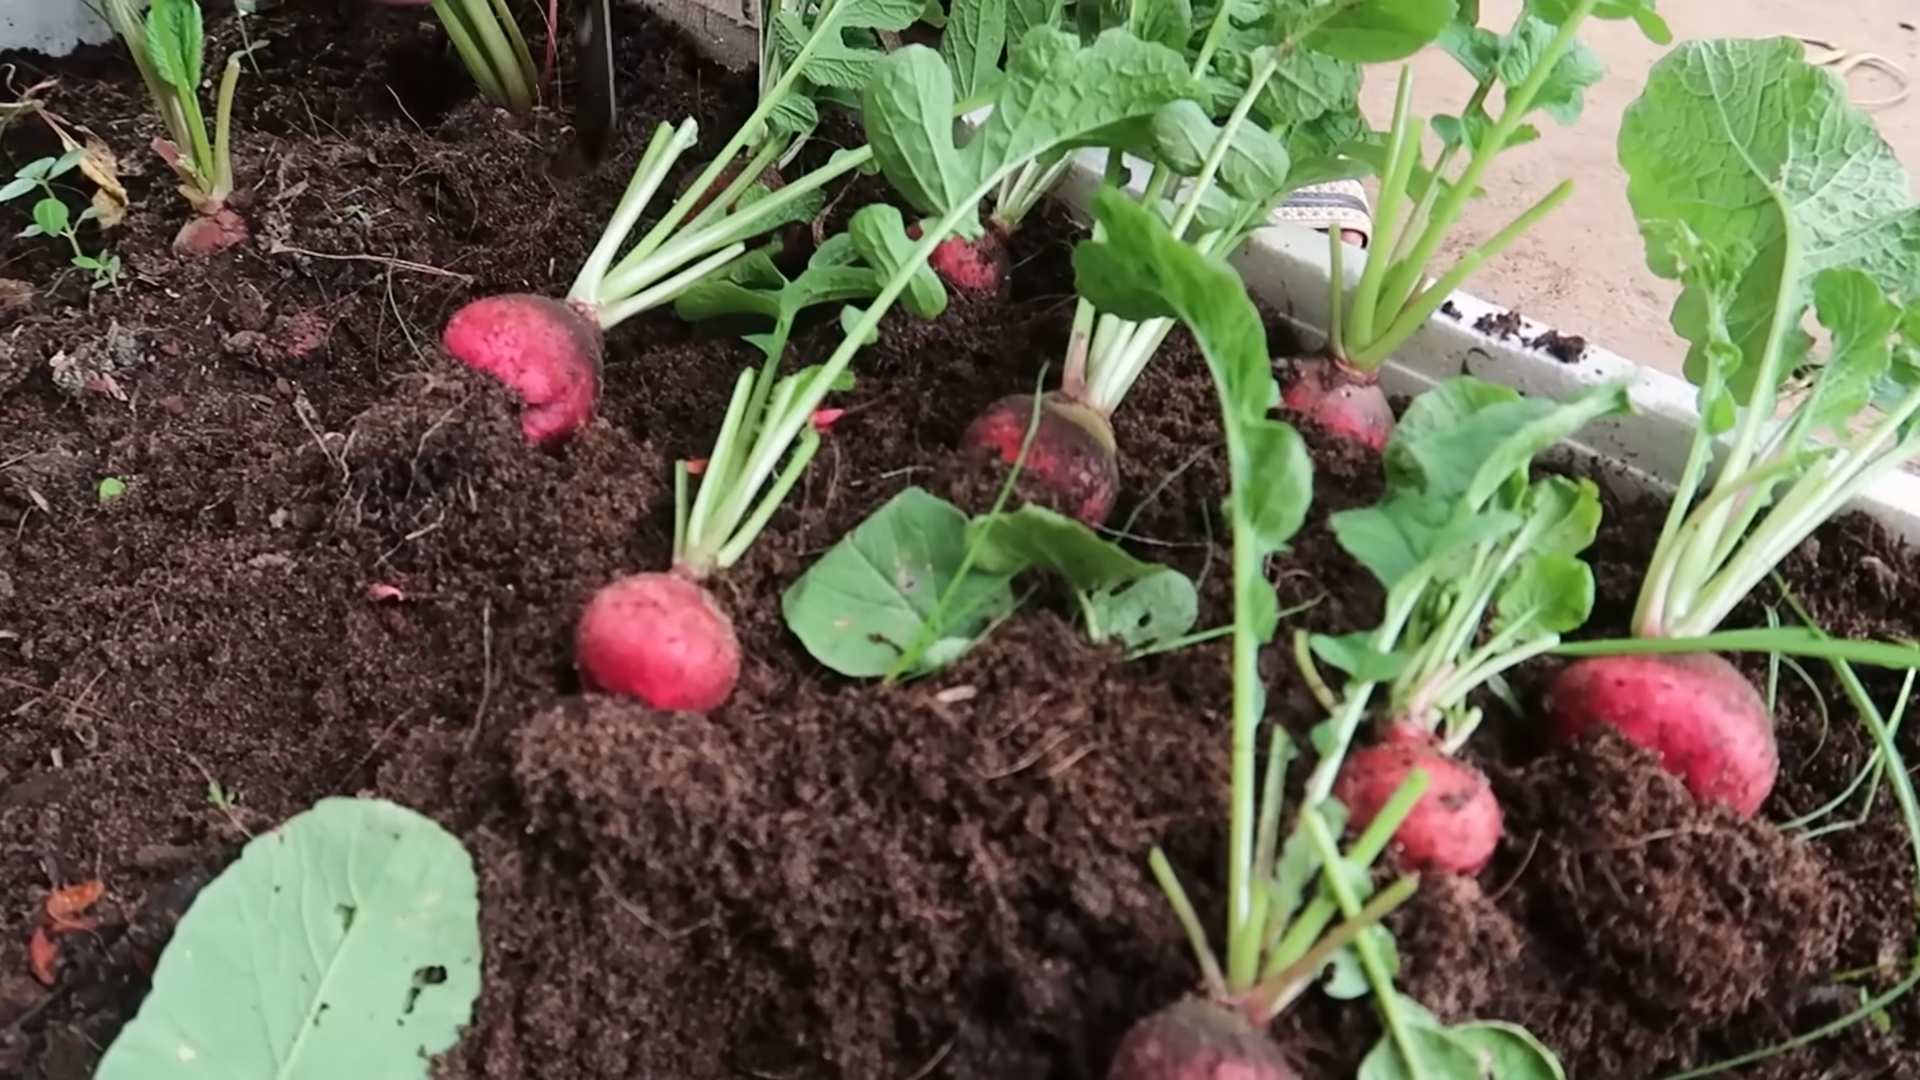
1. Check for Size: Gently brush away the soil around the base of the radish to check its size.
2. Pull Gently: Grasp the radish by the leaves and pull it gently from the soil.
3. Wash and Store: Wash the radishes thoroughly and remove the leaves. Store them in a plastic bag in the refrigerator for up to a week.
Troubleshooting Common Problems
Even with the best care, you might encounter a few problems when growing radishes. Here are some common issues and how to address them:
* Radishes are too small: This can be caused by overcrowding, lack of water, or poor soil. Thin the plants, water regularly, and amend the soil with compost.
* Radishes are cracked: This is usually caused by inconsistent watering. Water regularly and mulch the soil to retain moisture.
* Radishes are pithy (spongy): This can be caused by hot weather or letting the radishes grow too large. Harvest them when they’re still young and tender.
* Radishes are bitter: This can be caused by hot weather or lack of water. Water regularly and provide shade during the hottest part of the day.
* Flea beetles are eating the leaves: Cover the plants with row covers to protect them from flea beetles. You can also use insecticidal soap to control them.
Enjoying Your Harvest
Now that you’ve harvested your radishes, it’s time to enjoy them! Here are a few of my favorite ways to eat radishes:
* Raw: Radishes are delicious eaten raw in salads, sandwiches, or as a snack.
* Roasted: Roasting radishes mellows their flavor and brings out their sweetness.
* Pickled: Pickled radishes are a tangy and crunchy addition to any meal.
* Sautéed: Sautéed radishes are a quick and easy side dish.
* In Soup: Add sliced radishes to soups for a spicy kick.
Bonus Tip: Eating Radish Greens
Don’t throw away the radish greens! They’re packed with nutrients and can be eaten in salads, stir-fries, or soups. Just be sure to wash them thoroughly before using them.
Conclusion
Growing radishes in the cold season is a rewarding experience. With a little planning and care, you can enjoy fresh, homegrown radishes even when the weather turns chilly. So get out there and start planting! Happy gardening!
Conclusion
So, there you have it! Growing radishes during the cold season isn’t just possible; it’s a rewarding experience that brings fresh, peppery flavors to your table when other garden staples are dormant. This DIY trick for cold season radish growing unlocks a continuous supply of crisp, vibrant radishes throughout the cooler months, defying the limitations of traditional gardening calendars.
Why is this a must-try? Because it’s simple, cost-effective, and delivers tangible results. Imagine the satisfaction of harvesting your own radishes in the dead of winter, adding a burst of freshness to salads, soups, or simply enjoying them as a crunchy snack. Forget those bland, store-bought radishes; homegrown varieties offer a superior taste and texture that you simply can’t replicate.
But the benefits extend beyond just flavor. Growing your own radishes connects you to the natural world, providing a therapeutic and fulfilling activity during the often-dreary cold season. It’s a chance to learn about plant life cycles, experiment with different techniques, and appreciate the bounty that nature provides, even in the face of challenging conditions.
Looking for variations? Consider experimenting with different radish varieties. French Breakfast radishes offer a milder flavor, while Watermelon radishes provide a stunning visual contrast with their vibrant pink interiors. You can also try interplanting radishes with other cold-hardy greens like spinach or lettuce to maximize your garden space. Another variation is to use different types of protective covers. While we’ve focused on row covers, you could also experiment with cold frames or even a small greenhouse for even greater protection against the elements. Remember to monitor the temperature inside your chosen structure and ventilate as needed to prevent overheating.
Don’t be afraid to get creative with your radish recipes, too! Beyond salads, try roasting them for a sweeter, more mellow flavor, or pickling them for a tangy condiment. Radish greens are also edible and can be used in salads, stir-fries, or pesto. The possibilities are endless!
We wholeheartedly encourage you to give this DIY trick a try. It’s a small investment of time and effort that yields a significant return in terms of fresh produce, gardening satisfaction, and a deeper connection to the natural world.
Once you’ve experienced the joy of harvesting your own cold-season radishes, we’d love to hear about your experience! Share your tips, tricks, and favorite radish recipes in the comments below. Let’s build a community of cold-season radish growers and inspire others to embrace the possibilities of year-round gardening. Your insights could be invaluable to someone just starting out. So, grab your seeds, prepare your soil, and get ready to enjoy the delicious rewards of cold season radish growing!
Frequently Asked Questions (FAQ)
What is the best time to plant radishes for cold season growing?
The ideal planting time depends on your specific climate and the severity of your winters. Generally, you should aim to plant your radishes 4-6 weeks before the first expected frost. This allows them enough time to germinate and establish themselves before the coldest temperatures arrive. Check your local weather forecasts and historical data to determine the average first frost date for your area. For successive harvests, consider planting a new batch of seeds every 2-3 weeks. This will ensure a continuous supply of radishes throughout the cold season.
What type of soil is best for growing radishes in the cold season?
Radishes thrive in well-drained, loose soil that is rich in organic matter. Amend your soil with compost or well-rotted manure before planting to improve drainage and fertility. Avoid heavy clay soils, as they can become waterlogged and hinder radish growth. The ideal soil pH for radishes is between 6.0 and 7.0. You can test your soil pH using a home testing kit or by sending a sample to a local agricultural extension office. If your soil is too acidic, you can add lime to raise the pH. If it’s too alkaline, you can add sulfur to lower the pH.
How often should I water my radishes during the cold season?
Radishes need consistent moisture to grow quickly and develop crisp, flavorful roots. Water deeply whenever the top inch of soil feels dry to the touch. Be careful not to overwater, as this can lead to root rot. During periods of heavy rain, you may need to reduce watering frequency. Using a soaker hose or drip irrigation system can help deliver water directly to the roots, minimizing water loss through evaporation. Mulching around your radish plants can also help retain moisture in the soil.
What kind of row cover should I use for cold season radish growing?
Lightweight row covers made of spun-bonded polypropylene are ideal for protecting radishes from frost and cold temperatures. These covers allow sunlight and water to penetrate while providing a barrier against the elements. Choose a row cover that is specifically designed for frost protection. You can also use heavier row covers for added protection during extremely cold weather. Make sure to secure the edges of the row cover to prevent it from blowing away in the wind. You can use rocks, bricks, or soil to anchor the edges.
How do I prevent pests from attacking my radishes during the cold season?
While pests are generally less active during the cold season, they can still pose a threat to your radish crop. Common radish pests include flea beetles, aphids, and root maggots. To prevent pest infestations, practice good garden hygiene by removing weeds and debris that can harbor pests. You can also use insect netting to create a physical barrier around your radish plants. If you notice signs of pest activity, treat your plants with an organic insecticide such as neem oil or insecticidal soap. Crop rotation can also help prevent pest problems by disrupting their life cycles.
How long does it take for radishes to mature in the cold season?
Radishes are known for their quick growth, even in cooler temperatures. Most varieties mature in 20-30 days. However, growth may be slightly slower during the cold season due to reduced sunlight and lower temperatures. Check the seed packet for the specific maturity time of your chosen radish variety. You can also monitor the size of the radish roots to determine when they are ready to harvest. Radishes are typically harvested when they are about 1 inch in diameter.
Can I grow radishes in containers during the cold season?
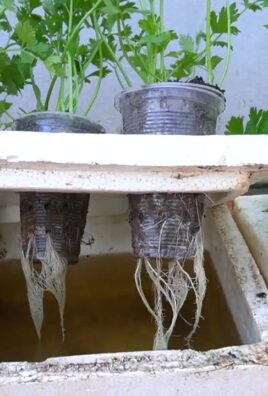
Yes, radishes are well-suited for container gardening, making them a great option for those with limited space. Choose a container that is at least 6 inches deep and has drainage holes. Fill the container with a well-draining potting mix. Plant your radish seeds according to the instructions on the seed packet. Place the container in a sunny location that receives at least 6 hours of sunlight per day. Water regularly and fertilize with a balanced fertilizer every 2-3 weeks. You can also use a cold frame or greenhouse to protect your container-grown radishes from frost.
What are some signs that my radishes are not growing properly?
Several factors can contribute to poor radish growth. If your radishes are not growing properly, consider the following:
* **Lack of Sunlight:** Radishes need at least 6 hours of sunlight per day to thrive.
* **Poor Soil:** Radishes need well-drained, fertile soil.
* **Insufficient Watering:** Radishes need consistent moisture.
* **Overcrowding:** Thin your radish seedlings to provide adequate space for growth.
* **Pest Infestations:** Check your plants for signs of pests and treat accordingly.
* **Nutrient Deficiencies:** Fertilize your radishes with a balanced fertilizer.
By addressing these potential issues, you can improve the growth and yield of your cold-season radish crop.
How do I know when my radishes are ready to harvest?
The best way to determine when your radishes are ready to harvest is to check their size. Most varieties are ready to harvest when they are about 1 inch in diameter. You can also gently brush away the soil around the base of the plant to check the size of the root. Harvest your radishes promptly once they reach the desired size, as they can become woody and bitter if left in the ground for too long. To harvest, simply pull the radishes from the soil. Wash them thoroughly and store them in the refrigerator for up to a week.
Leave a Comment