
Coconut shell lettuce planter: Sounds intriguing, right? I know, when I first heard about it, I was instantly hooked! Forget those boring plastic pots – we’re talking about turning a humble coconut shell into a charming, eco-friendly home for your leafy greens.
For centuries, coconuts have been a vital resource in many cultures, providing food, drink, and materials for shelter and tools. Now, we’re adding “stylish planter” to that impressive list! Think about it: these sturdy shells, often discarded after we enjoy the delicious coconut water and flesh, are perfectly suited for nurturing small plants.
Why should you try this DIY trick? Well, for starters, it’s incredibly budget-friendly. Instead of buying expensive planters, you’re repurposing something you might otherwise throw away. Plus, it’s a fantastic way to add a touch of tropical flair to your home or garden. But more importantly, creating a coconut shell lettuce planter is a fun and rewarding project that connects you with nature and promotes sustainable living. Imagine harvesting fresh, organic lettuce right from your own handcrafted planter – it’s a truly satisfying experience! So, let’s dive in and learn how to transform a simple coconut shell into a thriving little garden.
DIY Coconut Shell Lettuce Planter: From Beach Bounty to Garden Beauty
Hey there, fellow plant enthusiasts! Ever looked at a coconut shell and thought, “That’s just trash”? Well, think again! Today, I’m going to show you how to transform those discarded coconut shells into adorable and functional lettuce planters. It’s a fun, eco-friendly project that adds a touch of tropical charm to your garden or balcony. Plus, fresh, homegrown lettuce? Yes, please!
What You’ll Need:
Before we dive in, let’s gather our supplies. Don’t worry, most of these are easily accessible and budget-friendly.
* Coconut Shells: Obviously! You can either use coconuts you’ve enjoyed yourself (save those shells!) or purchase them pre-cleaned and halved online or at craft stores. Make sure they are relatively intact and not cracked.
* Drill with Drill Bits: We’ll need this to create drainage holes. A variety of bit sizes will be helpful.
* Sandpaper (Various Grits): For smoothing out the rough edges of the shell. Start with a coarser grit and move to finer grits for a polished finish.
* Potting Soil: Choose a good quality potting mix suitable for lettuce.
* Lettuce Seeds or Seedlings: Pick your favorite lettuce varieties! I personally love Romaine and Butterhead.
* Waterproof Sealer (Optional): This will help protect the shell from moisture and extend its lifespan. Look for a non-toxic, plant-safe sealer.
* Twine or Rope (Optional): If you want to hang your planters.
* Measuring Tape or Ruler: For accurate placement of drainage holes and hanging points.
* Pencil or Marker: For marking drilling points.
* Safety Glasses: Always protect your eyes when drilling and sanding!
* Gloves: To keep your hands clean and protected.
* Old Cloth or Rags: For cleaning and applying the sealer.
Preparing the Coconut Shells: The Foundation of Our Planter
This is a crucial step, so let’s take our time and do it right.
1. Cleaning the Shells: If you’re using fresh coconut shells, make sure to remove all the remaining coconut flesh. A spoon or a sturdy knife can help with this. Wash the shells thoroughly with soap and water to remove any residue. Let them dry completely before proceeding.
2. Sanding the Edges: Coconut shells can be quite rough. Use sandpaper to smooth out the edges of the shell, both inside and out. Start with a coarser grit (like 80 or 100) to remove the initial roughness, then move to finer grits (like 150 or 220) for a smoother finish. This will not only make the planter look better but also prevent you from getting splinters.
3. Drilling Drainage Holes: This is essential for healthy lettuce growth. Lettuce needs well-draining soil to prevent root rot. Use your drill to create several drainage holes in the bottom of the coconut shell. I recommend starting with a smaller drill bit (around 1/4 inch) and making 3-5 holes. You can always enlarge them later if needed. Space the holes evenly around the bottom of the shell.
4. Sealing the Shell (Optional): Applying a waterproof sealer will help protect the coconut shell from moisture and prevent it from rotting prematurely. This is especially important if you live in a humid climate or plan to keep your planters outdoors. Follow the manufacturer’s instructions for applying the sealer. Usually, you’ll need to apply a thin, even coat with a brush or cloth and let it dry completely before adding soil. Make sure the sealer is non-toxic and safe for plants. I usually apply two coats for extra protection, allowing each coat to dry thoroughly.
Creating Hanging Planters (Optional): A Touch of Tropical Elegance
If you want to hang your coconut shell planters, here’s how to do it:
1. Marking Hanging Points: Decide where you want to attach the twine or rope. I usually choose three points evenly spaced around the rim of the shell. Use a pencil or marker to mark these points.
2. Drilling Hanging Holes: Use a drill bit that’s slightly larger than the diameter of your twine or rope. Carefully drill holes at the marked points. Be gentle and avoid applying too much pressure, as the shell can crack.
3. Attaching the Twine or Rope: Cut three equal lengths of twine or rope. Thread each piece through one of the holes and tie a secure knot on the inside of the shell. Make sure the knots are strong enough to support the weight of the planter when it’s filled with soil and lettuce.
4. Adjusting the Length: Gather the three ends of the twine or rope and tie them together at the desired height. Make sure the planter hangs evenly. You can adjust the length of the twine or rope to achieve the perfect look.
Planting Your Lettuce: Bringing Your Planter to Life
Now for the fun part! Let’s get those lettuce seeds or seedlings into their new home.
1. Filling the Planter with Soil: Fill the coconut shell with potting soil, leaving about an inch of space at the top. Gently press down on the soil to remove any air pockets.
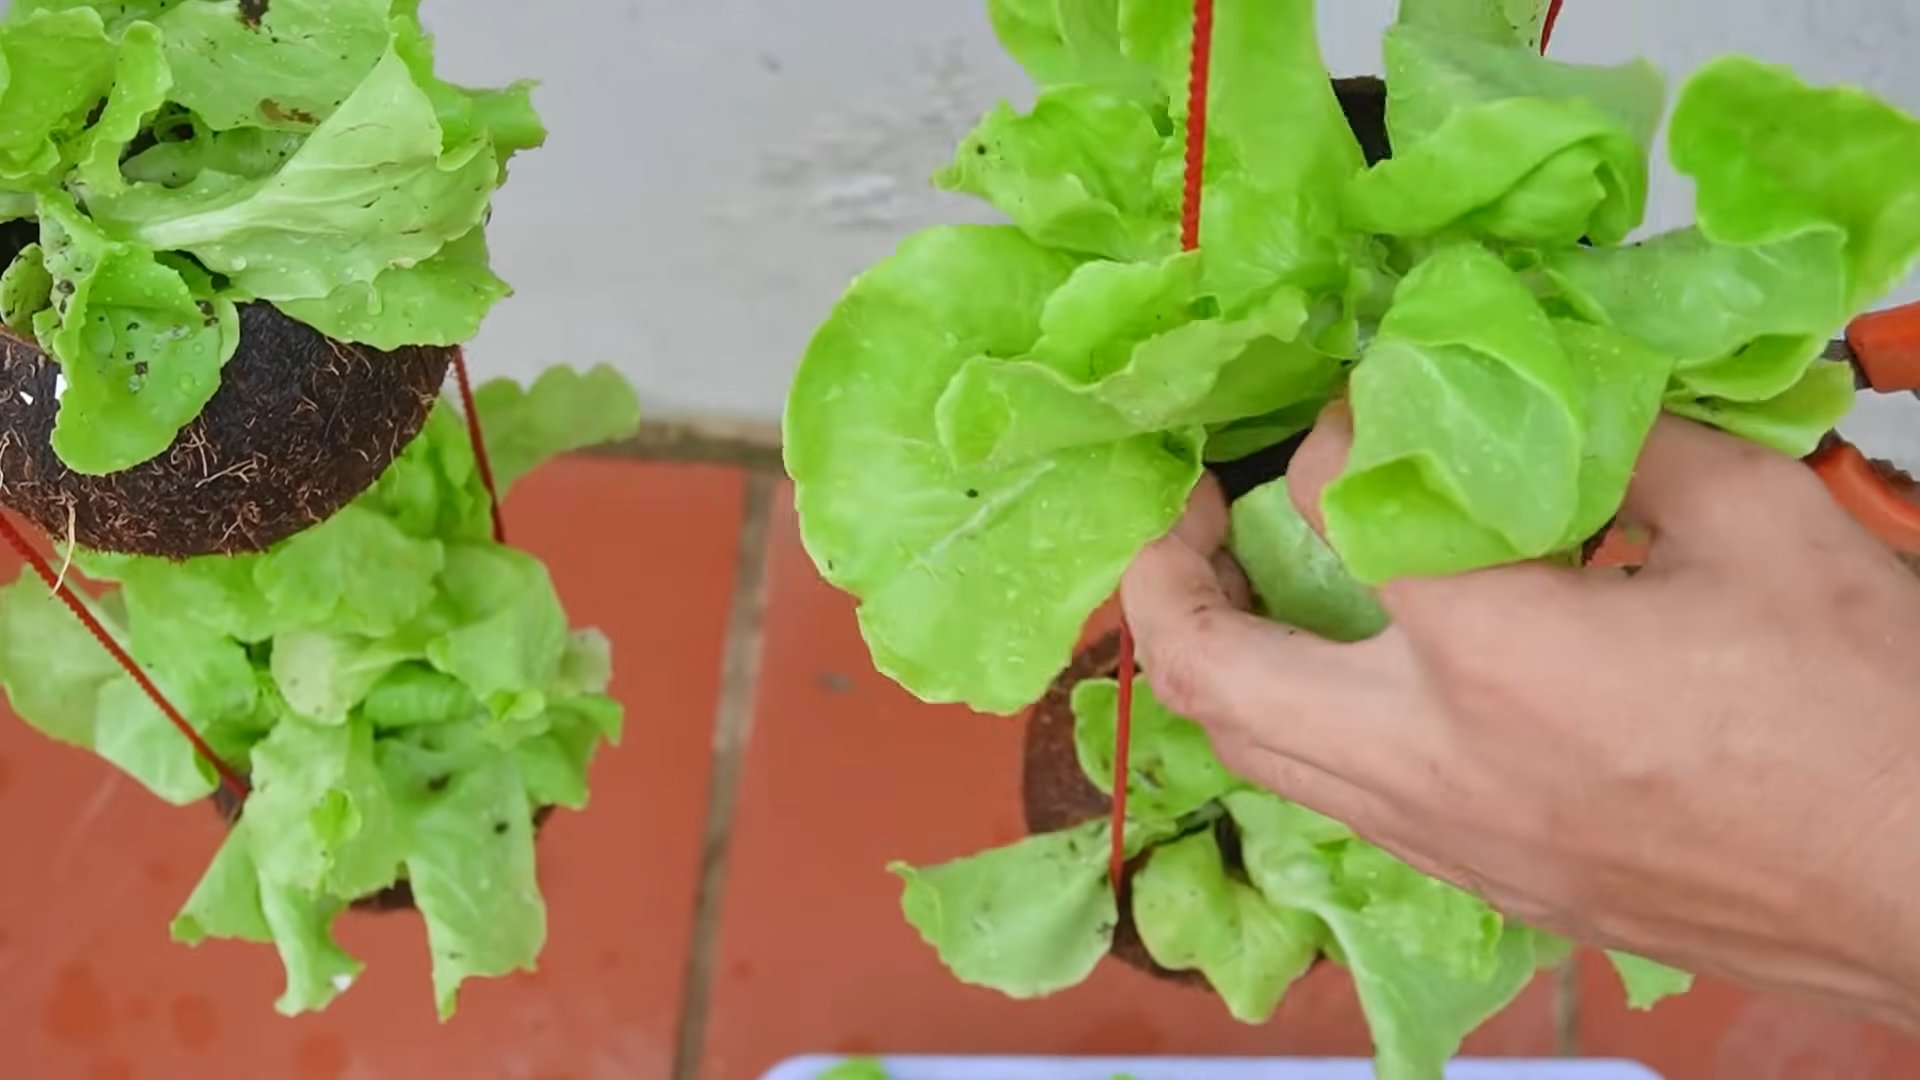
2. Sowing Seeds or Transplanting Seedlings: If you’re using seeds, follow the instructions on the seed packet for planting depth and spacing. If you’re using seedlings, carefully remove them from their containers and gently loosen the roots. Dig a small hole in the soil and place the seedling in the hole. Backfill with soil and gently press down.
3. Watering: Water the soil thoroughly after planting. Make sure the water drains freely from the drainage holes.
4. Placement: Place your coconut shell lettuce planter in a location that receives at least 6 hours of sunlight per day. Lettuce prefers cool weather, so avoid placing it in direct sunlight during the hottest part of the day.
Caring for Your Lettuce: Ensuring a Bountiful Harvest
Proper care is essential for healthy lettuce growth. Here are a few tips:
* Watering: Water your lettuce regularly, especially during hot, dry weather. The soil should be consistently moist, but not soggy. Check the soil moisture by sticking your finger into the soil. If the top inch feels dry, it’s time to water.
* Fertilizing: Lettuce is a relatively light feeder, but it will benefit from occasional fertilization. Use a balanced liquid fertilizer diluted to half strength. Apply the fertilizer every 2-3 weeks.
* Pest Control: Keep an eye out for pests like aphids and slugs. You can control aphids with a strong spray of water or by using insecticidal soap. Slugs can be controlled by handpicking them or by using slug bait.
* Harvesting: You can start harvesting lettuce leaves as soon as they are large enough to eat. Simply cut off the outer leaves, leaving the inner leaves to continue growing. This will allow you to harvest lettuce from the same plant for several weeks.
Troubleshooting: Addressing Common Issues
Even with the best care, you might encounter some problems. Here are a few common issues and how to address them:
* Yellowing Leaves: This can be caused by overwatering, underwatering, or nutrient deficiencies. Check the soil moisture and adjust your watering accordingly. If the soil is consistently moist, you might be overwatering. If the soil is dry, you might be underwatering. If the leaves are yellowing despite proper watering, try fertilizing with a balanced fertilizer.
* Leggy Growth: This is usually caused by insufficient sunlight. Move your planter to a location that receives more sunlight.
* Root Rot: This is caused by overwatering and poor drainage. Make sure your planter has adequate drainage holes and avoid overwatering. If you suspect root rot, you can try transplanting the lettuce to a new planter with fresh soil.
* Pest Infestations: As mentioned earlier, keep an eye out for pests and take action as soon as you notice them.
Variations and Creative Ideas: Personalizing Your Planters
The beauty of DIY is that you can customize it to your liking! Here are a few ideas to get your creative juices flowing:
* Painting the Shells: Add a splash of color to your planters by painting the coconut shells. Use non-toxic, weather-resistant paint. You can paint them solid colors, create patterns, or even add decorative designs.
* Adding Drainage Material: Before adding soil, you can add a layer of drainage material to the bottom of the shell, such as gravel or pebbles. This will further improve drainage and prevent root rot.
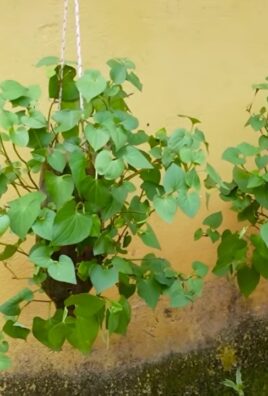
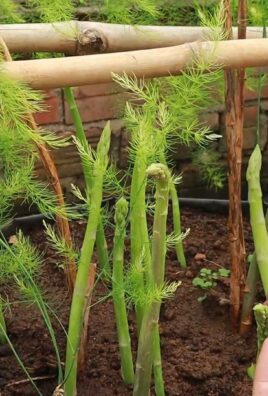
* Using Different Plants: While this article focuses on lettuce, you can use coconut shell planters for other small plants as well, such as herbs, succulents, or flowers. Just make sure to choose plants that are suitable for the size of the planter and the growing conditions.
* Creating a Vertical Garden: Hang several coconut shell planters at
Conclusion
So, there you have it! Transforming a humble coconut shell into a charming and functional lettuce planter is not just a fun DIY project; it’s a sustainable and aesthetically pleasing way to bring fresh greens right to your doorstep. We’ve explored the simple steps, highlighting the ease and accessibility of this eco-friendly gardening solution. But why is this DIY coconut shell lettuce planter a must-try?
Firstly, it’s incredibly budget-friendly. Instead of purchasing expensive planters, you’re repurposing a readily available resource, minimizing waste and saving money. Secondly, it’s a fantastic way to add a touch of tropical flair to your garden, balcony, or even your kitchen windowsill. The natural texture and unique shape of the coconut shell create a visually appealing contrast to the vibrant green of the lettuce.
Beyond the practical and aesthetic benefits, this project offers a rewarding sense of accomplishment. There’s something deeply satisfying about creating something beautiful and useful from scratch, especially when it contributes to a more sustainable lifestyle. Plus, it’s a great conversation starter! Imagine the delight of serving a salad made with lettuce grown in your very own coconut shell planter.
But the possibilities don’t stop there! Feel free to experiment with variations. Consider painting the coconut shell with vibrant colors or adding decorative elements like beads, shells, or twine. You could also drill drainage holes in different patterns to create a unique visual effect. For a more rustic look, leave the shell in its natural state and allow it to weather over time.
Think about the type of lettuce you want to grow. While leafy varieties like romaine, butterhead, and loose-leaf lettuce are ideal for smaller containers, you can also try growing herbs like basil, mint, or parsley in your coconut shell planter. Just be sure to choose varieties that are well-suited to container gardening and provide adequate sunlight and water.
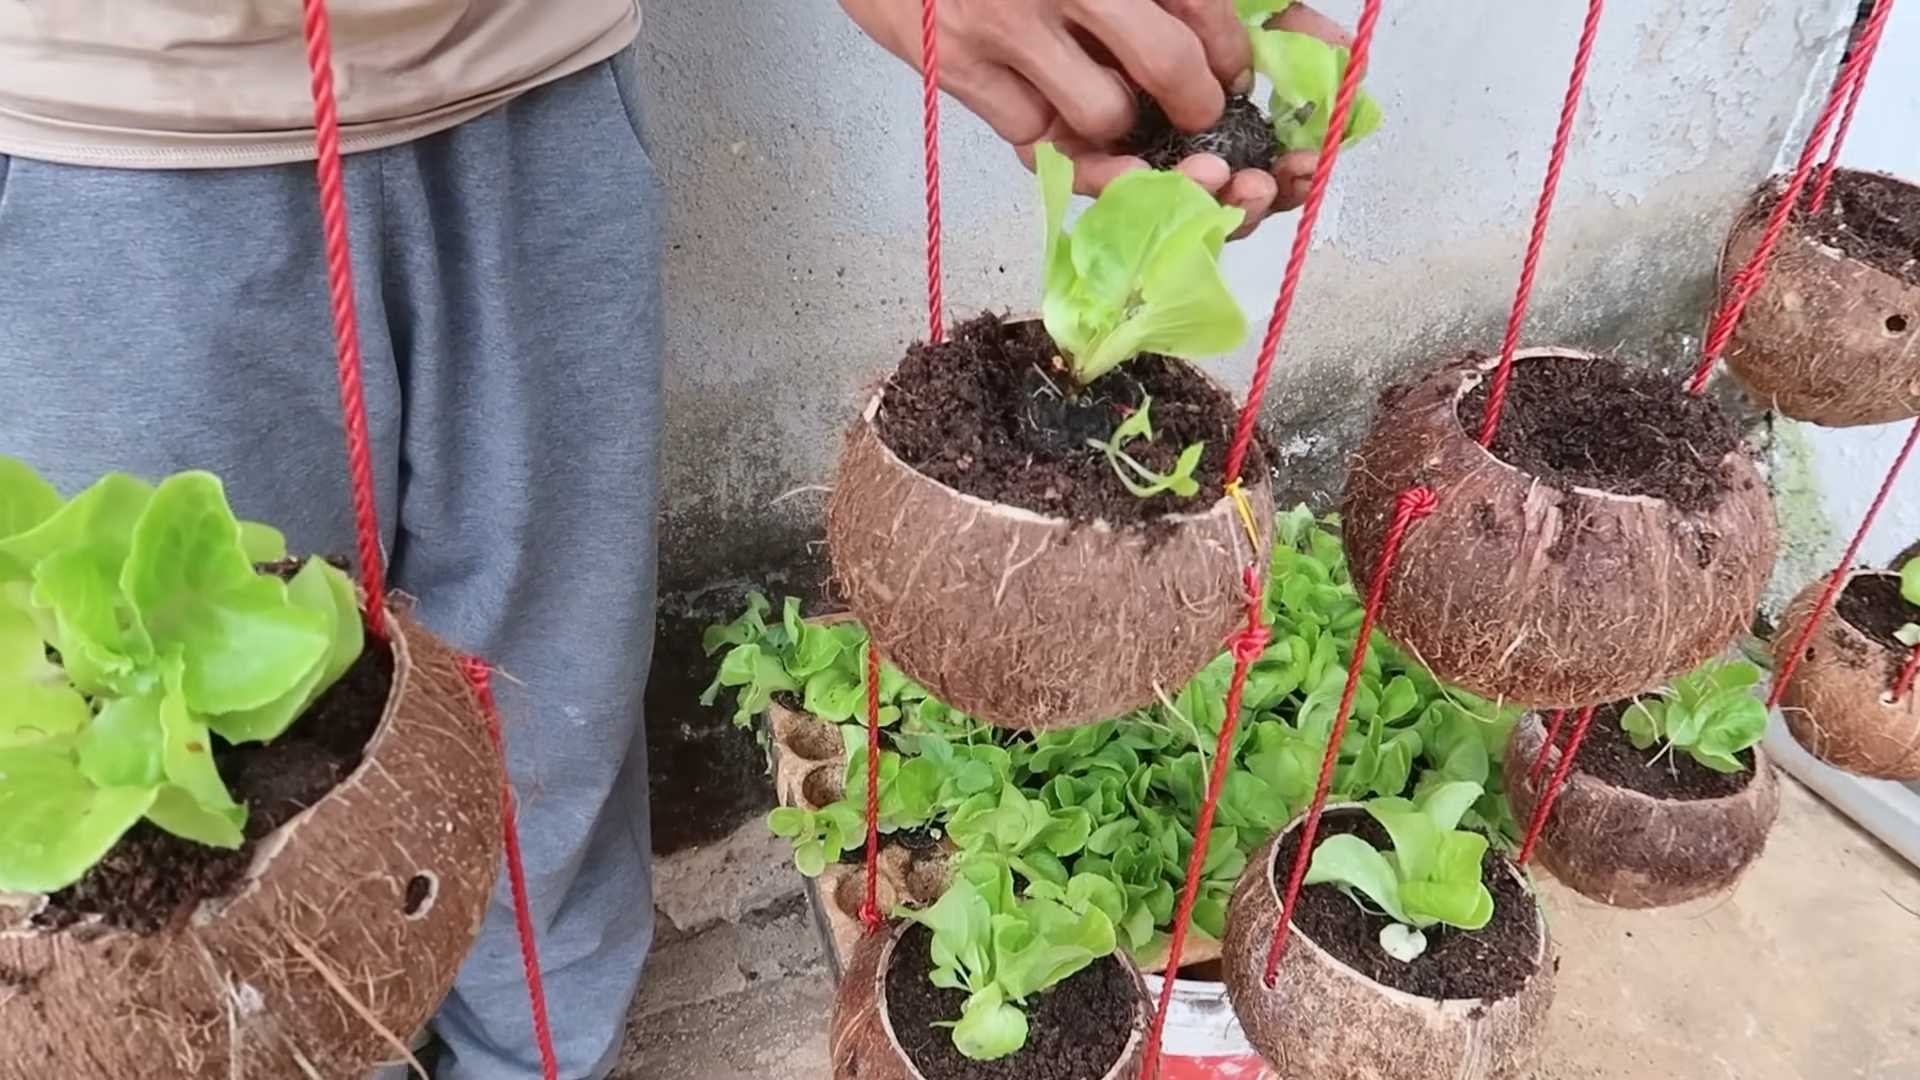
Another variation involves creating a hanging planter. Simply attach sturdy ropes or chains to the coconut shell, ensuring they are securely fastened. This is a great option for maximizing space and adding vertical interest to your garden. You can also group several coconut shell planters together to create a mini-garden display.
Don’t be afraid to get creative and personalize your coconut shell lettuce planter to reflect your own style and preferences. The most important thing is to have fun and enjoy the process!
We are confident that you’ll find this DIY project both enjoyable and rewarding. It’s a simple, sustainable, and stylish way to grow your own fresh lettuce. So, gather your supplies, unleash your creativity, and give it a try!
We’d love to hear about your experience! Share your photos and stories with us on social media using #CoconutShellLettucePlanter. Let’s inspire others to embrace sustainable gardening and create beautiful, eco-friendly spaces. We can’t wait to see what you create! Remember, growing your own food, even in a small way, is a powerful step towards a healthier and more sustainable future. This **coconut shell lettuce planter** is a perfect starting point.
Frequently Asked Questions
Q: What kind of coconut shell is best for making a planter?
A: Ideally, you want a mature coconut shell that is relatively intact and free from cracks or significant damage. The size of the shell will depend on how much lettuce you plan to grow. Larger shells will provide more space for the roots to develop. You can use either a half coconut shell or a whole coconut shell with the top cut off. If you’re using a whole shell, make sure to create adequate drainage holes. Avoid using shells that are too thin or brittle, as they may not be strong enough to support the weight of the soil and plants.
Q: How do I prepare the coconut shell before planting?
A: First, thoroughly clean the coconut shell to remove any remaining coconut flesh or fibers. You can use a stiff brush and warm, soapy water. Rinse the shell well and allow it to dry completely. Next, drill drainage holes in the bottom of the shell. The number and size of the holes will depend on the size of the shell and the type of soil you’re using. As a general rule, aim for at least three to four holes that are about ¼ inch in diameter. If you’re concerned about soil washing out, you can line the bottom of the shell with a layer of gravel or landscape fabric.
Q: What type of soil should I use for my coconut shell lettuce planter?
A: Use a well-draining potting mix that is specifically formulated for container gardening. Avoid using garden soil, as it can become compacted and prevent proper drainage. A good potting mix will provide the necessary nutrients and aeration for healthy lettuce growth. You can also amend the potting mix with compost or other organic matter to improve its fertility and water-holding capacity.
Q: How often should I water my coconut shell lettuce planter?
A: The frequency of watering will depend on several factors, including the weather, the type of soil, and the size of the planter. As a general rule, water the lettuce when the top inch of soil feels dry to the touch. Avoid overwatering, as this can lead to root rot. When watering, water thoroughly until water drains out of the drainage holes. Check the moisture level of the soil regularly, especially during hot or dry weather.
Q: How much sunlight does my coconut shell lettuce planter need?
A: Lettuce prefers partial shade, especially during the hottest part of the day. Aim for at least four to six hours of sunlight per day. If you live in a hot climate, consider placing your coconut shell lettuce planter in a location that receives morning sun and afternoon shade. You can also use shade cloth to protect the lettuce from excessive heat.
Q: Can I grow other plants besides lettuce in my coconut shell planter?
A: Yes, you can grow a variety of other plants in your coconut shell planter, including herbs like basil, mint, parsley, and chives. You can also grow small vegetables like radishes, spinach, and kale. Just be sure to choose plants that are well-suited to container gardening and provide adequate space for their roots to grow.
Q: How do I fertilize my coconut shell lettuce planter?
A: Lettuce is a relatively light feeder, but it will benefit from regular fertilization. You can use a liquid fertilizer that is specifically formulated for vegetables. Follow the instructions on the fertilizer label and apply it every two to three weeks. You can also amend the soil with compost or other organic matter to provide a slow-release source of nutrients.
Q: How long will my coconut shell lettuce planter last?
A: The lifespan of your coconut shell lettuce planter will depend on several factors, including the quality of the shell, the climate, and how well you care for it. With proper care, a coconut shell planter can last for several months or even a year. To prolong its lifespan, avoid exposing it to extreme temperatures or direct sunlight for extended periods. You can also apply a sealant to the shell to protect it from moisture and decay.
Q: What do I do with the coconut shell planter when the lettuce is finished?
A: Once the lettuce has finished producing, you can compost the soil and reuse the coconut shell for another planting. Alternatively, you can dispose of the coconut shell in your yard waste bin or compost pile. Coconut shells are biodegradable and will eventually break down over time.
Q: Is it safe to eat lettuce grown in a coconut shell?
A: Yes, it is generally safe to eat lettuce grown in a coconut shell, provided that you have properly cleaned the shell and used a safe potting mix. Avoid using coconut shells that have been treated with chemicals or pesticides. Always wash the lettuce thoroughly before eating it.
Leave a Comment