
Cleaning frying pan baking soda – it’s a phrase that might not sound glamorous, but trust me, it’s the secret weapon you need in your kitchen arsenal! How many times have you stared into the abyss of a burnt, greasy frying pan, dreading the scrubbing marathon ahead? I know I have! We’ve all been there, battling stubborn food residue that seems permanently bonded to our beloved cookware.
For generations, resourceful cooks have relied on simple, natural ingredients to tackle tough cleaning tasks. Baking soda, a humble pantry staple, has a rich history as a versatile cleaning agent. From ancient Egyptians using natron (a naturally occurring form of baking soda) to clean and preserve, to our grandmothers relying on it for countless household chores, its cleaning power is undeniable.
But why is cleaning frying pan baking soda so crucial today? In our busy lives, who has time to spend hours scrubbing? Plus, harsh chemical cleaners can be expensive and potentially harmful to our health and the environment. This DIY trick offers a safe, effective, and budget-friendly solution to restore your frying pans to their former glory. I’m going to show you a simple, step-by-step method that will have your frying pans sparkling in no time, without breaking a sweat or resorting to harsh chemicals. Get ready to say goodbye to stubborn grease and hello to sparkling clean cookware!
DIY: Revive Your Scorched Frying Pan with Baking Soda!
Hey there, fellow home cooks! Are you staring at a frying pan that looks more like a charcoal briquette than a cooking vessel? Don’t despair! I’ve been there, done that, and I’m here to tell you that you can often rescue even the most stubbornly scorched pans with a little elbow grease and the magic of baking soda. This method is my go-to for tackling burnt-on food, and it’s surprisingly effective. Let’s get that pan sparkling again!
What You’ll Need:
* Baking Soda (the star of the show!)
* White Vinegar (optional, but it adds some fizzing power)
* Water
* Dish Soap
* A Non-Abrasive Sponge or Scrub Brush (avoid steel wool unless your pan is stainless steel and *really* needs it)
* A Soft Cloth or Paper Towels
* Rubber Gloves (optional, but recommended if you have sensitive skin)
* A Large Pot or Sink (big enough to submerge your pan)
Understanding the Science (Just a Little Bit!)
Before we dive in, let’s quickly understand why this works. Baking soda is a mild alkali, meaning it can help to neutralize acids and break down greasy, burnt-on messes. When combined with water, it forms a paste that gently lifts away stubborn residue. Vinegar, being an acid, reacts with baking soda to create carbon dioxide gas (those satisfying bubbles!), which further helps to loosen the grime.
Step-by-Step Guide to a Sparkling Clean Pan
Okay, let’s get started! I’ve broken this down into easy-to-follow steps.
Phase 1: The Initial Soak (Loosening the Grime)
1. Assess the Damage: Take a good look at your pan. How bad is the scorching? Is it just a light layer of burnt food, or is it a thick, hardened crust? This will help you determine how long to soak the pan.
2. The Baking Soda Paste: In a bowl, mix baking soda with enough water to form a thick paste. You want it to be spreadable but not too runny. I usually start with about 1/2 cup of baking soda and add water a tablespoon at a time until I get the right consistency.
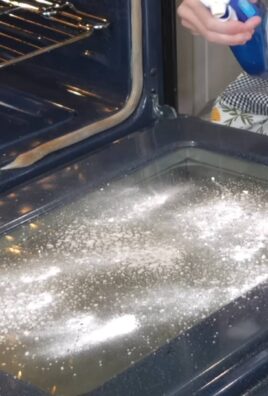
3. Apply the Paste: Generously coat the burnt areas of your pan with the baking soda paste. Make sure you cover every bit of the scorched food. Don’t be shy!
4. The Waiting Game (Soaking Time): This is crucial! Let the baking soda paste sit on the pan for at least 30 minutes. For heavily scorched pans, I recommend letting it sit for several hours, or even overnight. The longer it sits, the more time it has to work its magic. I often cover the pan with plastic wrap to keep the paste from drying out too quickly.
Phase 2: The Vinegar Boost (Optional, But Effective)
This step is optional, but I find it really helps to loosen stubborn messes.
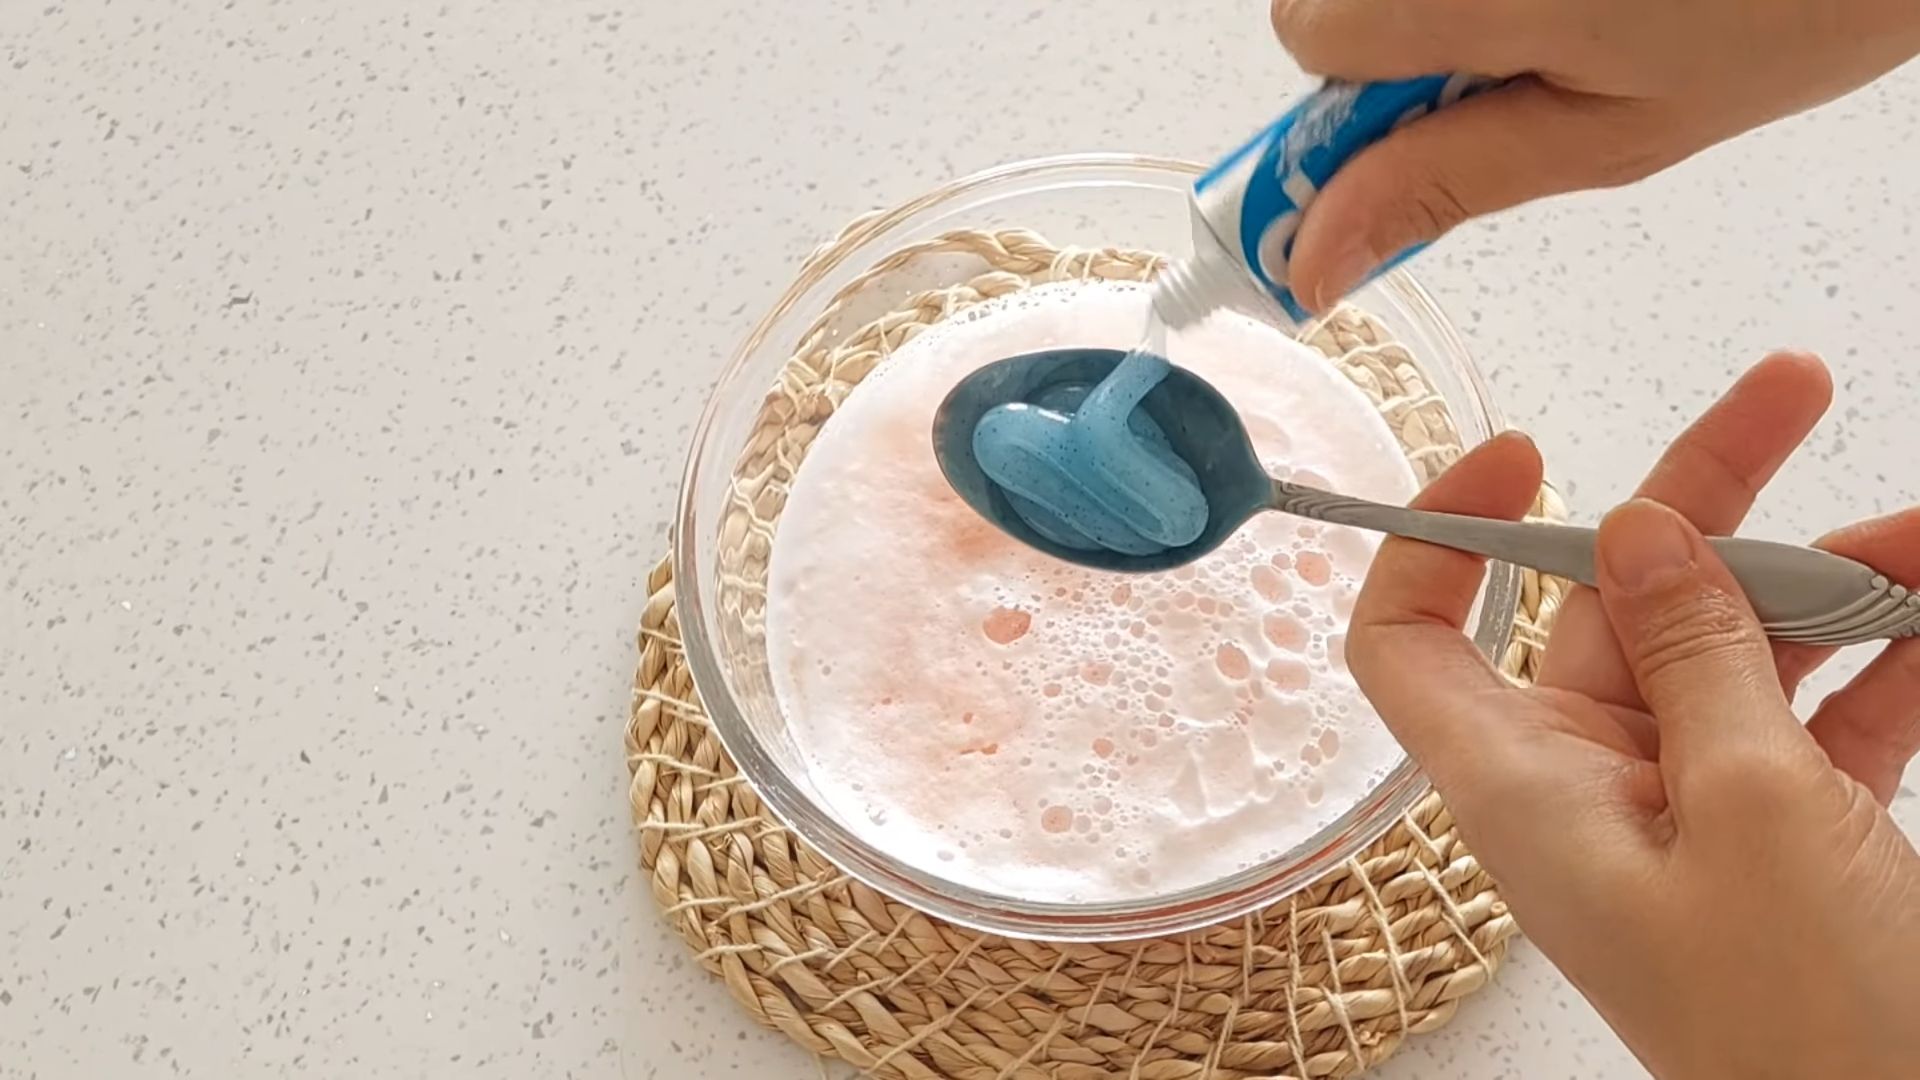
5. Vinegar Time: After the initial soaking period, pour a thin layer of white vinegar over the baking soda paste. You’ll see it start to fizz – that’s the chemical reaction at work!
6. More Soaking (with Fizz): Let the vinegar and baking soda mixture fizz for about 15-20 minutes. This will help to further break down the burnt-on food.
Phase 3: Scrubbing and Cleaning
7. Gentle Scrubbing: Using your non-abrasive sponge or scrub brush, gently scrub the burnt areas of the pan. Avoid using excessive force, as you don’t want to scratch the surface. The baking soda paste should have loosened the grime enough that it comes off relatively easily.
8. Rinsing and Inspecting: Rinse the pan with warm water and inspect your progress. If there are still stubborn spots, repeat steps 2-7. Sometimes, it takes a few rounds of soaking and scrubbing to completely remove all the burnt-on food.
9. Dish Soap Wash: Once you’ve removed the majority of the burnt food, wash the pan with dish soap and warm water as you normally would. This will remove any remaining baking soda residue and grease.
10. Drying: Thoroughly dry the pan with a soft cloth or paper towels. This will prevent water spots and ensure it’s ready for its next cooking adventure.
Phase 4: Dealing with Extra Stubborn Spots (The Boiling Method)
Sometimes, even with soaking and scrubbing, you might encounter a few extra-stubborn spots. Don’t give up! Here’s another trick I use:
11. The Boiling Solution: Fill the pan with water, adding 1/2 cup of baking soda.
12. Boil and Simmer: Bring the water to a boil, then reduce the heat and let it simmer for about 15-20 minutes. This will help to loosen any remaining burnt-on food.
13. Cool and Scrub: Let the water cool slightly, then carefully scrub the pan with your non-abrasive sponge or scrub brush. The remaining grime should come off much easier now.
14. Final Wash and Dry: Wash the pan with dish soap and warm water, then thoroughly dry it with a soft cloth or paper towels.
Tips and Tricks for Success
* Prevention is Key: The best way to avoid scorched pans is to prevent them in the first place! Don’t leave food unattended while cooking, and use the appropriate heat setting for the type of food you’re cooking.
* Don’t Use Abrasive Cleaners: Avoid using steel wool or harsh abrasive cleaners on non-stick pans, as they can damage the coating.
* Test in an Inconspicuous Area: If you’re unsure about using baking soda and vinegar on a particular type of pan, test it in a small, inconspicuous area first to make sure it doesn’t damage the surface.
* For Cast Iron: If you’re cleaning a cast iron pan, be sure to re-season it after cleaning to protect it from rust.
* Patience is a Virtue: Don’t get discouraged if the burnt food doesn’t come off immediately. Sometimes, it takes a few rounds of soaking and scrubbing to get the pan completely clean.
* Consider the Pan Material: This method works well on stainless steel, enamel, and even some non-stick pans (though be gentle with non-stick!). For delicate materials like copper, proceed with extra caution and test in an inconspicuous area first.
Why This Works (A Little More Detail)
I know I touched on this earlier, but let’s delve a little deeper into why baking soda is such a cleaning powerhouse.
* Alkalinity: Baking soda is alkaline, which means it has a pH greater than 7. This alkalinity helps to neutralize acidic substances, like burnt food residue.
* Mild Abrasiveness: Baking soda is also mildly abrasive, which helps to gently scrub away stubborn messes without scratching surfaces (as long as you don’t use excessive force).
* Deodorizing Properties: Baking soda is a natural deodorizer, so it can also help to remove any lingering odors from your pan.
* Safety: Baking soda is a safe and non-toxic cleaning agent, making it a great choice for use in the kitchen.
Troubleshooting
* Still Not Working?: If you’ve tried all of the above and your pan is still stubbornly scorched, you might need to consider a commercial oven cleaner (use with extreme caution and follow the manufacturer’s instructions carefully) or, in extreme cases, replacing the pan.
* Discoloration: Sometimes, even after cleaning, a pan might have some discoloration. This is usually just cosmetic and doesn’t affect the pan’s performance.
Final Thoughts
Cleaning a scorched frying pan can be a bit of a chore, but with a little patience and the power of baking soda, you can often bring even the most neglected pans back to life. I hope this guide has been helpful! Happy cooking (and cleaning)!
Conclusion
So, there you have it! Mastering the art of cleaning a frying pan with baking soda is not just about elbow grease; it’s about unlocking a simple, effective, and eco-friendly solution to a common kitchen woe. We’ve walked you through the steps, highlighted the benefits, and hopefully, convinced you that this DIY trick is a game-changer for anyone who values a sparkling clean kitchen and a long-lasting frying pan.
Why is this a must-try? Because it’s incredibly effective at removing stubborn, burnt-on food residue that often resists conventional dish soap and scrubbing. It’s gentle on your frying pan’s surface, preventing scratches and damage that can shorten its lifespan. And, perhaps most importantly, it’s a natural and non-toxic alternative to harsh chemical cleaners, making it a safer option for you, your family, and the environment.
But the beauty of this method lies in its adaptability. Feel free to experiment with variations to suit your specific needs and preferences. For instance, if you’re dealing with particularly stubborn stains, try adding a splash of white vinegar to the baking soda paste for an extra boost of cleaning power. The fizzing action helps to loosen the grime, making it easier to scrub away. Alternatively, for cast iron pans, you might want to use a coarser salt along with the baking soda for a more abrasive scrub, but remember to re-season the pan afterward to maintain its protective coating.
Consider using a non-scratch scouring pad or a soft-bristled brush instead of steel wool to avoid damaging the pan’s surface, especially if it’s non-stick. You can also adjust the amount of baking soda and water to create a paste that’s just right for the level of cleaning required. A thicker paste is ideal for tackling heavily soiled areas, while a thinner paste can be used for general cleaning and maintenance.
Don’t be afraid to get creative and find what works best for you and your frying pan! The key is to be patient and persistent, and to remember that a little bit of effort can go a long way in preserving the life and performance of your cookware.
We’re confident that once you try this simple yet powerful DIY trick, you’ll be amazed by the results. It’s a cost-effective, environmentally friendly, and highly effective way to keep your frying pans looking and performing their best. So, ditch the harsh chemicals and embrace the power of baking soda!
Now, we encourage you to give this method a try and see for yourself the difference it can make. And, most importantly, we want to hear about your experience! Share your tips, tricks, and before-and-after photos in the comments below. Let’s create a community of clean frying pan enthusiasts and help each other discover the best ways to keep our kitchens sparkling! Your insights could be invaluable to other readers who are struggling with stubborn food residue. Let us know if you have any other questions about cleaning a frying pan with baking soda.
Frequently Asked Questions (FAQ)
Q: Can I use this method on all types of frying pans?
A: While the baking soda method is generally safe and effective for most types of frying pans, including stainless steel, non-stick, and ceramic, it’s essential to exercise caution and consider the specific material of your pan. For instance, while baking soda is safe for cast iron, you’ll need to re-season the pan after cleaning to prevent rusting. For non-stick pans, avoid using abrasive scrubbers that could damage the coating. Always test the method on a small, inconspicuous area first to ensure it doesn’t cause any discoloration or damage. If you’re unsure, consult the manufacturer’s instructions for your specific frying pan.
Q: How often should I clean my frying pan with baking soda?
A: The frequency of cleaning depends on how often you use your frying pan and the types of food you cook. For pans that are used daily and tend to accumulate burnt-on food residue, cleaning with baking soda once or twice a week is recommended. For pans that are used less frequently or for cooking less messy foods, cleaning once a month may be sufficient. Regular cleaning with baking soda can help prevent the buildup of stubborn stains and extend the life of your frying pan.
Q: What if the baking soda paste doesn’t remove all the burnt-on food?
A: If the baking soda paste alone isn’t enough to remove all the burnt-on food, try adding a splash of white vinegar to the paste. The fizzing action of the vinegar helps to loosen the grime. You can also let the paste sit on the affected area for a longer period, even overnight, to allow it to penetrate the residue. For extremely stubborn stains, you may need to repeat the process several times or use a more abrasive scrubber, but be careful not to damage the pan’s surface.
Q: Can I use this method to clean the outside of my frying pan?
A: Yes, you can use the baking soda method to clean the outside of your frying pan, especially if it’s made of stainless steel. However, be mindful of any decorative elements or coatings on the exterior of the pan, as baking soda can be abrasive. Test the method on a small, inconspicuous area first to ensure it doesn’t cause any damage or discoloration. For the bottom of the pan, where grease and grime tend to accumulate, you may need to use a more concentrated baking soda paste and a bit more elbow grease.
Q: Is baking soda safe for the environment?
A: Yes, baking soda is a natural and non-toxic substance that is safe for the environment. Unlike harsh chemical cleaners, it doesn’t contain harmful chemicals that can pollute waterways or harm wildlife. Baking soda is biodegradable and breaks down naturally in the environment, making it an eco-friendly cleaning option.
Q: Can I use baking powder instead of baking soda?
A: No, baking powder is not a suitable substitute for baking soda in this cleaning method. Baking soda (sodium bicarbonate) is a single-ingredient compound with alkaline properties that help to neutralize acids and loosen grime. Baking powder, on the other hand, is a mixture of baking soda and an acid, such as cream of tartar. While it can be used as a mild abrasive, it’s not as effective as baking soda for cleaning burnt-on food residue.
Q: How do I re-season a cast iron frying pan after cleaning it with baking soda?
A: After cleaning your cast iron frying pan with baking soda, it’s crucial to re-season it to prevent rusting and maintain its non-stick properties. To re-season, first, thoroughly dry the pan with a clean towel. Then, apply a thin, even layer of cooking oil (such as vegetable oil, canola oil, or flaxseed oil) to the entire surface of the pan, including the inside, outside, and handle. Wipe off any excess oil with a clean cloth. Place the pan upside down in a preheated oven at 350°F (175°C) for one hour. Let the pan cool completely in the oven before using it.
Q: My non-stick pan has scratches. Is it still safe to use baking soda?
A: If your non-stick pan has scratches, it’s generally still safe to use baking soda for cleaning, but you should be extra cautious. Avoid using abrasive scrubbers that could further damage the coating. Instead, use a soft sponge or cloth. Also, be aware that scratched non-stick coatings can release small amounts of chemicals when heated, so it’s generally recommended to replace the pan if the scratches are significant.
Q: Can I use this method on other cookware besides frying pans?
A: Yes, the baking soda cleaning method can be used on other types of cookware, such as pots, baking sheets, and casserole dishes. The same principles apply: create a paste of baking soda and water, apply it to the affected area, let it sit for a while, and then scrub gently. Be mindful of the material of the cookware and avoid using abrasive scrubbers on delicate surfaces.
Leave a Comment