
Brussels Sprouts Gardening: Unlock the Secrets to a Bountiful Harvest
Brussels sprouts gardening might sound intimidating, conjuring images of fussy plants and demanding care. But I’m here to tell you that’s a myth! This isn’t about complicated techniques or endless hours of toil; it’s about unlocking the secrets to growing these delicious, nutrient-packed vegetables right in your own backyard. In this article, I’ll share my tried-and-true Brussels sprouts gardening tips and DIY tricks, transforming your gardening experience from frustrating to fulfilling.
For centuries, Brussels sprouts have held a place in European cuisine, evolving from humble beginnings to a staple in many kitchens. Their rich history adds a layer of satisfaction to home cultivation – imagine enjoying the fruits (or rather, vegetables!) of your labor, knowing you’ve grown something with such a deep-rooted heritage. But beyond the historical aspect, there’s a compelling reason why you should consider Brussels sprouts gardening: the unparalleled flavor of homegrown produce. Store-bought sprouts often lack the vibrancy and sweetness of those grown with love and care in your own garden.
Why You Need These DIY Brussels Sprouts Gardening Tricks
Let’s face it: perfectly formed, delicious Brussels sprouts don’t just magically appear. They require a little know-how, and that’s where my DIY tips come in. These simple yet effective techniques will help you overcome common challenges, from pest control to maximizing yield. Whether you’re a seasoned gardener or just starting out, you’ll find practical advice to help you achieve a bountiful harvest of these delightful mini-cabbages. Get ready to experience the joy of growing your own Brussels sprouts and savor the incredible taste difference!

My Brussels Sprout Gardening Adventure: A Complete Guide
I’ve always loved Brussels sprouts, but buying them from the store just didn’t feel the same. So, I decided to grow my own! It was more challenging than I expected, but incredibly rewarding. Here’s what I learned along the way.
Phase 1: Planning and Preparation
- Choose the right time: Brussels sprouts need a long growing season (around 70-90 days), so plan your planting accordingly. I started my seeds indoors about 6-8 weeks before the last expected frost in my area. This gave them a head start.
- Select a sunny spot: Brussels sprouts thrive in full sun (at least 6 hours a day). I chose a spot in my garden that gets plenty of sunlight.
- Prepare the soil: Brussels sprouts need well-drained, fertile soil. I amended my soil with plenty of compost to improve its drainage and nutrient content. A soil test is a great idea to know what your soil needs.
- Gather your supplies: You’ll need seeds (or seedlings), seed starting mix (if starting indoors), potting containers (if starting indoors), garden gloves, a trowel or spade, and a watering can.
Phase 2: Starting Seeds (Indoor Method)
- Fill your containers: Fill your seed starting containers with seed starting mix. Don’t pack it down too tightly; you want it to be loose and airy.
- Sow the seeds: Plant your Brussels sprout seeds about ¼ inch deep and about 1 inch apart. Gently cover them with soil.
- Water gently: Water the seeds thoroughly, but avoid overwatering, which can lead to damping off (a fungal disease). I used a spray bottle for gentle watering.
- Provide warmth and light: Place your containers in a warm location (around 70-75°F) with plenty of light. A sunny windowsill works well, or you can use grow lights.
- Thin seedlings: Once the seedlings have a few true leaves, thin them out, leaving the strongest seedling in each container. This gives them more space to grow.
- Harden off seedlings: Before transplanting outdoors, gradually acclimate your seedlings to outdoor conditions. Start by placing them outside for a few hours each day, gradually increasing the time over several days. This prevents shock when they are finally planted in the garden.
Phase 3: Transplanting and Growing
- Prepare the garden bed: Once the danger of frost has passed and the soil has warmed up, prepare your garden bed. Loosen the soil and remove any weeds or rocks.
- Dig planting holes: Dig holes that are deep and wide enough to accommodate your seedlings’ root balls. Space them about 18-24 inches apart to allow for growth.
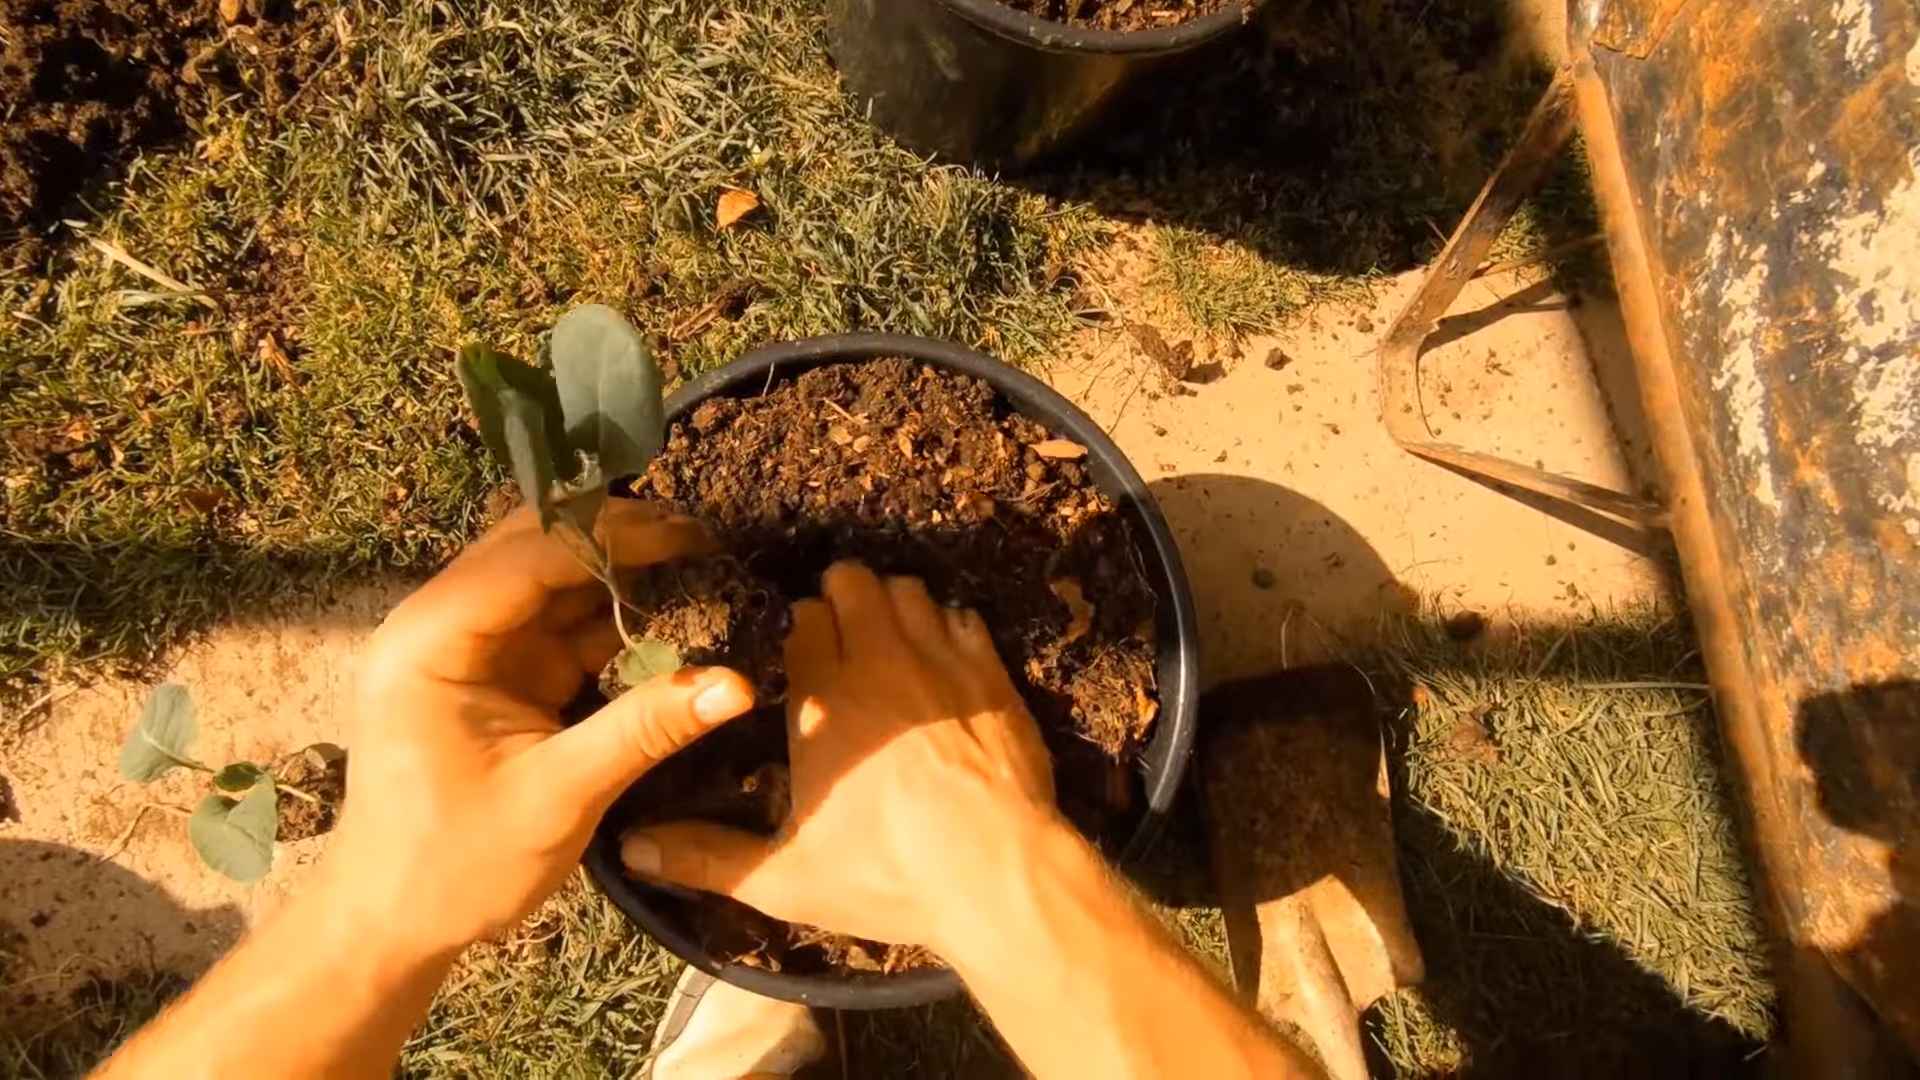
- Transplant the seedlings: Carefully remove the seedlings from their containers, being careful not to damage the roots. Plant them in the holes, covering the roots with soil. Gently firm the soil around the base of each plant.
- Water deeply: Water the newly transplanted seedlings deeply to help them settle in. I watered them again a few days later.
- Mulch: Apply a layer of mulch (like straw or shredded leaves) around the plants to help retain moisture, suppress weeds, and regulate soil temperature.
- Water regularly: Keep the soil consistently moist, but avoid overwatering. Brussels sprouts need consistent moisture, especially during dry spells.
- Fertilize: I used a balanced fertilizer about a month after transplanting, following the package instructions. This provided the plants with the nutrients they needed for healthy growth.
- Pest and disease control: Regularly inspect your plants for pests and diseases. I found that keeping the area around the plants weed-free helped reduce pest problems. If you find pests, use appropriate organic pest control methods.
Phase 4: Harvesting
- Harvesting time: Brussels sprouts are ready to harvest in the fall, usually 70-90 days after transplanting. The sprouts should be firm and dark green.
- Harvesting method: Harvest the sprouts individually by snapping them off the stalk. Don’t pull them off, as this can damage the plant. Start harvesting from the bottom of the stalk and work your way up.
- Storage: Store harvested Brussels sprouts in the refrigerator for up to a week. They can also be frozen for longer storage.
Troubleshooting
Common Problems and Solutions:
- Yellowing leaves: This can be a sign of nutrient deficiency, overwatering, or pests. Check your soil, adjust your watering schedule, and inspect for pests.
- Small sprouts: This can be due to insufficient sunlight, poor soil quality, or overcrowding. Ensure your plants get enough sun, amend your soil if necessary, and thin out overcrowded plants.
- Pest infestations: Common pests include aphids, cabbage worms, and slugs. Use organic pest control methods to manage infestations.
- Disease: Fungal diseases can be a problem. Ensure good air circulation around your plants and avoid overhead watering.
Remember:
Patience is key! Growing Brussels sprouts takes time and effort, but the reward of harvesting your own delicious sprouts is well worth it. Don’t be discouraged if you encounter some challenges along the way. Learn from your mistakes and keep trying. Happy gardening!
Conclusion
So there you have it! Our guide to successful Brussels sprouts gardening. This DIY approach to growing your own Brussels sprouts isn’t just about saving money; it’s about experiencing the unparalleled satisfaction of harvesting fresh, flavorful sprouts directly from your garden. The unique taste of homegrown Brussels sprouts, bursting with nutrients and free from pesticides, is a reward in itself. This method, focusing on proper soil preparation, strategic planting, and consistent care, ensures a bountiful harvest, transforming even the most novice gardener into a Brussels sprouts expert. You’ll be amazed at the difference between store-bought and homegrown sprouts – a difference that’s truly worth the effort. This DIY Brussels sprouts gardening technique is a must-try for anyone who appreciates fresh, flavorful produce and the joy of nurturing plants from seed to harvest. It’s a rewarding experience that connects you to your food in a profound way. Beyond the delicious results, you’ll find yourself appreciating the natural world and the simple act of growing your own food.
Beyond the basic method outlined, there are numerous ways to personalize your Brussels sprouts gardening journey. Experiment with different varieties – some mature faster than others, offering a longer harvest season. Consider companion planting; certain herbs and flowers can deter pests and improve soil health. For instance, planting marigolds nearby can help repel insects. If space is limited, explore vertical gardening techniques, using trellises or other supports to maximize your yield. You can also experiment with different soil amendments to optimize nutrient levels. Adding compost or well-rotted manure can significantly improve soil structure and fertility, leading to healthier, more productive plants. Don’t be afraid to get creative and adapt the techniques to your specific environment and preferences. The beauty of gardening is its adaptability; there’s no single “right” way to do it.
We encourage you to embark on this rewarding gardening adventure. Share your experiences, successes, and even your challenges with us and other gardening enthusiasts. Post pictures of your thriving Brussels sprouts plants on social media using the hashtag #DIYBrusselsSprouts. Let’s build a community of home gardeners, sharing tips, tricks, and the joy of harvesting our own delicious, homegrown produce. Remember, even small successes are significant steps towards a more sustainable and fulfilling lifestyle. The journey of growing your own Brussels sprouts is as rewarding as the delicious harvest itself. So, get your hands dirty, embrace the challenge, and enjoy the fruits (or should we say, sprouts?) of your labor! You won’t regret it.
Frequently Asked Questions
What type of soil is best for growing Brussels sprouts?
Brussels sprouts thrive in well-drained, fertile soil with a slightly acidic pH (between 6.0 and 6.8). Amend heavy clay soils with compost or other organic matter to improve drainage and aeration. Sandy soils may benefit from the addition of peat moss or other organic materials to increase water retention.
When is the best time to plant Brussels sprouts?
The optimal planting time depends on your climate. In cooler climates, start seeds indoors 6-8 weeks before the last expected frost. Direct sowing outdoors is possible after the danger of frost has passed, typically in spring or early summer. For a fall harvest, aim for a planting time that allows for sufficient growing time before the first frost.
How much sunlight do Brussels sprouts need?
Brussels sprouts need at least 6-8 hours of direct sunlight per day to thrive. Choose a sunny location in your garden that receives ample sunlight throughout the day. Insufficient sunlight can lead to poor growth and reduced yields.
How often should I water my Brussels sprouts?
Consistent watering is crucial for healthy Brussels sprout growth. Aim to keep the soil consistently moist but not waterlogged. Water deeply and less frequently rather than shallowly and often. The frequency of watering will depend on your climate and soil conditions. During dry spells, you may need to water more frequently.
What are some common pests and diseases that affect Brussels sprouts?
Common pests include aphids, cabbage worms, and flea beetles. Diseases such as downy mildew and clubroot can also affect Brussels sprouts. Regularly inspect your plants for signs of pests or diseases and take appropriate action, such as using organic pest control methods or removing affected plants.
How do I harvest Brussels sprouts?
Brussels sprouts are ready for harvest when they are firm and about 1-2 inches in diameter. Start harvesting from the bottom of the stalk and work your way up, picking sprouts as they mature. You can harvest over several weeks, allowing the remaining sprouts to continue growing.
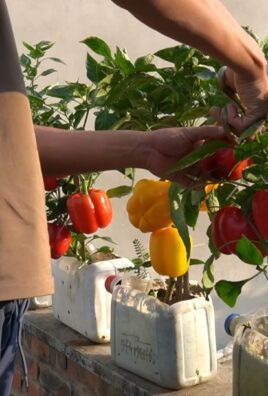
Can I grow Brussels sprouts in containers?
Yes, you can grow Brussels sprouts in large containers, provided they are at least 12-15 inches deep and wide to accommodate the root system. Choose a container with drainage holes to prevent waterlogging. Ensure the container is filled with a high-quality potting mix.
What should I do if my Brussels sprouts are not producing many sprouts?
Several factors can affect sprout production, including insufficient sunlight, poor soil quality, inadequate watering, or pest infestations. Review your gardening practices and address any potential issues. Ensure your plants are receiving adequate sunlight, water, and nutrients. Control any pests or diseases promptly.
What are some ways to preserve my harvested Brussels sprouts?
Brussels sprouts can be stored in the refrigerator for up to a week. You can also freeze them for longer storage. Blanch the sprouts in boiling water for a few minutes before freezing to maintain their quality. Other preservation methods include pickling or canning.
My Brussels sprouts are bolting, what should I do?
Bolting, where the plant sends up a flower stalk, often occurs due to stress, such as heat or drought. While you can still harvest the sprouts, they may be less tender. For future plantings, ensure consistent watering and avoid planting in excessively hot conditions.
Leave a Comment