
Bathroom cleaning with Clorox doesn’t have to be a dreaded chore! Let’s face it, nobody *loves* scrubbing toilets and battling mildew. But what if I told you there were simple, effective DIY tricks to make the process faster, easier, and even…dare I say…slightly enjoyable?
For generations, keeping our homes clean has been a cornerstone of health and well-being. From ancient civilizations using natural remedies to disinfect their living spaces to our modern reliance on powerful cleaning agents, the desire for a sparkling clean bathroom is deeply ingrained. While Clorox has become a household name in the fight against germs, many of us are unaware of its full potential and how to use it safely and effectively.
That’s where this DIY guide comes in! I’m going to share some of my favorite bathroom cleaning hacks using Clorox that will save you time, money, and elbow grease. We’ll tackle everything from stubborn stains to lingering odors, ensuring your bathroom is not only clean but also a healthy and inviting space. Because let’s be honest, a clean bathroom is a happy bathroom, and a happy bathroom makes for a happy home! So, grab your gloves, your Clorox, and let’s get started on transforming your bathroom into a sparkling sanctuary with these simple bathroom cleaning with Clorox tips!
DIY Bathroom Sparkle: My Clorox Cleaning Power-Up!
Okay, friends, let’s talk bathrooms. We all know they can get, well, less than sparkling. But fear not! I’ve got a tried-and-true method using Clorox that’ll have your bathroom gleaming in no time. This isn’t just a quick wipe-down; we’re going for deep clean satisfaction. I’m going to walk you through my process, step-by-step, so you can achieve the same amazing results.
What You’ll Need: The Arsenal of Clean
Before we dive in, let’s gather our supplies. Having everything ready beforehand makes the whole process smoother and faster. Trust me, you don’t want to be running around mid-scrub!
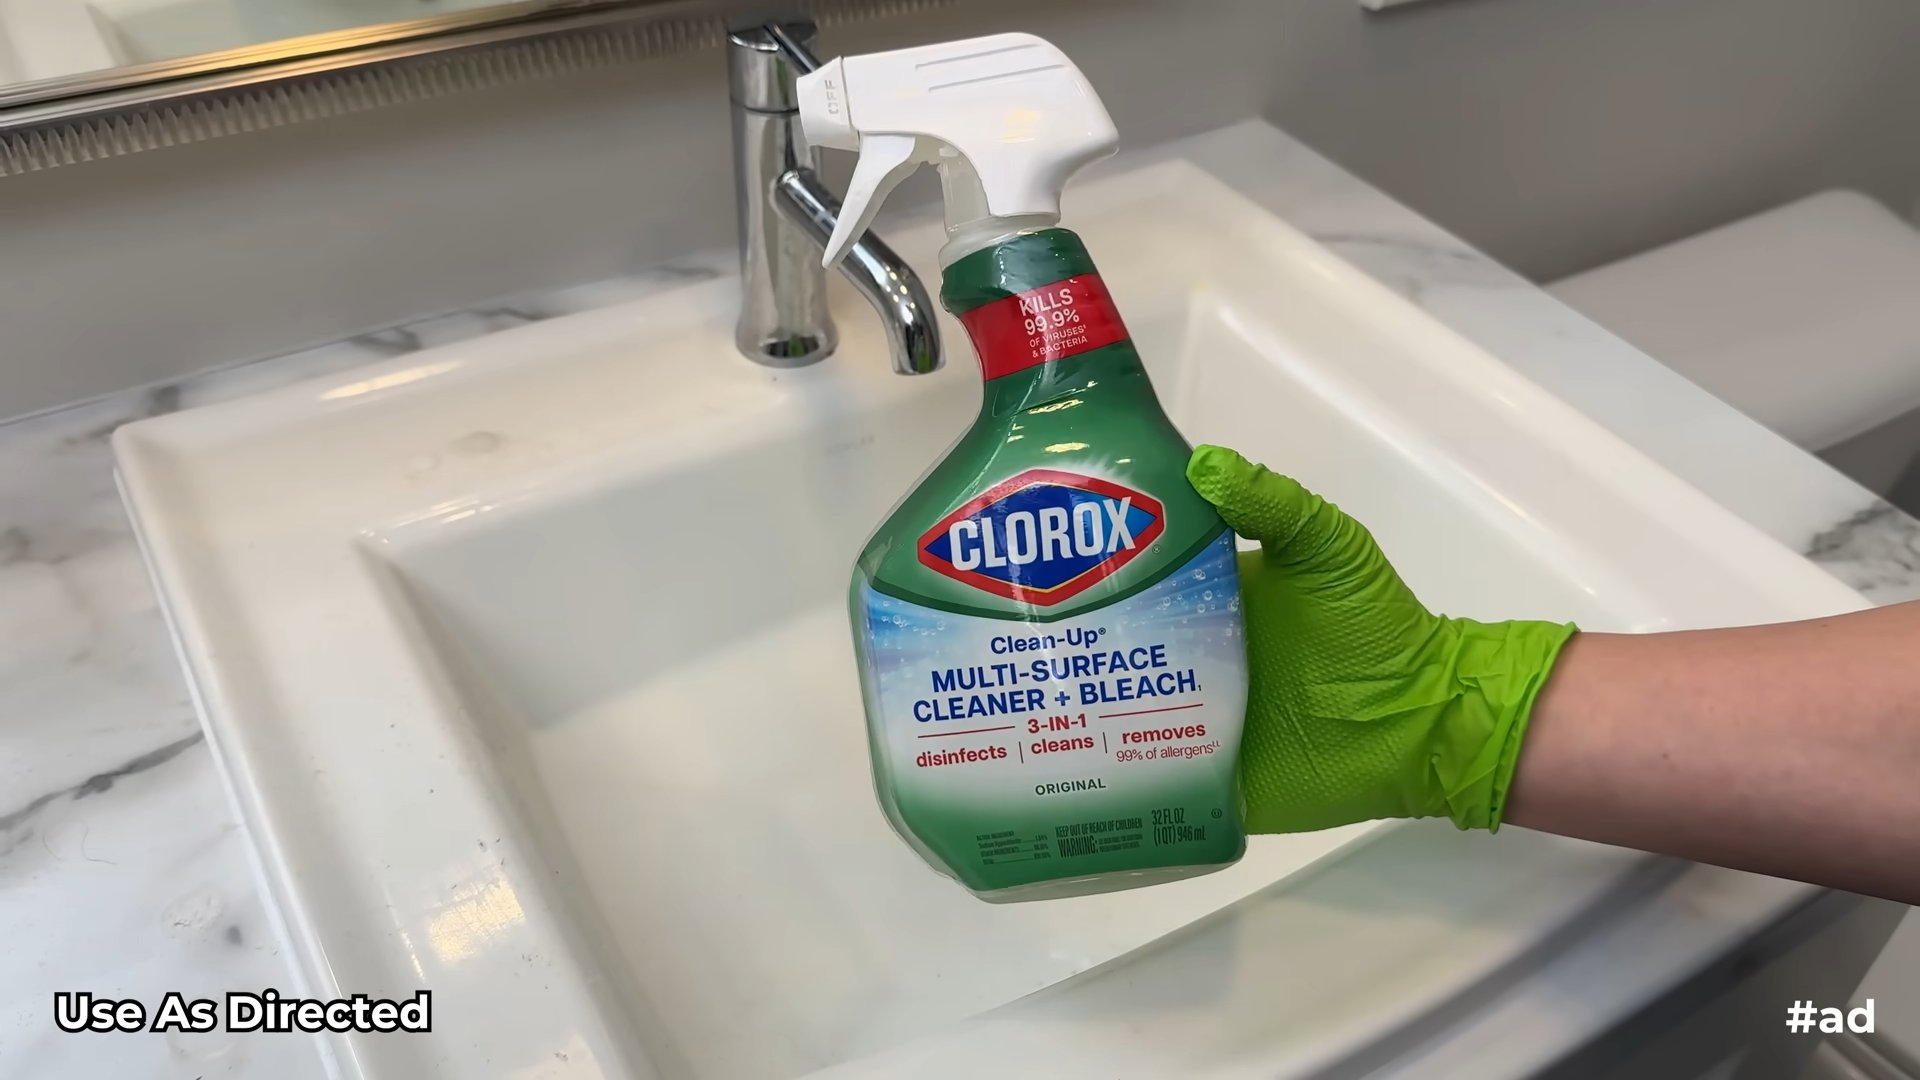
* Clorox Bleach (Regular, Unscented): This is the star of the show! We’ll be diluting it properly, so don’t worry about harsh fumes.
* Clorox Toilet Bowl Cleaner: Specifically designed for tackling toilet stains and grime.
* Spray Bottle: For our diluted bleach solution. Make sure it’s clean and clearly labeled!
* Cleaning Cloths (Microfiber is best!): You’ll need several – some for general cleaning, some for scrubbing, and some for drying.
* Scrub Brush: A good, sturdy scrub brush is essential for tackling tough stains in the shower and on the floor.
* Toilet Brush: For obvious reasons!
* Rubber Gloves: Protect those precious hands! Bleach can be harsh on the skin.
* Eye Protection (Optional, but Recommended): Safety first! Splashes happen.
* Old Toothbrush: Perfect for getting into those hard-to-reach nooks and crannies.
* Squeegee: For streak-free shower door and tile cleaning.
* Bucket: For rinsing cloths and holding cleaning solutions.
* Ventilation: Open a window or turn on the exhaust fan. Fresh air is your friend!
* Warm Water: For diluting the bleach and rinsing surfaces.
Safety First! Bleach Handling 101
Important! Bleach is a powerful cleaning agent, but it needs to be handled with respect. Always follow these safety precautions:
* Never mix bleach with ammonia or other cleaning products. This can create dangerous and potentially deadly fumes.
* Always dilute bleach with water according to the instructions below. Undiluted bleach is too harsh and can damage surfaces.
* Wear rubber gloves and eye protection to protect your skin and eyes.
* Work in a well-ventilated area.
* Keep bleach out of reach of children and pets.
Step-by-Step: The Bathroom Cleaning Blitz
Alright, let’s get down to business! I’ve broken down the cleaning process into manageable steps.
1. Prepare the Area: Declutter and Protect
* Remove everything from the counters, shower, and tub. This includes toiletries, shower curtains, bath mats, and anything else that might be in the way.
* Place a towel or old sheet over the floor in front of the toilet. This will protect your floor from splashes and spills.
* Open a window or turn on the exhaust fan. Ventilation is key!
2. The Toilet Transformation: Inside and Out
* Flush the toilet.
* Apply Clorox Toilet Bowl Cleaner under the rim and around the bowl. Let it sit for at least 10 minutes to allow it to work its magic. I usually let it sit while I’m cleaning other parts of the bathroom.
* While the cleaner is working, wipe down the exterior of the toilet with a diluted bleach solution (see dilution instructions below). Pay attention to the handle, seat, lid, and base.
* Scrub the inside of the toilet bowl with a toilet brush. Make sure to get under the rim and around the drain.
* Flush the toilet again to rinse away the cleaner and grime.
* Wipe down the exterior of the toilet again with a clean, damp cloth.
* Dry the toilet with a clean, dry cloth.
3. Shower and Tub Scrub-Down: Banishing Soap Scum
This is where the real elbow grease comes in! But trust me, the results are worth it.
* Rinse the shower and tub with warm water. This will loosen any loose dirt and grime.
* Prepare your diluted bleach solution in a spray bottle.
* Dilution Ratio: I use a 1:10 ratio of bleach to water. That’s 1 part Clorox bleach to 10 parts water. For example, if your spray bottle holds 1000ml, use 100ml of bleach and 900ml of water. Always add bleach to water, never water to bleach.
* Spray the shower and tub surfaces with the diluted bleach solution. Make sure to cover all areas, including the walls, floor, and fixtures.
* Let the solution sit for 5-10 minutes. This will give the bleach time to disinfect and loosen soap scum.
* Scrub the surfaces with a scrub brush or cleaning cloth. Pay extra attention to areas with heavy soap scum or mildew. An old toothbrush is great for grout lines!
* Rinse the shower and tub thoroughly with warm water. Make sure to remove all traces of bleach.
* Squeegee the shower door and walls to prevent water spots.
* Dry the shower and tub with a clean, dry cloth.
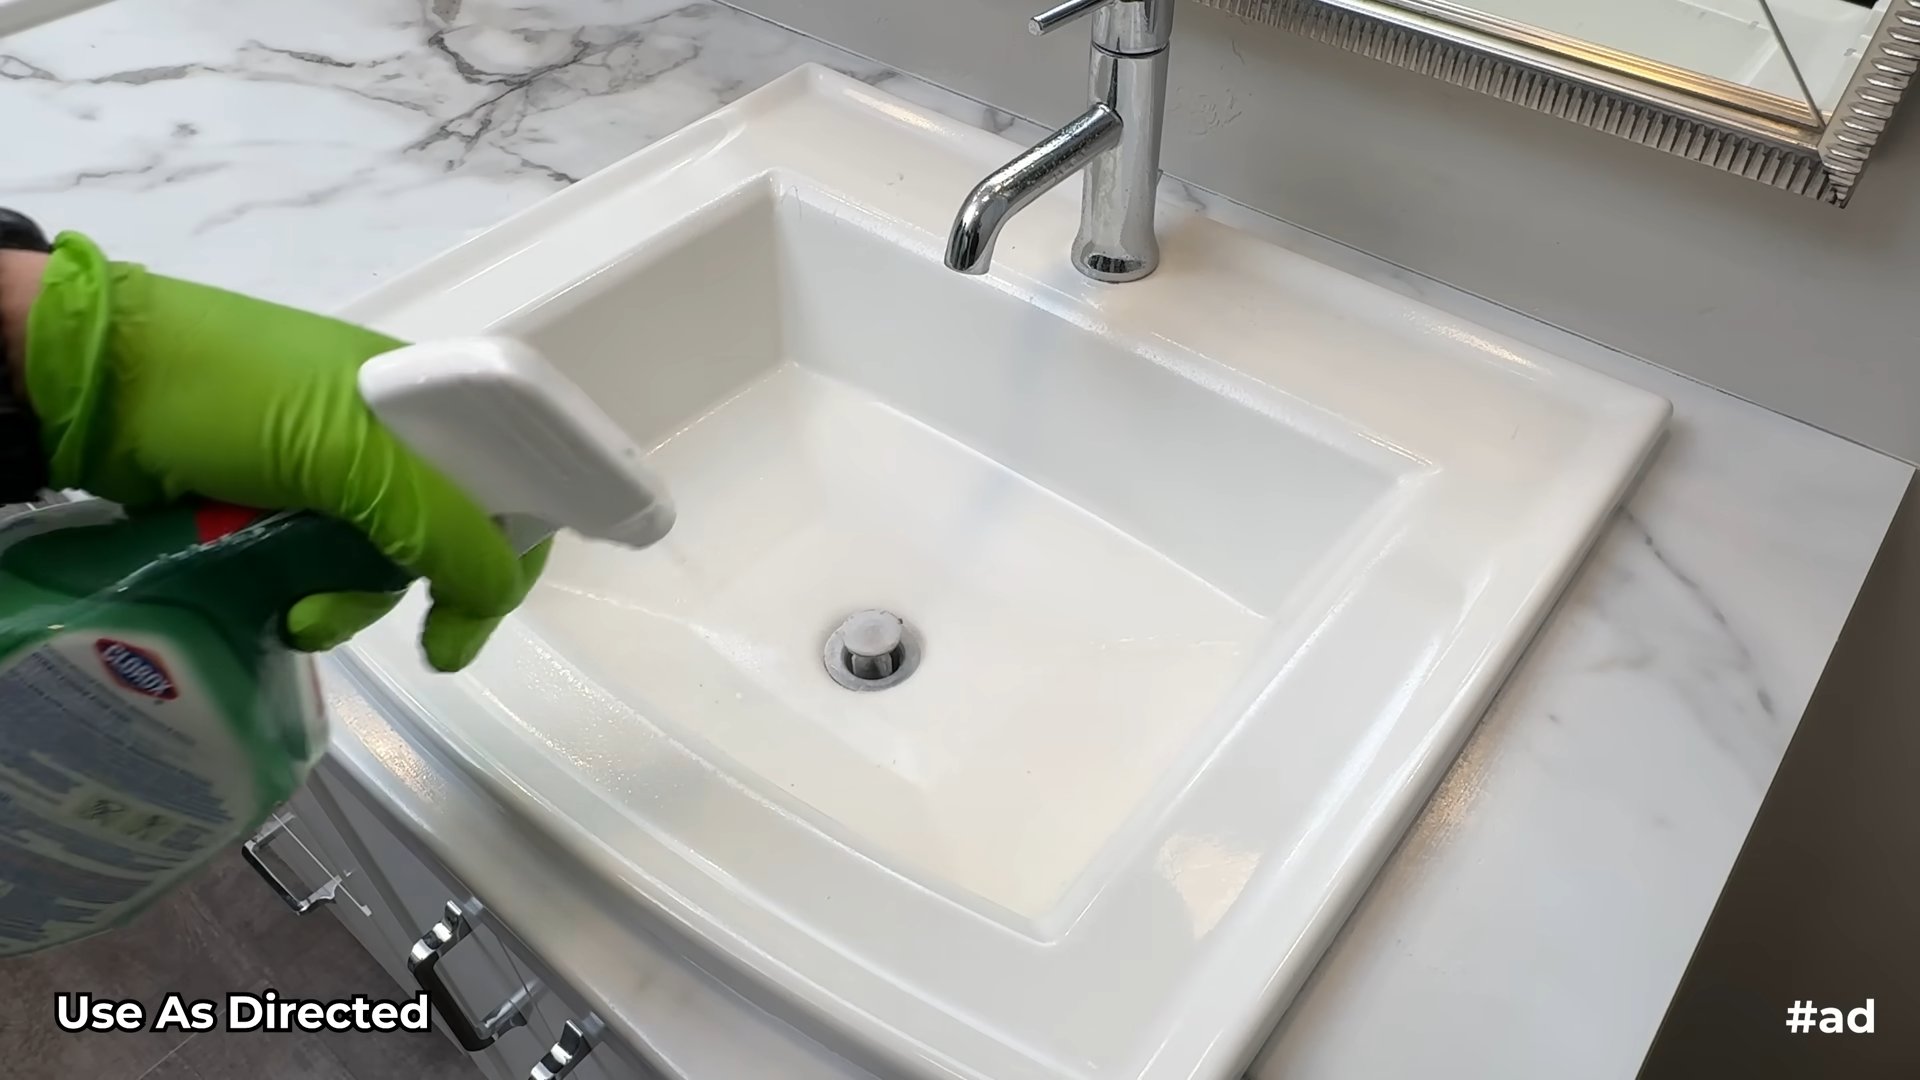
4. Sink and Countertop Cleaning: Sparkling Surfaces
* Remove everything from the sink and countertop.
* Spray the sink and countertop with the diluted bleach solution.
* Let the solution sit for 2-3 minutes.
* Wipe down the surfaces with a cleaning cloth.
* Rinse the sink and countertop thoroughly with warm water.
* Dry the sink and countertop with a clean, dry cloth.
* Polish the fixtures with a dry cloth to remove any water spots.
5. Floor Scrubbing: From Grimy to Gleaming
* Sweep or vacuum the floor to remove any loose dirt and debris.
* Prepare a bucket of warm water and add a small amount of Clorox bleach (again, using the 1:10 dilution ratio).
* Mop the floor with the bleach solution.
* Rinse the floor with clean water.
* Allow the floor to air dry or dry it with a clean towel.
6. Mirror, Mirror: Streak-Free Shine
* Spray the mirror with a glass cleaner or a mixture of vinegar and water.
* Wipe the mirror with a clean, lint-free cloth.
* Dry the mirror with a clean, dry cloth.
7. Finishing Touches: The Details Matter
* Replace all of the items you removed from the counters, shower, and tub.
* Replace the shower curtain or liner.
* Put down a clean bath mat.
* Empty the trash can.
* Light a scented candle or use an air freshener to add a pleasant aroma.
Troubleshooting: Tackling Stubborn Stains
Sometimes, you’ll encounter stains that are particularly stubborn. Here are a few tips for dealing with them:
* Mildew: For mildew stains, create a paste of baking soda and water. Apply the paste to the affected area and let it sit for 15-20 minutes. Then, scrub the area with a scrub brush and rinse with water.
* Hard Water Stains: Hard water stains can be difficult to remove. Try using a commercial hard water stain remover or a mixture of vinegar and water. Let the solution sit on the stain for a few minutes before scrubbing.
* Rust Stains: Rust stains can be removed with a commercial rust remover or a mixture of lemon juice and salt. Apply the solution to the stain and let it sit for a few minutes before scrubbing.
Maintaining Your Sparkling Bathroom: Prevention is Key
The best way to keep your bathroom clean is to prevent it from getting too dirty in the first place. Here are a few tips for maintaining your sparkling bathroom:
* Wipe down the shower and tub after each use. This will help prevent soap scum buildup.
* Wipe down the sink and countertop daily.
* Clean the toilet regularly.
* Ventilate the bathroom after each shower or bath.
* Wash bath mats and shower curtains regularly.
And there you have it! My complete guide to cleaning your bathroom with Clorox. It might seem like a lot of work,
Conclusion
So, there you have it! Mastering bathroom cleaning with Clorox doesn’t have to be a daunting task. By following these simple steps and incorporating this DIY trick, you can transform your bathroom from a breeding ground for germs and grime into a sparkling, sanitary haven. We’ve shown you how to harness the power of Clorox in a way that’s both effective and efficient, saving you time and effort while achieving professional-level results.
This isn’t just about cleaning; it’s about creating a healthier and more pleasant living environment. A clean bathroom contributes significantly to overall well-being, reducing the risk of illness and providing a space where you can truly relax and rejuvenate. And let’s be honest, who doesn’t appreciate the feeling of stepping into a spotless bathroom?
But the beauty of this method lies not only in its effectiveness but also in its adaptability. Feel free to experiment with variations to suit your specific needs and preferences. For instance, if you’re sensitive to strong scents, consider using Clorox disinfecting wipes instead of the spray, or opt for a Clorox product with a lighter fragrance. You can also adjust the dilution ratios based on the severity of the grime. For heavily soiled areas, a slightly stronger solution might be necessary, while for routine maintenance, a more diluted mixture will suffice.
Consider adding a few drops of your favorite essential oil (like lavender or eucalyptus) to your cleaning solution for an extra boost of freshness. Just be sure to test it in an inconspicuous area first to ensure it doesn’t stain or damage the surface. Another variation is to use an old toothbrush to scrub hard-to-reach areas like grout lines and around faucets. This will help you get into those tight spaces and remove stubborn dirt and mildew.
We understand that every bathroom is different, and what works for one person might not work for another. That’s why we encourage you to personalize this DIY trick to fit your unique circumstances. The key is to find a method that’s both effective and sustainable, one that you can easily incorporate into your regular cleaning routine.
Don’t just take our word for it – try it out for yourself! We’re confident that you’ll be amazed by the results. Once you’ve experienced the transformative power of this DIY bathroom cleaning with Clorox, we’d love to hear about your experience. Share your tips, tricks, and variations in the comments below. Let’s create a community of clean bathroom enthusiasts and help each other achieve sparkling results! Your feedback will not only help us improve this guide but also inspire others to take control of their bathroom cleaning and create a healthier, happier home. So go ahead, grab your Clorox, and get ready to transform your bathroom! We can’t wait to hear your success stories!
Frequently Asked Questions (FAQs)
Is it safe to use Clorox for bathroom cleaning?
Yes, Clorox is generally safe for bathroom cleaning when used according to the manufacturer’s instructions. Always read and follow the safety precautions on the product label. Ensure adequate ventilation by opening windows or turning on the exhaust fan. Avoid mixing Clorox with other cleaning products, especially ammonia, as this can create dangerous fumes. Wear gloves to protect your skin and eye protection to prevent splashes. If you have any concerns about using Clorox due to allergies or sensitivities, consult with a medical professional.
What surfaces can I safely clean with Clorox in the bathroom?
Clorox can be safely used on a variety of bathroom surfaces, including:
* Tile: Ceramic, porcelain, and most other types of tile are generally safe for cleaning with Clorox.
* Grout: Clorox is effective at removing mildew and stains from grout.
* Toilets: Clorox can be used to clean and disinfect toilet bowls and exterior surfaces.
* Sinks: Porcelain, stainless steel, and some composite sinks can be cleaned with Clorox.
* Showers and Tubs: Acrylic, fiberglass, and tile shower and tub surfaces are typically safe.
However, it’s always a good idea to test Clorox in an inconspicuous area first, especially on delicate or porous surfaces like natural stone (marble, granite) or painted surfaces. Avoid using Clorox on surfaces that are known to be sensitive to bleach, such as certain metals or fabrics.
How do I dilute Clorox for bathroom cleaning?
The dilution ratio for Clorox depends on the specific product and the cleaning task. Always refer to the product label for the manufacturer’s recommended dilution instructions. A general guideline for cleaning and disinfecting bathroom surfaces is to mix 1/2 cup of Clorox bleach with 1 gallon of water. For heavily soiled areas or mildew removal, you can use a slightly stronger solution, but never exceed the recommended concentration. When using Clorox disinfecting wipes, no dilution is necessary.
How long should I leave Clorox on surfaces to disinfect them properly?
To effectively disinfect bathroom surfaces with Clorox, allow the solution to remain in contact with the surface for at least 5-10 minutes. This dwell time is necessary for the bleach to kill bacteria, viruses, and fungi. After the dwell time, rinse the surface thoroughly with clean water. For Clorox disinfecting wipes, follow the instructions on the label, which typically involve wiping the surface and allowing it to air dry.
Can I use Clorox to remove mold and mildew in the bathroom?
Yes, Clorox is effective at removing mold and mildew from bathroom surfaces. To remove mold and mildew, mix 1/2 cup of Clorox bleach with 1 gallon of water. Apply the solution to the affected area and let it sit for 5-10 minutes. Scrub the area with a brush or sponge to remove the mold and mildew. Rinse thoroughly with clean water and allow the surface to dry completely. Ensure adequate ventilation during the cleaning process. For stubborn mold and mildew, you may need to repeat the process.
What precautions should I take when using Clorox in a small bathroom?
When using Clorox in a small bathroom, it’s especially important to ensure adequate ventilation. Open windows and turn on the exhaust fan to prevent the buildup of fumes. Wear gloves and eye protection to protect your skin and eyes from splashes. Avoid mixing Clorox with other cleaning products, especially ammonia, as this can create dangerous fumes. If you experience any irritation or discomfort, stop using Clorox immediately and seek fresh air.
How often should I clean my bathroom with Clorox?
The frequency of cleaning your bathroom with Clorox depends on the level of use and the presence of mold or mildew. For general cleaning and disinfection, aim to clean your bathroom with Clorox at least once a week. If you have a heavily used bathroom or if you notice mold or mildew growth, you may need to clean it more frequently. Regular cleaning will help prevent the buildup of grime, bacteria, and mold, keeping your bathroom clean and healthy.
What are some alternatives to Clorox for bathroom cleaning?
If you prefer not to use Clorox, there are several alternative cleaning products that you can use to clean your bathroom. Some popular alternatives include:
* Vinegar: Vinegar is a natural disinfectant and can be used to clean and deodorize bathroom surfaces.
* Baking Soda: Baking soda is a mild abrasive that can be used to scrub away grime and stains.
* Hydrogen Peroxide: Hydrogen peroxide is a disinfectant that can be used to kill bacteria and viruses.
* Commercial Bathroom Cleaners: There are many commercial bathroom cleaners available that are formulated to clean and disinfect bathroom surfaces. Look for products that are labeled as “disinfectant” or “antibacterial.”
When using alternative cleaning products, always follow the manufacturer’s instructions and test the product in an inconspicuous area first to ensure it doesn’t damage the surface.

Leave a Comment