
Balcony Cabbage Growing Tips: Dreaming of fresh, homegrown cabbage but short on space? You’re not alone! Many urban dwellers crave the satisfaction of harvesting their own vegetables, but lack the sprawling gardens of their rural counterparts. But don’t let limited space deter you! This DIY guide unlocks the secrets to successfully growing delicious, crisp cabbage right on your balcony.
Cabbage, a staple in cuisines worldwide, boasts a rich history dating back thousands of years. From ancient Rome, where it was prized for its medicinal properties, to its prominent role in Eastern European dishes like sauerkraut and borscht, cabbage has nourished generations. Now, you can participate in this culinary legacy, even without a traditional garden.
Why should you try these balcony cabbage growing tips? Because nothing beats the taste of freshly picked produce, and knowing exactly where your food comes from is incredibly rewarding. Plus, growing your own cabbage is a fantastic way to save money, reduce your carbon footprint, and add a touch of green to your urban oasis. I’m excited to share my favorite tips and tricks to help you cultivate a thriving cabbage patch, no matter how small your balcony may be. Let’s get started!
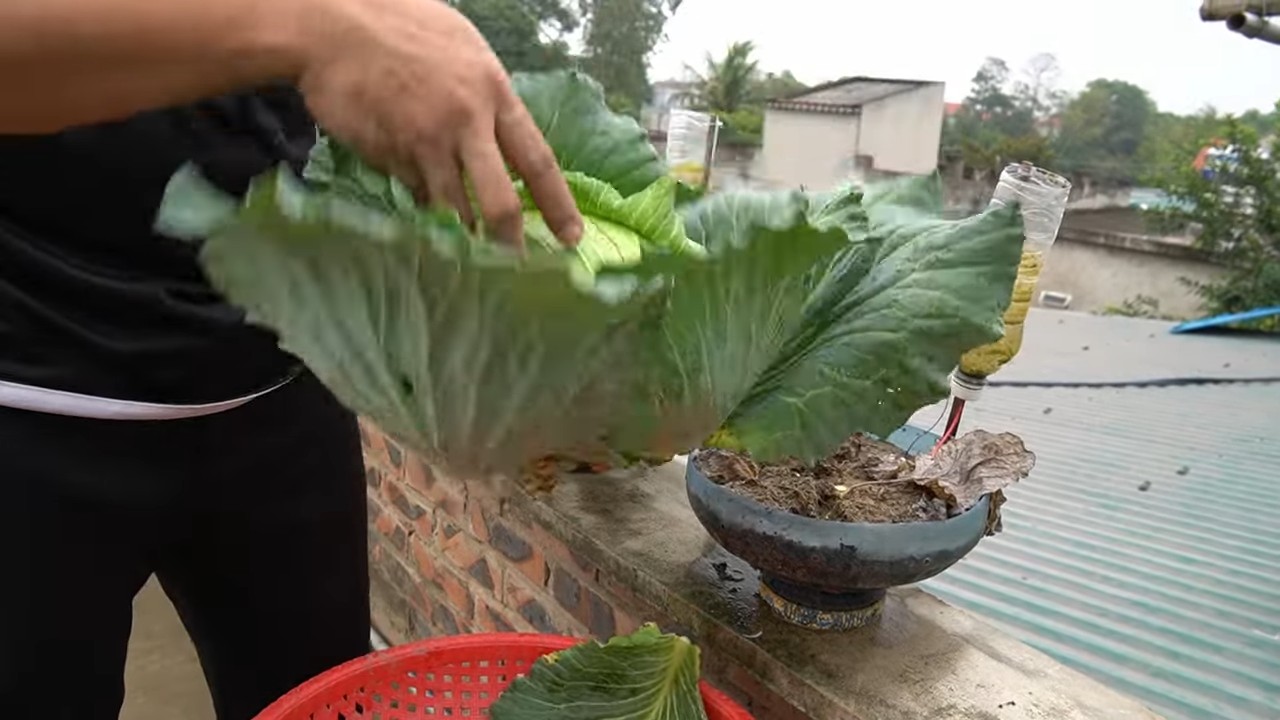
Balcony Cabbage: Your Own Little Vegetable Garden on the Balcony
Hey garden friends! Do you also fancy fresh, crunchy vegetables straight from the balcony? Then you’ve come to the right place! I’ll show you how you can easily grow cabbage on your balcony. It’s easier than you think and a lot of fun!
Why Cabbage on the Balcony?
Cabbage is not only super healthy but also surprisingly easy to grow, even if you don’t have a garden. Plus, it’s great to see how little seedlings turn into delicious vegetables. And the best part: You know exactly what’s in it! No pesticides, no long transport routes – just fresh, homegrown cabbage.
Which Cabbage Varieties are Suitable for the Balcony?
Not every cabbage feels at home on the balcony. Some varieties simply get too big. But don’t worry, there’s plenty of choice! Here are my favorites:
- Dwarf Brussels Sprouts: These small Brussels sprout plants are perfect for the balcony. They stay compact and still provide a decent harvest.
- Mini Cabbage: Here too, the name says it all. These small heads are ideal for smaller pots and balcony boxes.
- Kale: Kale is robust and can also tolerate somewhat colder temperatures. Plus, with its curly leaves, it looks really decorative.
- Napa Cabbage: Napa cabbage grows relatively quickly and is therefore well-suited for impatient gardeners.
- Pak Choi: Similar to Napa cabbage, but even faster! Pak choi is super easy to grow and quickly provides a delicious harvest.
What You Need for Balcony Cabbage Cultivation:
Before we get started, here’s a small shopping list:
- Seeds or seedlings: Depending on whether you want to be there from the beginning or prefer to harvest a little faster.
- Pots or balcony boxes: Make sure they are large enough (at least 20 liters per plant) and have a drainage hole.
- Good potting soil: Special vegetable soil is best, as it’s nutrient-rich and ensures good growth.
- Fertilizer: Organic fertilizer is ideal, e.g., compost or horn shavings.
- Watering can or garden hose: For regular watering.
- Possibly slug protection: Unfortunately, cabbage is very popular with slugs.
Step-by-Step Guide: Growing Cabbage on the Balcony
Now let’s get down to it! Here is a detailed guide on how you can grow your own balcony cabbage:
1. Preparation:
- Select seeds: Decide on a cabbage variety that you like and is suitable for the balcony. Pay attention to the information on the seed packet regarding sowing time and location requirements.
- Prepare pots: Fill your pots or balcony boxes with the potting soil. Leave a few centimeters free at the top.
- Choose a location: Cabbage needs a lot of sun! Find a sunny spot on your balcony where the plants will get at least 6 hours of sun per day.
2. Sowing or Planting:
Sowing (if you’re starting with seeds):
- Make seed drills: With your finger or a small stick, make small grooves in the soil (about 1 cm deep).
- Sow seeds: Distribute the seeds in the grooves. Make sure they are not too close together.
- Cover with soil: Gently cover the seeds with soil and press them down lightly.
- Water in: Water the soil gently so that it is moist but not wet.
- Keep warm: Place the pots in a warm place (approx. 18-20 degrees).
- Keep moist: Keep the soil moist, but avoid waterlogging.
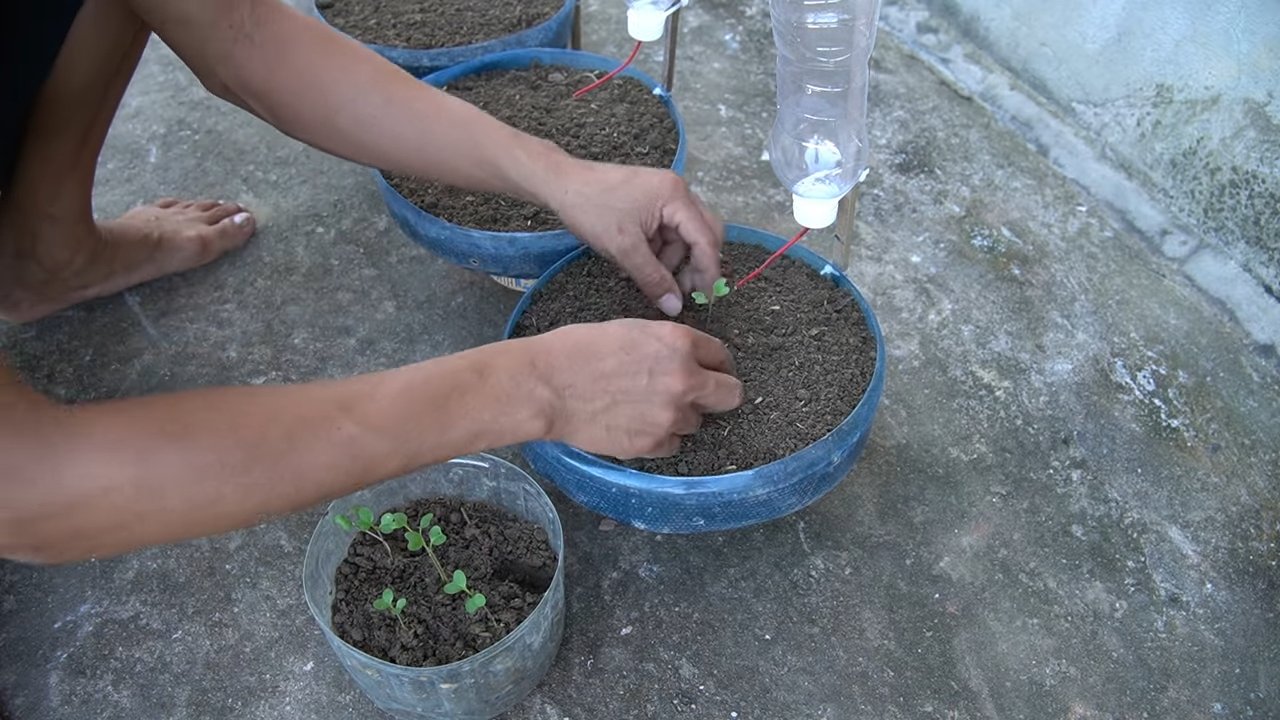
- Prick out: As soon as the seedlings have a few leaves (approx. 2-3 weeks after sowing), you need to prick them out. This means you carefully take the small seedlings out of the soil and transplant them into individual pots. Be careful not to damage the roots.
Planting (if you’re buying seedlings):
- Prepare plants: Carefully remove the seedlings from their pots. Loosen the roots a little.
- Dig planting holes: Dig holes in the soil large enough to accommodate the root balls of the plants.
- Insert plants: Place the plants in the holes and fill the holes with soil. Press the soil down lightly.
- Water in: Water the plants thoroughly.
3. Care:
- Watering: Cabbage needs regular water, especially on hot days. It’s best to water in the morning or evening when the sun is not so strong. Make sure the soil is always slightly moist, but avoid waterlogging.
- Fertilizing: Cabbage is a heavy feeder and needs a lot of nutrients. Fertilize the plants regularly with organic fertilizer, e.g., every 2-3 weeks with compost or horn shavings.
- Controlling slugs: Unfortunately, cabbage is very popular with slugs. There are several ways to combat them:
- Slug fences: These fences prevent slugs from getting to the plants.
- Slug pellets: Make sure to use slug pellets that are suitable for organic farming.
- Hand-picking: It’s best to pick off the slugs in the evening or early in the morning.
- Diseases and pests: Watch for signs of diseases or pests. If necessary, you can use biological plant protection products.
- Remove weeds: Regularly remove weeds so that the cabbage has enough space and nutrients.
- Support: As the cabbage heads get larger, it may be useful to support the plants to prevent them from falling over.
4. Harvest:
- Harvest time: The harvest time depends on the cabbage variety. Check the seed packet or the internet to find out when your cabbage variety is ripe.
- Harvesting: Cut off the cabbage heads with a sharp knife. For Brussels sprouts, you can harvest the sprouts one by one as soon as they have reached the desired size.
- Storage: Cabbage can be stored in the refrigerator for a few days. Kale and Brussels sprouts can also be frozen.
Additional Tips for Balcony Cabbage Cultivation:
- Practice crop rotation: Do not grow cabbage in the same location every year to prevent diseases and pests.
- Companion planting: Plant cabbage together with other plants that support each other. Good neighbors are, for example, marigolds, nasturtiums, or sage.
- Mulching: Mulch the soil around the cabbage plants with straw or grass clippings. This keeps the soil moist and suppresses weeds.
- Check regularly: Check your plants regularly for pests and diseases. The sooner you discover something, the better you can combat it.
- Don’t give up: Even if something goes wrong, don’t be discouraged! Gardening is a learning process. Try different varieties and methods until you find what’s right for your balcony.
Common Problems and Solutions:
Yellow leaves: Can be a sign of nutrient deficiency. Fertilize the plants with a suitable fertilizer.
Conclusion
So, there you have it! Growing cabbage on your balcony isn’t just a whimsical dream; it’s a tangible reality within your reach. We’ve walked through the essential steps, from selecting the right varieties to warding off common pests, all tailored for the unique environment of a balcony garden. But why should you actually dedicate your precious balcony space to this leafy green?
The answer is multifaceted. First and foremost, the taste of homegrown cabbage is simply unparalleled. Forget the bland, mass-produced heads from the supermarket. Balcony-grown cabbage, nurtured with your own care and attention, boasts a sweetness and crispness that will elevate your culinary creations. Imagine using it in slaws, stir-fries, or even fermented dishes – the possibilities are endless.
Beyond the superior flavor, growing your own cabbage offers a profound sense of accomplishment. There’s something deeply satisfying about nurturing a plant from seed (or seedling) to harvest, knowing that you played an integral role in its growth. It’s a connection to nature that can be especially valuable in urban environments.
And let’s not forget the cost savings! While the initial investment in pots, soil, and seedlings might seem like a hurdle, consider the long-term benefits. You’ll be reducing your grocery bills and minimizing your reliance on commercially grown produce, which often comes with a hefty environmental footprint.
But the real magic lies in the adaptability of this method. Feel free to experiment with different cabbage varieties. Red cabbage adds a vibrant splash of color to your balcony and a slightly peppery flavor to your dishes. Savoy cabbage, with its crinkled leaves, offers a more delicate texture. And for those with limited space, consider growing smaller, faster-maturing varieties like ‘Golden Acre’ or ‘Early Jersey Wakefield’.
Don’t be afraid to get creative with your container gardening setup. Vertical planters can maximize space, while hanging baskets can add a touch of whimsy. Just ensure that your chosen containers provide adequate drainage and are large enough to accommodate the cabbage’s root system.
Furthermore, consider companion planting to enhance your balcony garden’s ecosystem. Marigolds can deter pests, while herbs like dill and rosemary can attract beneficial insects. These symbiotic relationships can help you create a thriving and self-sustaining environment for your cabbage and other plants.
Growing cabbage on your balcony is more than just a gardening project; it’s an investment in your health, your well-being, and your connection to the natural world. It’s a chance to learn new skills, experiment with different techniques, and enjoy the fruits (or rather, vegetables) of your labor.
So, what are you waiting for? Grab your gardening gloves, gather your supplies, and embark on this exciting adventure. We’re confident that you’ll be amazed by the results. And once you’ve harvested your first head of homegrown cabbage, be sure to share your experience with us! We’d love to hear your tips, tricks, and triumphs. Share your photos and stories on social media using [Your Social Media Hashtag] and let’s inspire others to embrace the joy of balcony cabbage growing. Happy gardening!
Frequently Asked Questions (FAQ)
What is the best time of year to start growing cabbage on my balcony?
The timing depends on your climate. Cabbage is a cool-season crop, so it thrives in temperatures between 60°F and 70°F (15°C and 21°C). In most regions, you can start seeds indoors 6-8 weeks before the last expected frost in spring, or direct sow seeds outdoors 2-4 weeks before the last frost. For a fall harvest, start seeds indoors in mid-summer and transplant them to your balcony garden in late summer or early fall. Pay attention to your local weather patterns and adjust your planting schedule accordingly. A soil thermometer can be a great help in determining the best time to plant.
What size pot is needed for growing cabbage on a balcony?
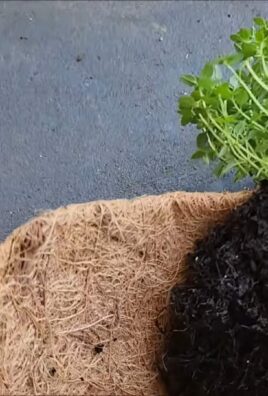
Cabbage plants need ample space for their roots to develop properly. A minimum pot size of 12 inches in diameter and 12 inches deep is recommended for most cabbage varieties. Larger varieties may require even bigger pots, up to 18 inches in diameter. Ensure the pot has drainage holes to prevent waterlogging, which can lead to root rot. Consider using fabric pots, as they allow for better aeration and drainage.
What type of soil is best for growing cabbage in containers?
Cabbage prefers well-draining, fertile soil that is rich in organic matter. A good potting mix for container gardening is ideal. You can also create your own mix by combining equal parts of potting soil, compost, and perlite or vermiculite. The compost provides essential nutrients, while the perlite or vermiculite improves drainage and aeration. Avoid using garden soil, as it can be too heavy and compact for container gardening.
How often should I water my balcony cabbage plants?
Water cabbage plants regularly, especially during hot and dry weather. The soil should be consistently moist but not waterlogged. Check the soil moisture by sticking your finger about an inch deep into the soil. If it feels dry, it’s time to water. Water deeply, allowing the water to drain out of the drainage holes. Avoid overhead watering, as it can promote fungal diseases. Drip irrigation or soaker hoses are excellent options for providing consistent moisture to your cabbage plants.
What are some common pests that affect cabbage, and how can I control them on my balcony?
Common cabbage pests include cabbage worms, aphids, and flea beetles. Cabbage worms can be handpicked off the plants or controlled with Bacillus thuringiensis (Bt), a natural insecticide. Aphids can be washed off with a strong stream of water or controlled with insecticidal soap. Flea beetles can be deterred with row covers or controlled with neem oil. Regularly inspect your plants for signs of pests and take action promptly to prevent infestations from spreading. Companion planting with marigolds or nasturtiums can also help deter pests.
How much sunlight does cabbage need when grown on a balcony?
Cabbage needs at least 6 hours of direct sunlight per day to thrive. Choose a sunny spot on your balcony that receives ample sunlight throughout the day. If your balcony is shaded for part of the day, try to position your cabbage plants where they will receive the most sunlight. You can also supplement with grow lights if necessary, especially during cloudy periods.
How do I fertilize my cabbage plants on a balcony?
Cabbage is a heavy feeder, so regular fertilization is essential for healthy growth. Use a balanced fertilizer (e.g., 10-10-10) or a fertilizer specifically formulated for vegetables. Apply fertilizer according to the package instructions, typically every 2-3 weeks. You can also supplement with compost tea or liquid seaweed extract to provide additional nutrients. Avoid over-fertilizing, as this can lead to excessive foliage growth and reduced head formation.
How do I know when my cabbage is ready to harvest?
Cabbage is ready to harvest when the head is firm and solid. The size of the head will vary depending on the variety. Gently squeeze the head to check for firmness. If it feels soft or spongy, it’s not ready yet. Use a sharp knife to cut the head from the stem, leaving a few outer leaves intact. Harvest cabbage on a cool, dry day to prevent spoilage.
Can I grow multiple cabbage plants in the same container on my balcony?
While it’s possible to grow multiple cabbage plants in the same container, it’s generally not recommended, especially for larger varieties. Overcrowding can lead to stunted growth, reduced head size, and increased susceptibility to pests and diseases. If you choose to grow multiple plants in the same container, ensure that the container is large enough to accommodate their root systems and provide adequate spacing between plants. Smaller, faster-maturing varieties may be more suitable for growing in close proximity.
What are some good companion plants for cabbage on a balcony?
Several plants can benefit cabbage when grown together. Marigolds and nasturtiums deter pests, while dill and rosemary attract beneficial insects. Chamomile is believed to improve the flavor of cabbage, while onions and garlic can help repel cabbage moths. Avoid planting cabbage near tomatoes, strawberries, or pole beans, as these plants can inhibit its growth.

Leave a Comment