
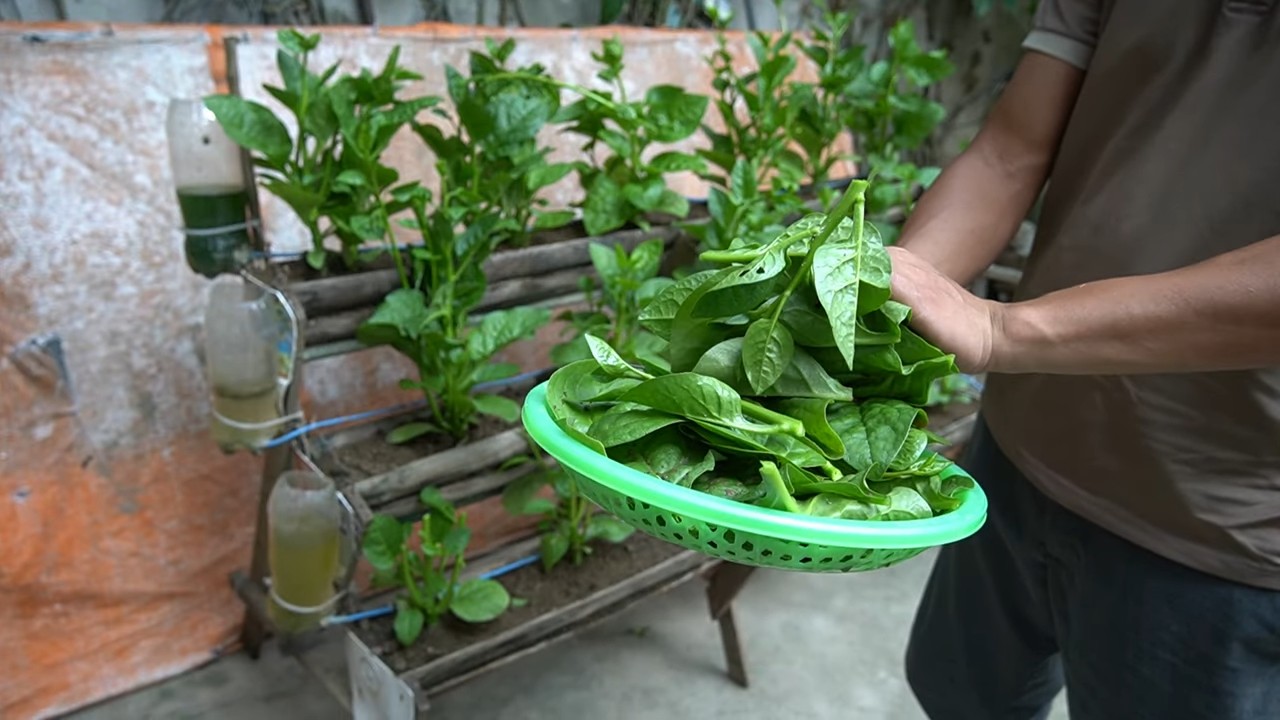
Vertical Spinach Tower: Imagine fresh, vibrant spinach, bursting with flavor, just steps from your kitchen. No sprawling garden needed! I’m so excited to share a fantastic DIY project that will revolutionize your home gardening: building your very own vertical spinach tower.
For centuries, humans have cultivated spinach, valuing it for its nutritional power and versatility. From ancient Persia to Renaissance Europe, spinach has been a staple, and now, we’re bringing it into the modern age with a space-saving twist. But let’s face it, traditional gardening can be challenging, especially if you’re short on space or time. That’s where this DIY vertical spinach tower comes in!
This isn’t just about growing spinach; it’s about creating a sustainable, accessible food source right at home. Think of the money you’ll save on groceries, the satisfaction of harvesting your own food, and the joy of knowing exactly where your spinach comes from. Plus, a vertical garden is a beautiful addition to any balcony, patio, or even a sunny indoor space. Are you ready to learn how to build your own vertical spinach tower? Let’s get started!
DIY Vertical Spinach Tower: Your Own Little Vegetable Garden for Balcony or Terrace
Hello dear garden friends! Do you have little space but still want fresh spinach from your own garden? Then I have just the thing for you today: a vertical spinach tower! This is not only space-saving but also a real eye-catcher. And the best part: you can easily build it yourself. Let’s get started!
What you need for your spinach tower:
- Pipes:
- A large PVC pipe (approx. 15-20 cm / 6-8 inches in diameter, approx. 1.5-2 m / 5-6.5 feet long). This will be the main pipe of your tower.
- A smaller PVC pipe (approx. 5-7 cm / 2-3 inches in diameter, approx. 1.5-2 m / 5-6.5 feet long). This pipe is for watering on the inside.
- Drill with various attachments:
- A large drill bit (matching the size of the spinach plants, approx. 5-8 cm / 2-3 inches in diameter).
- A small drill bit (for the watering holes in the inner pipe).
- Soil: High-quality potting soil, preferably organic.
- Spinach seeds or young plants: Depending on how quickly you want to harvest.
- Geotextile or weed fabric: To prevent soil from being washed out of the holes.
- Gravel or expanded clay pellets: For good drainage at the bottom of the tower.
- Knife or saw: To cut the geotextile.
- Measuring tape or folding ruler: To measure the distances.
- Gloves: To keep your hands clean.
- Watering can or hose: For watering.
- Optional: Spray paint to beautify the pipe.
Step-by-Step Guide: How to Build Your Spinach Tower
1. Preparing the Pipes
- Prepare the large pipe: Take your large PVC pipe and mark the spots where you want to drill the holes for the spinach plants. I recommend a distance of approx. 15-20 cm (6-8 inches) between the holes and staggered rows so the plants have enough space. Make sure the holes are not too close to the edge, so the soil doesn’t fall out.
- Drill holes: Now it’s time to use the drill! Use the large drill bit to drill the marked holes into the large pipe. Be careful and work slowly so the pipe doesn’t crack.
- Prepare the small pipe: Take the smaller PVC pipe and drill many small holes into it with the small drill bit. These holes serve to distribute the water evenly throughout the tower. The holes should be distributed over the entire length of the pipe.
2. Lining the Large Pipe
- Cut geotextile: Cut the geotextile or weed fabric into strips that are slightly wider than the holes in the large pipe.
- Line the holes: Glue or fasten the geotextile strips from the inside over the holes in the large pipe. This prevents the soil from being washed out of the holes when watering. I just used some tape for this, but you can also use a waterproof adhesive.
3. Assembling the Spinach Tower
- Prepare drainage: Place the large pipe in the desired location. Fill the bottom of the pipe with a layer of gravel or expanded clay pellets. This ensures good drainage and prevents waterlogging.
- Insert the small pipe: Place the smaller, perforated pipe in the middle of the large pipe. Make sure it reaches all the way to the bottom.
- Fill with soil: Fill the large pipe with soil. Start at the bottom and work your way up slowly. Make sure the soil is well-compacted, but not too tight. Leave a small rim at the top.
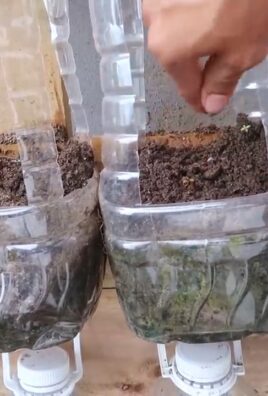
- Insert plants: Now comes the best part: planting the spinach! You can either plant young plants in the holes or sow spinach seeds. If you use seeds, be careful not to place them too deep in the soil.
- Water: Water the spinach tower thoroughly. Pour the water directly into the small pipe so that it can be distributed evenly throughout the tower.
4. Caring for Your Spinach Tower
- Watering: Make sure the soil is always moist, but not wet. Water regularly, especially on hot days.
- Fertilizing: Fertilize the spinach regularly with an organic fertilizer. This ensures healthy growth and a rich harvest.
- Sunlight: Spinach needs sun, but not too much. A semi-shady location is ideal.
- Harvest: You can harvest the spinach as soon as the leaves are large enough. Cut off the outer leaves so that the inner leaves can continue to grow.
Additional Tips and Tricks
- Color: If you don’t like the gray PVC pipe, you can beautify it with spray paint in your favorite color. Make sure to use a paint that is suitable for outdoor use.
- Variety: You can grow not only spinach in your tower but also other herbs or lettuces. Just try out what you like!
- Snails: Watch out for snails, which love to feast on spinach. You can use snail bait or protect the tower with a snail fence.
- Winterizing: Spinach is relatively hardy. You can leave the tower outside in the winter, but be sure to protect it from heavy frost.
Why a Vertical Spinach Tower is a Great Idea
- Space-saving: Ideal for small balconies, terraces, or gardens.
- High-yielding: You can grow a large amount of spinach in a small space.
- Decorative: A real eye-catcher in your garden.
- Easy to build: The tower can be built quickly with just a few steps and materials.
- Healthy: Fresh spinach from your own garden is not only delicious but also healthy.
I hope this guide helps you build your own vertical spinach tower. Have fun gardening and enjoy your meal! Let me know how it worked out for you

Conclusion
So, there you have it! Building your own vertical spinach tower isn’t just a fun weekend project; it’s a game-changer for anyone looking to maximize their gardening space and enjoy a constant supply of fresh, delicious spinach. We’ve walked you through the steps, highlighted the benefits, and hopefully, inspired you to take the plunge.
Why is this DIY trick a must-try? Because it’s efficient, sustainable, and incredibly rewarding. Imagine stepping outside your door and harvesting vibrant, nutrient-rich spinach leaves whenever you need them. No more trips to the grocery store for wilted greens! This method is particularly beneficial for urban gardeners with limited space, allowing you to grow a substantial amount of spinach in a small footprint. Plus, the vertical design improves air circulation, reduces the risk of soilborne diseases, and makes harvesting a breeze.
But the beauty of this project lies in its adaptability. Feel free to experiment with different materials. Instead of PVC pipes, consider using stacked terracotta pots or repurposed plastic containers. You can also adjust the size and height of your tower to fit your specific needs and preferences. For example, if you live in a particularly sunny area, you might want to add a shade cloth to protect your spinach from scorching. Or, if you’re prone to pests, consider adding companion plants like marigolds or basil to deter unwanted visitors.
Don’t limit yourself to just spinach! While this guide focuses on creating a vertical spinach tower, the same principles can be applied to other leafy greens like lettuce, kale, and even herbs like parsley and cilantro. The possibilities are endless!
We understand that embarking on a DIY project can sometimes feel daunting, but trust us, this one is well worth the effort. The satisfaction of growing your own food, coupled with the environmental benefits of reducing your carbon footprint, makes this a truly fulfilling endeavor.
We are confident that you will find this method of growing spinach to be both productive and enjoyable.
So, grab your tools, gather your materials, and get ready to create your own vertical spinach paradise. We can’t wait to see what you come up with! And most importantly, don’t forget to share your experiences with us. Post photos of your finished towers, share your tips and tricks, and let us know how your spinach is growing. Together, we can create a community of passionate gardeners who are committed to sustainable and delicious food production. Happy gardening!
Frequently Asked Questions (FAQ)
What are the best spinach varieties to grow in a vertical tower?
While most spinach varieties will thrive in a vertical tower, some are particularly well-suited for this method. Consider varieties like ‘Bloomsdale Long Standing’ for its heat tolerance and resistance to bolting, or ‘Space’ for its smooth leaves and rapid growth. ‘Tyee’ is another excellent choice, known for its disease resistance and high yields. Baby spinach varieties are also a great option, as they mature quickly and are perfect for salads. Ultimately, the best variety will depend on your local climate and personal preferences, so don’t be afraid to experiment!
How often should I water my vertical spinach tower?
Watering frequency will depend on several factors, including the weather, the type of soil you’re using, and the size of your tower. As a general rule, you should water your spinach tower whenever the top inch of soil feels dry to the touch. During hot, dry weather, you may need to water daily, or even twice a day. In cooler, more humid conditions, you can water less frequently. The key is to keep the soil consistently moist, but not waterlogged. Overwatering can lead to root rot, so be sure to provide adequate drainage. A good way to check if your spinach needs water is to stick your finger into the soil. If it feels dry, it’s time to water.
What kind of soil should I use for my vertical spinach tower?
The ideal soil for your vertical spinach tower is a well-draining, nutrient-rich potting mix. Avoid using garden soil, as it can be too heavy and compact, which can hinder drainage and restrict root growth. Look for a potting mix that contains a blend of peat moss, perlite, and vermiculite. You can also amend your potting mix with compost or other organic matter to improve its fertility and water retention. Spinach prefers a slightly acidic to neutral soil pH (around 6.5 to 7.0), so you may want to test your soil pH and adjust it accordingly.
How much sunlight does my vertical spinach tower need?
Spinach thrives in full sun to partial shade. Ideally, your vertical spinach tower should receive at least 4-6 hours of direct sunlight per day. However, in hot climates, afternoon shade can help prevent the leaves from wilting or burning. If you live in a particularly sunny area, consider placing your tower in a location that receives morning sun and afternoon shade. If you don’t have access to enough natural sunlight, you can supplement with grow lights.
How do I fertilize my vertical spinach tower?
Spinach is a heavy feeder, so it’s important to fertilize your vertical tower regularly. You can use a balanced liquid fertilizer, such as a 10-10-10 or 20-20-20, diluted to half strength. Apply the fertilizer every 2-3 weeks, following the instructions on the label. You can also use organic fertilizers, such as compost tea or fish emulsion. These are gentler on the plants and the environment. Avoid over-fertilizing, as this can lead to excessive leaf growth and reduced flavor.
How do I harvest spinach from my vertical tower?
Harvesting spinach from your vertical tower is easy! Simply snip off the outer leaves as needed, leaving the inner leaves to continue growing. This is known as “cut-and-come-again” harvesting, and it allows you to enjoy a continuous supply of fresh spinach throughout the growing season. Harvest the leaves when they are young and tender, as they will become more bitter as they mature. Avoid harvesting during the hottest part of the day, as the leaves will be more prone to wilting.
How do I prevent pests and diseases in my vertical spinach tower?
Vertical spinach towers are generally less susceptible to pests and diseases than traditional garden beds, but it’s still important to take precautions. Regularly inspect your plants for signs of pests, such as aphids, spider mites, or slugs. If you find any pests, you can try spraying them with insecticidal soap or neem oil. You can also introduce beneficial insects, such as ladybugs or lacewings, to help control pest populations. To prevent diseases, ensure good air circulation around your plants and avoid overwatering. If you notice any signs of disease, such as yellowing leaves or fungal spots, remove the affected leaves immediately.
Can I grow spinach in a vertical tower year-round?
Whether you can grow spinach in a vertical tower year-round depends on your climate. Spinach is a cool-season crop that prefers temperatures between 50°F and 70°F. In mild climates, you can grow spinach year-round. In colder climates, you can grow spinach in the spring and fall, and you may need to protect your tower from frost in the winter. In hot climates, you can grow spinach in the winter, but you may need to provide shade to protect the plants from the intense sun.
What are some other plants I can grow in a vertical tower alongside spinach?
Companion planting can be beneficial for your vertical spinach tower. Some good companion plants for spinach include:
* **Lettuce:** Shares similar growing requirements and can provide shade for spinach in hot weather.
* **Radishes:** Grow quickly and help to loosen the soil.
* **Marigolds:** Deter pests like nematodes and aphids.
* **Basil:** Repels aphids and whiteflies.
* **Garlic:** Deters pests and can improve the flavor of spinach.
* **Chives:** Repel aphids and Japanese beetles.
Avoid planting spinach near fennel, as it can inhibit spinach growth.
How do I deal with bolting in my spinach tower?
Bolting is when spinach plants prematurely flower and produce seeds, which makes the leaves bitter and unpalatable. Bolting is usually triggered by hot weather or long days. To prevent bolting, choose bolt-resistant spinach varieties, provide shade during hot weather, and water regularly. If your spinach plants start to bolt, you can try harvesting the leaves more frequently to delay the process. Once the plants have bolted, the leaves will no longer be edible, so it’s best to remove them and plant a new crop.


Leave a Comment