
Growing bean sprouts peanuts at home might sound like a quirky science experiment, but trust me, it’s a rewarding and surprisingly simple way to add fresh, nutritious greens to your diet! Forget those bland, store-bought sprouts – imagine the satisfaction of harvesting your own crunchy, flavorful bean sprouts peanuts, bursting with vitamins and minerals, right from your kitchen counter.
Sprouting, in general, has a rich history, dating back thousands of years in various cultures. Ancient civilizations recognized the nutritional power of sprouted seeds and beans, using them as a vital food source, especially during times of scarcity. Think of it as a miniature, indoor garden that connects you to those ancient practices!
But why should you bother with growing bean sprouts peanuts? Well, for starters, it’s incredibly cost-effective. A handful of peanuts can yield a surprisingly large harvest of sprouts. Plus, it’s a fantastic way to ensure you’re consuming fresh, pesticide-free produce. In today’s world, where we’re all looking for ways to eat healthier and be more sustainable, this DIY trick is a total game-changer. I’m excited to share my easy-to-follow guide so you can start enjoying the benefits of homegrown bean sprouts peanuts today!

DIY: Sprouting Peanuts Yourself – It’s That Easy!
I love sprouts! They are crunchy, healthy, and a great addition to salads, sandwiches, or just plain as a snack. And the best part: you can easily sprout them yourself. Today I’m going to show you how to grow peanut sprouts at home. Yes, you read that right, peanut sprouts! They are a bit more unusual than mung bean or alfalfa sprouts, but at least as delicious and full of nutrients. Plus, it’s an exciting project that’s also fun for kids.
What you need:
-
Raw, unsalted peanuts (preferably organic quality)
-
A sprouting jar or another container with good ventilation (e.g., a mason jar with cheesecloth or a special sprouting lid)
-
Clean water
-
A dark place (e.g., a cupboard or a drawer)
-
Patience (approx. 3-5 days)
Why Peanut Sprouts?
Peanut sprouts are not only delicious but also rich in proteins, vitamins, and minerals. They are a good source of energy and can help strengthen the immune system. They are also a great alternative for people who don’t like other sprouts or want to try something new.
Step-by-Step Guide:
-
Prepare the peanuts: First, you need to wash the peanuts thoroughly. Put them in a bowl and rinse them several times with cold water until the water runs clear. This removes dirt and any residues.
-
Soak: Now comes the most important step: soaking. Put the washed peanuts in your sprouting jar or container and fill it with plenty of water. The peanuts should be completely covered. Let them soak for at least 8 hours, or even better, overnight (12-18 hours). Soaking softens the shell and activates the germination process. I usually do this in the evening so I can continue right away the next morning.
-
Drain and Rinse: After soaking, drain the water and rinse the peanuts thoroughly again with fresh water. Make sure to remove all the water. This is important to prevent mold.
-
The dark place: Now for the trick for good sprouts: darkness! Place your sprouting jar in a dark place. This can be a cupboard, a drawer, or even just a covered spot in the kitchen. Darkness promotes the growth of the sprouts and prevents them from becoming bitter.
-
Regular Rinsing: The key to successful sprouts is regular rinsing. Rinse the peanuts at least twice a day (morning and evening) with fresh water. Drain the water thoroughly so the peanuts are not sitting in water. Rinsing keeps the peanuts moist and prevents mold. I always place my sprouting jar at an angle overnight so that excess water can drain off.
-
Wait and Observe: Now it’s time to wait and watch. After one to two days, you should see the first small sprouts. Continue to rinse the peanuts regularly and make sure they don’t dry out.
-
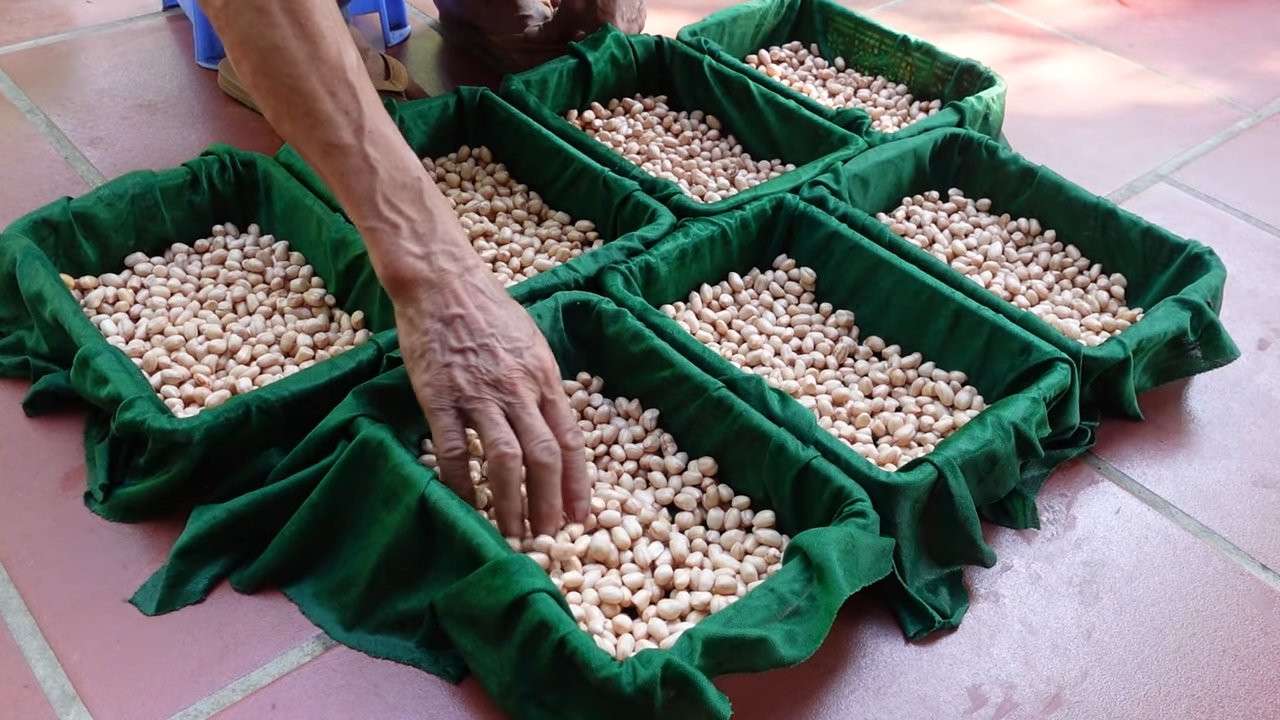
Harvest: After about 3-5 days, your peanut sprouts are ready. They should now have small, white sprouts. Try a sprout to test if you like the taste. If it’s still too bitter, let it grow for another day.
-
Storage: When your peanut sprouts are ready, you can harvest them and store them in the refrigerator. Rinse them thoroughly one last time and let them drain well. They will keep for about 3-5 days in an airtight container in the fridge.
Common Problems and Solutions:
-
Mold growth: Mold is the most common problem when sprouting. To prevent mold, it is important to rinse the peanuts regularly and ensure they are not sitting in water. If you discover mold, you should discard the affected sprouts immediately and clean the sprouting jar thoroughly.
-
Bitter taste: If the sprouts taste bitter, it may be because they have received too much light. Place the sprouting jar in a darker place or cover it.
-
No sprouts: If no sprouts are visible after a few days, it may be because the peanuts were not viable. It’s best to use fresh, unsalted, organic-quality peanuts.
Tips and Tricks for Perfect Peanut Sprouts:
-
Quality of the peanuts: Pay close attention to the quality of the peanuts. Use only raw, unsalted, organic-quality peanuts. Roasted or salted peanuts will not sprout.
-
Hygiene: Cleanliness is essential when sprouting. Clean your sprouting jar or container thoroughly with hot water and dish soap before each use.
-
Ventilation: Ensure good ventilation in the sprouting jar. This prevents mold. It’s best to use a sprouting jar with a special sprouting lid or a mason jar with cheesecloth.
-
Temperature: The ideal temperature for sprouting is between 18 and 22 degrees Celsius. Avoid extreme temperatures.
-
Variety: Try different types of peanuts. There are many different varieties with different flavors.
-
Combinations: Mix peanut sprouts with other sprouts, such as mung bean or alfalfa sprouts. This creates an interesting variety of flavors.
-
Usage: Use peanut sprouts in salads, sandwiches, soups, stir-fries, or just plain as a snack. They are versatile and a great addition to any meal.
-
Sprouting diary: Keep a small sprouting diary where you note when you soaked the peanuts, when you rinsed them, and when the first sprouts appeared. This way you can document your experiences and do even better next time.
Peanut Sprouts in the Kitchen: Recipe Ideas
Peanut sprouts are incredibly versatile and can be used in numerous dishes. Here are a few of my favorite ideas:
-
Peanut Sprout Salad: Mix peanut sprouts with cucumber, tomatoes, bell peppers, and a light dressing of soy sauce, sesame oil, and rice vinegar.
-
Peanut Sprout Sandwich: Top a sandwich with peanut sprouts, avocado, lettuce, and a hint of chili sauce.
-
Peanut Sprout Soup: Add peanut sprouts to a clear vegetable soup just before serving.
-
Peanut Sprout Stir-Fry: Stir-fry peanut sprouts with vegetables and tofu in a wok.
-
Peanut Sprout Snack: Simply munch on peanut sprouts plain as a healthy snack.
I hope this guide has helped you and that you will soon have your own delicious peanut sprouts! Have fun trying it out!
Conclusion
So, there you have it! Growing your own bean sprouts from peanuts is not just a fun experiment; it’s a gateway to fresh, nutritious, and surprisingly delicious additions to your meals. Forget those bland, store-bought sprouts that often lack flavor and vibrancy. With this simple DIY trick, you can cultivate a bounty of crunchy, nutty-flavored sprouts right in your own kitchen, all from humble peanuts.
Why is this a must-try? Because it’s incredibly easy, cost-effective, and rewarding. You’re transforming a readily available ingredient – peanuts – into a superfood packed with vitamins, minerals, and enzymes. Plus, you’re reducing food waste and taking control of your food source. Think about the satisfaction of knowing exactly where your food comes from and the joy of watching those tiny sprouts burst to life.
But the fun doesn’t stop there! Feel free to experiment with different types of peanuts. While raw, unsalted peanuts are ideal, you can try using roasted peanuts for a slightly different flavor profile (just be mindful of the salt content). You can also adjust the sprouting time to achieve your desired sprout length and crunchiness. Some people prefer shorter sprouts with a more pronounced peanut flavor, while others prefer longer sprouts with a milder taste.
Consider adding your peanut sprouts to a variety of dishes. They’re fantastic in salads, stir-fries, sandwiches, and even as a topping for soups. Their nutty flavor and crunchy texture add a delightful dimension to any meal. You can also use them to make fresh spring rolls or add them to your morning smoothie for an extra boost of nutrients.
We wholeheartedly encourage you to give this DIY peanut sprout growing method a try. It’s a simple, satisfying, and delicious way to enhance your culinary creations and embrace a more sustainable lifestyle. Don’t be intimidated – it’s much easier than you might think!
And most importantly, we want to hear about your experiences! Share your photos, tips, and variations in the comments below. Let’s create a community of peanut sprout enthusiasts and inspire others to discover the joys of growing their own food. What worked for you? What challenges did you face? What delicious dishes did you create with your homegrown sprouts? Your feedback is invaluable and will help others succeed in their own peanut sprouting adventures. So, get sprouting and share your story! Let’s unlock the full potential of the humble peanut together and discover the amazing world of DIY **bean sprouts peanuts**!
Frequently Asked Questions (FAQ)
What kind of peanuts should I use for sprouting?
The best peanuts for sprouting are raw, unsalted, and unroasted peanuts. These peanuts haven’t been treated with any chemicals or processes that could inhibit germination. Avoid using salted, roasted, or flavored peanuts, as these are unlikely to sprout successfully. Look for peanuts specifically labeled as “raw” or “for sprouting” at your local health food store or online. Organic peanuts are also a great choice, as they are free from pesticides and herbicides.
How long does it take for peanut sprouts to grow?
The sprouting process typically takes between 3 to 5 days, depending on the temperature and humidity. Warmer temperatures will generally speed up the sprouting process, while cooler temperatures may slow it down. It’s important to keep the peanuts consistently moist but not waterlogged during this time. Check on your sprouts daily and adjust the rinsing schedule as needed.
How do I prevent mold from growing on my peanut sprouts?
Mold growth is a common concern when sprouting any type of seed or bean. To prevent mold, ensure proper ventilation and drainage. Rinse the peanuts thoroughly at least twice a day with fresh, clean water. Avoid overcrowding the sprouting container, as this can restrict airflow. If you notice any signs of mold, discard the affected peanuts immediately to prevent it from spreading. Using a clean sprouting container and fresh water is also crucial. Some people add a small amount of apple cider vinegar to the rinsing water to help inhibit mold growth, but this is optional.
Are peanut sprouts safe to eat?
Yes, peanut sprouts are generally safe to eat, provided they are grown properly and from high-quality peanuts. However, it’s important to note that raw peanuts can contain aflatoxins, which are naturally occurring toxins produced by certain molds. While the risk is low, it’s essential to use fresh, unblemished peanuts and to follow proper sprouting techniques to minimize the risk of aflatoxin contamination. If you have any concerns about aflatoxins, you can cook the sprouts before eating them, which will help to destroy any potential toxins.
How do I store peanut sprouts?
Once your peanut sprouts have reached your desired length, you can store them in the refrigerator for up to a week. To store them, rinse them thoroughly and pat them dry with a clean towel. Place them in a clean, airtight container lined with a paper towel to absorb excess moisture. Check on them daily and discard any sprouts that show signs of spoilage.
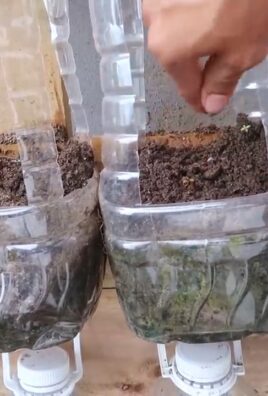
Can I grow peanut sprouts in soil?
While you can technically grow peanut sprouts in soil, it’s not the most efficient or common method. Sprouting peanuts in water is much faster and easier, and it allows you to harvest the sprouts at their peak freshness. Growing peanuts in soil requires more space, time, and resources, and it’s more akin to growing a full peanut plant rather than simply sprouting the seeds.
What are the nutritional benefits of peanut sprouts?
Peanut sprouts are a nutritional powerhouse, packed with vitamins, minerals, and enzymes. They are a good source of protein, fiber, and healthy fats. They also contain vitamins B, C, and E, as well as minerals like iron, magnesium, and potassium. Sprouting increases the bioavailability of these nutrients, making them easier for your body to absorb. Peanut sprouts are also rich in antioxidants, which help protect your cells from damage.
Can I use peanut sprouts if I have a peanut allergy?
No, if you have a peanut allergy, you should avoid eating peanut sprouts. Peanut sprouts contain the same allergens as peanuts, and consuming them could trigger an allergic reaction. It’s always best to err on the side of caution and avoid any foods that you are allergic to.
What are some creative ways to use peanut sprouts in my cooking?
Peanut sprouts are incredibly versatile and can be used in a variety of dishes. Try adding them to salads for a crunchy and nutty flavor. They’re also great in stir-fries, sandwiches, and spring rolls. You can even use them as a topping for soups or add them to your morning smoothie for an extra boost of nutrients. Experiment with different flavor combinations and find your favorite ways to enjoy these delicious and nutritious sprouts.
My peanut sprouts are turning brown. What am I doing wrong?
Browning of peanut sprouts can be caused by a few factors. One common reason is lack of moisture. Ensure you are rinsing the sprouts regularly, at least twice a day, to keep them hydrated. Another reason could be exposure to too much light. While some light is beneficial, direct sunlight can cause the sprouts to brown. Try keeping them in a slightly shaded area. Overcrowding can also contribute to browning, as it restricts airflow. Make sure your sprouts have enough space to breathe. Finally, using old or damaged peanuts can also lead to browning. Always start with fresh, high-quality peanuts for the best results.

Leave a Comment