
Malabar Spinach Growing Tips: Ever dreamt of snipping fresh, vibrant greens right from your backyard for a delicious and healthy meal? I know I have! There’s something incredibly satisfying about nurturing your own food, and Malabar spinach makes it surprisingly easy, even if you don’t have a sprawling garden. This climbing vine, also known as Ceylon spinach or vine spinach, isn’t actually a true spinach, but its leaves offer a similar flavor and nutritional punch, packed with vitamins A and C, iron, and calcium.
Historically, Malabar spinach has been cultivated in tropical Asia for centuries, prized for its heat tolerance and ability to thrive in humid climates. It’s a staple in many Asian cuisines, adding a delightful texture and subtle earthy flavor to stir-fries, soups, and salads. But why should *you* consider adding it to your garden? Well, for starters, it’s incredibly low-maintenance. Forget about fussy plants that demand constant attention! Malabar spinach is relatively pest-resistant and can handle a bit of neglect, making it perfect for busy gardeners or beginners. Plus, it’s a beautiful plant, adding vertical interest to your garden with its twining vines and glossy leaves.
In this DIY guide, I’m going to share my top Malabar Spinach Growing Tips and tricks to help you cultivate a thriving crop, no matter your experience level. We’ll cover everything from choosing the right location and preparing the soil to providing support for its climbing habit and harvesting those delicious leaves. Get ready to enjoy fresh, homegrown greens all season long!
Growing Malabar Spinach Yourself: A Comprehensive DIY Guide
Hello dear garden friends! Today, I am excited to introduce you to the world of Malabar spinach. This climbing spinach is not only a delicious and nutritious addition to your kitchen but also a real eye-catcher in the garden. It is relatively easy to grow and provides a bountiful harvest over a long period. Let’s dive into this exciting project together!
What is Malabar Spinach?
Before we start, a quick note: Malabar spinach (Basella alba or Basella rubra) is not a true spinach but a tropical climbing plant. It is heat-resistant and grows quickly, making it an ideal alternative to traditional spinach in warm climates. The leaves and stems are edible and have a mild, slightly lemony taste.
Preparation is Everything: What You Need
Before we begin planting, you should ensure you have everything you need on hand. Here is a list of the materials and tools you will require:
- Malabar spinach seeds or cuttings: Seeds are available online or in well-stocked garden centers. You can take cuttings from an existing plant.
- Seedling pots or trays: For starting the seeds indoors.
- Seed starting mix: A light, well-draining soil is ideal.
- Garden soil: For planting out in the garden bed or in larger pots.
- Compost or organic fertilizer: To enrich the soil.
- Pots (optional): If you want to grow Malabar spinach in containers.
- Climbing support: A trellis, fence, or something similar, as Malabar spinach climbs.
- Watering can or garden hose: For watering.
- Pruning shears: For harvesting and pruning.
- Gloves: To protect your hands.
Sowing and Starting Indoors
Starting seeds indoors is particularly recommended in colder regions to give the plants a head start.
- Prepare seeds: The seeds of Malabar spinach have a hard shell. To speed up germination, you can soak them in lukewarm water for 24 hours before sowing.
- Sow in seedling pots: Fill the seedling pots with seed starting mix. Place 2-3 seeds about 1 cm deep in each pot.
- Water: Water the soil gently so that it is moist but not wet.
- Location: Place the seedling pots in a warm, bright place. A temperature of 20-25°C is ideal.
- Maintain moisture: To increase humidity, you can cover the pots with clear plastic wrap or a mini-greenhouse. Ventilate regularly to prevent mold.
- Germination: Germination usually takes 1-3 weeks. Once the seedlings are large enough, you can remove the weakest ones, leaving only the strongest seedling per pot.
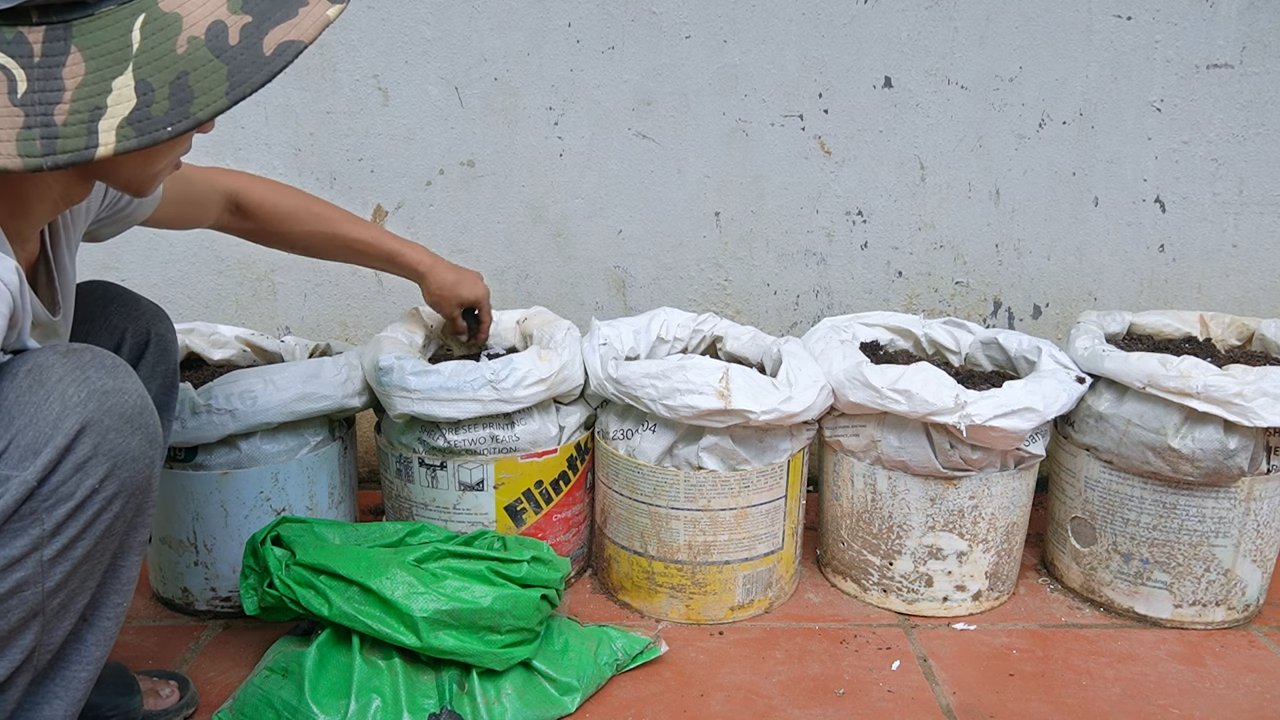
Planting Out in the Garden or in Pots
Once the seedlings are strong enough and there is no more danger of frost (usually from mid-May), they can be transplanted outdoors or into larger pots.
- Prepare the soil: Choose a sunny location with well-draining soil. Loosen the soil and enrich it with compost or organic fertilizer.
- Dig planting holes: Dig planting holes that are slightly larger than the root balls of the seedlings.
- Transplant: Carefully place the seedlings in the planting holes and fill them with soil. Make sure the root balls are completely covered.
- Spacing: Plant the seedlings about 30-40 cm apart so they have enough space to grow.
- Water: Water the plants thoroughly after transplanting.
- Provide climbing support: Since Malabar spinach climbs, it needs a support. Install a trellis, fence, or similar structure near the plants.
Caring for Malabar Spinach
Caring for Malabar spinach is relatively easy, but there are a few things you should keep in mind to achieve a rich harvest.
- Watering: Malabar spinach needs regular watering, especially during dry periods. Make sure the soil is always slightly moist, but avoid waterlogging.
- Fertilizing: Fertilize the plants regularly with an organic fertilizer or compost to provide them with sufficient nutrients.
- Pruning: To encourage growth and make harvesting easier, you can prune the plants regularly. Remove old or damaged leaves and stems.
- Pest protection: Malabar spinach is relatively resistant to pests, but occasionally aphids or slugs may appear. Check the plants regularly and remove pests manually or with natural pesticides if necessary.
- Overwintering (optional): In colder regions, Malabar spinach is not winter-hardy. You can either grow it as an annual or try to overwinter it indoors. To do this, you must dig up the plant before the first frost and transplant it into a pot. Place the pot in a bright, cool location and water the plant sparingly.
Harvest Time!
The harvest of Malabar spinach can begin about 6-8 weeks after transplanting.
- Harvest leaves and stems: Harvest the leaves and stems as soon as they are large enough. You can either pick individual leaves or cut entire stems.
- Regular harvesting: Regular harvesting encourages the plant’s growth and ensures a continuous harvest.
- Use: Malabar spinach can be used like traditional spinach. It is suitable for salads, soups, stews, or as a side dish. The leaves can be eaten raw or cooked.
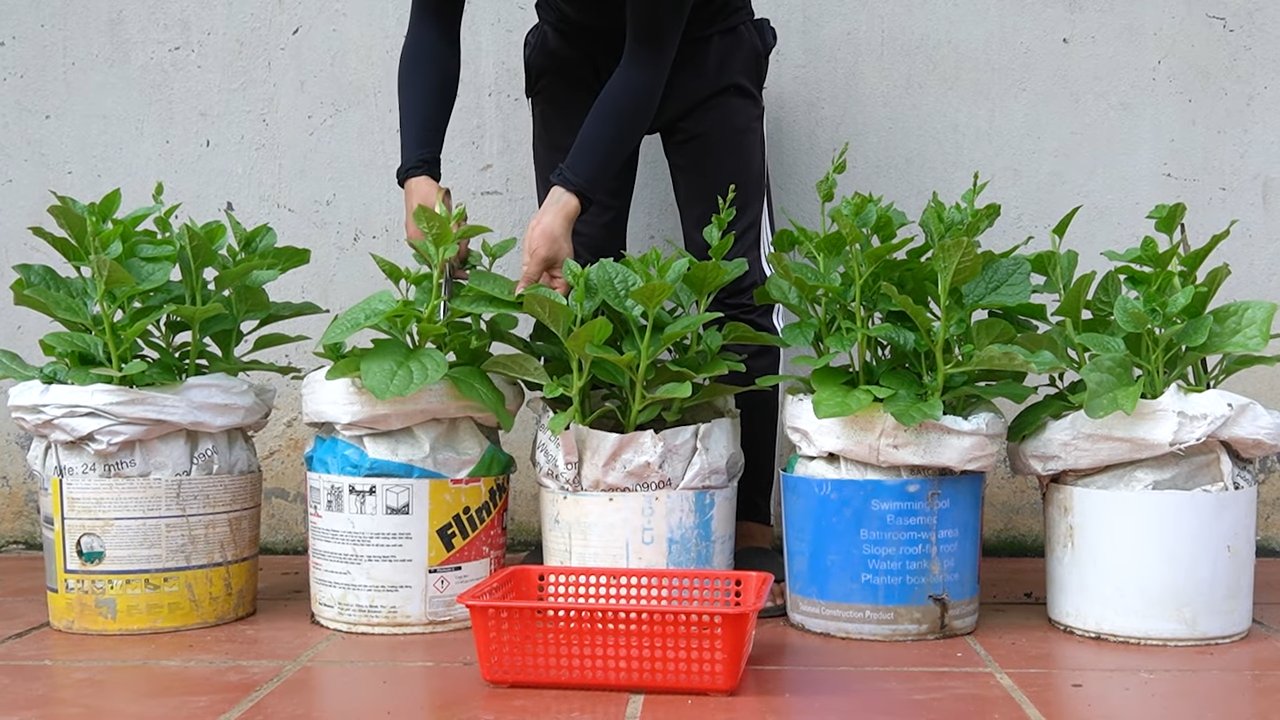
Growing Malabar Spinach in Pots
If you don’t have a garden, you can easily grow Malabar spinach in pots.
- Pot size: Choose a pot with a diameter of at least 30 cm.
- Soil: Use a high-quality garden soil enriched with compost or organic fertilizer.
- Location: Place the pot in a sunny location.
- Climbing support: Install a climbing support in the pot so the Malabar spinach can climb.
- Care: The care for Malabar spinach in a pot is the same as in a garden bed. Ensure regular watering and fertilizing.
Common Problems and Solutions
Problems can also arise when growing Malabar spinach. Here are some common problems and their solutions:
Slugs: Slugs can eat the leaves of Malabar spinach. Pick off the slugs or use slug bait.
Yellow leaves: Yellow leaves can be a sign of nutrient deficiency or overwatering. Fertilize the plants regularly and ensure the soil is well-draining.
Aphids: Aphids can infest the leaves of Malabar spinach. Remove the aphids manually or with natural pesticides.
Conclusion
So, there you have it! Mastering the art of growing Malabar spinach isn’t just about having a green thumb; it’s about understanding the plant’s needs and providing the right environment for it to thrive. This DIY approach, focusing on [Malabar Spinach Growing Tips], empowers you to take control of your garden and enjoy a bountiful harvest of this nutritious and delicious leafy green.
Why is this DIY trick a must-try? Because it’s more than just a set of instructions; it’s a pathway to self-sufficiency and a deeper connection with nature. By understanding the nuances of soil preparation, sunlight requirements, and watering techniques, you’re not just growing spinach; you’re cultivating a sustainable food source right in your backyard. You’re also avoiding the potential pesticides and herbicides that can be found in commercially grown produce. The satisfaction of harvesting your own fresh, organic Malabar spinach is unparalleled.
But the journey doesn’t end here! Feel free to experiment with different growing mediums. While we’ve highlighted the importance of well-draining soil enriched with organic matter, you might find success with hydroponics or even container gardening using coco coir. Consider companion planting to further enhance your Malabar spinach’s growth. Basil, marigolds, and nasturtiums are known to deter pests and attract beneficial insects.
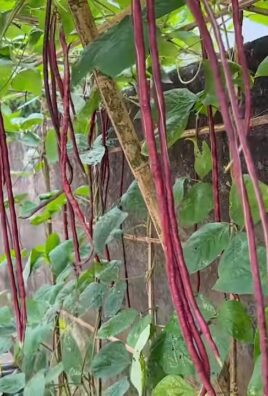
Another exciting variation is to explore different cultivars of Malabar spinach. While the green-stemmed variety is the most common, you might encounter red-stemmed varieties that offer a slightly different flavor profile and visual appeal. Don’t be afraid to try them all and discover your personal favorite!
Remember, gardening is a continuous learning process. There will be successes and setbacks, but each experience will bring you closer to mastering the art of growing Malabar spinach. The key is to be patient, observant, and adaptable. Pay attention to your plants’ needs, adjust your techniques as necessary, and don’t be discouraged by the occasional challenge.
We wholeheartedly encourage you to embark on this rewarding journey of growing your own Malabar spinach. The benefits are numerous: fresh, nutritious food, a connection with nature, and the satisfaction of creating something beautiful and sustainable.
And most importantly, we want to hear about your experiences! Share your successes, your challenges, and your unique tips and tricks in the comments below. Let’s create a community of Malabar spinach enthusiasts who can learn from each other and inspire others to embrace the joys of gardening. Your insights could be invaluable to someone just starting out, and together, we can unlock the full potential of this amazing plant. So, grab your gardening gloves, prepare your soil, and get ready to experience the magic of growing your own Malabar spinach! Let us know how these [Malabar Spinach Growing Tips] worked for you!
Frequently Asked Questions (FAQ)
What kind of soil is best for growing Malabar spinach?
Malabar spinach thrives in well-draining soil that is rich in organic matter. A slightly acidic to neutral pH (around 6.5 to 7.0) is ideal. Amend your soil with compost, aged manure, or other organic materials to improve its fertility and drainage. If you have heavy clay soil, consider adding sand or perlite to improve drainage. You can also perform a soil test to determine its pH and nutrient levels and amend accordingly.
How much sunlight does Malabar spinach need?
Malabar spinach needs at least 6 hours of direct sunlight per day to thrive. In hotter climates, some afternoon shade can be beneficial to prevent the leaves from scorching. If you’re growing Malabar spinach indoors, provide it with supplemental lighting using grow lights. Position the lights close to the plants and adjust the duration of light exposure based on their growth.
How often should I water my Malabar spinach?
Water your Malabar spinach regularly, especially during hot and dry weather. Keep the soil consistently moist but not waterlogged. Overwatering can lead to root rot, so ensure that your soil has good drainage. Check the soil moisture by sticking your finger about an inch deep into the soil. If it feels dry, it’s time to water. Mulching around the plants can help retain moisture and suppress weeds.
How do I fertilize Malabar spinach?
Malabar spinach is a heavy feeder and benefits from regular fertilization. Use a balanced fertilizer (e.g., 10-10-10) or a fertilizer specifically formulated for leafy greens. Apply the fertilizer according to the package instructions. You can also use organic fertilizers such as compost tea, fish emulsion, or seaweed extract. Avoid over-fertilizing, as this can lead to excessive foliage growth at the expense of flavor.
When can I harvest Malabar spinach?
You can start harvesting Malabar spinach leaves about 6-8 weeks after planting. Harvest the leaves when they are young and tender, as they become tougher and more bitter as they mature. Pinch off the leaves or cut the stems just above a node to encourage new growth. Regular harvesting will promote bushier growth and a continuous supply of leaves.
How do I deal with pests and diseases?
Malabar spinach is generally resistant to pests and diseases, but it can be susceptible to aphids, spider mites, and fungal diseases. Inspect your plants regularly for signs of infestation or disease. If you find pests, try spraying them off with a strong stream of water or using insecticidal soap. For fungal diseases, improve air circulation around the plants and avoid overhead watering. You can also use organic fungicides if necessary.
Can I grow Malabar spinach in containers?
Yes, Malabar spinach can be grown successfully in containers. Choose a container that is at least 12 inches in diameter and has good drainage holes. Use a well-draining potting mix and provide the plants with adequate sunlight and water. Container-grown Malabar spinach may require more frequent watering and fertilization than plants grown in the ground.
Is Malabar spinach a perennial or an annual?
Malabar spinach is a tender perennial that is typically grown as an annual in temperate climates. It can survive mild winters in warmer regions (USDA zones 9-11), but it will die back in colder climates. You can try to overwinter Malabar spinach indoors by bringing it inside before the first frost and providing it with adequate light and water.
How do I save seeds from Malabar spinach?
To save seeds from Malabar spinach, allow some of the plants to flower and produce berries. The berries will turn from green to black when they are ripe. Harvest the berries and remove the seeds from the pulp. Allow the seeds to dry completely before storing them in an airtight container in a cool, dark place.
What are some ways to use Malabar spinach in cooking?
Malabar spinach can be used in a variety of dishes, similar to regular spinach. It can be eaten raw in salads, sautéed, steamed, or added to soups, stews, and stir-fries. It has a slightly mucilaginous texture, which can be reduced by cooking it with acidic ingredients such as lemon juice or vinegar. Malabar spinach is also a good source of vitamins A and C, iron, and calcium.

Leave a Comment