
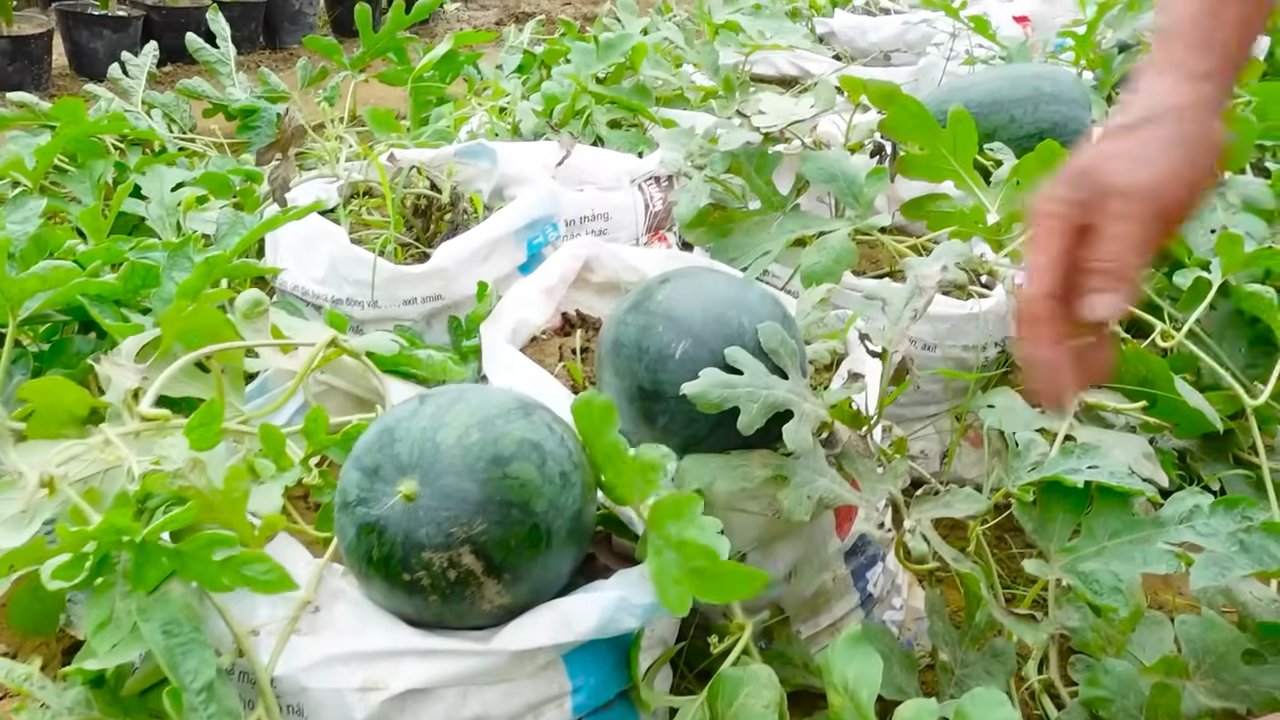
Start watermelons early garden and unlock the secret to a bountiful harvest! Imagine sinking your teeth into a juicy, homegrown watermelon weeks before anyone else. Sounds amazing, right? For centuries, gardeners have sought ways to extend growing seasons, and the quest to enjoy summer’s bounty sooner is a tale as old as agriculture itself. From ancient Roman greenhouses to modern-day cold frames, the desire to outsmart Mother Nature has always been strong.
But why bother starting watermelons early? Well, watermelons are heat-loving divas! They need a long, warm growing season to truly thrive. In many regions, the window of opportunity is simply too short. By getting a head start indoors, you’re giving your watermelon plants a crucial advantage, ensuring they have ample time to mature and produce those sweet, refreshing fruits we all crave.
This DIY guide is your ticket to watermelon success. I’ll walk you through simple, effective techniques to start watermelons early garden, even if you’re a complete beginner. Forget complicated setups and expensive equipment. We’re focusing on practical, budget-friendly methods that will have you enjoying homegrown watermelon goodness in no time. Let’s get growing!
Starting Watermelons Indoors: How to Get Your Watermelons Started Early in the Garden
I love watermelons! There’s almost nothing better than a juicy, sweet watermelon on a hot summer day. But in many regions, the growing season is simply too short to sow watermelons directly outdoors. That’s why I start my watermelons indoors every year. This gives me a head start and I can look forward to a rich harvest. Here I’ll show you how you can do it too!
Why Start Watermelons Indoors?
- Extending the growing season: Watermelons need a long, warm growing period. By starting them indoors, you can extend the season by several weeks and ensure that your melons have enough time to ripen.
- Protection from adverse conditions: Young watermelon plants are sensitive to frost, heavy rain, and pests. Indoors, they are protected from these dangers.
- Higher success rate: Germination and early growth of watermelons are often more successful indoors than outdoors, where conditions can be unpredictable.
- Earlier harvest: By starting them indoors, you can harvest your first watermelons earlier in the summer.
What You Need:
- Watermelon seeds (I recommend varieties suitable for your climate)
- Seedling pots (preferably biodegradable, as watermelons are sensitive to transplanting)
- Seed starting mix (special soil for starting seedlings)
- Mini-greenhouse or clear plastic wrap
- Spray bottle
- Heating mat (optional, but very helpful)
- Grow light (optional, but recommended if you have little sunlight)
- Labels and a pen
Step-by-Step Guide to Starting Watermelons Indoors
Phase 1: Preparation
- Prepare seeds (optional): To speed up germination, you can soak the seeds in lukewarm water for 24 hours before sowing. The water should not be hot, as this can damage the seeds. I usually do this because I find it really helps.
- Prepare pots: Fill the seedling pots with seed starting mix. Press the soil down lightly, but not too firmly. Leave about 1 cm of space to the rim of the pot.
- Moisten soil: Moisten the soil with a spray bottle. It should be damp, but not soggy.
Phase 2: Sowing
- Sow seeds: Place 2-3 seeds in each pot. I do this to ensure that at least one germinates. If more than one germinates, you can remove the weaker seedling later.
- Cover seeds: Cover the seeds with a thin layer of seed starting mix (approx. 0.5 cm).
- Moisten soil again: Moisten the soil again with the spray bottle.
- Label: Label the pots with the name of the watermelon variety and the date of sowing. This helps you keep track.
Phase 3: Germination
- Mini-greenhouse or plastic wrap: Place the pots in a mini-greenhouse or cover them with clear plastic wrap. This creates high humidity, which is important for germination.
- Warmth: Place the mini-greenhouse or pots in a warm place. The ideal germination temperature for watermelons is between 24 and 29 degrees Celsius. A heating mat can be very helpful here. I have one and it really makes a difference!
- Check: Check the soil daily and moisten it with the spray bottle if necessary. Make sure the soil does not dry out.
- Ventilate: Ventilate the mini-greenhouse or plastic wrap daily for a few minutes to prevent mold.
Phase 4: Growth
- Light: As soon as the seeds have germinated (this usually takes 5-10 days), place the pots in a bright spot. If you don’t have enough sunlight, use a grow light. I have found that grow lights really help to grow strong seedlings.
- Temperature: Reduce the temperature to 21-24 degrees Celsius.
- Watering: Water the seedlings regularly, but avoid waterlogging. The soil should always be slightly moist.
- Fertilizing: Start fertilizing the seedlings after about two weeks. Use a mild liquid fertilizer for vegetable plants. I fertilize my seedlings once a week.
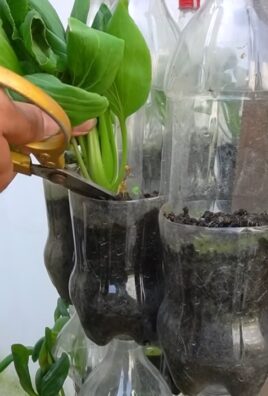
- Thinning: If more than one seedling has grown in a pot, remove the weaker one. It’s best to cut it off with scissors instead of pulling it out, to avoid damaging the roots of the other seedling.
Phase 5: Hardening Off
- Preparation: Before you plant the watermelon plants outdoors, you need to harden them off. This means you slowly acclimate them to the outdoor conditions.
- Start: Begin about a week before the planned planting date. Place the pots outdoors in a sheltered spot (e.g., on a patio or balcony) for a few hours during the day.
- Increase: Extend the time outdoors by a few hours each day.
- Protection: Protect the plants from direct sunlight, strong wind, and frost.
- Overnight: In the last few days before planting, leave the plants outside overnight as well, if there is no risk of frost.
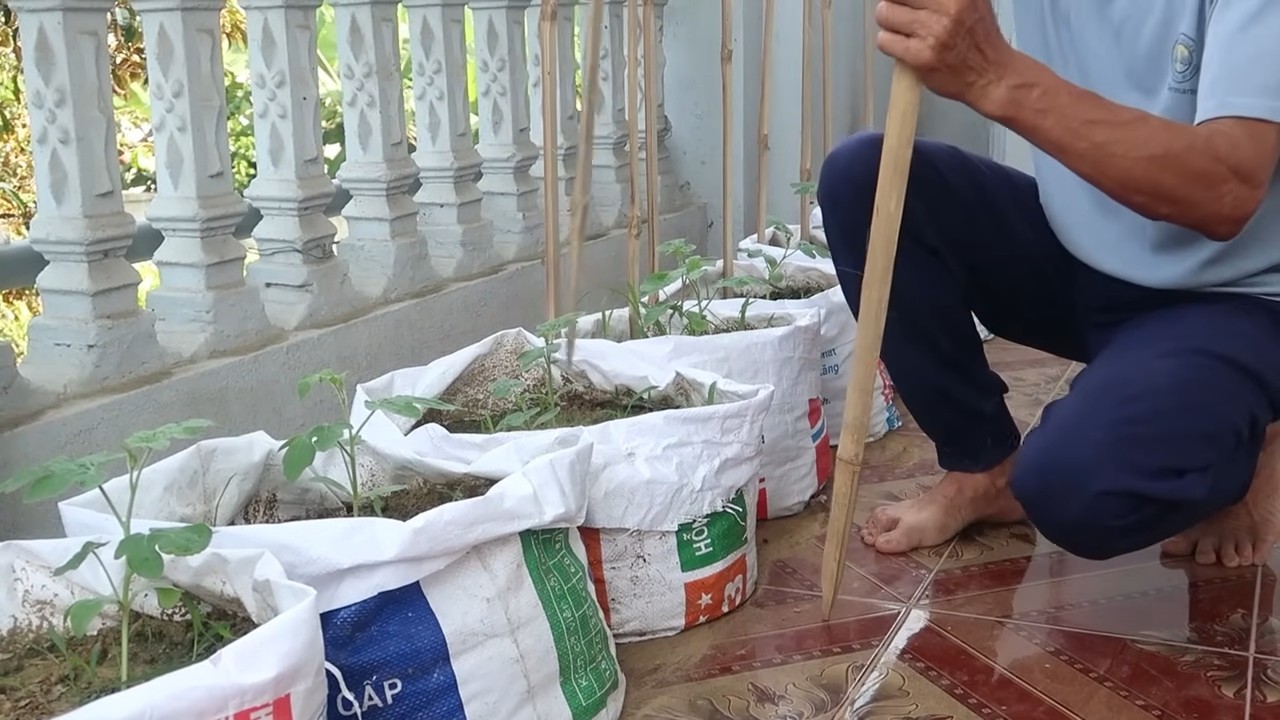
Phase 6: Transplanting
- Timing: Plant the watermelon plants outdoors only when there is no more risk of frost and the soil temperature is at least 18 degrees Celsius. This is usually mid to late May.
- Location: Choose a sunny location with well-drained soil. Watermelons need a lot of sun and warmth.
- Prepare soil: Prepare the soil by loosening it and enriching it with compost or other organic matter.
- Planting distance: Plant the watermelon plants about 90-120 cm apart.
- Planting: Dig a hole that is slightly larger than the plant’s root ball. Carefully place the plant in the hole and fill it with soil. Press the soil down lightly.
- Watering: Water the plants thoroughly.
- Mulching: Mulch the soil around the plants with straw or other organic material. This helps to retain moisture in the soil and suppress weeds.
- Protection: Protect the young plants from pests and diseases.
Additional Tips for Successful Watermelon Starting
Avoid overwatering: Overwatering can lead to root rot. Make sure the soil is well-drained.
Choose the right variety: Not all watermelon varieties are suitable for starting indoors. Choose varieties that have a short ripening time and are suitable for your climate.
Use biodegradable pots: Watermelons are sensitive to transplanting. Biodegradable pots can be planted directly into the ground without damaging the roots.
Conclusion
So, there you have it! Starting watermelon seeds early indoors is not just a gardening hack; it’s a game-changer for anyone dreaming of vine-ripened, juicy watermelons bursting with flavor. By taking control of the early stages of growth, you’re essentially giving your watermelons a head start, allowing them to mature and thrive even in regions with shorter growing seasons. This DIY trick is a must-try because it significantly increases your chances of a bountiful harvest, delivering those sweet, refreshing slices you crave all summer long.
Think of the possibilities! Imagine impressing your friends and family with watermelons you grew yourself, bursting with unparalleled sweetness. Picture the satisfaction of knowing you nurtured these fruits from tiny seeds to impressive, juicy specimens. This isn’t just about growing watermelons; it’s about connecting with nature, learning new skills, and enjoying the fruits (literally!) of your labor.
But don’t stop there! Experiment with different watermelon varieties. Try starting heirloom varieties like ‘Moon and Stars’ or ‘Black Diamond’ indoors to see how they perform. Consider using different types of seed starting mixes to find what works best for your growing conditions. You can even try succession planting, starting a new batch of seeds every few weeks, to extend your watermelon harvest throughout the summer.
Ready to ditch the store-bought watermelons and embrace the joy of homegrown goodness? We urge you to give this DIY trick a try. It’s easier than you might think, and the rewards are well worth the effort. Don’t be afraid to get your hands dirty and experiment. Gardening is all about learning and adapting.
Once you’ve tried starting your watermelon seeds early indoors, we’d love to hear about your experience! Share your tips, successes, and even your challenges in the comments below. Let’s create a community of watermelon enthusiasts, sharing our knowledge and helping each other grow the best watermelons possible. Your insights could be invaluable to other gardeners just starting out. So, grab your seeds, get your hands dirty, and get ready to enjoy the sweetest, most rewarding watermelons you’ve ever tasted! Happy gardening!
Frequently Asked Questions (FAQs)
Why should I start watermelon seeds indoors instead of directly sowing them in the garden?
Starting watermelon seeds indoors provides several key advantages, especially in regions with shorter growing seasons or unpredictable weather. Watermelons are warm-season crops that require a long period of warm temperatures to mature fully. By starting them indoors, you can give them a head start, allowing them to develop strong root systems and healthy foliage before transplanting them into the garden. This head start can be crucial for ensuring a successful harvest, as it allows the plants to mature before the first frost arrives. Direct sowing, on the other hand, leaves the seeds vulnerable to unfavorable weather conditions, pests, and diseases, which can significantly reduce germination rates and overall yields. Starting indoors also allows you to control the growing environment, providing optimal temperature, moisture, and light conditions for germination and early growth.
What is the best time to start watermelon seeds indoors?
The ideal time to start watermelon seeds indoors is typically 4-6 weeks before the last expected frost date in your area. This timeframe allows the seedlings to develop sufficiently without becoming root-bound in their containers. To determine your last frost date, consult local weather resources or gardening calendars specific to your region. It’s crucial to avoid starting the seeds too early, as overly mature seedlings can become stressed during transplanting and may not perform as well in the garden. Conversely, starting them too late may not provide enough time for the plants to mature fully before the end of the growing season.
What type of containers and soil should I use for starting watermelon seeds?
When starting watermelon seeds indoors, it’s essential to use containers that are large enough to accommodate the developing root systems. Individual pots or cells with a diameter of at least 3-4 inches are recommended. Avoid using small seed trays, as they can quickly become root-bound. As for soil, a well-draining seed starting mix is crucial. These mixes are typically formulated with ingredients like peat moss, vermiculite, and perlite, which provide excellent drainage and aeration. Avoid using garden soil, as it can be too heavy and may contain pathogens that can harm the seedlings. You can also make your own seed starting mix by combining equal parts peat moss, vermiculite, and perlite.
How much light do watermelon seedlings need?
Watermelon seedlings require ample light to grow strong and healthy. Ideally, they should receive at least 6-8 hours of direct sunlight per day. If you don’t have a sunny window, you can supplement with artificial lighting, such as fluorescent grow lights or LED grow lights. Position the lights a few inches above the seedlings and adjust the height as the plants grow. Insufficient light can result in leggy, weak seedlings that are more susceptible to diseases and pests.
How often should I water watermelon seedlings?
Watermelon seedlings need consistent moisture, but it’s crucial to avoid overwatering, which can lead to root rot. Water the seedlings when the top inch of soil feels dry to the touch. Use a gentle watering can or spray bottle to avoid disturbing the delicate roots. Ensure that the containers have drainage holes to allow excess water to escape.
When and how should I transplant watermelon seedlings into the garden?
Transplant watermelon seedlings into the garden when the soil has warmed up to at least 70°F (21°C) and the risk of frost has passed. Harden off the seedlings for a week or two before transplanting by gradually exposing them to outdoor conditions. Choose a sunny location with well-drained soil. Dig holes that are slightly larger than the root balls and space the plants 3-4 feet apart. Gently remove the seedlings from their containers and place them in the holes. Backfill with soil and water thoroughly.
What are some common problems when starting watermelon seeds indoors, and how can I prevent them?
Some common problems include damping-off, leggy seedlings, and nutrient deficiencies. Damping-off is a fungal disease that can cause seedlings to rot at the soil line. To prevent damping-off, use a sterile seed starting mix, avoid overwatering, and provide good air circulation. Leggy seedlings are caused by insufficient light. To prevent leggy seedlings, provide ample light or use artificial lighting. Nutrient deficiencies can occur if the seedlings are not receiving enough nutrients. To prevent nutrient deficiencies, use a seed starting mix that contains nutrients or fertilize the seedlings with a diluted liquid fertilizer.
Can I grow watermelons in containers?
Yes, you can grow watermelons in containers, but you’ll need to choose a large container, at least 20 gallons in size. Select a bush or dwarf variety of watermelon that is better suited for container growing. Ensure the container has good drainage and use a high-quality potting mix. Watermelons grown in containers will require more frequent watering and fertilization than those grown in the ground.
What are some good companion plants for watermelons?
Companion planting can help improve watermelon growth and deter pests. Some good companion plants for watermelons include marigolds, nasturtiums, basil, oregano, and rosemary. These plants can help repel insects and attract beneficial pollinators.
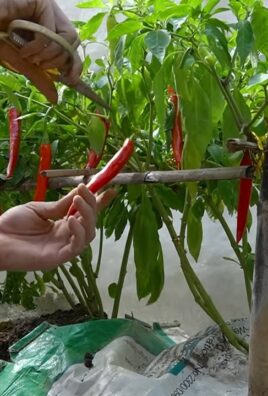
How do I know when a watermelon is ripe?
There are several indicators that a watermelon is ripe. The tendril closest to the fruit should be brown and dry. The spot where the watermelon rests on the ground (the ground spot) should be yellow or cream-colored. The watermelon should also sound hollow when you thump it. With practice, you’ll learn to recognize the subtle signs of ripeness and enjoy perfectly ripe watermelons every time.
Leave a Comment