
Grow Backyard Turnips: A Gardener’s Delight
Growing your own food is incredibly rewarding, and few vegetables are as satisfying to cultivate as turnips. I’ve always loved the earthy sweetness of a perfectly grown turnip, and that’s why I’m so excited to share my Grow Backyard Turnips guide with you! This isn’t just another gardening article; it’s a collection of practical tips and DIY tricks I’ve perfected over years of tending my own little patch of earth. It’s a journey from seed to harvest, filled with simple yet effective techniques to help you achieve bountiful yields.
The humble turnip boasts a rich history, dating back centuries. From ancient civilizations who valued them as a staple crop to their current popularity in modern cuisine, turnips have always held a special place in our culinary heritage. But growing them successfully isn’t always easy. Many gardeners struggle with pests, poor soil conditions, or simply don’t know where to begin. That’s where this Grow Backyard Turnips guide comes in.
Why Grow Your Own Turnips?
There’s something truly magical about pulling a crisp, homegrown turnip from the soil. Beyond the delicious taste, growing your own turnips offers several advantages. You control the quality, ensuring they’re free from pesticides and other harmful chemicals. Plus, you’ll save money compared to buying them from the store. And let’s be honest, there’s a deep sense of accomplishment that comes with nurturing a plant from seed to a delicious harvest. This guide will equip you with the knowledge and confidence to successfully Grow Backyard Turnips, no matter your experience level.
So, grab your gardening gloves, and let’s get started on this exciting journey of growing your own delicious, homegrown turnips!

Growing Your Own Backyard Turnips: A Complete Guide
I love the sweet, earthy flavor of turnips, and nothing beats the satisfaction of harvesting your own. This guide will walk you through everything you need to know to grow a bountiful crop right in your backyard.
Choosing Your Turnip Variety and Location
- Select the right variety: There are many turnip varieties available, each with slightly different characteristics. Some are better suited for colder climates, while others thrive in warmer temperatures. Consider factors like growing season length in your area and your preferred turnip size when making your selection. I personally like ‘White Lady’ for its reliable yield and mild flavor, but ‘Purple Top White Globe’ is a beautiful and tasty option too.
- Sunlight is key: Turnips need at least six hours of direct sunlight per day. Choose a sunny spot in your garden. Observe your garden throughout the day to find the sunniest area.
- Soil preparation is crucial: Turnips prefer loose, well-drained soil that’s rich in organic matter. Heavy clay soil can hinder growth, so amend it with compost or other organic materials to improve drainage and aeration. A soil test can help determine if you need to adjust your soil’s pH; turnips prefer slightly acidic to neutral soil (pH 6.0-7.0).
Sowing Your Turnip Seeds
- Prepare the seedbed: Once you’ve chosen your location and amended the soil, lightly rake the area to create a smooth, level surface. This ensures even seed distribution and germination.
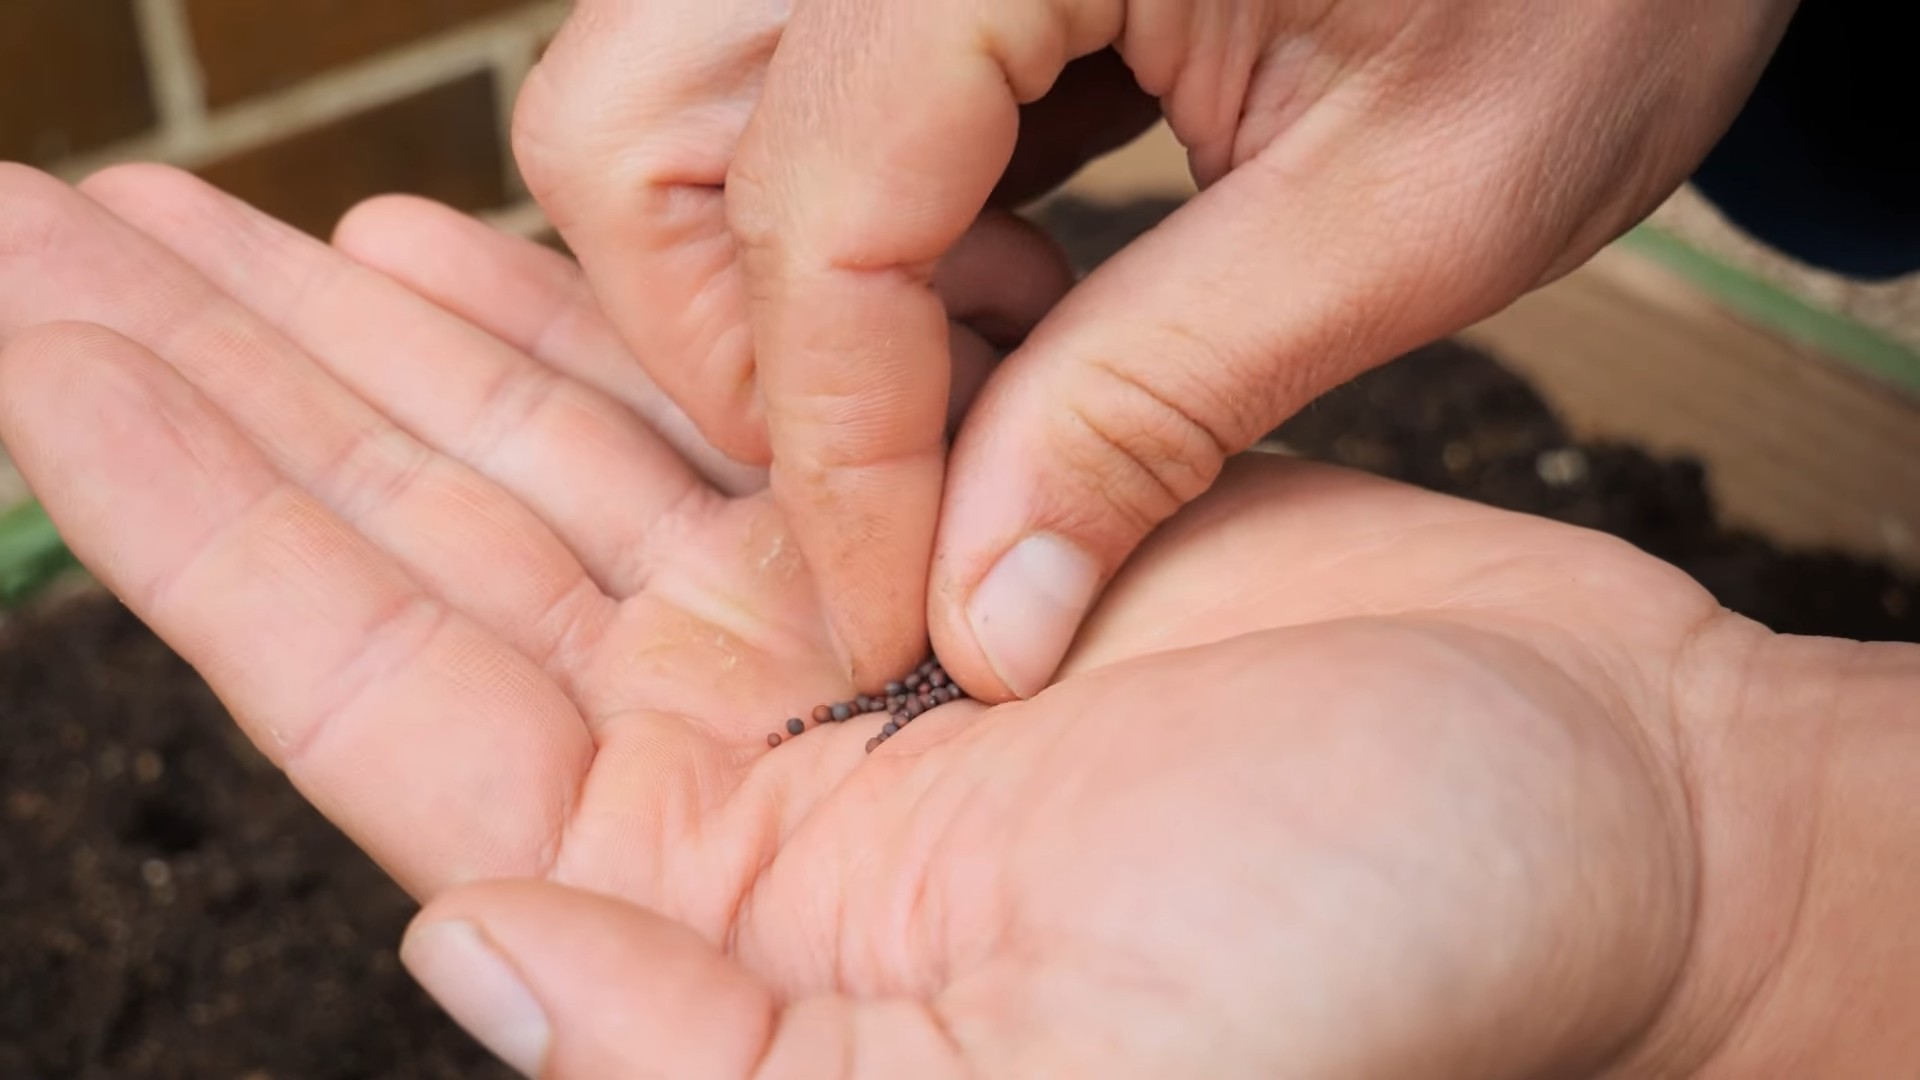
- Sow the seeds: Sow your turnip seeds about ½ inch deep and 2-3 inches apart. You can sow them in rows or broadcast them (scattering them evenly over the area). If broadcasting, thin the seedlings later to achieve proper spacing.
- Gently cover the seeds: After sowing, lightly cover the seeds with soil. Don’t bury them too deep, as this can hinder germination.
- Water thoroughly: After sowing, water the seeds gently but thoroughly. Keep the soil consistently moist but not waterlogged, especially during germination.
- Label your rows: It’s a good idea to label your rows with the variety of turnip you’ve planted and the date of sowing. This will help you keep track of your progress and harvest timing.
Thinning and Weeding
- Thinning: Once the seedlings have developed their first true leaves (the leaves that appear after the cotyledons), thin them to a spacing of 3-4 inches apart. This gives each plant enough room to grow to its full potential. Don’t pull the seedlings out by the leaves; gently loosen the soil around the plant you want to remove and pull it out from the base.
- Weeding: Regularly remove weeds from around your turnip plants. Weeds compete with your turnips for water and nutrients, reducing your yield. Mulching can help suppress weed growth.
- Pest and disease control: Keep an eye out for common turnip pests like flea beetles and aphids. If you notice any infestations, take appropriate action. This might involve using insecticidal soap or other organic pest control methods. Good air circulation can help prevent fungal diseases.
Watering and Fertilizing
- Consistent watering: Turnips need consistent moisture, especially during dry periods. Water deeply and regularly, aiming to keep the soil consistently moist but not soggy. Avoid overhead watering, which can lead to fungal diseases.
- Fertilizing: While turnips aren’t heavy feeders, a light application of balanced fertilizer can boost growth and yield. Use a slow-release fertilizer or side-dress with compost tea. Avoid over-fertilizing, as this can lead to excessive leaf growth at the expense of root development. Over-fertilizing with nitrogen can also make the turnips bitter.
Harvesting Your Turnips
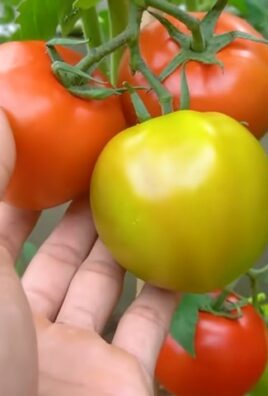
- Timing is everything: Turnips are ready for harvest when they reach the desired size, typically 2-3 inches in diameter. This usually takes 50-70 days from sowing, depending on the variety and growing conditions. You can harvest smaller turnips for baby turnips, which are delicious and tender.
- Harvesting technique: Gently loosen the soil around the turnip with a garden trowel or fork. Lift the turnip carefully to avoid damaging the root. If the roots are too large, you might need to use a small shovel.
- Cleaning and storage: After harvesting, brush off any excess soil. Store your turnips in a cool, dark, and well-ventilated place. They’ll keep for several weeks in the refrigerator.
Troubleshooting Common Turnip Problems
Bolting
Bolting (going to seed prematurely) is a common problem with turnips, especially in hot weather. To prevent bolting, choose a variety that’s known for its bolting resistance, plant in cooler weather, and ensure consistent moisture.
Pests and Diseases
Flea beetles can cause significant damage to turnip leaves. Use row covers to protect your plants or consider using insecticidal soap. Fungal diseases can also affect turnips; good air circulation and avoiding overhead watering can help prevent these problems.
Poor Growth
If your turnips are growing poorly, it could be due to several factors, including poor soil drainage, insufficient sunlight, nutrient deficiencies, or pest infestations. Address these issues to improve growth.
Tips for Success
- Succession planting: Plant turnips in succession every few weeks to ensure a continuous harvest throughout the growing season.
- Consider intercropping: Plant turnips with other crops, such as lettuce or spinach, to maximize space and improve soil health.
- Save seeds: If you’re feeling ambitious, you can save seeds from your best turnips to plant next year.
Conclusion
So there you have it – a complete guide to growing your own backyard turnips! This simple, yet rewarding, DIY trick transforms a small patch of land into a source of fresh, delicious, and nutritious turnips. Why is this a must-try? Because it connects you directly to your food, offering a level of satisfaction that store-bought turnips simply can’t match. You’ll experience the joy of nurturing a plant from seed to harvest, savoring the unique flavor of homegrown produce, and potentially saving money on your grocery bill. Beyond the delicious results, growing your own turnips is a fantastic way to engage with nature, learn about sustainable gardening practices, and even involve the whole family in the process. It’s a project that offers something for everyone, regardless of your gardening experience.
Don’t be afraid to experiment! This guide provides a solid foundation, but the beauty of gardening lies in its adaptability. Feel free to explore different turnip varieties, experimenting with colors, shapes, and even flavors. Some varieties are better suited for specific climates, so research what thrives best in your region. Consider companion planting – incorporating other plants that benefit each other’s growth. For example, planting turnips near carrots can improve the overall health and yield of both crops. You can also try different sowing methods, such as direct sowing or starting seeds indoors for a head start. The possibilities are endless!
Beyond the variations in planting, consider how you’ll use your bountiful harvest. Turnips are incredibly versatile. They can be roasted, boiled, mashed, added to soups and stews, or even pickled for a unique flavor profile. Get creative in the kitchen and explore the many culinary uses of your homegrown turnips. The fresh, earthy taste of a homegrown turnip is a revelation, a far cry from the sometimes bland supermarket versions. This DIY approach allows you to control the quality and freshness from seed to plate, ensuring a superior culinary experience.
We strongly encourage you to embark on this rewarding journey of growing your own backyard turnips. It’s a project that combines the satisfaction of creating something beautiful with the delicious reward of a healthy harvest. Share your experience with us! We’d love to hear about your successes, challenges, and any unique variations you try. Post pictures of your thriving turnip patch and your delicious culinary creations on social media using #GrowBackyardTurnips and tag us – we can’t wait to see what you achieve!
Frequently Asked Questions
What type of soil is best for growing turnips?
Turnips thrive in loose, well-drained soil that is rich in organic matter. Amend heavy clay soils with compost or other organic materials to improve drainage and aeration. Sandy soils may require the addition of organic matter to retain moisture. A slightly acidic to neutral pH (6.0-7.0) is ideal.
How much sunlight do turnips need?
Turnips need at least six hours of direct sunlight per day to grow properly. Choose a location in your garden that receives ample sunlight, especially during the crucial early stages of growth.
When is the best time to plant turnips?
The best time to plant turnips depends on your climate. In cooler climates, you can sow seeds in early spring or late summer/early fall for a fall harvest. In warmer climates, plant in the fall or winter for a spring harvest. Avoid planting during the hottest months of summer, as turnips don’t tolerate extreme heat well.
How often should I water my turnips?
Water your turnips regularly, especially during dry periods. Aim for consistent moisture, keeping the soil evenly moist but not waterlogged. Overwatering can lead to root rot, while underwatering can result in stunted growth and smaller turnips.
What are some common problems when growing turnips?
Common problems include flea beetles (use row covers for protection), root maggots (practice crop rotation), and clubroot (ensure good soil drainage and avoid planting in previously infested areas). Regular monitoring and prompt action are key to preventing and managing these issues.
How do I know when my turnips are ready to harvest?
Turnips are typically ready for harvest 6-8 weeks after sowing, depending on the variety. The turnips should be firm and approximately 2-3 inches in diameter. You can gently pull on a few to check their size and firmness before harvesting the entire crop.
Can I save seeds from my homegrown turnips for next year?
While you can attempt to save seeds, it’s generally more reliable to purchase fresh seeds each year. Turnips are often hybrids, meaning the seeds from your harvest may not produce plants identical to the parent plant. However, if you are growing an open-pollinated variety, saving seeds is a possibility. Ensure proper isolation to prevent cross-pollination with other turnip varieties.
What are some creative ways to use my homegrown turnips?
Beyond the usual roasting and boiling, consider adding grated turnips to salads, making turnip fries, incorporating them into fritters, or creating a delicious turnip and apple soup. The possibilities are endless! Experiment with different recipes and discover your favorite ways to enjoy your homegrown harvest. Remember to always wash your turnips thoroughly before preparing them.


Leave a Comment