
Easy Tomato Patch DIY: Dreaming of vine-ripened tomatoes bursting with flavor, right from your own backyard? I know I am! There’s nothing quite like the taste of a homegrown tomato, and the satisfaction of nurturing your own food is simply unmatched. For centuries, cultivating tomatoes has been a cherished tradition, from their origins in South America to their adoption into Italian cuisine and beyond. Think of sun-drenched Mediterranean gardens, overflowing with these juicy red gems – that could be your garden too!
But let’s be honest, the thought of creating a thriving tomato patch can sometimes feel a little daunting. Where do you even begin? That’s where this Easy Tomato Patch DIY guide comes in! I’m going to share some simple, effective, and budget-friendly tricks and hacks that will transform even the smallest space into a tomato-growing haven. Whether you’re a seasoned gardener or a complete beginner, these tips will help you avoid common pitfalls, maximize your yield, and enjoy a bountiful harvest.
Why do you need this? Because store-bought tomatoes simply can’t compare! Plus, knowing exactly where your food comes from and how it’s grown is incredibly empowering. So, let’s ditch the grocery store varieties and embark on this exciting journey to create your very own easy tomato patch! Get ready to roll up your sleeves, get your hands dirty, and experience the joy of growing your own delicious tomatoes. Let’s get started!
Creating Your Own Thriving Tomato Patch: A DIY Guide
Okay, tomato lovers, let’s get our hands dirty! I’m going to walk you through building your very own tomato patch, a project that’s both rewarding and surprisingly simple. Get ready for a summer filled with juicy, homegrown tomatoes!
Choosing the Right Location
Before we even think about digging, let’s talk location. Tomatoes are sun worshippers, so finding the perfect spot is crucial.
* Sunlight is Key: Tomatoes need at least 6-8 hours of direct sunlight per day. Scout your yard and identify the sunniest spot.
* Well-Drained Soil: Tomatoes hate soggy feet! Make sure the area you choose drains well. If you have heavy clay soil, we’ll address that later.
* Protection from Wind: Strong winds can damage tomato plants. If your yard is exposed, consider planting near a fence or building to provide some shelter.
* Accessibility: Choose a location that’s easy to access for watering, weeding, and harvesting. You don’t want to be trekking across the yard every day!
* Avoid Walnut Trees: Walnut trees produce a substance called juglone that is toxic to tomatoes. Keep your tomato patch far away from these trees.
Preparing the Soil: The Foundation for Success
Now that we’ve found the perfect spot, let’s get the soil ready. This is arguably the most important step, so don’t skimp on it!
* Soil Testing: Ideally, you should test your soil’s pH and nutrient levels. You can buy a soil testing kit at most garden centers or send a sample to your local agricultural extension office. Tomatoes prefer a slightly acidic pH of around 6.0 to 6.8.
* Clearing the Area: Remove any grass, weeds, rocks, or debris from the area you’ve chosen. A shovel, hoe, or even a tiller can be helpful here.
* Amending the Soil: This is where we improve the soil’s texture and fertility.
* Compost: Add plenty of compost! Compost is like magic for gardens. It improves drainage, adds nutrients, and helps retain moisture. I usually aim for a 2-4 inch layer of compost worked into the top 12 inches of soil.
* Manure: Well-rotted manure is another excellent soil amendment. It’s rich in nutrients and helps improve soil structure. Be sure it’s well-rotted to avoid burning your plants.
* Peat Moss: If your soil is heavy clay, peat moss can help improve drainage. Mix it in thoroughly with the compost and manure.
* Other Amendments: Depending on your soil test results, you may need to add other amendments like lime (to raise pH), sulfur (to lower pH), or fertilizer. Follow the instructions on the product label.
* Tilling or Digging: Once you’ve added your amendments, till or dig the soil to a depth of at least 12 inches. This will help incorporate the amendments and create a loose, well-aerated soil for your tomato plants.
Building a Raised Bed (Optional but Recommended)
While you can plant tomatoes directly in the ground, I highly recommend building a raised bed. It offers several advantages:
* Improved Drainage: Raised beds drain better than in-ground gardens, which is especially helpful if you have heavy clay soil.
* Warmer Soil: Raised beds warm up faster in the spring, allowing you to plant earlier.
* Better Soil Control: You have complete control over the soil composition in a raised bed.
* Easier Maintenance: Raised beds are easier to weed and maintain.
* Reduced Soil Compaction: You’re less likely to compact the soil in a raised bed.
Here’s how to build a simple raised bed:
1. Choose Your Materials: You can use wood (cedar is a good choice because it’s naturally rot-resistant), concrete blocks, or even repurposed materials like old pallets (make sure they’re untreated!).
2. Determine the Size: A good size for a raised bed is 4 feet wide by 8 feet long. This allows you to easily reach all parts of the bed. The height should be at least 12 inches.
3. Assemble the Bed: Cut your materials to the desired length and assemble the bed. If using wood, use screws or nails to secure the corners.
4. Line the Bed (Optional): You can line the bed with landscape fabric to prevent weeds from growing up from below.
5. Fill the Bed: Fill the bed with a mixture of topsoil, compost, and other amendments. Aim for a ratio of about 1/3 topsoil, 1/3 compost, and 1/3 other amendments.
Choosing Your Tomato Varieties
Now for the fun part: choosing your tomato varieties! There are literally hundreds of different tomato varieties to choose from, so it can be a bit overwhelming. Here are a few things to consider:
* Determinate vs. Indeterminate:
* Determinate tomatoes grow to a certain size and then stop, producing all their fruit at once. They’re good for canning or making sauce.
* Indeterminate tomatoes continue to grow and produce fruit throughout the growing season. They’re good for slicing and eating fresh.
* Fruit Size: Do you want large beefsteak tomatoes, medium-sized slicers, or small cherry tomatoes?
* Disease Resistance: Choose varieties that are resistant to common tomato diseases in your area. Look for abbreviations like V, F, N, T, and A on the seed packet or plant label. These stand for Verticillium wilt, Fusarium wilt, Nematodes, Tobacco mosaic virus, and Alternaria.
* Taste: Of course, you want tomatoes that taste good! Read reviews and ask other gardeners for recommendations.
* Heirloom vs. Hybrid:
* Heirloom tomatoes are open-pollinated varieties that have been passed down for generations. They often have unique flavors and colors.
* Hybrid tomatoes are created by crossing two different varieties. They often have improved disease resistance and higher yields.
Some popular tomato varieties include:
* Beefsteak: Large, juicy tomatoes perfect for slicing.
* Brandywine: Heirloom variety with excellent flavor.
* Early Girl: Early-maturing variety, good for short growing seasons.
* Roma: Determinate variety, good for canning and sauce.
* Cherry Tomatoes: Small, sweet tomatoes perfect for snacking.
* San Marzano: Paste tomato, excellent for sauces.
Planting Your Tomato Plants
Okay, the soil is ready, the raised bed is built (if you chose that route), and you’ve selected your tomato varieties. Now it’s time to plant!
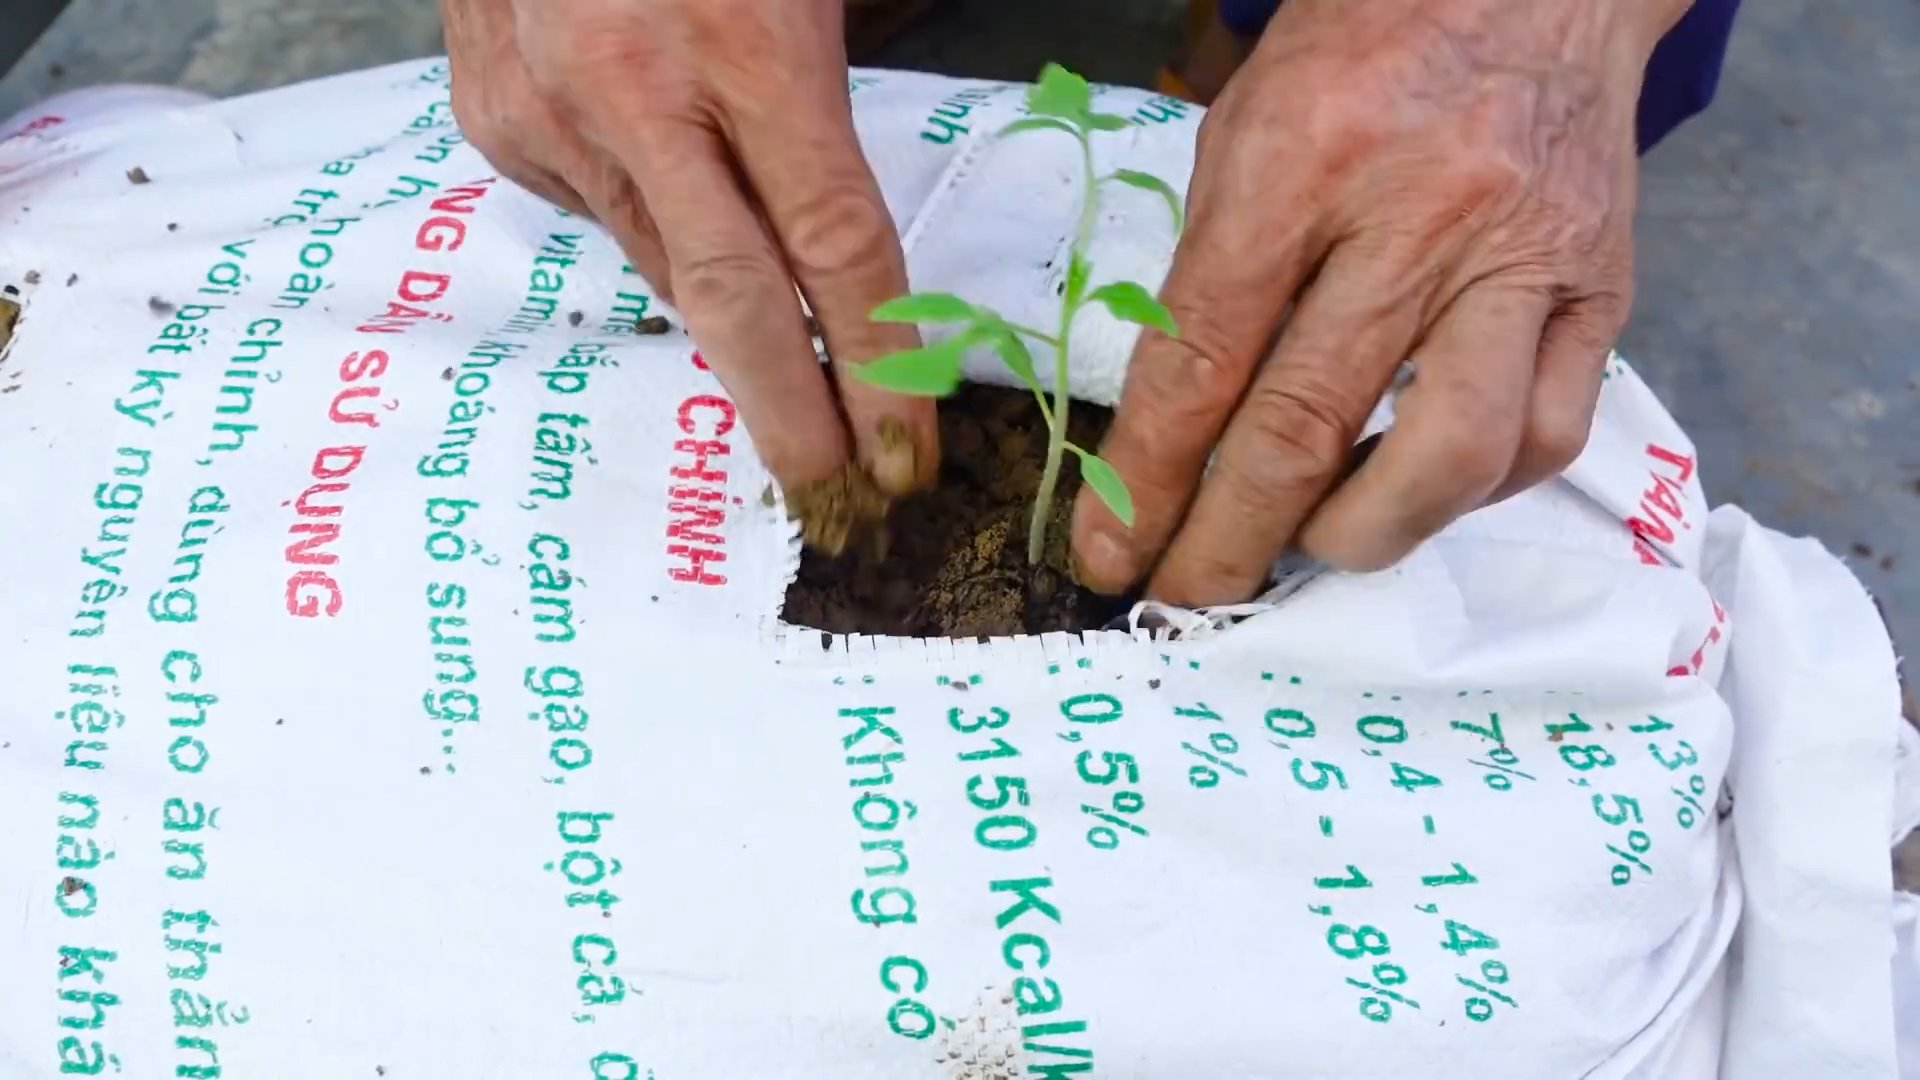
1. Harden Off Your Plants: If you purchased your tomato plants from a nursery, you’ll need to harden them off before planting them in the garden. This means gradually exposing them to outdoor conditions over a period of about a week. Start by placing them in a sheltered location for a few hours each day, gradually increasing the amount of time they spend outdoors.
2. Dig the Holes: Dig holes that are deep enough to bury the bottom third of the tomato plant’s stem. This will encourage the plant to develop more roots.
3. Add Fertilizer: Add a small amount of fertilizer to each hole. I like to use a slow-release fertilizer specifically formulated for tomatoes.
4. Plant the Tomatoes: Gently remove the tomato plants from their containers and loosen the roots. Place the plants in the holes and backfill with soil.
5. Water Thoroughly: Water the plants thoroughly after planting.
6. Space Appropriately: Space your tomato plants according to the variety. Determinate tomatoes can be planted closer together than indeterminate tomatoes. Check the seed packet or plant label for specific spacing recommendations. Generally, allow 2-3 feet between plants.
7. Mulch: Apply a layer of mulch around the tomato plants. Mulch helps retain moisture, suppress weeds, and regulate soil temperature. Straw, hay, wood chips, or shredded leaves are all good choices.
Supporting Your Tomato Plants
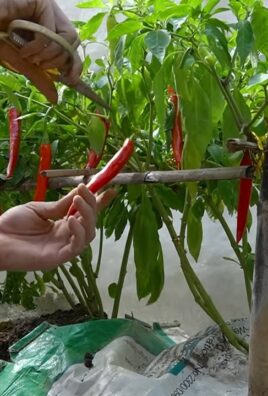
Tomato plants, especially indeterminate varieties, need support to keep them from sprawling on the ground. There are several ways to support your tomato plants:
* Stakes: Drive a sturdy stake into the ground next to each tomato plant. As the plant grows, tie the stem to the stake with twine or soft plant ties.
* Cages: Place a tomato cage around each plant. Cages provide support as the plant grows and prevent the fruit from touching the ground.
* Trellises: Trellises are a good option for indeterminate tomato varieties. Train the plants to grow up the trellis as they grow.
Watering and Fertilizing
Tomatoes need consistent watering, especially during
Conclusion
So, there you have it! This easy tomato patch DIY isn’t just a project; it’s an investment in flavor, freshness, and a deeper connection to your food. Forget those bland, store-bought tomatoes that taste like cardboard. Imagine biting into a sun-ripened, juicy tomato bursting with flavor, grown right in your own backyard (or balcony!). This DIY method empowers you to cultivate that experience, regardless of your gardening expertise or the size of your space.
Why is this a must-try? Because it’s simple, cost-effective, and incredibly rewarding. You don’t need acres of land or a green thumb to succeed. This method minimizes weeding, maximizes space, and provides your tomato plants with the ideal environment to thrive. Plus, there’s something incredibly satisfying about nurturing a plant from seedling to harvest. It’s a tangible connection to nature that can be incredibly therapeutic.
But the beauty of this DIY approach lies in its adaptability. Feel free to experiment with different tomato varieties. Cherry tomatoes, Roma tomatoes, beefsteak tomatoes – the possibilities are endless! Consider adding companion plants like basil or marigolds to your tomato patch. Basil is known to improve the flavor of tomatoes and deter pests, while marigolds help to repel nematodes. You can also adjust the size of your containers to suit your space and needs. If you’re short on space, try using hanging baskets for cherry tomatoes. If you have more room, consider building a larger raised bed.
Don’t be afraid to get creative with your support system. While tomato cages are a classic choice, you can also use stakes, trellises, or even repurposed materials like old ladders or branches. The key is to provide your plants with adequate support as they grow and produce fruit.
We’re confident that this easy tomato patch DIY will transform your gardening experience. It’s a simple yet powerful way to grow delicious, healthy tomatoes right at home. So, gather your supplies, follow the steps, and get ready to enjoy the fruits (or rather, vegetables!) of your labor.
We’re eager to hear about your experiences! Share your photos, tips, and variations in the comments below. Let’s create a community of tomato-growing enthusiasts and inspire others to embark on this rewarding journey. Happy gardening!
Frequently Asked Questions (FAQ)
What kind of soil should I use for my tomato patch?
The best soil for tomatoes is a well-draining, nutrient-rich mix. A good starting point is a blend of potting soil, compost, and perlite or vermiculite. The potting soil provides a base, the compost adds essential nutrients, and the perlite or vermiculite improves drainage and aeration. Avoid using garden soil directly in containers, as it can become compacted and doesn’t drain well. You can also purchase pre-mixed tomato-specific potting mixes at most garden centers. These mixes are formulated to provide the optimal nutrients and drainage for tomato plants. Remember to amend your soil with compost regularly to replenish nutrients as your plants grow.
How often should I water my tomato plants?
Watering frequency depends on several factors, including the weather, the size of your containers, and the type of soil you’re using. As a general rule, water deeply whenever the top inch of soil feels dry to the touch. Avoid overwatering, as this can lead to root rot. During hot, dry weather, you may need to water daily. In cooler, wetter weather, you may only need to water every few days. The best time to water is in the morning, as this allows the foliage to dry before nightfall, reducing the risk of fungal diseases. Use a watering can or a hose with a gentle spray nozzle to avoid damaging the plants.
How much sunlight do tomato plants need?
Tomato plants need at least 6-8 hours of direct sunlight per day to thrive. Choose a location for your tomato patch that receives plenty of sunlight throughout the day. If you’re growing tomatoes indoors, you may need to supplement with grow lights. Rotate your plants regularly to ensure that all sides receive adequate sunlight. Insufficient sunlight can lead to leggy growth, reduced fruit production, and bland-tasting tomatoes.
What are some common tomato pests and diseases, and how can I prevent them?
Common tomato pests include aphids, whiteflies, tomato hornworms, and spider mites. Common tomato diseases include early blight, late blight, and blossom end rot. To prevent pests and diseases, start with healthy plants, provide good air circulation, and avoid overwatering. Inspect your plants regularly for signs of pests or diseases. If you find any, take action immediately. You can use organic pest control methods like insecticidal soap or neem oil to control pests. For diseases, remove infected leaves and apply a fungicide if necessary. Blossom end rot is caused by a calcium deficiency, so make sure your soil is rich in calcium and water your plants consistently.
Can I grow tomatoes in containers?
Absolutely! Growing tomatoes in containers is a great option for those with limited space. Choose containers that are at least 12 inches in diameter and have drainage holes. Use a well-draining potting mix and provide your plants with plenty of sunlight and water. You may need to fertilize your container-grown tomatoes more frequently than those grown in the ground, as nutrients can leach out of the soil more quickly. Consider using a slow-release fertilizer or liquid fertilizer every few weeks.
What are some good companion plants for tomatoes?
Companion planting can help to improve the health and productivity of your tomato plants. Some good companion plants for tomatoes include basil, marigolds, carrots, onions, and garlic. Basil is said to improve the flavor of tomatoes and deter pests. Marigolds help to repel nematodes. Carrots, onions, and garlic can help to deter other pests. Avoid planting tomatoes near brassicas like cabbage, broccoli, and cauliflower, as they can compete for nutrients.
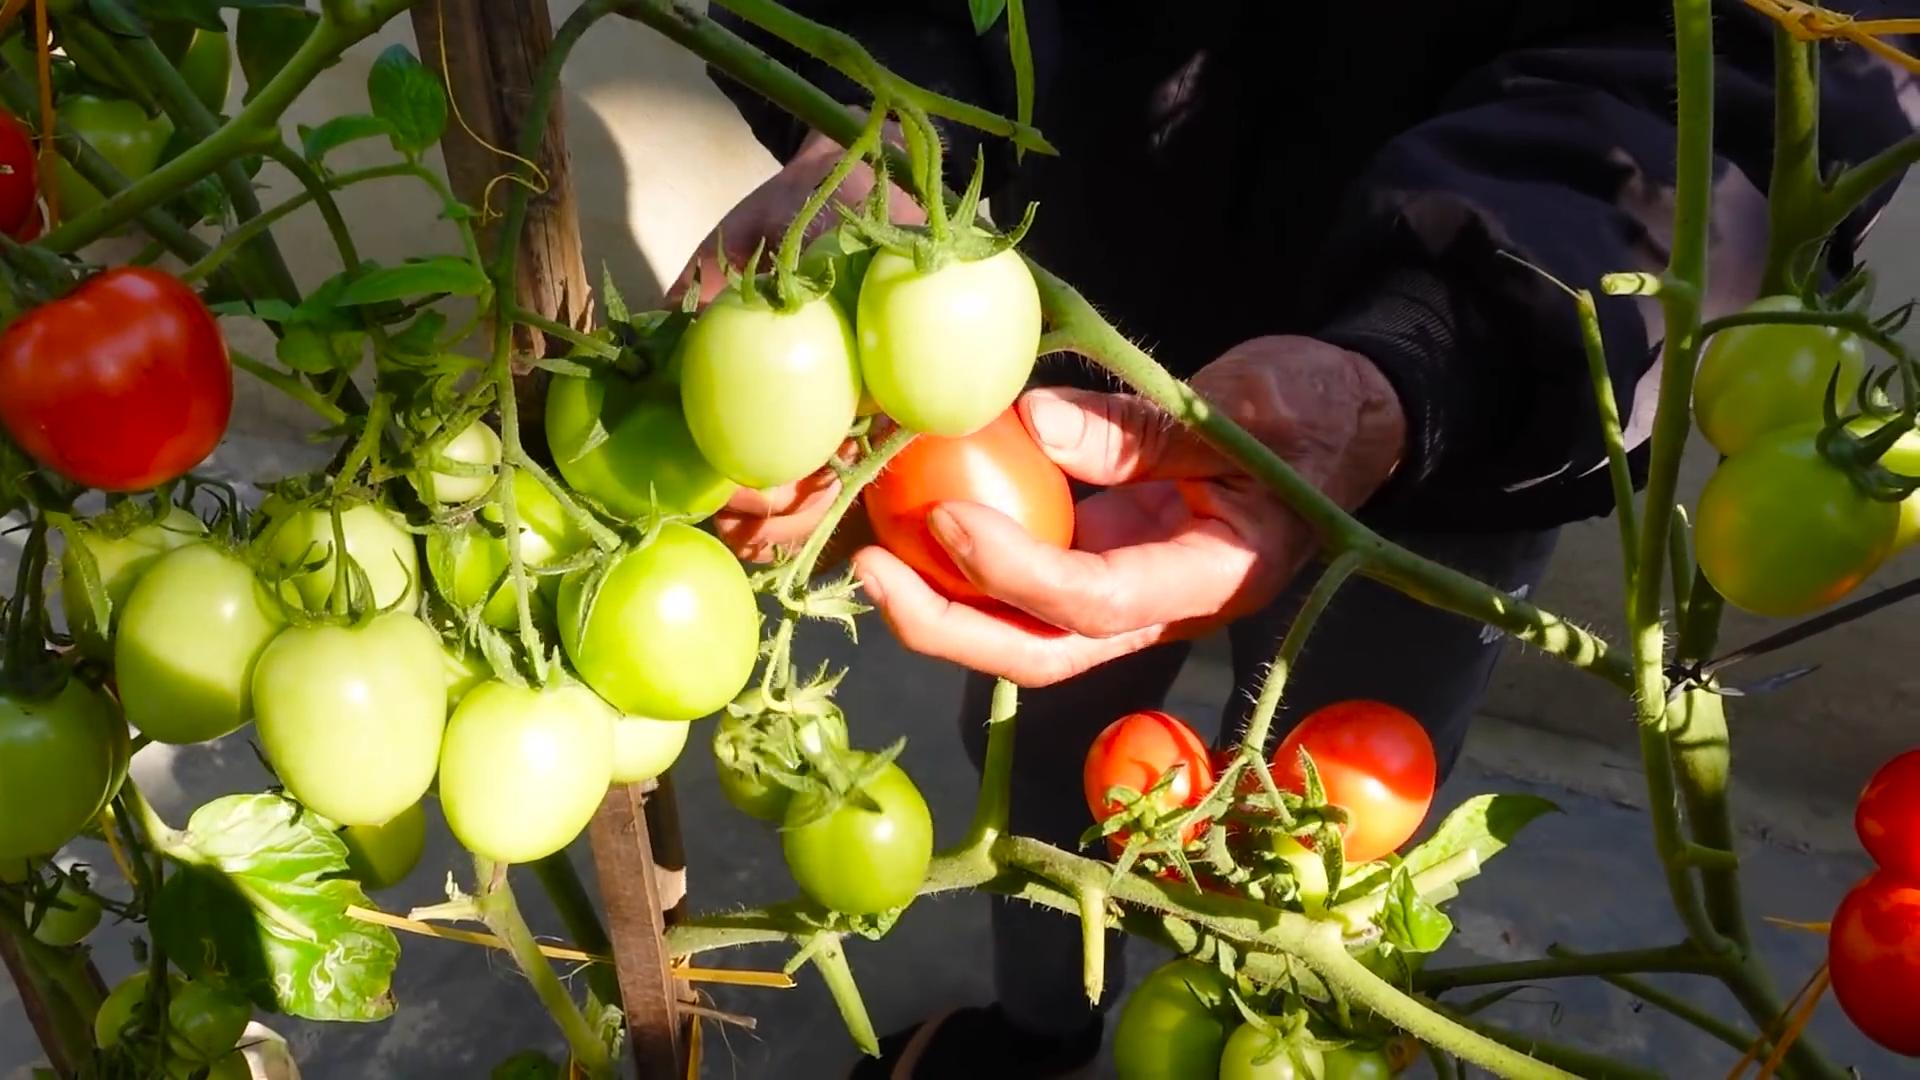
How do I know when my tomatoes are ripe?
The color of the tomato will change from green to red (or yellow, orange, or purple, depending on the variety). The tomato should also feel slightly soft to the touch. Gently squeeze the tomato; if it gives slightly, it’s ripe. The stem should also detach easily from the plant. The best way to tell if a tomato is ripe is to taste it! Ripe tomatoes will have a sweet, juicy flavor.
How do I prune my tomato plants?
Pruning tomato plants can help to improve air circulation, reduce disease, and increase fruit production. The most common pruning method is to remove suckers, which are small shoots that grow between the main stem and the branches. Removing suckers directs the plant’s energy towards fruit production. You can also prune lower leaves that are touching the ground to improve air circulation. Use clean, sharp pruning shears to avoid spreading disease.
Can I save seeds from my tomatoes?
Yes, you can save seeds from your tomatoes, but it’s important to note that hybrid varieties may not produce true-to-type offspring. To save seeds, choose ripe, healthy tomatoes. Cut the tomato in half and scoop out the seeds and pulp. Place the seeds and pulp in a jar with a little water and let it ferment for a few days. This process helps to remove the gelatinous coating around the seeds. After a few days, rinse the seeds thoroughly and spread them out on a paper towel to dry. Once the seeds are completely dry, store them in an airtight container in a cool, dark place.


Leave a Comment