
Grow Pumpkins at Home and transform your garden into a festive autumn wonderland! Imagine the satisfaction of carving a jack-o’-lantern from a pumpkin you nurtured from a tiny seed. For centuries, pumpkins have been more than just a decorative gourd; they’ve been a symbol of harvest, abundance, and community. From ancient Native American traditions where pumpkins were a vital food source to the modern-day pumpkin spice craze, this versatile fruit holds a special place in our hearts and cultures.
But let’s be honest, the thought of growing these giants can be a little intimidating. That’s where this DIY guide comes in! I’m here to share some simple, yet effective tricks and hacks that will empower you to grow pumpkins at home, even if you’re a beginner gardener. We’ll break down the process into manageable steps, covering everything from seed selection to pest control, ensuring you have a bountiful harvest. Why spend money on store-bought pumpkins when you can cultivate your own, bursting with flavor and character? Let’s get our hands dirty and create some pumpkin magic!
Grow Your Own Giant Pumpkins: A Step-by-Step Guide
Okay, pumpkin enthusiasts! So, you want to grow your own prize-winning pumpkins? It’s totally doable, even if you don’t have acres of farmland. I’m going to walk you through everything you need to know, from seed to spectacular gourd. Get ready to get your hands dirty!
Choosing the Right Pumpkin Variety
Before we even think about planting, let’s talk pumpkins. Not all pumpkins are created equal, especially if you’re dreaming of a giant.
* For Giant Pumpkins: The undisputed champion is the ‘Atlantic Giant’. This is the variety you see at weigh-offs, and it’s capable of producing pumpkins weighing hundreds, even thousands, of pounds! Be warned, though, they require a lot of space and attention.
* For Jack-o’-Lanterns: If you’re more interested in carving, look for varieties like ‘Connecticut Field’, ‘Howden’, or ‘Jack O’ Lantern’. These are classic carving pumpkins with good shape and size.
* For Pie: ‘Sugar Pie’ and ‘Baby Pam’ are excellent choices for baking. They have a sweeter, denser flesh that’s perfect for pies and other pumpkin treats.
* For Ornamentals: If you want to add some fall flair to your porch, consider varieties like ‘Mini White’, ‘Jack Be Little’, or ‘Gourds Mix’. These are smaller and come in a variety of shapes and colors.
Once you’ve picked your pumpkin, make sure you get your seeds from a reputable source.
Preparing Your Pumpkin Patch
Pumpkins are hungry plants, so soil preparation is key. They need lots of sun, good drainage, and plenty of nutrients.
* Sunlight: Pumpkins need at least 6-8 hours of direct sunlight per day. Choose a spot in your yard that gets plenty of sun.
* Soil: Pumpkins prefer well-drained soil that’s rich in organic matter. If your soil is heavy clay or sandy, amend it with compost, aged manure, or other organic materials.
* Space: Giant pumpkins need a lot of space – think 400-600 square feet per plant! Even smaller varieties need at least 50-100 square feet. Make sure you have enough room for your pumpkins to sprawl.
* Soil Testing: Ideally, you should test your soil to determine its pH and nutrient levels. Pumpkins prefer a soil pH of 6.0 to 7.0. You can buy a soil testing kit at most garden centers or send a sample to your local agricultural extension office.
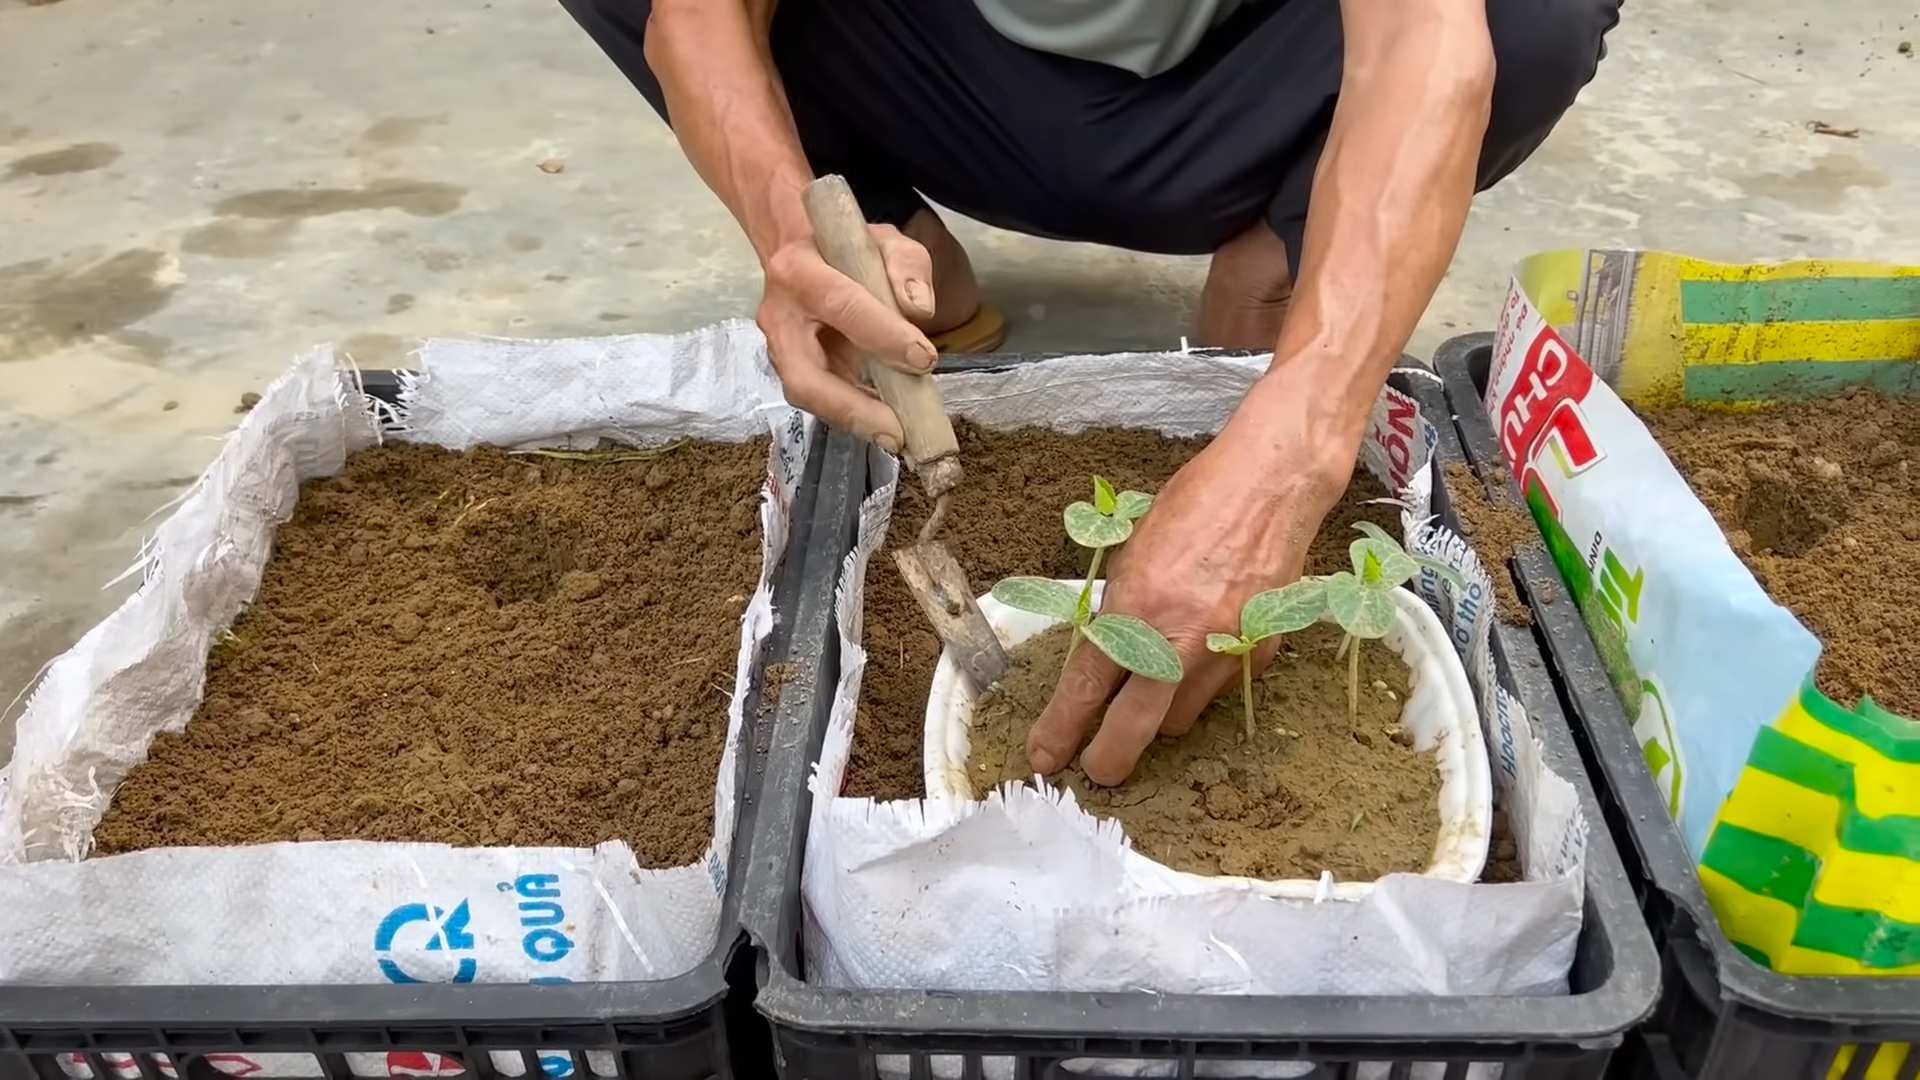
Planting Your Pumpkin Seeds
Now for the fun part! You can either start your pumpkin seeds indoors or direct sow them in the garden.
* Starting Seeds Indoors (Recommended for Giant Pumpkins):
1. Start your seeds about 3-4 weeks before the last expected frost.
2. Use peat pots or biodegradable pots to avoid disturbing the roots when transplanting.
3. Fill the pots with a seed-starting mix.
4. Plant 2-3 seeds per pot, about 1 inch deep.
5. Water gently and keep the soil moist but not soggy.
6. Place the pots in a warm, sunny location or under grow lights.
7. Once the seedlings emerge, thin them to one plant per pot.
8. Harden off the seedlings by gradually exposing them to outdoor conditions for a week before transplanting.
* Direct Sowing:
1. Wait until the soil has warmed up to at least 65°F (18°C).
2. Prepare the soil by adding compost or aged manure.
3. Plant 3-4 seeds in a hill, about 1 inch deep.
4. Space the hills according to the variety you’re growing.
5. Water gently and keep the soil moist.
6. Once the seedlings emerge, thin them to the strongest plant in each hill.
Caring for Your Pumpkin Plants
Once your pumpkin plants are in the ground, it’s important to provide them with the care they need to thrive.
* Watering: Pumpkins need consistent watering, especially during hot, dry weather. Water deeply and regularly, aiming for about 1 inch of water per week. Avoid watering the foliage, as this can lead to fungal diseases. Drip irrigation or soaker hoses are ideal.
* Fertilizing: Pumpkins are heavy feeders, so they need regular fertilization. Use a balanced fertilizer (e.g., 10-10-10) at planting time and then side-dress with a nitrogen-rich fertilizer every few weeks. You can also use compost tea or liquid seaweed extract to give your plants a boost.
* Weeding: Keep your pumpkin patch free of weeds, as they can compete with your plants for nutrients and water. Hand-pull weeds or use a hoe to cultivate the soil. Be careful not to damage the pumpkin roots.
* Pest and Disease Control: Pumpkins are susceptible to a variety of pests and diseases, including squash bugs, squash vine borers, powdery mildew, and downy mildew. Inspect your plants regularly for signs of trouble and take action promptly.
* Squash Bugs: Hand-pick squash bugs and their eggs from the plants. You can also use insecticidal soap or neem oil.
* Squash Vine Borers: Wrap the base of the stems with aluminum foil or nylon stockings to prevent borers from entering. If borers do get in, you can try to remove them by slitting the stem and extracting them.
* Powdery Mildew: Improve air circulation around the plants and avoid overhead watering. You can also use a fungicide specifically labeled for powdery mildew.
* Downy Mildew: Use a fungicide specifically labeled for downy mildew.
* Pollination: Pumpkins have separate male and female flowers. The female flowers have a small fruit at the base, while the male flowers do not. Bees are the primary pollinators of pumpkins, but if you’re not seeing enough bee activity, you can hand-pollinate the flowers.
1. In the early morning, when the flowers are open, use a small paintbrush to transfer pollen from the male flower to the female flower.
2. Repeat this process for several days to ensure pollination.
Training Your Giant Pumpkin Vine (If Applicable)
If you’re growing a giant pumpkin, you’ll need to train the vine to maximize its growth potential.
* Select a Primary Vine: Choose the strongest and healthiest vine to be your primary vine.
* Bury the Vines: As the vines grow, bury them in the soil at regular intervals. This will encourage them to root and provide additional support for the growing pumpkin.
* Prune Secondary Vines: Remove any secondary vines that are growing from the primary vine. This will direct more energy to the main pumpkin.
* Protect the Pumpkin: Once the pumpkin starts to develop, protect it from sunscald by shading it with a cloth or umbrella. You can also place a piece of plywood underneath the pumpkin to prevent it from rotting.
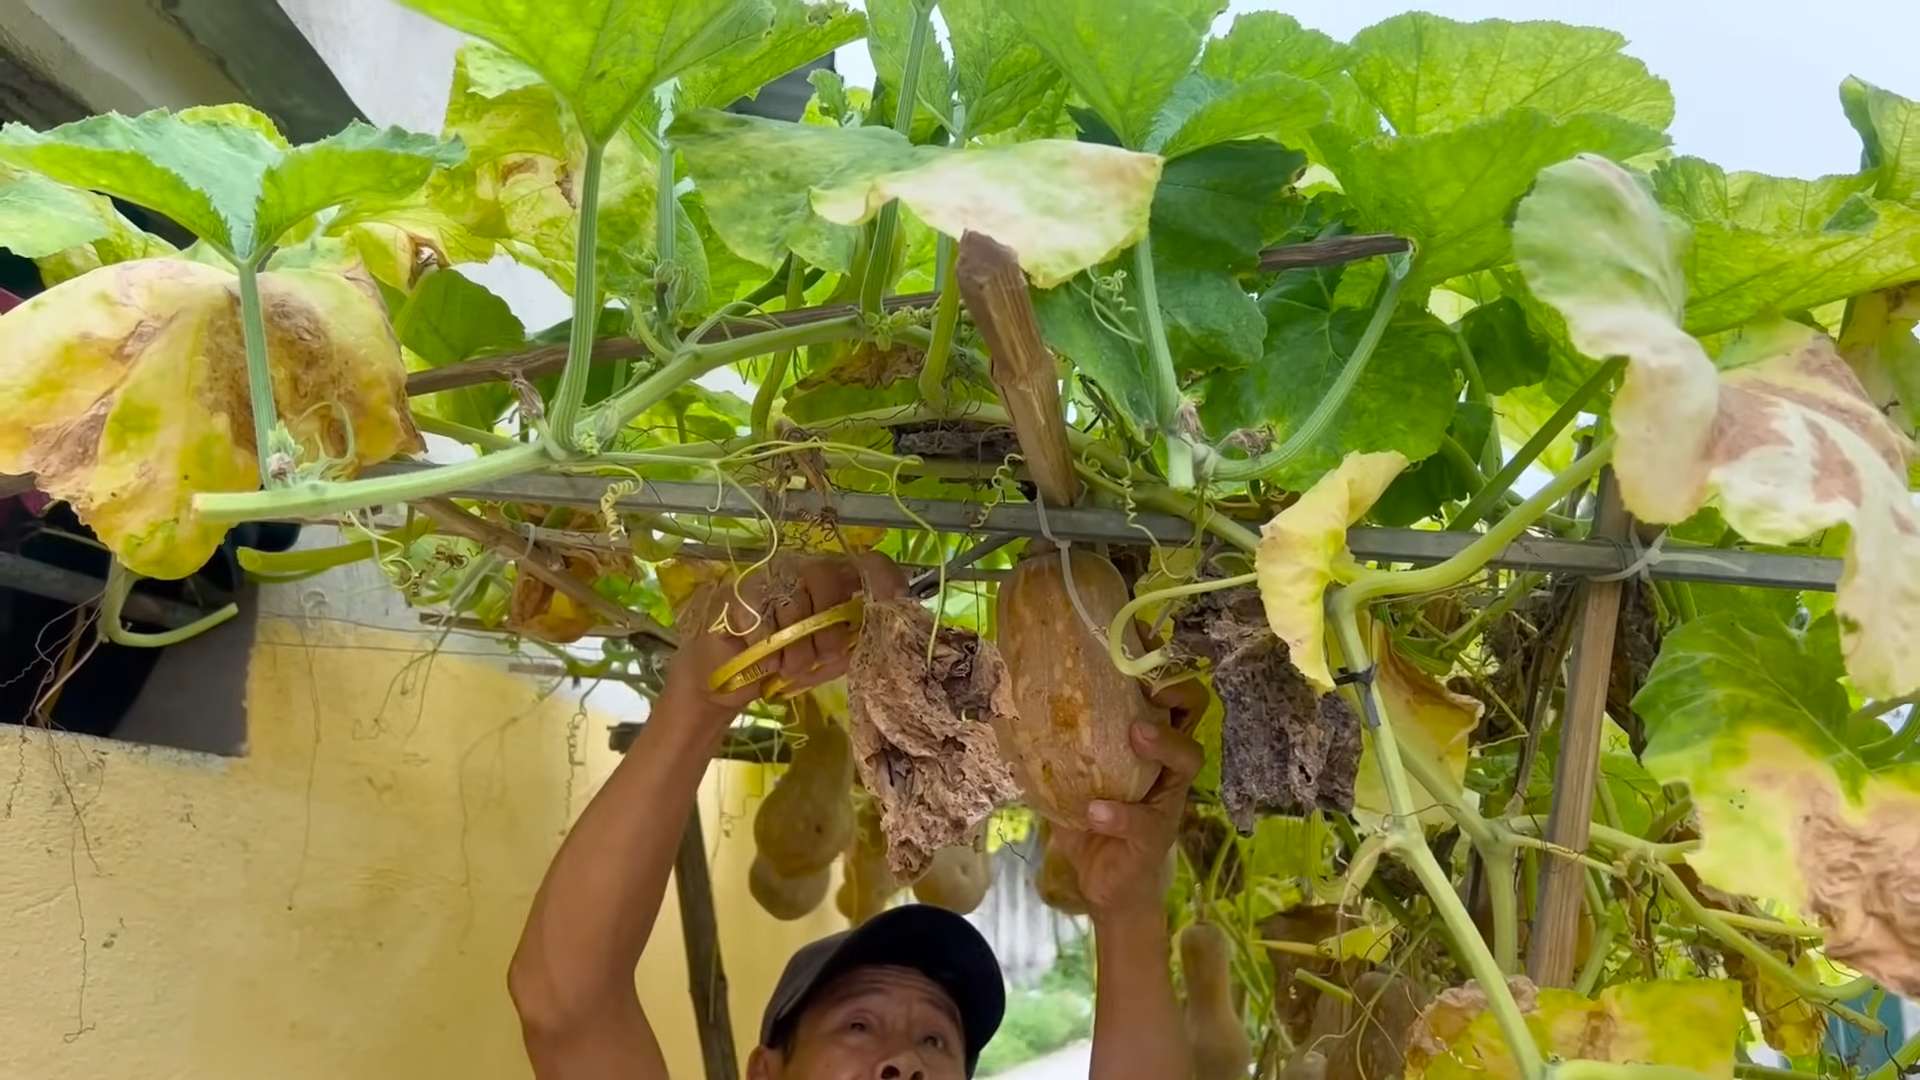
Harvesting Your Pumpkins
Pumpkins are usually ready to harvest in the fall, when the skin is hard and the stem is dry and brown.
* Check for Maturity: Tap the pumpkin. If it sounds hollow, it’s likely ripe. The skin should be hard enough that you can’t easily puncture it with your fingernail.
* Cut the Stem: Use a sharp knife or pruning shears to cut the stem, leaving about 4-6 inches of stem attached to the pumpkin.
* Handle with Care: Be careful not to drop or bruise the pumpkin, as this can shorten its storage life.
* Curing: Cure the pumpkins in a warm, dry place for about 1-2 weeks. This will help to harden the skin and improve their storage life.
Storing Your Pumpkins
Store your pumpkins in a cool, dry place with good air circulation. A basement or garage is ideal.
* Ideal Conditions: The ideal storage temperature is between 50°F and 60°F (10°C and 15°C).
* Avoid Freezing: Don’t let your pumpkins freeze, as this will damage the flesh.
* Check Regularly: Check your pumpkins regularly for signs of rot or spoilage. Remove any pumpkins that are starting to go bad to prevent the spread of disease.
Troubleshooting Common Pumpkin Problems
Even with the best care, you may encounter some problems while growing pumpkins. Here are a few common issues and how to address them:
* Poor Pollination: If your pumpkins aren’t setting fruit, it could be due to poor pollination. Try hand-pollinating the flowers or attracting more bees to your garden.
* Blossom End Rot: This is caused by a calcium deficiency. Add lime
Conclusion
So, there you have it! Growing pumpkins at home isn’t just a fun fall activity; it’s a rewarding experience that connects you with nature and provides you with delicious, homegrown produce. This DIY trick, focusing on [specific aspect of growing pumpkins, e.g., soil preparation, pollination, pest control, etc.], is a game-changer because it significantly increases your chances of a bountiful harvest. Forget relying solely on store-bought pumpkins – imagine the satisfaction of carving a jack-o’-lantern from a pumpkin you nurtured from a tiny seed!
This method, particularly focusing on [reiterate the specific aspect], addresses common challenges faced by home gardeners. It ensures [mention the benefit, e.g., better drainage, improved nutrient uptake, reduced pest infestation, etc.], leading to healthier plants and larger, more vibrant pumpkins. Think of the possibilities! You can experiment with different pumpkin varieties, from the classic orange carving pumpkins to unique heirloom types like Blue Hubbard or Jarrahdale. You could even try growing miniature pumpkins for decorative purposes or pumpkin pie pumpkins for the most flavorful fall baking.
Beyond the practical benefits, growing your own pumpkins is a fantastic way to get kids involved in gardening. They’ll love watching the seeds sprout, the vines grow, and the pumpkins swell in size. It’s a hands-on learning experience that teaches them about the life cycle of plants, the importance of patience, and the joy of harvesting their own food. Plus, it’s a great way to spend quality time outdoors as a family.
Don’t be intimidated by the thought of growing pumpkins. With this DIY trick, you’ll be well-equipped to overcome common obstacles and achieve success. Remember to adapt the technique to your specific climate and growing conditions. For example, if you live in a particularly hot climate, you might need to provide extra shade for your pumpkins during the hottest part of the day. Or, if you have limited space, you could try growing pumpkins in containers, using a trellis to support the vines.
We’re confident that this DIY trick will transform your pumpkin-growing experience. It’s a simple, effective, and sustainable way to cultivate these iconic fall fruits. So, grab your seeds, prepare your garden, and get ready to embark on a pumpkin-growing adventure!
We encourage you to try this DIY trick and share your results with us. Let us know what worked well for you, what challenges you faced, and any variations you tried. Your feedback will help us refine this technique and make it even more accessible to other home gardeners. Share your photos and stories on our social media channels using [relevant hashtag]. We can’t wait to see your amazing homegrown pumpkins!
Frequently Asked Questions (FAQ)
What is the best time to start growing pumpkins?
The ideal time to start growing pumpkins depends on your climate and the specific variety you’re planting. Generally, pumpkins require a long growing season of 90-120 days. In most regions, you should start seeds indoors about 2-3 weeks before the last expected frost. If you live in a warmer climate with a longer growing season, you can direct sow the seeds directly into the ground after the last frost. Check the seed packet for specific recommendations for your chosen variety. Remember, timing is crucial for maximizing your pumpkin yield. Starting too late might result in smaller pumpkins or no pumpkins at all.
What kind of soil is best for growing pumpkins?
Pumpkins thrive in well-drained, fertile soil that is rich in organic matter. The ideal soil pH is between 6.0 and 7.0. Before planting, amend your soil with compost, aged manure, or other organic materials to improve its structure and fertility. This will provide your pumpkin plants with the nutrients they need to grow strong and produce large, healthy fruits. Avoid heavy clay soils, as they can become waterlogged and hinder root development. If you have clay soil, consider adding sand or perlite to improve drainage.
How much sunlight do pumpkins need?
Pumpkins are sun-loving plants and require at least 6-8 hours of direct sunlight per day. Choose a planting location that receives plenty of sunlight throughout the day. Insufficient sunlight can lead to weak plants, smaller pumpkins, and reduced yields. If you live in a particularly hot climate, you might need to provide some afternoon shade to prevent the pumpkins from scorching.
How often should I water my pumpkin plants?
Pumpkins need consistent moisture, especially during hot, dry weather. Water deeply and regularly, aiming to keep the soil consistently moist but not waterlogged. Water at the base of the plants to avoid wetting the foliage, which can increase the risk of fungal diseases. A good rule of thumb is to water when the top inch of soil feels dry to the touch. Mulching around the plants can help retain moisture and suppress weeds.
How do I pollinate my pumpkin flowers?
Pumpkins have separate male and female flowers. The female flowers have a small, immature pumpkin at the base, while the male flowers do not. Pollination is essential for pumpkin development. Bees and other pollinators typically handle this task, but if you’re not seeing enough bee activity, you can hand-pollinate the flowers. To hand-pollinate, use a small brush to transfer pollen from the male flower to the female flower. The best time to hand-pollinate is in the morning, when the flowers are fully open.
What are some common pumpkin pests and diseases, and how can I control them?
Pumpkins are susceptible to various pests and diseases, including squash bugs, squash vine borers, powdery mildew, and downy mildew. Regularly inspect your plants for signs of infestation or disease. Use organic pest control methods, such as insecticidal soap or neem oil, to control pests. To prevent fungal diseases, ensure good air circulation around the plants and avoid overhead watering. Remove any infected leaves or plants promptly to prevent the spread of disease. Crop rotation can also help reduce the risk of soilborne diseases.
How do I know when my pumpkins are ripe?
Pumpkins are typically ready to harvest when they have reached their mature color, the skin is hard and resistant to scratching, and the stem is dry and brown. Gently tap the pumpkin; a ripe pumpkin will sound hollow. Use a sharp knife or pruning shears to cut the pumpkin from the vine, leaving a few inches of stem attached. Avoid lifting the pumpkin by the stem, as this can damage it.
Can I grow pumpkins in containers?
Yes, you can grow pumpkins in containers, but you’ll need a large container (at least 20 gallons) and a strong trellis to support the vines. Choose a compact pumpkin variety that is well-suited for container growing. Use a high-quality potting mix and fertilize regularly. Container-grown pumpkins may require more frequent watering than those grown in the ground.
How do I store my harvested pumpkins?
Store your harvested pumpkins in a cool, dry place with good air circulation. Avoid storing them in direct sunlight or near sources of heat. Properly stored pumpkins can last for several months. Check them regularly for signs of spoilage, such as soft spots or mold.
Leave a Comment