
Burnt pan cleaning solution – sounds like a magic potion, doesn’t it? Let’s be honest, we’ve all been there. You’re whipping up a delicious meal, get distracted for a moment (maybe by a captivating cat video?), and BAM! Your pan is now sporting a stubborn layer of burnt-on food. Don’t despair! Before you resign yourself to hours of scrubbing or, worse, tossing that beloved pan, I’m here to share some incredible DIY tricks that will have it sparkling again in no time.
Throughout history, resourceful cooks have always sought clever ways to tackle kitchen mishaps. From using wood ash in ancient times to the modern-day baking soda volcano, the quest for the perfect burnt pan cleaning solution is a tale as old as cooking itself. But why is this so important? Well, beyond saving you time and energy, these DIY solutions are often gentler on your cookware and the environment than harsh chemical cleaners. Plus, there’s a certain satisfaction in knowing you’ve conquered a kitchen challenge with simple ingredients you probably already have in your pantry!
This article is your ultimate guide to creating effective and affordable burnt pan cleaning solutions. I’ll walk you through several tried-and-true methods, using common household items like baking soda, vinegar, and even lemons. So, ditch the elbow grease and get ready to discover the secrets to restoring your burnt pans to their former glory. Let’s get started!
DIY Burnt Pan Cleaning Solution: Rescue Your Cookware!
Okay, so you’ve done it. We’ve all been there. You got distracted, the phone rang, the kids needed something, and now your favorite pan is sporting a lovely layer of burnt-on gunk. Don’t despair! Before you toss it in the trash (please don’t!), let’s try this super effective DIY cleaning solution. I’ve used this method countless times, and it’s saved me from replacing several pans. It’s surprisingly simple and uses ingredients you probably already have in your kitchen.
What You’ll Need: The Arsenal of Clean
Before we dive in, let’s gather our supplies. Having everything ready will make the process much smoother.
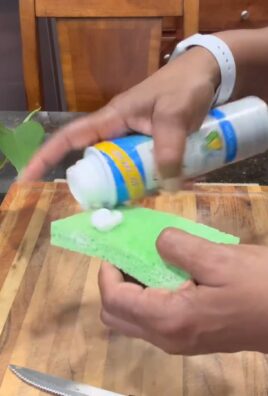
* Baking Soda: This is our main abrasive agent. It’s gentle enough not to scratch most surfaces, but powerful enough to lift burnt food.
* White Vinegar: The acid in vinegar helps to loosen the burnt residue and react with the baking soda for extra cleaning power.
* Water: Essential for creating the cleaning solution and rinsing.
* Dish Soap: Helps to cut through grease and grime.
* Scrubbing Sponge or Pad: Choose a non-abrasive sponge or pad to avoid scratching your pan. For really stubborn spots, you might need a slightly more abrasive pad, but test it in an inconspicuous area first.
* Wooden Spoon or Spatula: For gently scraping off loosened debris. Avoid metal utensils, as they can scratch the pan.
* Paper Towels or Soft Cloth: For wiping and drying.
* Optional: Rubber Gloves: If you have sensitive skin, gloves are a good idea.
The Step-by-Step Guide: From Burnt to Beautiful
Alright, let’s get down to business! Follow these steps carefully, and you’ll be amazed at the results.
1. Assess the Damage: Take a good look at the burnt area. How thick is the layer of burnt food? This will help you determine how long to soak and scrub.
2. Initial Soak (Vinegar Power): Pour a generous amount of white vinegar into the burnt pan, enough to cover the affected area. Don’t be shy!
3. Bring to a Simmer: Place the pan on the stovetop and bring the vinegar to a simmer over medium heat. You’ll see it start to bubble and loosen some of the burnt food.
4. Simmer Time: Let the vinegar simmer for 5-10 minutes. Keep an eye on it and make sure it doesn’t boil dry. The simmering vinegar will help to break down the burnt residue.
5. Remove from Heat: Turn off the heat and carefully remove the pan from the stovetop. Let it cool slightly before proceeding to the next step. Be careful, the pan will be hot!
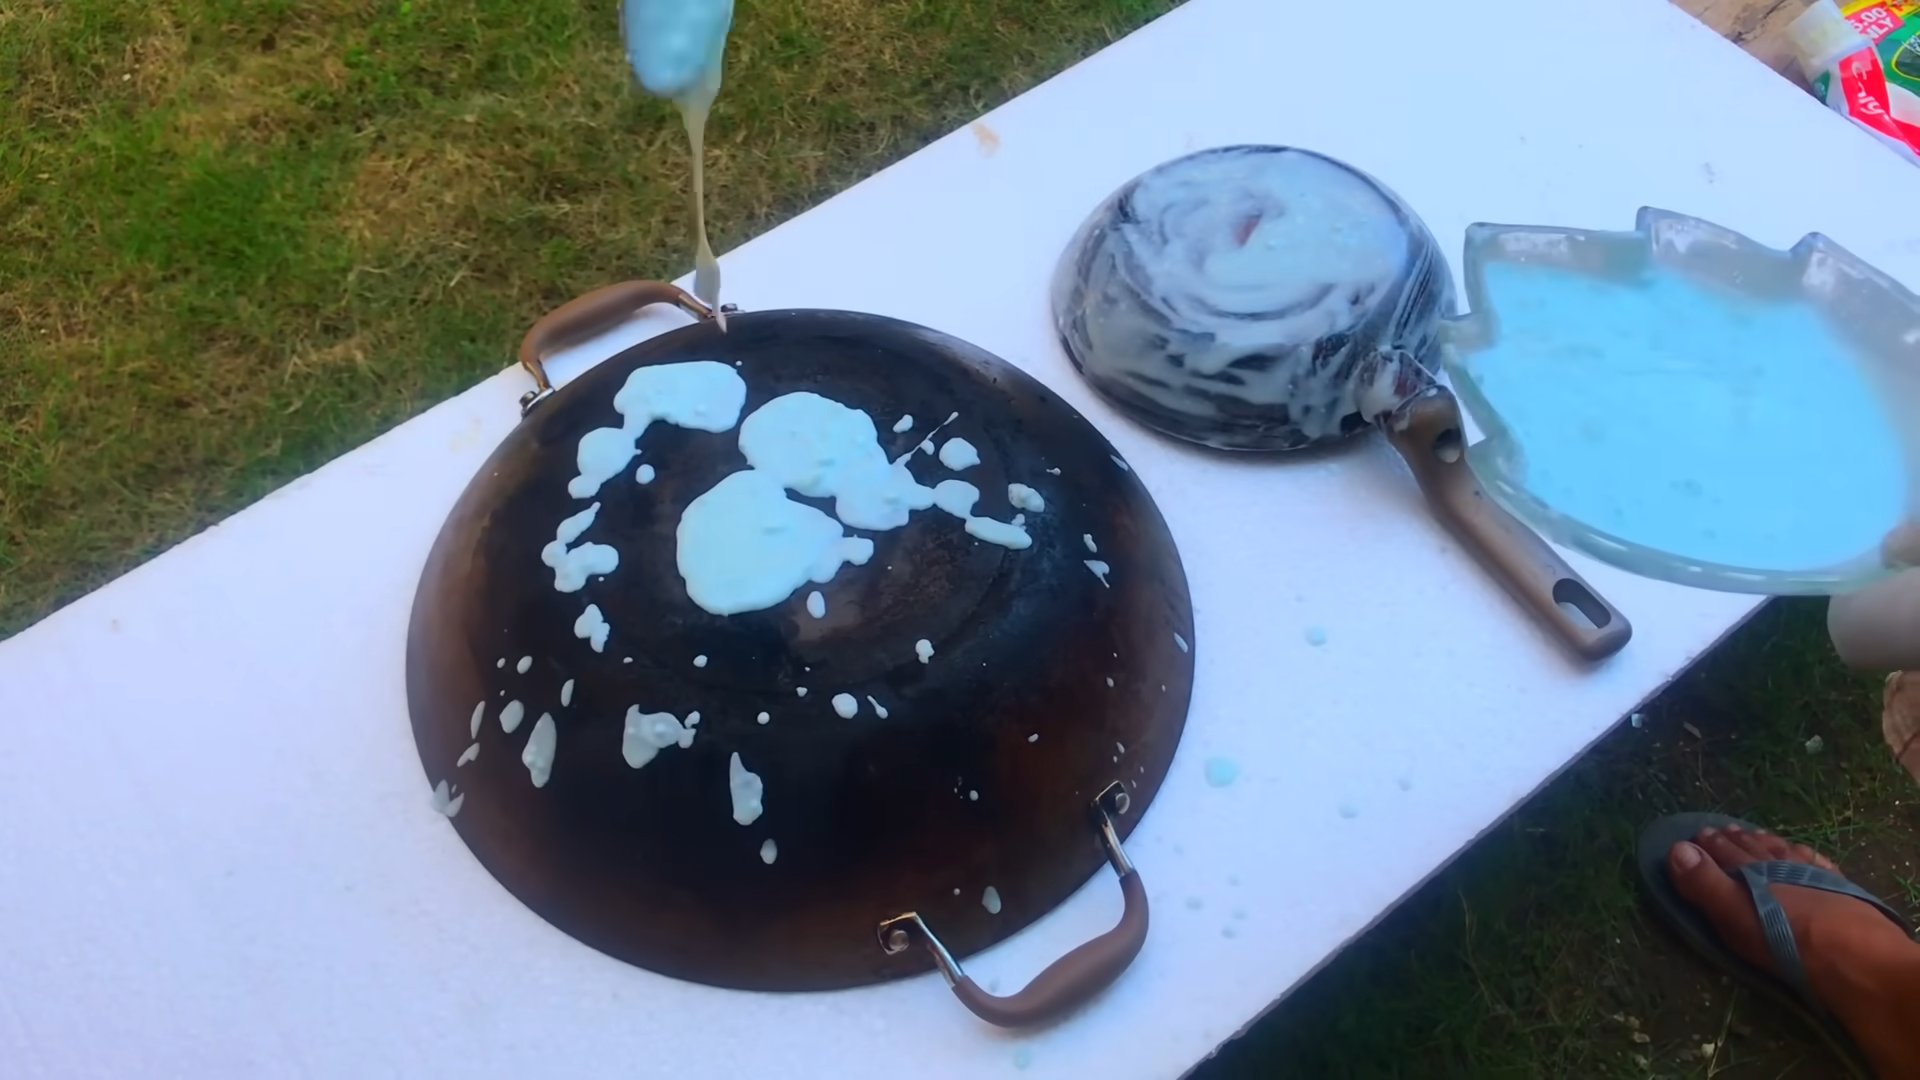
6. Baking Soda Blitz: Pour out the vinegar (carefully!) and sprinkle a generous layer of baking soda over the burnt area. It should completely cover the residue.
7. The Fizzing Frenzy: Add a small amount of water to the baking soda, just enough to create a paste. You’ll see it start to fizz and bubble as the baking soda reacts with any remaining vinegar. This is a good sign!
8. Paste Application: Use a wooden spoon or spatula to gently spread the baking soda paste over the entire burnt area. Make sure it’s evenly coated.
9. Soak It Up (Again!): Let the baking soda paste sit for at least 30 minutes, or even longer for really stubborn burns. The longer it sits, the more time it has to work its magic. I often leave it overnight for severely burnt pans.
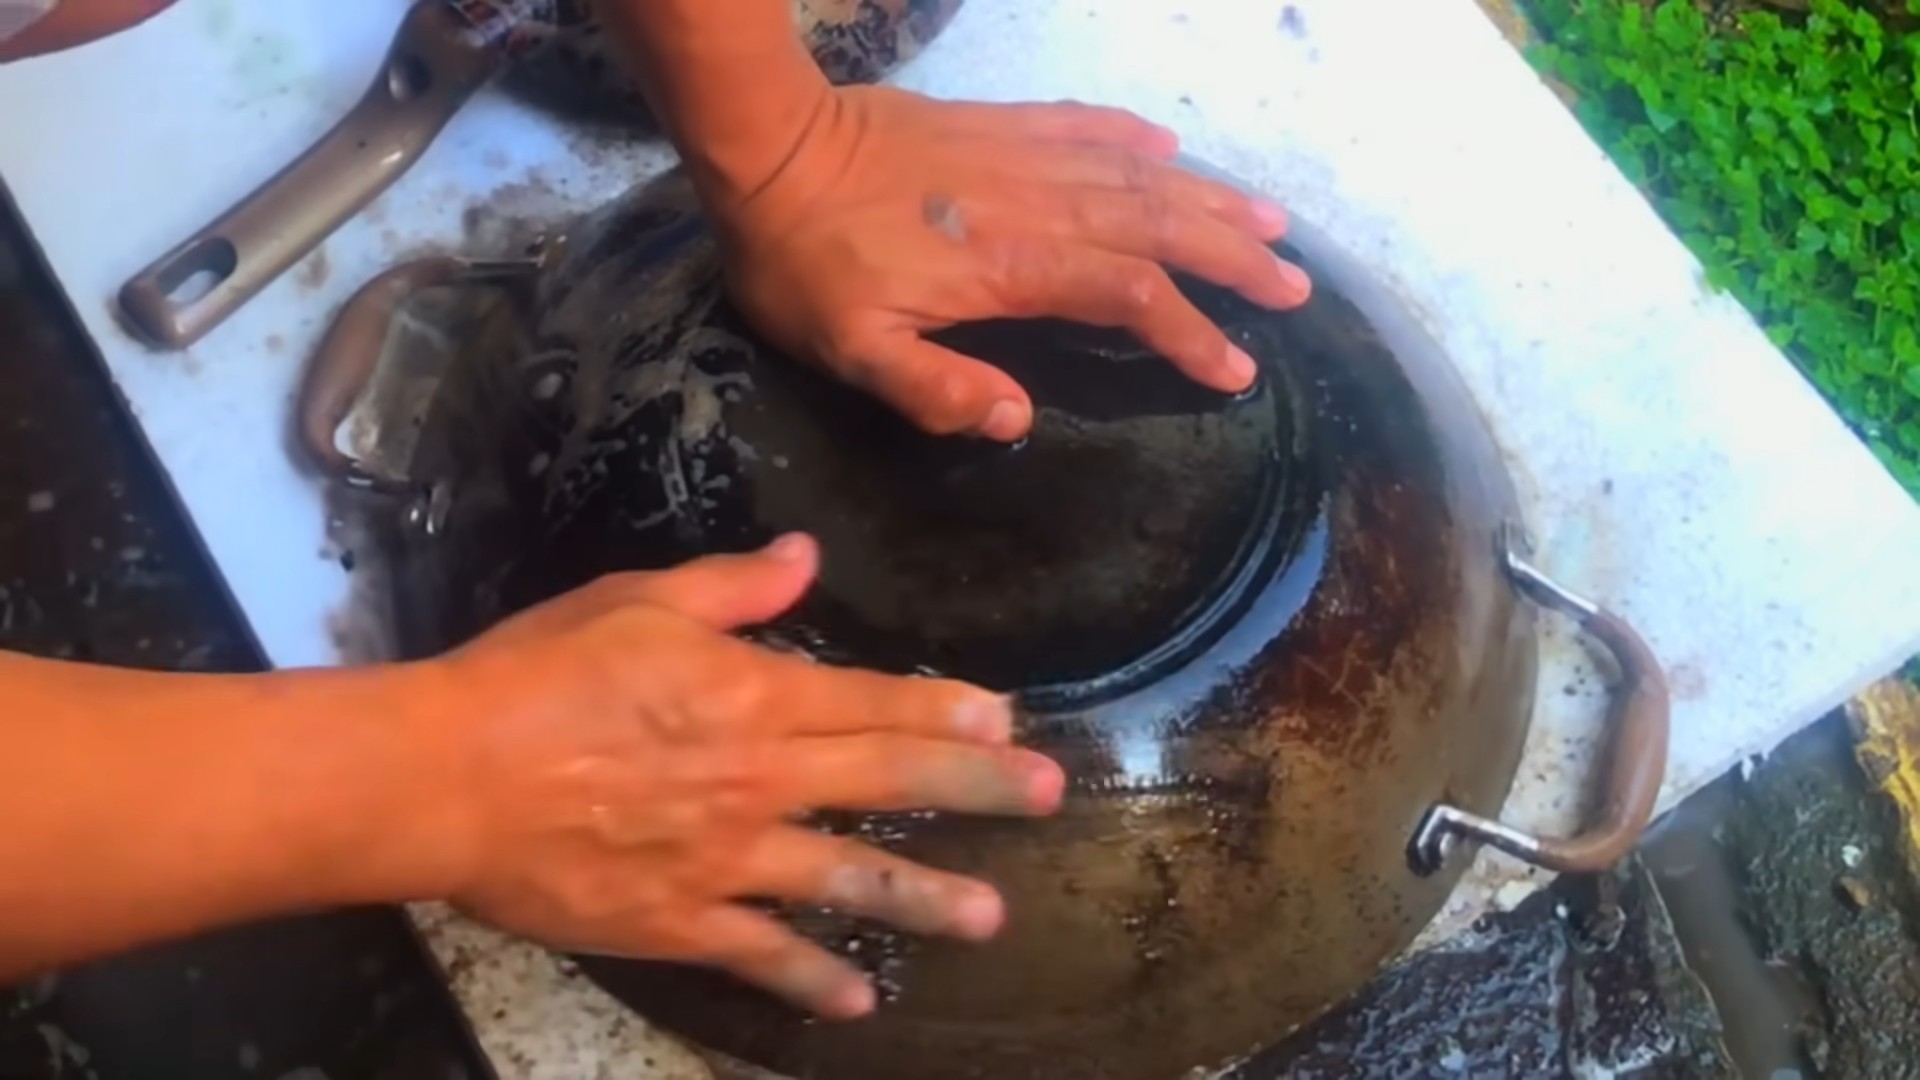
10. Scrub-a-Dub-Dub: After soaking, it’s time to scrub! Use your non-abrasive sponge or pad to gently scrub the burnt area. You should see the burnt food starting to lift and come away.
11. Gentle Scraping: If you encounter any particularly stubborn spots, use a wooden spoon or spatula to gently scrape them away. Avoid using metal utensils, as they can scratch the pan.
12. Rinse and Repeat (If Necessary): Rinse the pan thoroughly with warm water. If there are still some burnt spots remaining, repeat steps 6-11. Sometimes, it takes a couple of rounds to completely remove the burnt residue.
13. Dish Soap Wash: Once you’ve removed most of the burnt food, wash the pan with dish soap and water to remove any remaining residue and grease.
14. Final Rinse: Rinse the pan thoroughly with clean water.
15. Dry and Admire: Dry the pan with a paper towel or soft cloth. Admire your handiwork! Your pan should be looking much better.
Dealing with Extra Stubborn Burns: The Advanced Techniques
Sometimes, the basic method isn’t enough for those truly epic burnt messes. Don’t worry, I’ve got a few extra tricks up my sleeve!
* Boiling Baking Soda Solution: For really tough burns, try boiling a solution of baking soda and water in the pan. Fill the pan with water, add a few tablespoons of baking soda, and bring it to a boil. Let it simmer for 15-20 minutes, then let it cool before scrubbing. This can help to loosen even the most stubborn burnt food.
* Dryer Sheet Magic: This might sound crazy, but it works! Place a dryer sheet in the burnt pan, fill it with water, and let it soak overnight. The chemicals in the dryer sheet help to break down the burnt residue. In the morning, the burnt food should be much easier to scrub away.
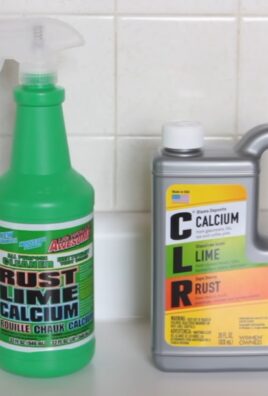
* Oven Cleaner (Use with Caution!): As a last resort, you can try using oven cleaner. However, this is a harsh chemical, so use it with extreme caution. Wear gloves and eye protection, and make sure to ventilate the area well. Follow the instructions on the oven cleaner carefully, and rinse the pan thoroughly after use. I only recommend this for stainless steel or cast iron pans, and never for non-stick cookware.
Pan-Specific Considerations: Know Your Cookware
Different types of pans require different care. Here’s a quick guide to cleaning different types of cookware:
* Stainless Steel: Stainless steel is generally very durable and can withstand a fair amount of scrubbing. You can use a slightly more abrasive pad if needed, but always test it in an inconspicuous area first.
* Non-Stick: Non-stick pans are more delicate and require gentle cleaning. Avoid using abrasive pads or harsh chemicals, as they can damage the non-stick coating. Stick to the basic baking soda and vinegar method, and use a soft sponge.
* Cast Iron: Cast iron pans require special care to maintain their seasoning. Avoid using soap unless absolutely necessary, as it can strip the seasoning. After cleaning, dry the pan thoroughly and re-season it with oil.
* Enameled Cast Iron: Enameled cast iron is more delicate than regular cast iron and can chip if handled roughly. Avoid using abrasive pads or harsh chemicals, and be careful not to drop the pan.
Prevention is Key: Avoiding Future Burnt Pan Disasters
Of course, the best way to deal with burnt pans is to prevent them from happening in the first place! Here are a few tips to help you avoid future cooking mishaps:
* Pay Attention: This might seem obvious, but it’s the most important tip! Don’t get distracted while cooking, and keep an eye on your food.
* Use the Right Heat: Use the appropriate heat setting for the type of food you’re cooking. High heat can easily lead to burning.
* Stir Frequently: Stir your food frequently to prevent it from sticking to the bottom of the pan.
* Add Liquid: If your food is starting to stick, add a little bit of liquid (water, broth, etc.) to the pan. This will help to prevent it from burning.
* Don’t Overfill the Pan: Overfilling the pan can cause food to boil over and burn onto the bottom.
* Clean Up Quickly: The sooner you clean a pan after cooking, the easier it will be to remove any burnt food.
By following these tips and using the DIY cleaning solution, you can keep your pans looking their best and avoid the dreaded burnt pan disaster! Happy cooking (and cleaning!).
Conclusion
So, there you have it! This simple, yet incredibly effective, DIY burnt pan cleaning solution is a game-changer for anyone who’s ever faced the frustration of a scorched pan. Forget spending hours scrubbing, or resorting to harsh chemicals that can damage your cookware and potentially harm your health. This method is not only gentle on your pans but also incredibly budget-friendly, utilizing ingredients you likely already have in your pantry.
Why is this a must-try? Because it saves you time, money, and effort. It restores your pans to their former glory without the elbow grease usually required. It’s a sustainable solution, reducing your reliance on commercially produced cleaning products filled with questionable ingredients. And most importantly, it works!
But don’t just take our word for it. We encourage you to experiment and find what works best for your specific situation. For instance, if you’re dealing with particularly stubborn burnt-on food, try adding a tablespoon of baking soda to the simmering water and vinegar mixture. The baking soda acts as a mild abrasive, helping to lift the burnt residue. Alternatively, for stainless steel pans, you can create a paste of baking soda and water and gently scrub the affected areas after the simmering process. For cast iron, be sure to re-season the pan after cleaning to prevent rusting. Remember to always test any cleaning method on a small, inconspicuous area first, especially with delicate cookware.
This DIY burnt pan cleaning solution isn’t just a recipe; it’s a solution to a common kitchen problem. It’s about reclaiming your time and enjoying the process of cooking without the dread of cleaning up afterwards. It’s about using natural, readily available ingredients to achieve sparkling clean results.
We’re confident that once you try this method, you’ll be amazed by the results. It’s a simple, effective, and eco-friendly way to tackle even the most challenging burnt pan situations. So, ditch the harsh chemicals and embrace this natural cleaning solution.
We’d love to hear about your experience! Try this DIY burnt pan cleaning solution and share your before-and-after photos and tips in the comments below. Let’s build a community of clean pan enthusiasts and share our collective wisdom! What variations did you try? What worked best for you? Your insights could help others discover the joy of effortlessly clean cookware. Happy cleaning!
Frequently Asked Questions (FAQs)
What kind of pans can I use this DIY burnt pan cleaning solution on?
This solution is generally safe for most types of cookware, including stainless steel, enamel-coated cast iron, and even some non-stick pans. However, it’s always best to test a small, inconspicuous area first, especially with delicate or expensive cookware. Avoid using this method on aluminum pans, as the vinegar can react with the aluminum and cause discoloration. For cast iron, remember to re-season the pan after cleaning to prevent rust.
How much vinegar and water should I use?
A good starting point is a 1:2 ratio of vinegar to water. For example, if you’re cleaning a small pan, use 1/2 cup of vinegar and 1 cup of water. For larger pans, you may need to increase the amounts accordingly. The key is to have enough liquid to cover the burnt areas of the pan.
How long should I simmer the vinegar and water mixture?
The simmering time will depend on the severity of the burnt-on food. Start with 15 minutes and check the pan. If the burnt residue is still clinging tightly, continue simmering for another 10-15 minutes. In some cases, you may need to simmer for up to 30 minutes for heavily burnt pans. Keep an eye on the water level and add more if necessary to prevent the pan from drying out.
What if the burnt residue is still stuck after simmering?
If the burnt residue is still stubborn after simmering, try adding a tablespoon of baking soda to the mixture and simmering for a few more minutes. The baking soda acts as a mild abrasive and can help to loosen the remaining residue. After simmering, let the pan cool slightly and then use a non-abrasive sponge or scraper to gently scrub away the remaining burnt food. Avoid using steel wool or harsh abrasive cleaners, as they can scratch the surface of your pan.
Can I use this method on non-stick pans?
Yes, you can use this method on non-stick pans, but with caution. The vinegar can potentially damage the non-stick coating over time, so it’s best to use this method sparingly and only when necessary. Also, avoid using abrasive scrubbers, as they can scratch the non-stick surface. Instead, use a soft sponge or cloth to gently scrub away the burnt residue.
What if I don’t have vinegar? Can I use something else?
While vinegar is the most effective ingredient for this DIY burnt pan cleaning solution, you can try using lemon juice as a substitute. Lemon juice contains citric acid, which has similar cleaning properties to vinegar. Use the same ratio of lemon juice to water as you would with vinegar.
How do I prevent pans from burning in the first place?
Prevention is always better than cure! Here are a few tips to prevent pans from burning:
* Use the correct heat setting. Avoid using high heat, especially when cooking delicate foods.
* Stir food frequently to prevent it from sticking to the bottom of the pan.
* Add enough liquid to prevent food from drying out and burning.
* Use a good quality pan with a thick bottom, which will distribute heat more evenly.
* Don’t leave food unattended while cooking.
Is the smell of vinegar harmful?
The smell of vinegar can be strong, but it’s generally not harmful. However, if you’re sensitive to strong odors, you can open a window or turn on the exhaust fan while simmering the vinegar and water mixture. The smell will dissipate quickly after you’re finished cleaning.
How do I re-season a cast iron pan after cleaning?
After cleaning your cast iron pan, dry it thoroughly with a clean towel. Then, apply a thin layer of cooking oil (such as vegetable oil, canola oil, or flaxseed oil) to the entire surface of the pan, inside and out. Place the pan upside down in a preheated oven at 350 degrees Fahrenheit for one hour. After one hour, turn off the oven and let the pan cool completely inside the oven. This process will help to create a protective layer of seasoning on the pan and prevent it from rusting.
How often can I use this DIY burnt pan cleaning solution?
You can use this solution as often as needed, but it’s best to avoid using it excessively, especially on non-stick pans. Overuse of vinegar can potentially damage the coating of non-stick pans. For regular cleaning, you can simply wash your pans with soap and water. Use this DIY solution only when you have stubborn burnt-on food.
Leave a Comment