
Umbrella upcycling ideas: Don’t toss that broken umbrella just yet! I know, it’s tempting to throw it in the trash, especially after it’s betrayed you in a downpour. But before you do, let me tell you a secret: that discarded umbrella is a treasure trove of DIY potential just waiting to be unlocked.
For centuries, umbrellas have been symbols of status and protection, evolving from simple sunshades in ancient civilizations to the rain-repelling marvels we know today. But their lifespan doesn’t have to end when the fabric tears or a rib snaps. In a world increasingly focused on sustainability, finding creative ways to repurpose everyday items is more important than ever.
That’s where these umbrella upcycling ideas come in! I’m going to show you how to transform your old brolly into something beautiful, functional, and totally unique. Whether you’re a seasoned crafter or a DIY newbie, there’s a project here for you. From stylish shopping bags and quirky wall art to practical garden protectors and even whimsical children’s toys, the possibilities are endless. Not only will you be reducing waste and giving new life to an old item, but you’ll also be adding a personal touch to your home and garden. So, grab that broken umbrella, and let’s get crafting!
Upcycling Your Old Umbrella: From Rain Protector to Home Decor!
Hey there, fellow DIY enthusiasts! Got a trusty umbrella that’s seen better days? Don’t toss it! Instead, let’s give it a fabulous new life. I’m going to walk you through some creative ways to upcycle your old umbrella, turning it into something beautiful and functional for your home. Get ready to unleash your inner artist!
What You’ll Need (General Supplies):
Before we dive into the specific projects, here’s a list of common supplies you might need. Of course, the exact materials will vary depending on the project you choose.
* Old umbrella (obviously!)
* Scissors or a rotary cutter
* Seam ripper
* Sewing machine (optional, but highly recommended for some projects)
* Needle and thread
* Pins
* Measuring tape or ruler
* Fabric glue or hot glue gun
* Spray paint (optional)
* Embellishments like buttons, beads, lace, ribbon (optional)
* Pliers (for removing metal parts)
* Safety glasses (when working with metal)
* Gloves (if using spray paint or strong adhesives)
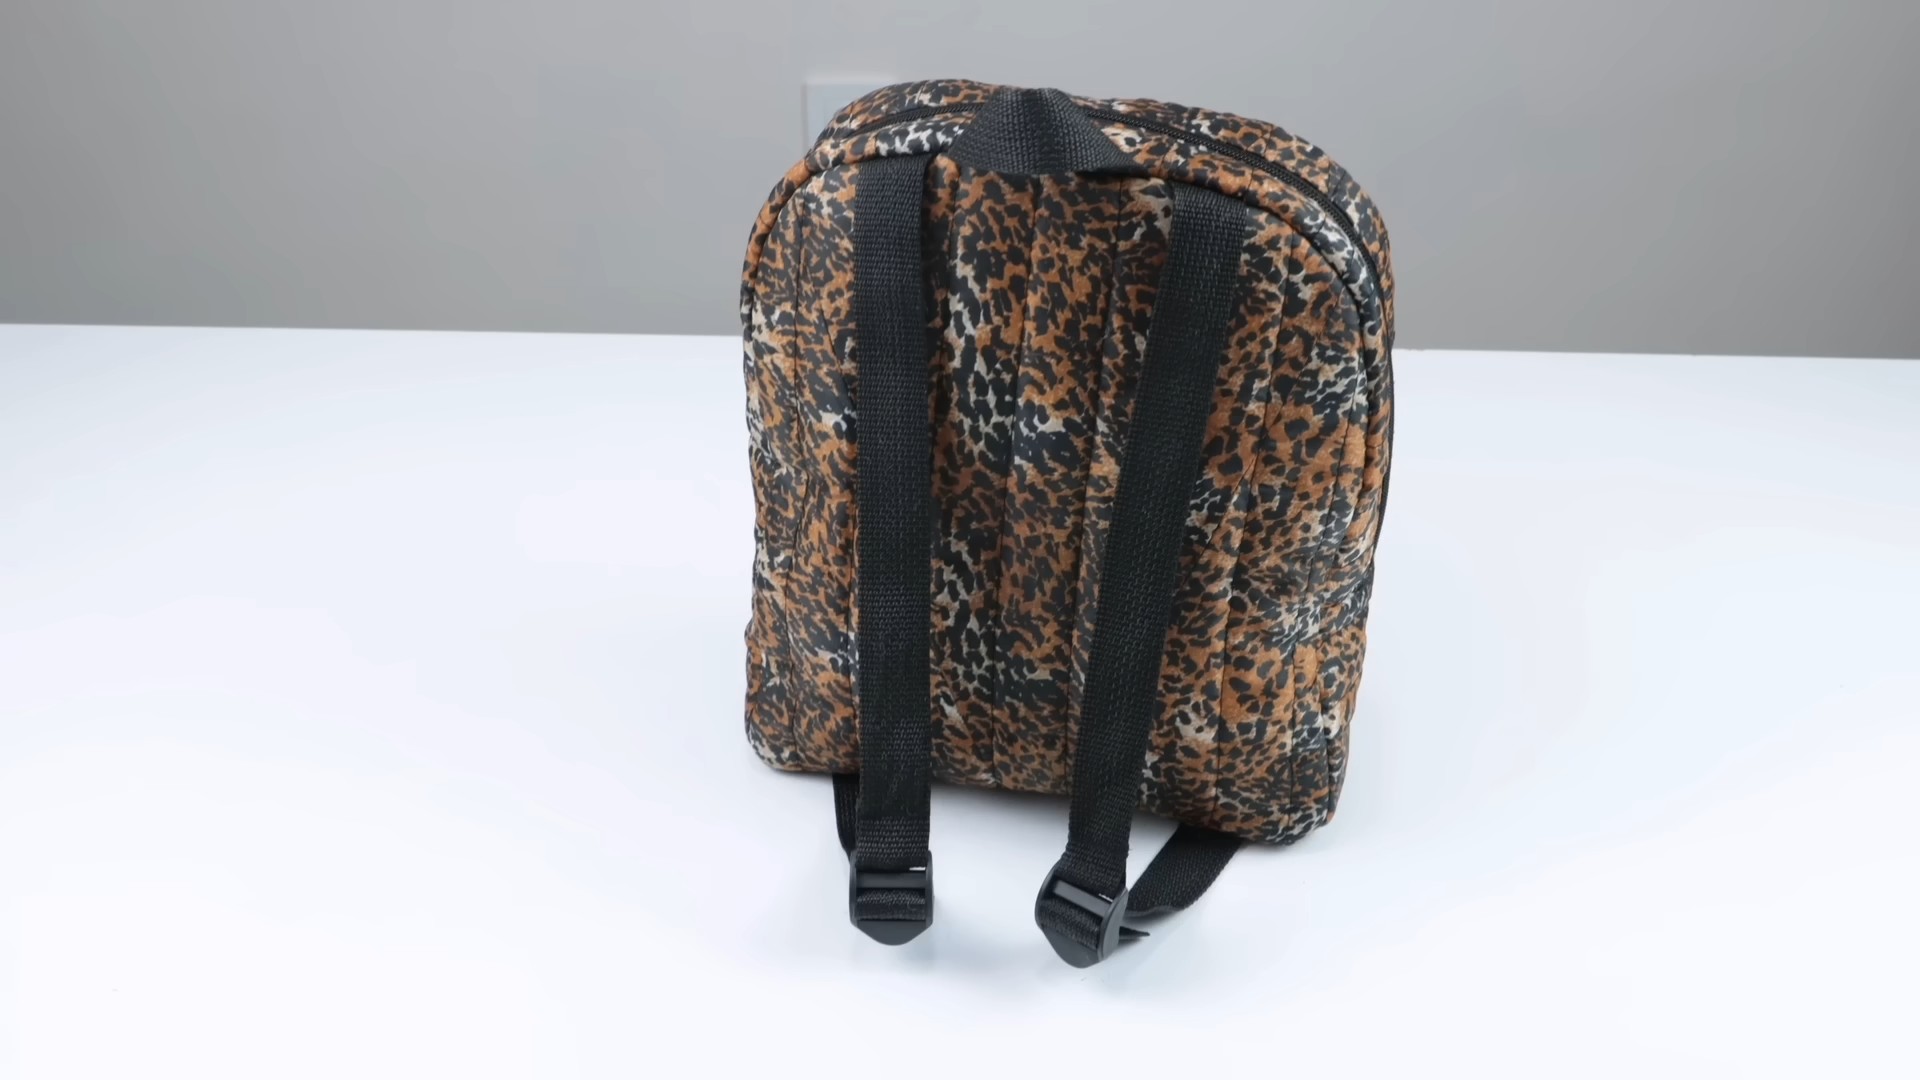
Project 1: Stylish Shopping Bag
This is a fantastic way to reuse the waterproof fabric of your umbrella and create a durable, eco-friendly shopping bag.
Step-by-Step Instructions:
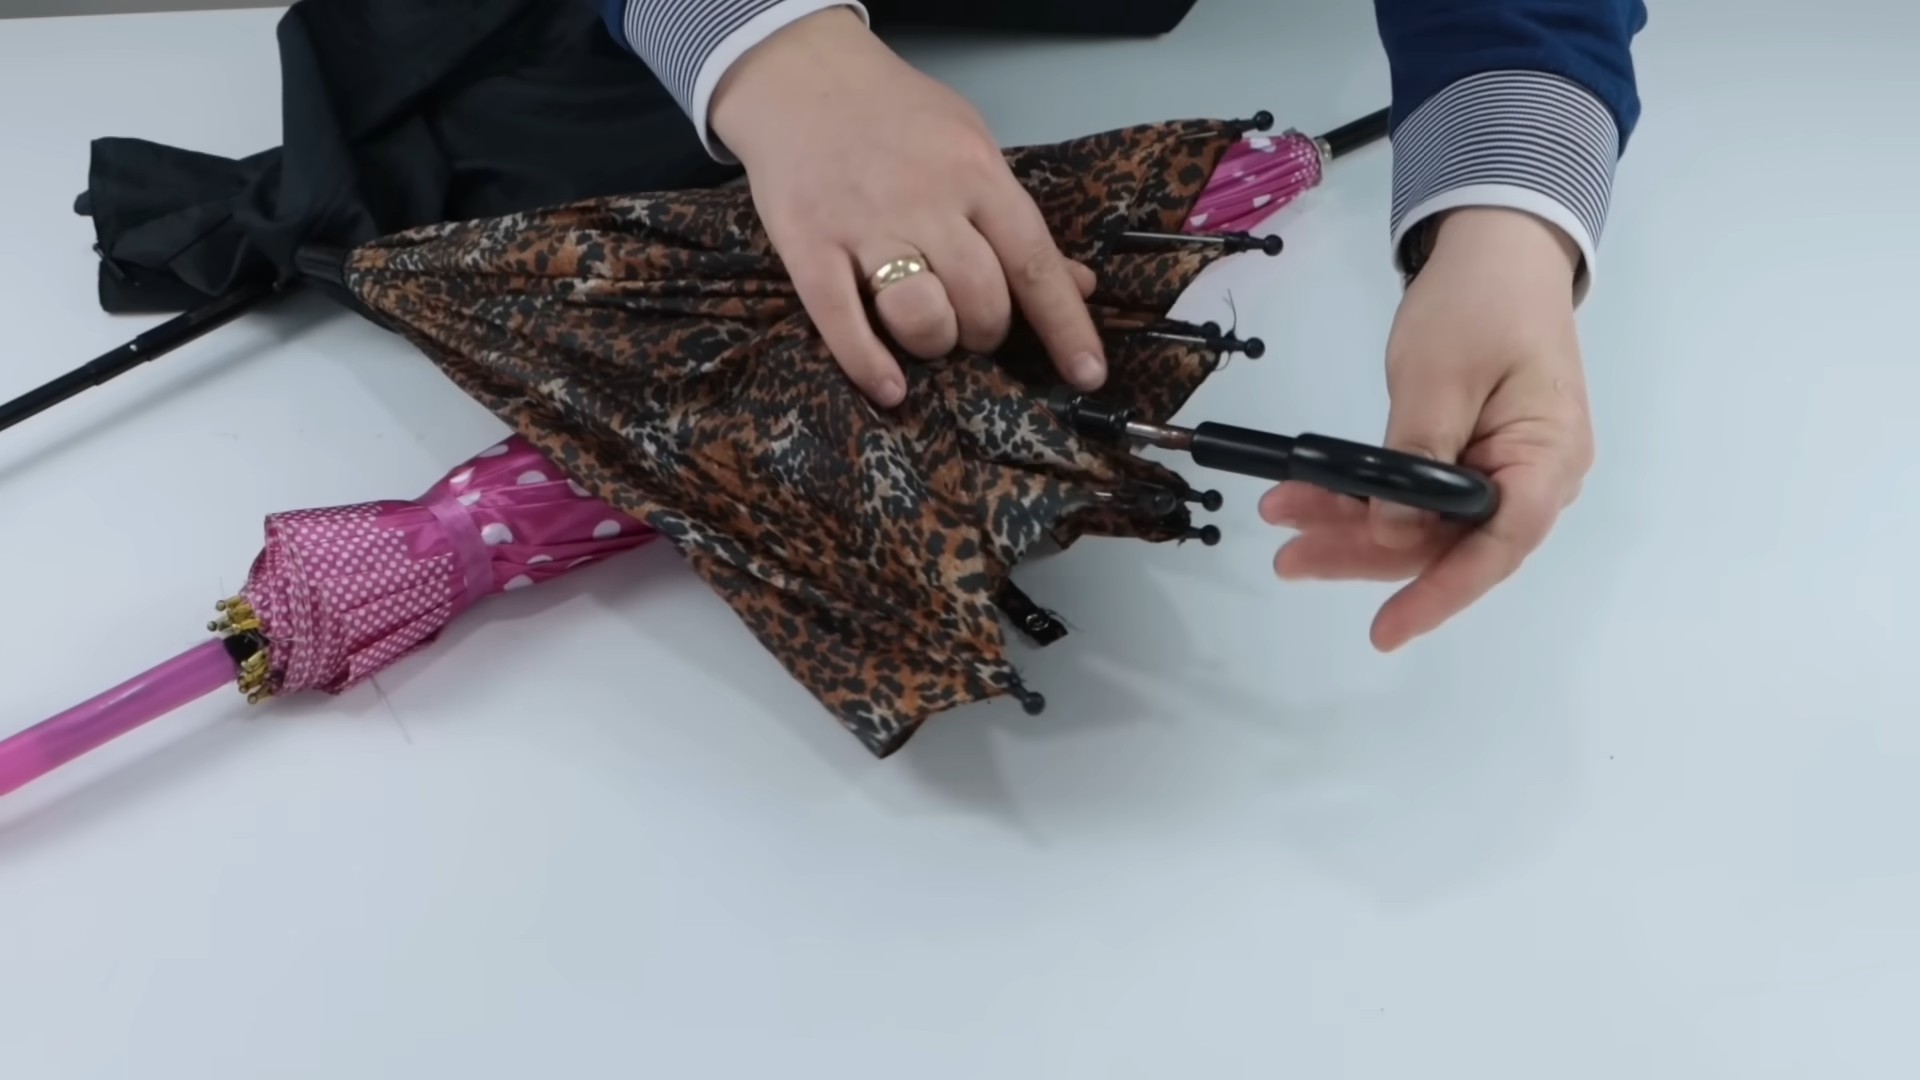
1. Disassemble the Umbrella: Carefully detach the umbrella fabric from the frame. Use a seam ripper to remove the stitching that holds the fabric to the metal ribs. This might take a little patience, but it’s worth it! Be careful not to tear the fabric.
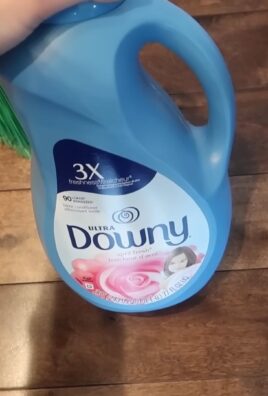
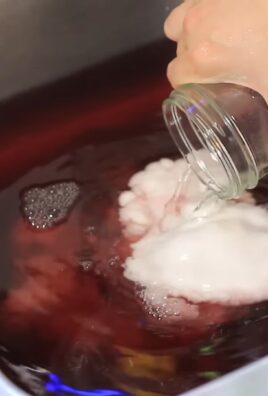
2. Prepare the Fabric: Once you’ve removed the fabric, give it a good wash (gentle cycle, cold water) and let it air dry. This will help remove any dirt or mildew. Iron the fabric on a low setting, if needed.
3. Cut the Fabric: Lay the fabric flat and cut out two large rectangles for the main body of the bag. The size will depend on how big you want your bag to be. I usually aim for rectangles that are about 18 inches wide and 20 inches tall. You’ll also need two strips of fabric for the handles. These should be about 3 inches wide and 24 inches long.
4. Sew the Bag Body: Place the two rectangles right sides together and sew along three sides (the two long sides and one short side), leaving the top open. Use a straight stitch and a seam allowance of about 1/2 inch. Reinforce the seams by backstitching at the beginning and end.
5. Box the Corners (Optional): To give your bag a flat bottom, you can box the corners. To do this, flatten one of the bottom corners so that the side seam and bottom seam line up. Draw a line across the corner, perpendicular to the seams, about 2-3 inches from the point. Sew along this line. Repeat for the other corner. Trim off the excess fabric, leaving about 1/2 inch seam allowance.
6. Sew the Handles: Fold each handle strip in half lengthwise, wrong sides together, and press. Open the strip and fold each long edge towards the center crease, pressing again. Fold the strip in half again along the original crease, encasing the raw edges. Topstitch along both long edges of each handle.
7. Attach the Handles: Pin the handles to the top edge of the bag, spacing them evenly. Make sure the handles are securely attached. Sew the handles to the bag, using a strong stitch and reinforcing the stitching at the attachment points. I like to sew a square with an “X” inside for extra security.
8. Finish the Top Edge: Fold the top edge of the bag down about 1 inch to the inside and press. Sew along the folded edge to create a clean, finished look.
Project 2: Chic Fabric Wall Art
Transform the unique patterns and colors of your umbrella fabric into eye-catching wall art. This is a great way to add a pop of color and personality to any room.
Step-by-Step Instructions:
1. Disassemble and Clean: Just like with the shopping bag, start by carefully removing the fabric from the umbrella frame and giving it a gentle wash. Iron if needed.
2. Choose Your Frame: You can use a variety of frames for this project. Embroidery hoops, stretched canvases, or even repurposed picture frames work well. The size of your frame will determine how much fabric you need.
3. Cut the Fabric: Cut the fabric slightly larger than your frame. You’ll need enough extra fabric to wrap around the back of the frame.
4. Attach the Fabric to the Frame:
* Embroidery Hoop: Place the fabric over the inner hoop and then press the outer hoop over it, securing the fabric in place. Tighten the screw on the outer hoop. Trim the excess fabric, leaving about 1/2 inch. Glue the remaining fabric to the back of the inner hoop.
* Stretched Canvas: Center the fabric over the canvas. Starting on one side, pull the fabric taut and staple it to the back of the canvas. Repeat on the opposite side, pulling the fabric tight. Then, repeat on the remaining two sides. Make sure the fabric is smooth and wrinkle-free. Trim the excess fabric.
* Picture Frame: Cut a piece of cardboard or foam board to fit inside the frame. Wrap the fabric around the cardboard or foam board and secure it with glue or staples. Place the wrapped board into the frame.
5. Embellish (Optional): Add embellishments like buttons, beads, or ribbon to your wall art to personalize it.
Project 3: Waterproof Pet Bed
Give your furry friend a cozy and waterproof bed using the umbrella fabric. This is especially great for dogs who love to get wet and muddy!
Step-by-Step Instructions:
1. Disassemble and Clean: Remove the fabric from the umbrella and wash it thoroughly.
2. Cut the Fabric: Cut two large circles or squares of fabric for the top and bottom of the bed. The size will depend on the size of your pet. You’ll also need a long strip of fabric for the sides of the bed. The width of the strip will determine the height of the bed.
3. Sew the Sides: Sew the ends of the side strip together to form a loop.
4. Attach the Bottom: Pin the bottom circle or square to the bottom edge of the side loop, right sides together. Sew around the entire circle or square, leaving a small opening for stuffing.
5. Stuff the Bed: Fill the bed with stuffing. You can use old pillows, blankets, or even recycled plastic bottles. Make sure the bed is firm and comfortable.
6. Attach the Top: Pin the top circle or square to the top edge of the side loop, right sides together. Sew around the entire circle or square, closing the opening.
7. Reinforce the Seams: For extra durability, you can reinforce the seams with a second row of stitching.
Project 4: Unique Gift Wrap
Instead of buying wrapping paper, use the umbrella fabric to create unique and eco-friendly gift wrap.
Step-by-Step Instructions:
1. Disassemble and Clean: Remove the fabric from the umbrella and wash it.
2. Cut the Fabric: Cut the fabric to the desired size, depending on the size of the gift you’re wrapping.
3. Wrap the Gift: Wrap the gift as you would with regular wrapping paper. You can use tape or ribbon to secure the fabric.
4. Add Embellishments: Add embellishments like ribbon, twine, or small ornaments to personalize the gift wrap.
Project 5: Protective Tablecloth or Picnic Blanket
The waterproof nature of the umbrella fabric makes it perfect for a tablecloth or picnic blanket.
Step-by-Step Instructions:
1. Disassemble and Clean: Remove the fabric from the umbrella and wash it.
2. Cut the Fabric: Cut the fabric to the desired size, depending on the size of your table or the area you want to cover for a picnic. You might need to piece together multiple sections of fabric if your umbrella isn’t large enough.
3. Hem the Edges: Fold the edges of the fabric over twice and sew them down to create a clean, finished hem.
4. Add a Backing (Optional): For a picnic blanket, you might want to add a backing of fleece or flannel for extra comfort. Simply cut the backing fabric to the same size as the umbrella fabric and sew them together, right sides together, leaving a small opening for turning. Turn the blanket right side out and sew the opening closed.
Project 6: Rainproof Garden Kneeler
Protect your knees while gardening with a simple, waterproof kneeler made from your old umbrella.
Step-by-Step Instructions:
1.
Conclusion
So, there you have it! Transforming your old, broken umbrellas into something beautiful and useful is not only incredibly satisfying, but it’s also a fantastic way to reduce waste and embrace a more sustainable lifestyle. We’ve explored a range of creative umbrella upcycling ideas, from stylish tote bags and protective gadget sleeves to whimsical wind chimes and even unique garden decorations. Each project offers a chance to unleash your inner artist and give a new lease on life to a discarded item.
But why is this DIY trick a must-try? Beyond the obvious environmental benefits, upcycling your umbrellas allows you to create truly one-of-a-kind items that reflect your personal style. Imagine carrying a tote bag made from the vibrant fabric of your favorite old umbrella, or adorning your garden with colorful wind chimes crafted from its ribs. These are conversation starters, pieces that tell a story and showcase your creativity. Plus, it’s an incredibly budget-friendly way to acquire new accessories and decorations.
Don’t be afraid to experiment and personalize these umbrella upcycling ideas. For the tote bag, consider adding leather straps or incorporating other fabric scraps for a patchwork effect. When making the gadget sleeve, ensure a snug fit for your device by carefully measuring and adjusting the pattern. For the wind chimes, try using different types of beads or metal pieces to create unique sounds. You could even paint the umbrella ribs for a more colorful and personalized touch. If you’re feeling particularly adventurous, explore creating small pouches or wallets from the umbrella fabric, perfect for storing coins or small items. Another fun variation is to use the waterproof fabric to create reusable shopping bags, helping you further reduce your environmental impact.
The possibilities are truly endless when it comes to umbrella upcycling. The key is to embrace the challenge, be resourceful, and most importantly, have fun! We encourage you to gather your old umbrellas, choose a project that sparks your interest, and get crafting. You might be surprised at what you can create with a little imagination and some basic DIY skills.
We are confident that you’ll find the process rewarding and the results impressive. So, ditch the guilt of throwing away that broken umbrella and embrace the joy of upcycling. We can’t wait to see what you create! Share your upcycled umbrella creations with us on social media using #UmbrellaUpcyclingDIY. We’re eager to see your innovative designs and inspire others to join the upcycling movement. Let’s transform discarded umbrellas into treasures, one project at a time!
FAQ
What types of umbrellas are best for upcycling?
Almost any type of umbrella can be upcycled, but some are better suited for certain projects than others. Umbrellas with larger canopies, like golf umbrellas or patio umbrellas, will provide more fabric for larger projects like tote bags or reusable shopping bags. Smaller umbrellas, like compact travel umbrellas, are ideal for smaller projects like gadget sleeves, pouches, or even decorative elements. Consider the condition of the umbrella as well. While minor tears or stains can often be worked around, heavily damaged umbrellas might be better suited for projects that utilize smaller pieces of fabric or focus on the frame. The material of the umbrella also matters. Polyester and nylon are common materials that are durable and water-resistant, making them suitable for a variety of projects.
How do I safely remove the fabric from the umbrella frame?
Removing the fabric from the umbrella frame requires a bit of patience and care. Start by carefully detaching the fabric from the tips of the ribs. These are usually secured with small caps or knots of thread. Use a seam ripper or small scissors to carefully remove these fastenings. Next, detach the fabric from the central shaft of the umbrella. This is often secured with stitching or a metal ring. Again, use a seam ripper or scissors to carefully remove the fabric. Be cautious when working with the metal frame, as the ribs can be sharp. It’s a good idea to wear gloves to protect your hands. Once the fabric is detached, inspect it for any damage or stains. You can wash the fabric before using it in your project, but be sure to follow the care instructions on the umbrella label.
What tools and materials do I need for umbrella upcycling?
The tools and materials you’ll need will depend on the specific project you’re undertaking, but here are some essentials:
* **Seam ripper or small scissors:** For detaching the fabric from the frame.
* **Sewing machine (optional):** For sewing projects like tote bags or gadget sleeves. Hand sewing is also possible, but it will take longer.
* **Needle and thread:** For hand sewing. Choose a thread that matches the color of the umbrella fabric.
* **Measuring tape or ruler:** For measuring and cutting fabric.
* **Scissors:** For cutting fabric.
* **Pins:** For holding fabric pieces together before sewing.
* **Iron and ironing board:** For pressing fabric.
* **Fabric markers or chalk:** For marking cutting lines.
* **Additional materials:** Depending on the project, you might need things like zippers, buttons, straps, beads, paint, or glue.
How do I clean the umbrella fabric before upcycling?
Cleaning the umbrella fabric before upcycling is a good idea, especially if the umbrella has been stored for a while or has any visible stains. Most umbrella fabrics can be hand-washed or machine-washed on a gentle cycle. Use a mild detergent and cold water. Avoid using bleach, as it can damage the fabric. If the fabric has stubborn stains, try pre-treating them with a stain remover before washing. After washing, hang the fabric to dry. Avoid using a dryer, as the heat can shrink or damage the fabric. If you’re unsure about how to wash the fabric, check the care instructions on the umbrella label. If there are no care instructions, test a small, inconspicuous area of the fabric before washing the entire piece.
What are some safety precautions I should take when upcycling umbrellas?
Safety should always be a priority when undertaking any DIY project. Here are some safety precautions to keep in mind when upcycling umbrellas:
* **Wear gloves:** When disassembling the umbrella, wear gloves to protect your hands from sharp edges on the metal frame.
* **Use caution with sharp tools:** Be careful when using seam rippers, scissors, and other sharp tools.
* **Work in a well-lit area:** Ensure you have adequate lighting to see what you’re doing.
* **Keep children and pets away:** Keep children and pets away from your work area to prevent accidents.
* **Be mindful of sewing machine safety:** If using a sewing machine, follow the manufacturer’s instructions and take breaks to avoid fatigue.
* **Dispose of waste properly:** Dispose of any sharp or hazardous waste materials properly.
Can I sell items I make from upcycled umbrellas?
Yes, you can absolutely sell items you make from upcycled umbrellas! Upcycling is a great way to create unique and sustainable products that appeal to environmentally conscious consumers. Before selling your creations, consider the following:
* **Copyright:** Be aware of any potential copyright issues related to the umbrella fabric. If the fabric features a licensed design or logo, you may need to obtain permission before selling items made from it.
* **Quality:** Ensure that your finished products are well-made and durable.
* **Pricing:** Price your items competitively, taking into account the cost of materials, your time, and the uniqueness of your creations.
* **Marketing:** Market your products effectively, highlighting their upcycled nature and the benefits of sustainable consumption.
* **Regulations:** Check for any local regulations or permits that may be required for selling handmade goods.
Where can I find inspiration for umbrella upcycling projects?
There are many places to find inspiration for umbrella upcycling projects. Online platforms like Pinterest, Instagram, and YouTube are excellent sources of ideas and tutorials. Search for terms like “umbrella upcycling,” “DIY umbrella projects,” or “upcycled fabric crafts.” You can also find inspiration in craft books, magazines, and online blogs. Don’t be afraid to experiment and adapt existing ideas to create your own unique designs. The key is to let your creativity flow and have fun with the process.
Leave a Comment