
House mold prevention is something I’ve become quite passionate about, especially after a rather unpleasant encounter with the stuff in my own home! Let’s be honest, nobody wants to deal with mold. It’s unsightly, smells terrible, and can even impact your health. But fear not, fellow homeowners! This isn’t about scaring you; it’s about empowering you with simple, effective DIY tricks to keep your home mold-free.
Throughout history, cultures have battled mold in various ways, from using natural ventilation techniques in ancient architecture to employing specific herbs and spices known for their anti-fungal properties. While we’ve come a long way since then, the fundamental principles remain the same: control moisture and promote good airflow.
Why is house mold prevention so crucial? Well, beyond the obvious aesthetic reasons, mold can trigger allergies, asthma, and other respiratory issues. Plus, it can damage your home’s structure over time, leading to costly repairs. I’m going to share some easy-to-implement DIY hacks that will help you create a healthier and happier living space. These aren’t complicated or expensive – just smart strategies to keep mold at bay. So, grab your cleaning supplies, and let’s get started!
DIY House Mold Prevention: A Comprehensive Guide
Hey everyone! Mold. Just the word sends shivers down my spine. It’s unsightly, unhealthy, and can be a real pain to get rid of. But the good news is, with a little proactive effort, you can significantly reduce your chances of mold taking hold in your home. I’ve battled mold before, and trust me, prevention is *way* easier than remediation. So, let’s dive into my tried-and-true methods for keeping your house mold-free!
Understanding Mold and Its Triggers
Before we jump into the DIY hacks, let’s quickly understand what we’re fighting. Mold thrives in damp, dark, and poorly ventilated areas. It needs moisture to grow, so controlling moisture is key. Common culprits include:
* Leaks: Roof leaks, plumbing leaks, even small drips can provide enough moisture for mold to flourish.
* Humidity: High humidity levels, especially in bathrooms and basements, create a breeding ground for mold.
* Condensation: Condensation on windows, pipes, and walls can lead to moisture buildup.
* Poor Ventilation: Lack of airflow allows moisture to linger, promoting mold growth.
* Flooding: Even a small flood can lead to significant mold problems if not addressed quickly and properly.
DIY Mold Prevention Hacks: Your Action Plan
Okay, now for the fun part! Here’s my comprehensive guide to preventing mold in your home. I’ve broken it down into sections for easier navigation.
Section 1: Moisture Control – The Foundation of Mold Prevention
This is where the real magic happens. Controlling moisture is the single most effective way to prevent mold.
1. Fix Leaks Immediately: This is non-negotiable. Any leak, no matter how small, needs to be addressed ASAP.
* Step 1: Identify the Source: Track down the source of the leak. This might involve checking pipes, roofs, windows, and even appliances.
* Step 2: Repair the Leak: Depending on the source, you might need to call a plumber, roofer, or handyman. Don’t delay!
* Step 3: Dry the Area Thoroughly: Once the leak is fixed, dry the affected area completely. Use fans, dehumidifiers, or even a wet/dry vacuum to remove any remaining moisture.
2. Control Humidity Levels: Aim for a humidity level between 30% and 50%.
* Step 1: Invest in a Hygrometer: A hygrometer measures humidity levels. You can find them at most hardware stores or online.
* Step 2: Use Dehumidifiers: In areas with high humidity, like basements and bathrooms, use dehumidifiers to remove excess moisture from the air. I recommend emptying them regularly to prevent overflow.
* Step 3: Improve Ventilation: Open windows and doors when the weather permits to improve airflow. Use exhaust fans in bathrooms and kitchens to remove moisture-laden air.
3. Address Condensation: Condensation can be a sneaky source of moisture.
* Step 1: Insulate Pipes: Insulate cold water pipes to prevent condensation from forming. You can find pipe insulation at most hardware stores.
* Step 2: Improve Window Insulation: Consider upgrading to energy-efficient windows or adding weather stripping to reduce condensation.
* Step 3: Wipe Down Surfaces: Regularly wipe down surfaces where condensation tends to form, such as windowsills and bathroom mirrors.
4. Properly Ventilate Bathrooms and Kitchens: These are prime areas for mold growth due to the high levels of moisture.
* Step 1: Use Exhaust Fans: Always use the exhaust fan when showering or cooking. Run it for at least 15-20 minutes after you’re done to remove all the moisture.
* Step 2: Open Windows: If you don’t have an exhaust fan, open a window to ventilate the room.
* Step 3: Clean Regularly: Clean bathroom and kitchen surfaces regularly to remove any mold spores that may be present.
Section 2: Cleaning and Maintenance – Keeping Mold at Bay
Regular cleaning and maintenance are crucial for preventing mold growth.
1. Clean Regularly: A clean house is a happy house, and a less moldy house!
* Step 1: Dust Regularly: Dust can trap moisture and provide a food source for mold. Dust regularly with a damp cloth to remove dust and prevent it from settling.
* Step 2: Vacuum Regularly: Vacuum carpets and rugs regularly to remove dust, dirt, and mold spores.
* Step 3: Clean Spills Immediately: Clean up spills immediately to prevent moisture from soaking into surfaces.
2. Use Mold-Resistant Products: When renovating or redecorating, consider using mold-resistant products.
* Step 1: Mold-Resistant Paint: Use mold-resistant paint in bathrooms, kitchens, and basements.
* Step 2: Mold-Resistant Drywall: Use mold-resistant drywall in areas prone to moisture.
* Step 3: Mold-Resistant Caulk: Use mold-resistant caulk around bathtubs, showers, and sinks.
3. Inspect and Maintain Gutters and Downspouts: Clogged gutters can lead to water damage and mold growth.
* Step 1: Clean Gutters Regularly: Clean gutters at least twice a year to remove leaves, debris, and other obstructions.
* Step 2: Ensure Proper Drainage: Make sure downspouts are directing water away from your foundation.
* Step 3: Repair Damaged Gutters: Repair any damaged gutters or downspouts to prevent water from leaking onto your house.
4. Check for Water Damage Regularly: Regularly inspect your home for signs of water damage, such as water stains, discoloration, or peeling paint.
* Step 1: Inspect Walls and Ceilings: Look for water stains or discoloration on walls and ceilings.
* Step 2: Check Around Windows and Doors: Check for water damage around windows and doors.
* Step 3: Inspect Basements and Crawl Spaces: Regularly inspect basements and crawl spaces for signs of moisture or mold growth.
Section 3: Specific Area Focus – Targeting High-Risk Zones
Some areas of your home are more prone to mold growth than others. Let’s focus on those.
1. Bathrooms: The ultimate mold playground.
* Step 1: Improve Ventilation: As mentioned before, exhaust fans are your best friend.
* Step 2: Clean Regularly: Clean showers, bathtubs, and sinks regularly with a mold-killing cleaner.
* Step 3: Dry Surfaces: After showering, dry surfaces with a towel to remove excess moisture.
* Step 4: Check for Leaks: Regularly check for leaks around faucets, showerheads, and toilets.
2. Basements: Often damp and dark, basements are mold magnets.
* Step 1: Waterproofing: Consider waterproofing your basement to prevent moisture from seeping in.
* Step 2: Dehumidification: Use a dehumidifier to keep humidity levels low.
* Step 3: Ventilation: Improve ventilation by opening windows or using fans.
* Step 4: Inspect Regularly: Regularly inspect your basement for signs of moisture or mold growth.
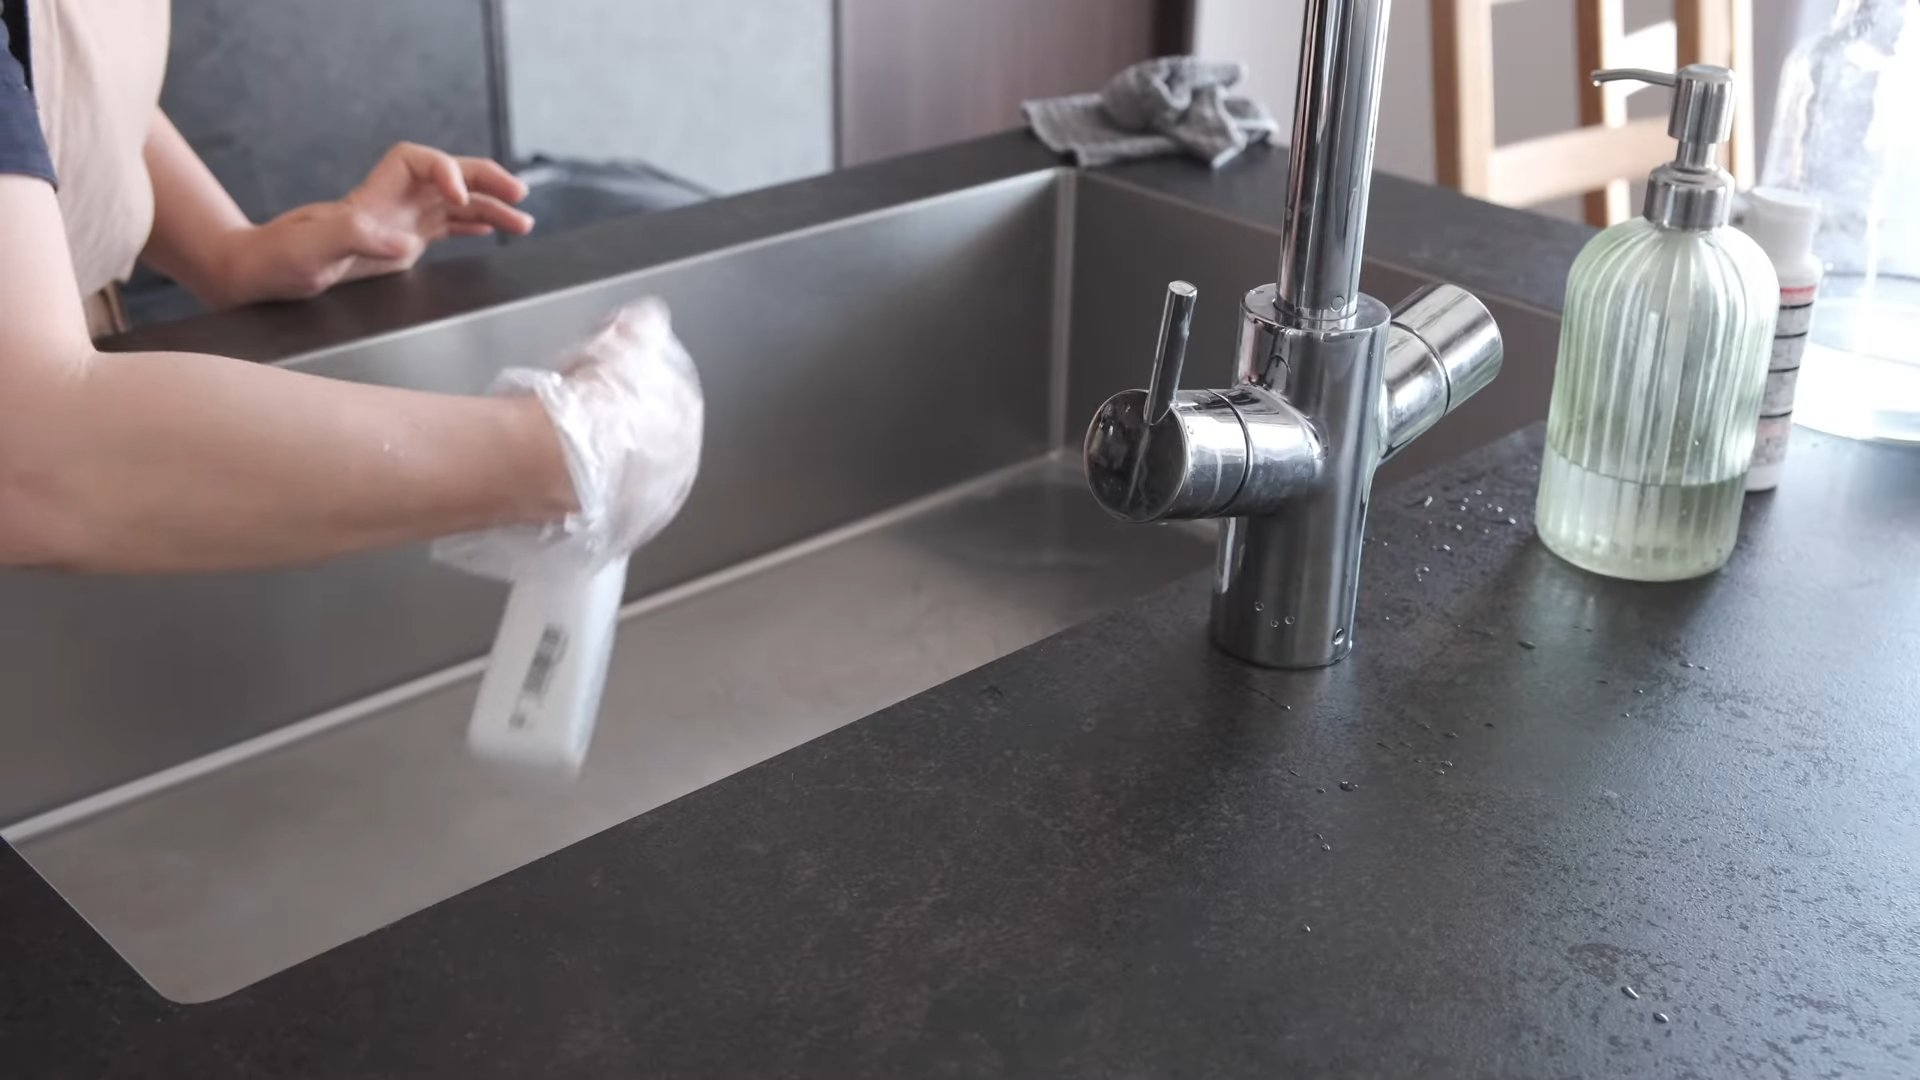
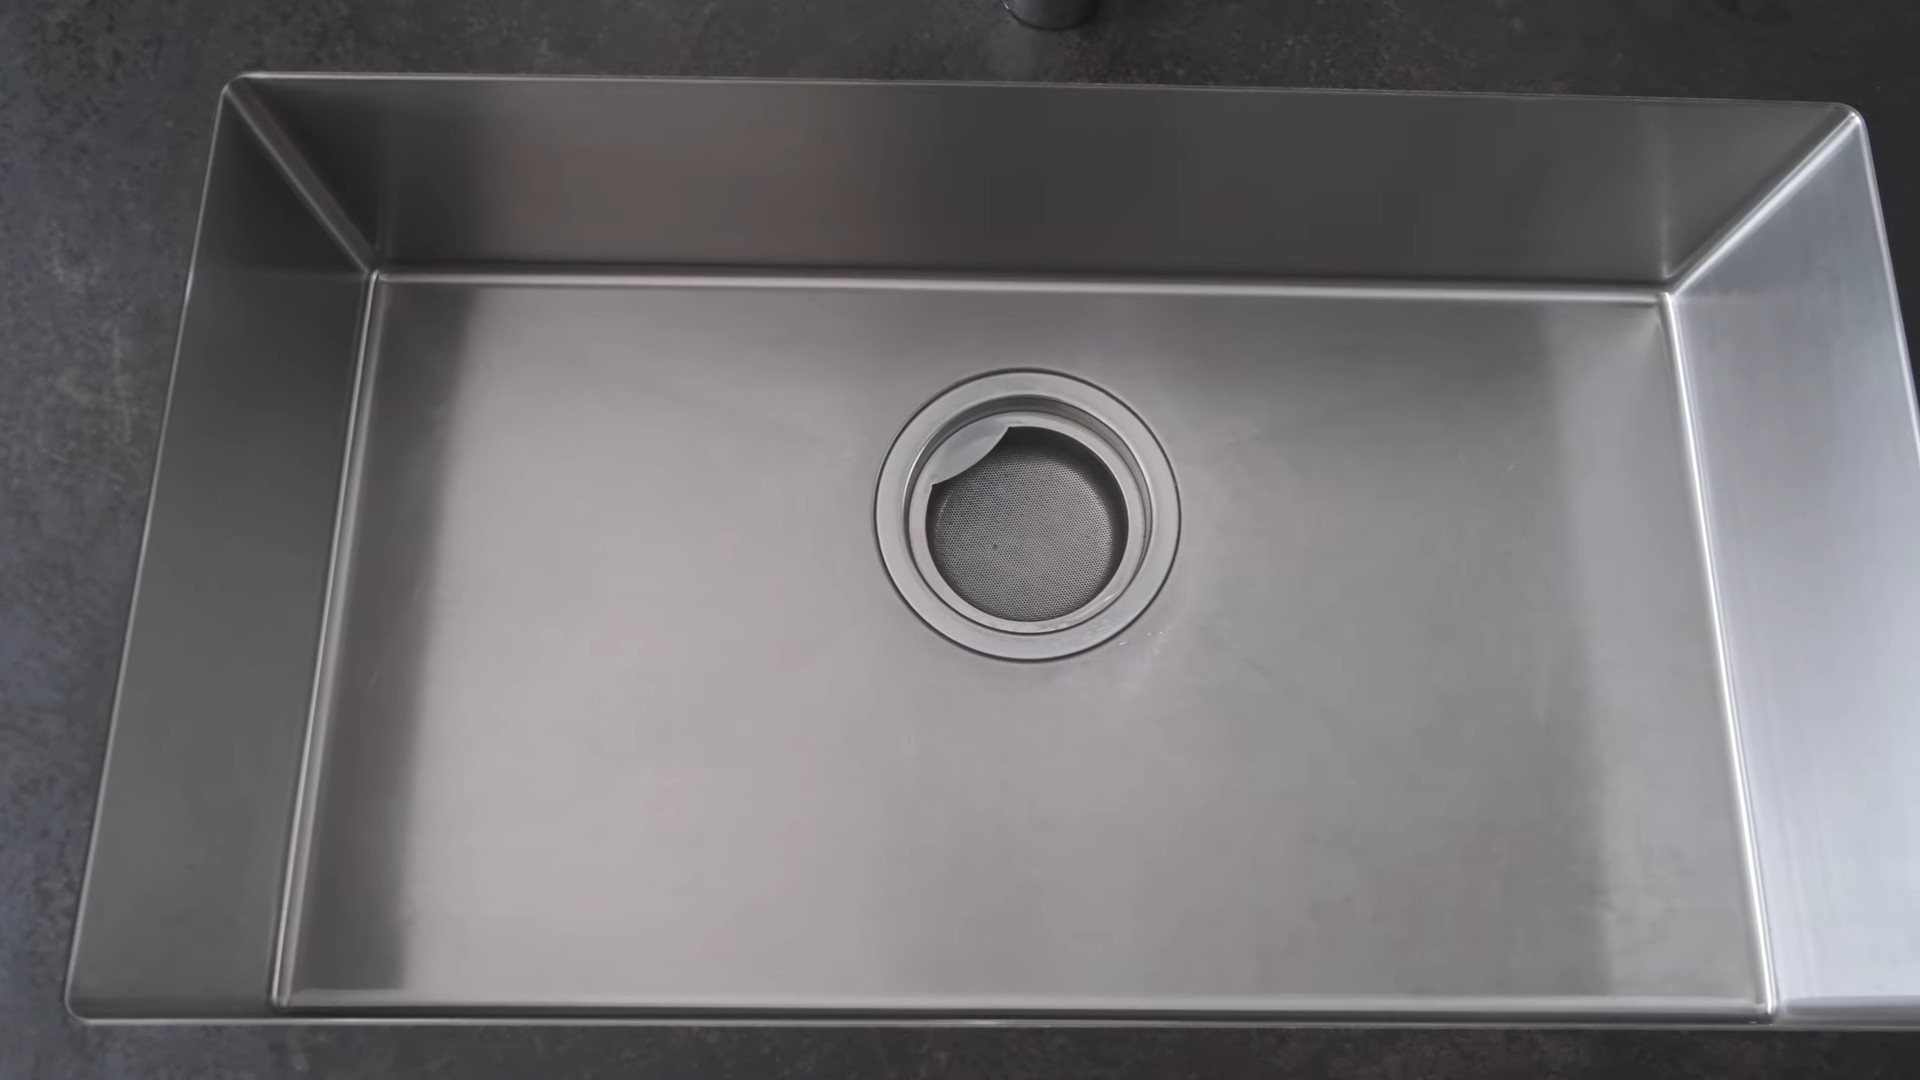
3. Kitchens: Food prep + moisture = mold potential.
* Step 1: Clean Spills Immediately: Wipe up spills immediately to prevent moisture from soaking into surfaces.
* Step 2: Ventilate While Cooking: Use the exhaust fan when cooking to remove moisture-laden air.
* Step 3: Clean Appliances Regularly: Clean appliances, such as refrigerators and dishwashers, regularly to prevent mold growth. Pay special attention to drip pans and seals.
* Step 4: Check Under Sinks: Regularly check under sinks for leaks.
4. Laundry Rooms: Another high-moisture zone.
* Step 1: Ventilate Properly: Ensure proper ventilation by opening windows or using a fan.
* Step 2: Clean the Washing Machine: Clean your washing machine regularly to prevent mold growth. Run an empty cycle with bleach or vinegar.
* Step 3: Dry Clothes Thoroughly: Make sure clothes are completely dry before storing them.
* Step 4: Check for Leaks: Regularly check for leaks around the washing machine and dryer.
Section 4: Natural Mold Prevention Solutions – Eco-Friendly Options
If you prefer a more natural approach, here are some eco-friendly mold prevention solutions.
1. Vine
Conclusion
So, there you have it! This simple, yet incredibly effective DIY trick for house mold prevention is a game-changer for maintaining a healthy and happy home. We’ve walked you through the steps, explained the science behind why it works, and hopefully, dispelled any lingering doubts about its efficacy.
Why is this a must-try? Because mold isn’t just an aesthetic issue; it’s a serious health hazard. It can trigger allergies, asthma, and other respiratory problems, especially in vulnerable individuals like children, the elderly, and those with compromised immune systems. Investing a small amount of time and effort in preventative measures like this DIY solution can save you from costly remediation down the line and, more importantly, protect your family’s well-being.
Beyond the basic recipe, feel free to experiment with variations to suit your specific needs and preferences. For instance, if you’re sensitive to the scent of vinegar, you can dilute it further or add a few drops of your favorite essential oil, like tea tree or lavender, both known for their antifungal properties. Remember to always test a small, inconspicuous area first to ensure the essential oil doesn’t stain or damage the surface. Another variation involves using a spray bottle with an adjustable nozzle. This allows you to target specific areas prone to mold growth, such as shower grout, window sills, and damp corners. For larger areas, consider using a pump sprayer for more efficient coverage.
Don’t underestimate the power of regular ventilation. Even with the best preventative measures, stagnant air and moisture can create a breeding ground for mold. Open windows and doors whenever possible, especially after showering or cooking. Consider investing in a dehumidifier for areas with consistently high humidity levels, such as basements and bathrooms.
We understand that tackling mold prevention can feel daunting, but this DIY trick is designed to be accessible and manageable for everyone. It’s about taking proactive steps to create a healthier living environment. Think of it as a regular part of your cleaning routine, just like dusting or vacuuming.
We are confident that this DIY approach to house mold prevention will make a significant difference in your home. But the real proof is in the pudding! We wholeheartedly encourage you to give it a try. See for yourself how easy and effective it is to keep mold at bay.
And most importantly, we want to hear about your experience! Share your results, tips, and variations in the comments section below. Let’s build a community of proactive homeowners who are committed to creating healthy and mold-free homes. Your feedback will not only help others but also contribute to refining and improving this DIY trick for everyone. Together, we can conquer mold and breathe easier!
Frequently Asked Questions (FAQ)
What exactly causes mold to grow in a house?
Mold thrives in damp, humid environments. It needs moisture, a food source (like drywall, wood, or fabric), and a suitable temperature to grow. Common causes of mold growth include leaks (roof, plumbing, or foundation), condensation (especially in bathrooms and kitchens), poor ventilation, and flooding. Even seemingly minor issues like a dripping faucet or a poorly insulated window can create enough moisture for mold to take hold. Understanding the root causes of moisture problems is crucial for effective house mold prevention.
Is vinegar really effective against mold?
Yes, vinegar is a surprisingly effective natural mold killer. White distilled vinegar is mildly acidic, with a pH of around 3. This acidity disrupts the growth of many common types of mold. Studies have shown that vinegar can kill up to 82% of mold species. While it may not be as potent as some commercial mold killers, it’s a safe, non-toxic, and readily available alternative. It’s important to note that vinegar works best on surface mold and may not be effective against deeply embedded mold. For severe mold infestations, professional remediation is often necessary.
How often should I apply this DIY mold prevention solution?
The frequency of application depends on the humidity levels and the specific areas you’re targeting. In general, applying the solution once a week in areas prone to moisture, such as bathrooms and kitchens, is a good starting point. During periods of high humidity or after a water leak, you may need to apply it more frequently. Regularly inspect your home for signs of mold growth and adjust the frequency accordingly. Remember, consistency is key for effective house mold prevention.
Can I use this solution on all surfaces?
While vinegar is generally safe for most surfaces, it’s always a good idea to test it on a small, inconspicuous area first. Avoid using vinegar on porous surfaces like marble or granite, as it can etch or damage them. Also, be cautious when using it on painted surfaces, as it may cause discoloration. For delicate surfaces, consider diluting the vinegar further or using a different cleaning solution altogether.
What if I have a severe mold problem? Will this DIY solution be enough?
This DIY solution is primarily intended for preventative measures and minor mold growth. If you have a severe mold problem, characterized by large areas of visible mold, a musty odor, or health symptoms, it’s crucial to consult with a professional mold remediation specialist. Severe mold infestations can be difficult and dangerous to handle on your own, and professional remediation is often necessary to ensure complete removal and prevent recurrence. This DIY solution is not a substitute for professional help in cases of significant mold contamination.
Are there any safety precautions I should take when using this solution?
While vinegar is generally safe, it’s always a good idea to wear gloves when handling cleaning solutions to protect your skin. Ensure adequate ventilation when spraying the solution, especially in enclosed spaces. Avoid spraying it directly into your eyes or inhaling it. If you have any respiratory sensitivities, consider wearing a mask. Keep the solution out of reach of children and pets.
What are some other ways to prevent mold growth in my home?
In addition to this DIY solution, there are several other steps you can take to prevent mold growth:
* **Control humidity levels:** Use dehumidifiers in damp areas and ensure proper ventilation.
* **Fix leaks promptly:** Repair any leaks in your roof, plumbing, or foundation immediately.
* **Clean and dry wet areas:** If you experience a water spill or flood, clean and dry the affected area within 24-48 hours.
* **Improve ventilation:** Open windows and doors regularly to allow fresh air to circulate.
* **Use mold-resistant products:** When renovating or building, use mold-resistant drywall and paint.
* **Regularly clean bathrooms and kitchens:** These areas are particularly prone to mold growth, so clean them frequently with a mold-killing cleaner.
* **Maintain proper drainage:** Ensure that your gutters and downspouts are clean and functioning properly to direct water away from your foundation.
By combining this DIY solution with these other preventative measures, you can significantly reduce the risk of mold growth in your home and create a healthier living environment. Remember, proactive house mold prevention is the best defense against this common household problem.

Leave a Comment