
Grow Yellow Habanero Peppers, and unlock a world of fiery flavor right in your own backyard! Have you ever dreamed of adding a vibrant, spicy kick to your meals with peppers you’ve nurtured from seed to fruit? I know I have! This isn’t just about growing peppers; it’s about connecting with nature, enjoying the satisfaction of DIY, and adding a touch of sunshine to your garden and your plate.
The habanero pepper, with its distinctive lantern shape and intense heat, has a rich history rooted in the Yucatan Peninsula of Mexico. For centuries, it’s been a staple ingredient in Mayan cuisine, adding depth and complexity to traditional dishes. Now, you can bring that same culinary heritage to your own kitchen.
Why should you embark on this DIY adventure? Because store-bought peppers simply can’t compare to the flavor and freshness of homegrown. Plus, knowing exactly where your food comes from and how it’s grown is incredibly empowering. With a few simple tricks and techniques, even beginner gardeners can successfully grow Yellow Habanero Peppers and enjoy a bountiful harvest. I’m here to guide you through every step, from seed starting to harvesting, ensuring you have all the knowledge you need to succeed. Let’s get started!
Growing Yellow Habanero Peppers: A DIY Guide from Seed to Spicy Harvest
Hey fellow chili enthusiasts! I’m so excited to share my experience growing vibrant, fiery yellow habanero peppers. It’s a rewarding journey, and with a little patience and these tips, you’ll be harvesting your own peppers in no time. This guide will walk you through every step, from starting seeds indoors to finally enjoying the fruits (or should I say, peppers!) of your labor.
What You’ll Need:
Before we dive in, let’s gather our supplies. Here’s a list of everything you’ll need to successfully grow yellow habaneros:
* **Habanero Seeds:** Obviously! Make sure you get them from a reputable source to ensure good germination rates.
* **Seed Starting Trays or Small Pots:** These will be your nurseries for the baby pepper plants.
* **Seed Starting Mix:** This is a light, sterile soil mix perfect for delicate seedlings. Don’t use garden soil!
* **Grow Lights (Optional but Recommended):** These provide consistent light, especially important if you’re starting seeds indoors during winter.
* **Heat Mat (Optional but Recommended):** Habaneros love warmth, and a heat mat will speed up germination.
* **Larger Pots (3-5 gallon):** For transplanting your seedlings once they’ve grown a bit.
* **Potting Mix:** A good quality potting mix for containers.
* **Fertilizer:** A balanced fertilizer for the vegetative stage (e.g., 20-20-20) and a bloom-boosting fertilizer for when the plants start flowering (e.g., 10-30-20).
* **Watering Can or Hose:** For, well, watering!
* **Gloves:** Habaneros are hot! Protect your hands when handling them.
* **Garden Clippers or Scissors:** For harvesting.
* **Insecticidal Soap or Neem Oil:** For pest control (hopefully you won’t need it, but it’s good to be prepared).
* **pH Meter (Optional):** To check the pH of your soil. Habaneros prefer a slightly acidic pH (6.0-6.8).
Starting Your Seeds Indoors (8-10 Weeks Before Last Frost)
Habaneros have a long growing season, so starting them indoors early is crucial, especially if you live in a cooler climate. I usually start mine about 8-10 weeks before the last expected frost.
1. **Prepare Your Seed Starting Trays:** Fill your seed starting trays or small pots with seed starting mix. Gently tap the trays to settle the soil.
2. **Sow the Seeds:** Plant the habanero seeds about 1/4 inch deep. I usually plant 2-3 seeds per cell or pot to increase the chances of germination.
3. **Water Gently:** Water the soil gently using a spray bottle or watering can with a fine rose. You want to moisten the soil without disturbing the seeds.
4. **Provide Warmth:** Place the seed starting trays on a heat mat, if you’re using one. Habaneros germinate best at temperatures between 80-90°F (27-32°C).
5. **Provide Light:** Place the trays under grow lights. If you don’t have grow lights, place them in a sunny window, but be aware that they might not get enough light, especially during winter. I keep my grow lights on for about 14-16 hours a day.
6. **Maintain Moisture:** Keep the soil consistently moist, but not soggy. Check the soil moisture daily and water as needed.
7. **Be Patient:** Habanero seeds can take anywhere from 1-3 weeks to germinate, so don’t get discouraged if you don’t see sprouts right away.
Transplanting Your Seedlings
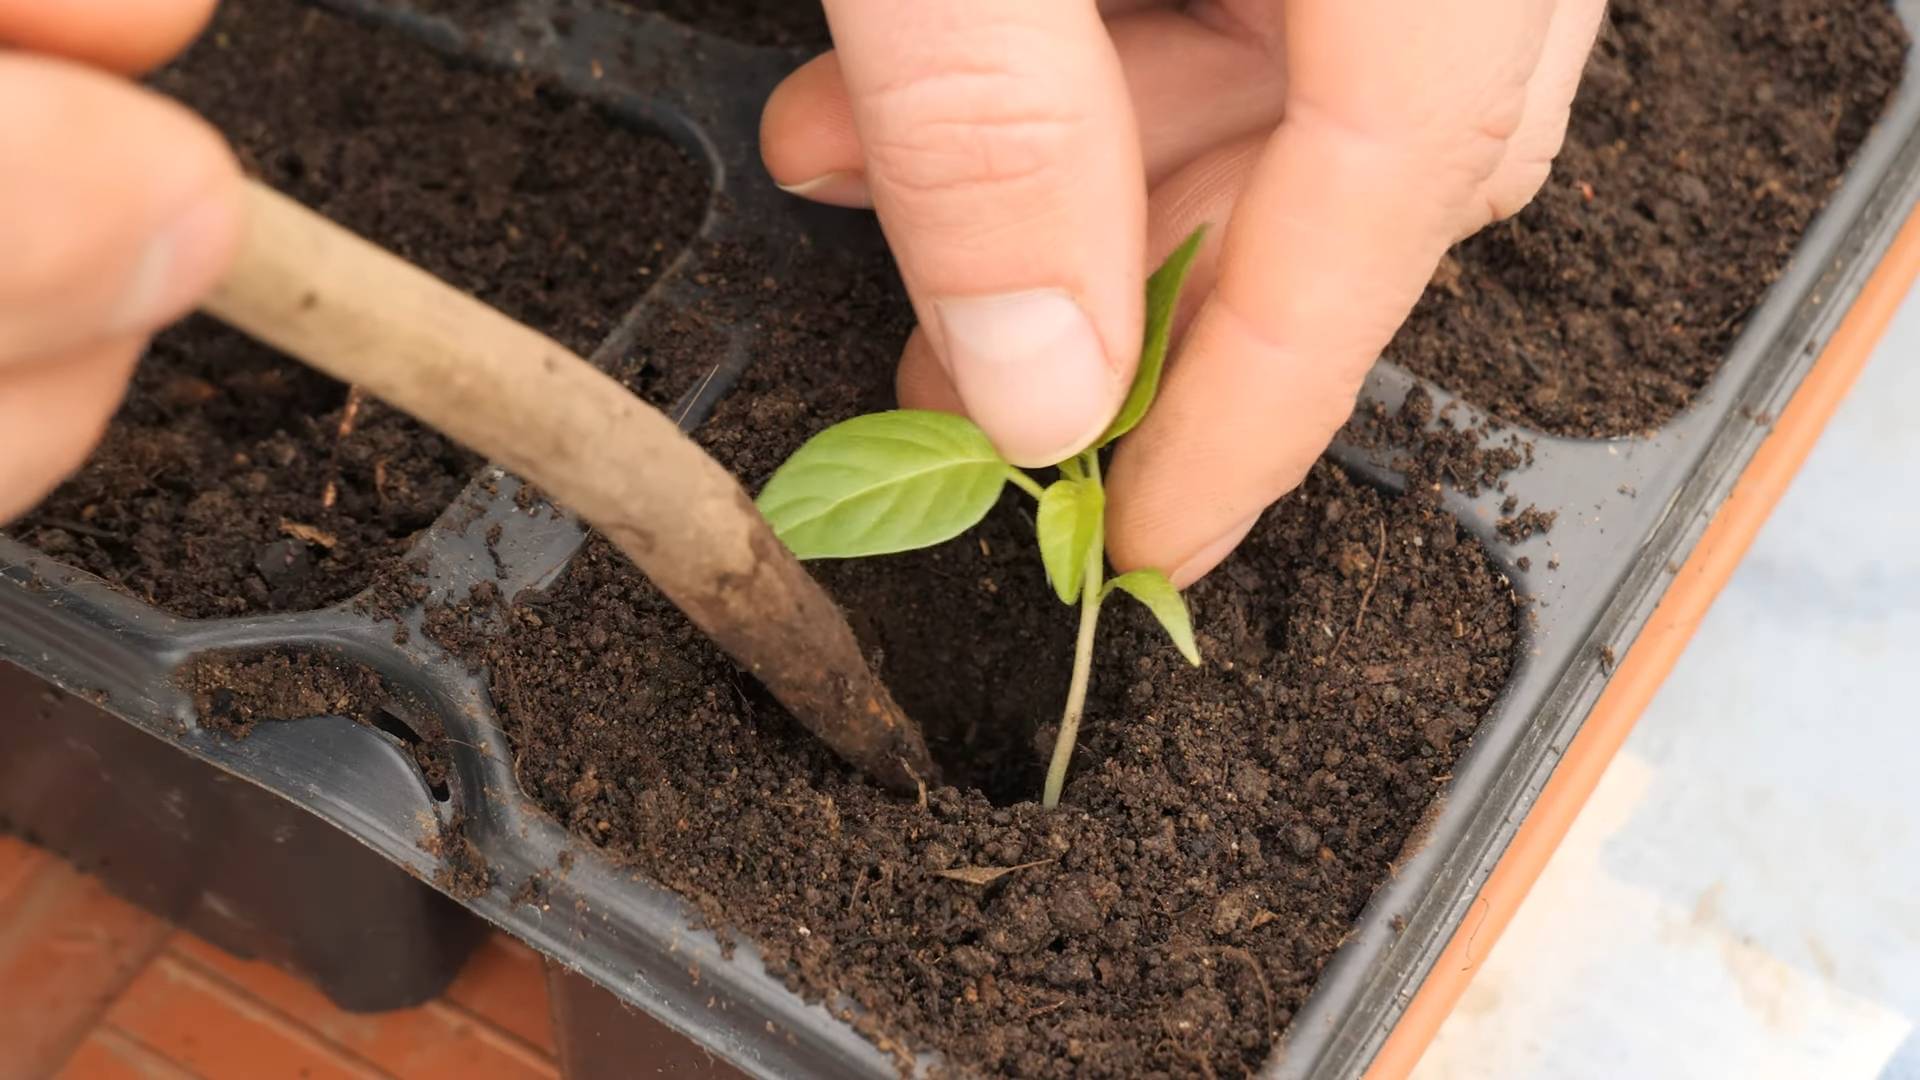
Once your seedlings have developed their first set of true leaves (the leaves that appear after the initial seed leaves), it’s time to transplant them into larger pots.
1. **Prepare Your Larger Pots:** Fill your 3-5 gallon pots with potting mix.
2. **Gently Remove Seedlings:** Carefully remove the seedlings from the seed starting trays. If you planted multiple seeds per cell, choose the strongest seedling and gently separate it from the others.
3. **Transplant Seedlings:** Make a hole in the potting mix large enough to accommodate the seedling’s root ball. Gently place the seedling in the hole and cover the roots with soil.
4. **Water Thoroughly:** Water the newly transplanted seedlings thoroughly.
5. **Provide Light and Warmth:** Place the pots under grow lights or in a sunny window. Continue to provide warmth, especially if the weather is still cool.
Hardening Off Your Seedlings
Before you can move your habanero plants outdoors permanently, you need to “harden them off.” This process gradually acclimates them to the outdoor environment, preventing shock.
1. **Start Slowly:** Begin by placing your plants outdoors in a sheltered location for just an hour or two each day.
2. **Increase Exposure Gradually:** Gradually increase the amount of time they spend outdoors each day, adding an hour or two each time.
3. **Protect from Extreme Conditions:** Protect your plants from strong winds, direct sunlight, and frost.
4. **Monitor Your Plants:** Watch your plants closely for signs of stress, such as wilting or sunburn. If you see any signs of stress, bring them back indoors.
5. **After a Week or Two:** After a week or two of hardening off, your plants should be ready to be transplanted into their final outdoor location.
Planting Outdoors
Once the danger of frost has passed and the soil has warmed up, it’s time to plant your habanero plants outdoors.
1. **Choose a Sunny Location:** Habaneros need at least 6-8 hours of sunlight per day.
2. **Prepare the Soil:** Amend the soil with compost or other organic matter to improve drainage and fertility.
3. **Plant Your Plants:** Dig a hole large enough to accommodate the root ball of your plant. Gently remove the plant from its pot and place it in the hole. Backfill with soil and water thoroughly.
4. **Space Your Plants:** Space your plants about 18-24 inches apart.
5. **Mulch:** Apply a layer of mulch around your plants to help retain moisture and suppress weeds.
Caring for Your Habanero Plants
Now that your habanero plants are in the ground, it’s time to provide them with the care they need to thrive.
1. **Water Regularly:** Water your plants regularly, especially during hot, dry weather. Habaneros prefer consistently moist soil, but avoid overwatering, which can lead to root rot.
2. **Fertilize:** Fertilize your plants every 2-3 weeks with a balanced fertilizer. Once they start flowering, switch to a bloom-boosting fertilizer.
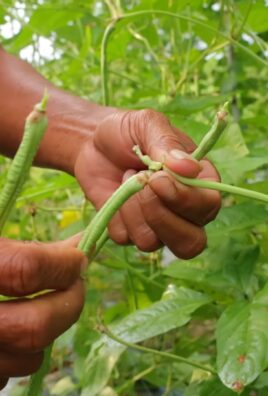
3. **Prune (Optional):** Pruning can help to improve air circulation and encourage bushier growth. You can prune your plants by removing any suckers (small shoots that grow from the base of the plant) or by pinching back the tips of the branches.
4. **Support (Optional):** As your plants grow, they may need support to prevent them from falling over. You can use stakes or cages to support them.
5. **Pest and Disease Control:** Keep an eye out for pests and diseases. Common pests that affect habaneros include aphids, spider mites, and whiteflies. Common diseases include blossom end rot and fungal infections. Treat any problems promptly with insecticidal soap, neem oil, or other appropriate treatments. I always prefer organic options when possible.
6. **Monitor Soil pH:** Habaneros thrive in slightly acidic soil. Use a pH meter to check the soil pH and amend as needed to maintain a pH between 6.0 and 6.8.
Harvesting Your Habanero Peppers
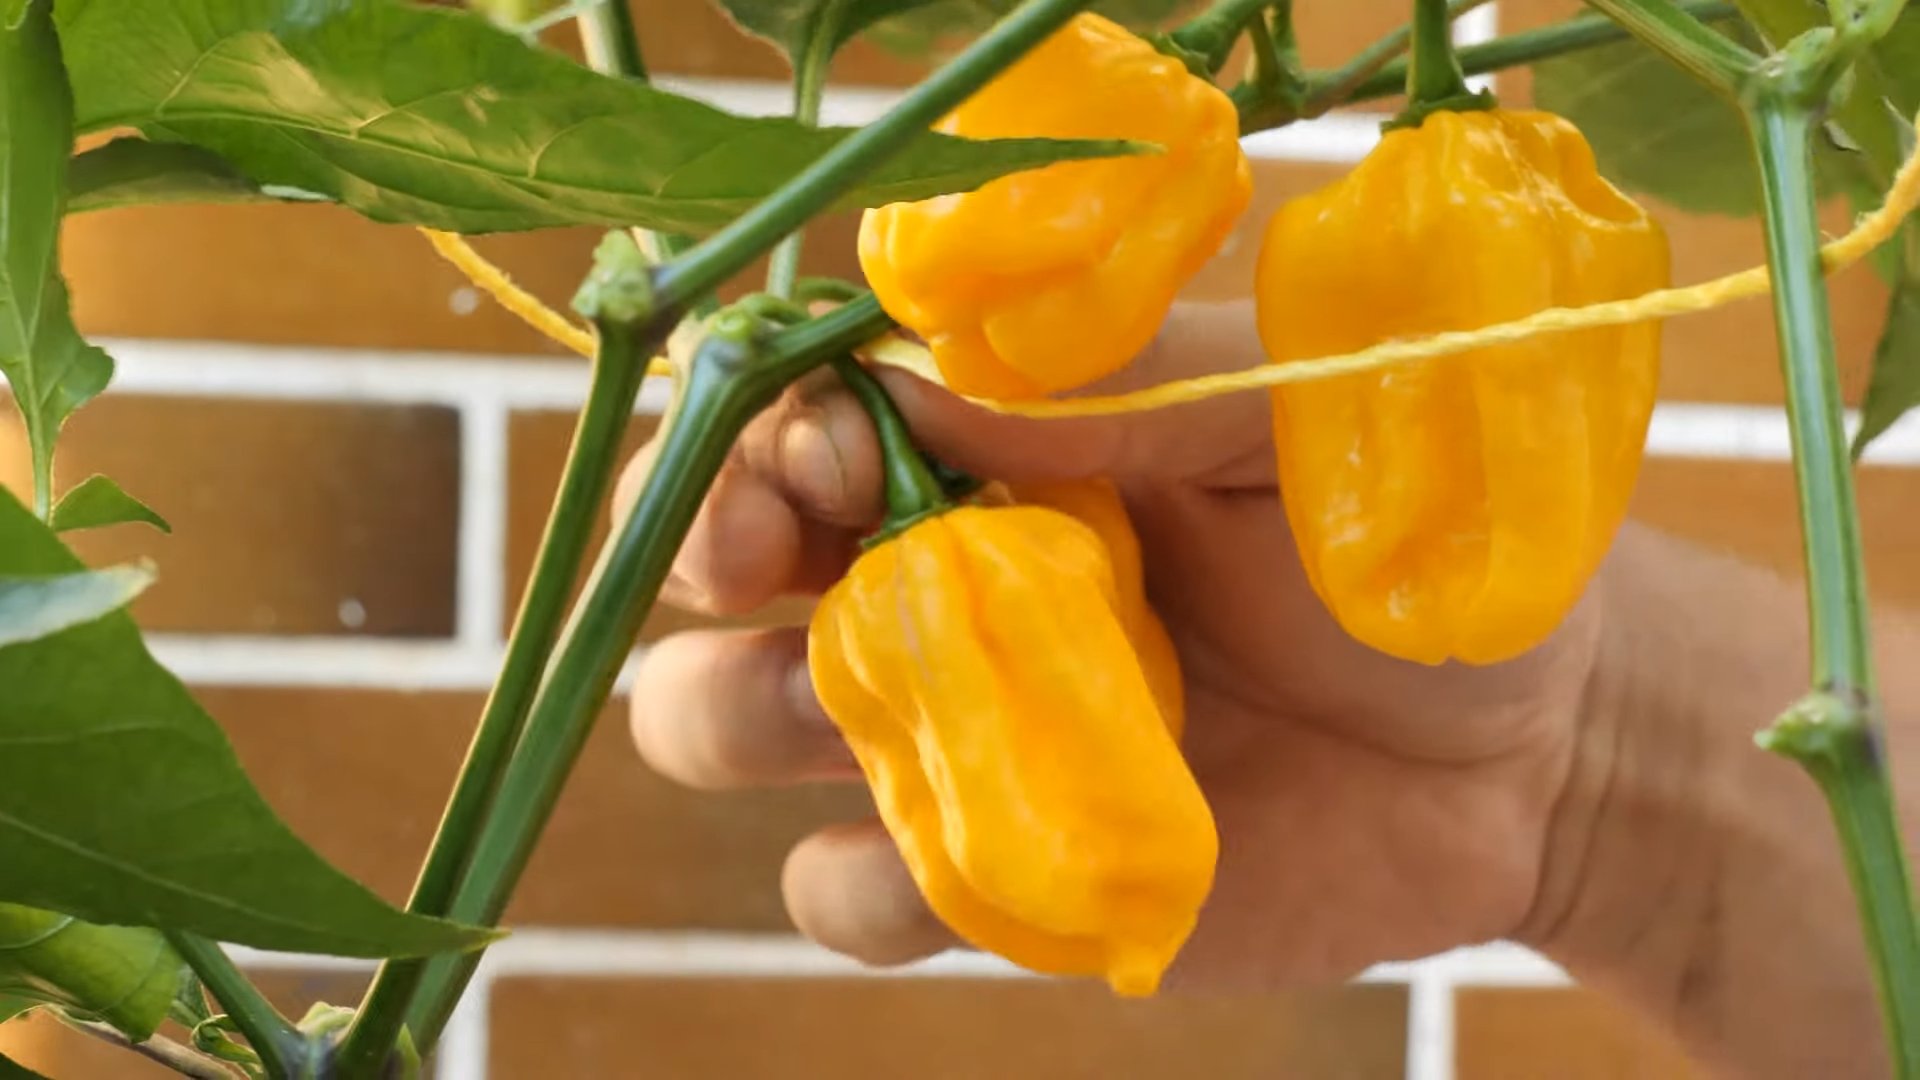
The moment you’ve been waiting for! Habanero peppers are typically ready to harvest about 80-100 days after transplanting.
1. **Look for Color Change:** The peppers will start green and eventually turn yellow when they are ripe.
2. **Check for Firmness:** The peppers should be firm to the touch.
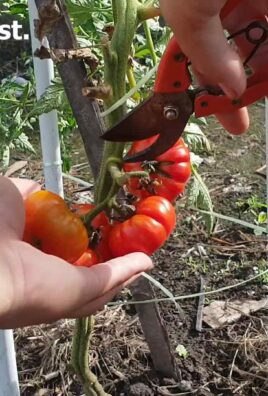
3. **Use Clippers or Scissors:** Use garden clippers or scissors to cut the peppers from the plant. Be careful not to damage the plant.
4. **Wear Gloves:** Remember, habaneros are hot! Wear gloves when handling them to protect your hands.
5. **Enjoy Your Harvest:** Now you can enjoy your delicious, fiery yellow habanero peppers! Use them in your favorite recipes, make hot sauce, or dry them for later use.
Troubleshooting
Even with the best care, you might encounter some problems along the way. Here are a few common issues and how to address them:
* **Seedlings Not Germinating:** Make sure the soil is warm enough and consistently moist. Try using a heat mat. Also, ensure your seeds are fresh.
* **
Conclusion
So, there you have it! Growing your own yellow habanero peppers isn’t just about adding a fiery kick to your culinary creations; it’s about embarking on a rewarding journey from seed to table. It’s about understanding the nuances of plant life, experiencing the satisfaction of nurturing something from its infancy, and ultimately, reaping the delicious, spicy rewards of your labor.
Why is this DIY trick a must-try? Because it puts you in control. You dictate the growing conditions, ensuring your peppers are free from unwanted chemicals and pesticides. You select the specific variety of yellow habanero that tantalizes your taste buds the most. And, perhaps most importantly, you gain a deeper appreciation for the food you consume.
But the adventure doesn’t stop there! Feel free to experiment with different growing mediums. Try a hydroponic setup for faster growth, or amend your soil with various organic fertilizers to see which yields the most flavorful peppers. Consider companion planting – basil, for instance, is said to improve the flavor of peppers and deter pests. You could even try cross-pollinating your yellow habaneros with other pepper varieties to create your own unique hybrid! Imagine the possibilities: a yellow habanero with the fruity notes of a scotch bonnet, or one with the heat level of a ghost pepper!
Don’t be afraid to get creative with your harvest, too. Beyond the obvious uses in salsas and hot sauces, yellow habaneros can add a surprising depth of flavor to jams, jellies, and even desserts. Infuse them in olive oil for a spicy drizzle, or pickle them for a tangy, fiery snack. The only limit is your imagination.
Ultimately, successfully growing your own **yellow habanero peppers** is an incredibly fulfilling experience. It’s a testament to your patience, dedication, and green thumb. So, grab some seeds, prepare your soil, and get ready to embark on this exciting adventure. We’re confident that you’ll be amazed by the results.
We encourage you to try this DIY trick and share your experiences with us! Post photos of your pepper plants, share your favorite recipes, and let us know what challenges you faced and how you overcame them. Your insights could help other aspiring pepper growers on their own journeys. Let’s build a community of passionate pepper enthusiasts, all united by our love for the fiery flavor of the yellow habanero. Happy growing!
Frequently Asked Questions (FAQ)
What are the best conditions for growing yellow habanero peppers?
Yellow habanero peppers thrive in warm climates with plenty of sunshine. Aim for at least 6-8 hours of direct sunlight per day. The ideal temperature range is between 70-85°F (21-29°C). They also need well-draining soil that is rich in organic matter. Consistent watering is crucial, especially during hot weather, but avoid overwatering, which can lead to root rot.
How long does it take to grow yellow habanero peppers from seed?
Growing yellow habanero peppers from seed can take anywhere from 3 to 6 months, depending on the growing conditions. Germination typically takes 1-3 weeks. Seedlings need about 6-8 weeks indoors before they are ready to be transplanted outdoors. Once transplanted, it can take another 2-3 months for the plants to mature and produce peppers. Be patient, as these peppers require time and care to reach their full potential.
What are some common problems when growing yellow habanero peppers, and how can I prevent them?
Some common problems include pests like aphids and spider mites, diseases like blossom end rot and fungal infections, and nutrient deficiencies. To prevent pests, regularly inspect your plants and use organic pest control methods like neem oil or insecticidal soap. Ensure proper air circulation to prevent fungal diseases. Blossom end rot is often caused by calcium deficiency, so amend your soil with calcium-rich amendments like bone meal or eggshells. Regular fertilization with a balanced fertilizer can help prevent nutrient deficiencies.
Can I grow yellow habanero peppers indoors?
Yes, you can grow yellow habanero peppers indoors, but you’ll need to provide them with adequate light. A sunny south-facing window is ideal, but you may also need to supplement with grow lights. Use a well-draining potting mix and ensure proper ventilation. Indoor plants may require more frequent watering than outdoor plants, as the air tends to be drier indoors.
How hot are yellow habanero peppers?
Yellow habanero peppers are very hot, typically ranging from 100,000 to 350,000 Scoville heat units (SHU). This puts them in the same heat range as other habanero varieties. Handle them with care when cooking, and avoid touching your eyes or face after handling them. Consider wearing gloves when preparing them.
What are some good companion plants for yellow habanero peppers?
Good companion plants for yellow habanero peppers include basil, tomatoes, carrots, onions, and garlic. Basil is said to improve the flavor of peppers and deter pests. Tomatoes provide shade and support. Carrots and onions help to repel pests. Garlic is a natural fungicide and insecticide. Avoid planting peppers near fennel, as it can inhibit their growth.
How do I know when my yellow habanero peppers are ripe?
Yellow habanero peppers are typically ripe when they turn a vibrant yellow color and are slightly soft to the touch. They should also detach easily from the plant. The exact shade of yellow can vary depending on the specific variety.
Can I save seeds from my yellow habanero peppers to grow next year?
Yes, you can save seeds from your yellow habanero peppers to grow next year. Allow the peppers to fully ripen on the plant. Then, carefully remove the seeds and dry them completely. Store the dried seeds in an airtight container in a cool, dark place. Keep in mind that if your peppers were cross-pollinated with other varieties, the seeds may not produce true-to-type plants.
What kind of fertilizer should I use for yellow habanero peppers?
Use a balanced fertilizer with a slightly higher phosphorus content (the middle number on the fertilizer label) to promote flowering and fruiting. A fertilizer with an NPK ratio of 5-10-5 or 10-15-10 is a good choice. Avoid using fertilizers that are too high in nitrogen (the first number), as this can promote excessive foliage growth at the expense of pepper production.
How often should I water my yellow habanero pepper plants?
Water your yellow habanero pepper plants deeply whenever the top inch of soil feels dry to the touch. The frequency of watering will depend on the weather conditions and the type of soil you are using. During hot, dry weather, you may need to water daily. Avoid overwatering, as this can lead to root rot.
Leave a Comment