
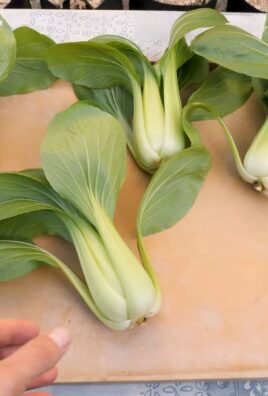
Grow Green Beans at Home – and unlock a world of fresh, flavorful possibilities right in your backyard! Have you ever imagined stepping outside and harvesting crisp, tender green beans for your dinner, knowing exactly where they came from and how they were grown? It’s not just a dream; it’s an achievable reality with a few simple tricks and a little DIY spirit.
For centuries, cultivating beans has been a cornerstone of human sustenance. From ancient civilizations to modern-day gardens, beans have provided essential nutrients and a connection to the earth. The joy of nurturing a plant from seed to harvest is a timeless tradition, and growing your own green beans is a fantastic way to participate in this legacy.
In today’s fast-paced world, knowing where our food comes from is more important than ever. Store-bought produce can be expensive and often lacks the vibrant flavor of homegrown vegetables. That’s where these DIY tricks come in! I’m going to show you how to grow green beans at home, even if you have limited space or gardening experience. You’ll save money, enjoy fresher, tastier beans, and experience the satisfaction of nurturing your own little garden. Let’s get started!
Grow Your Own Delicious Green Beans: A Beginner’s Guide
Hey there, fellow gardening enthusiasts! I’m so excited to share my experience growing green beans at home. It’s surprisingly easy, incredibly rewarding, and nothing beats the taste of fresh, homegrown veggies. This guide will walk you through everything you need to know, from seed to harvest. Let’s get our hands dirty!
Choosing Your Green Bean Variety
Before we dive into the nitty-gritty, let’s talk about bean varieties. There are two main types: bush beans and pole beans.
* **Bush Beans:** These are compact and don’t require any support. They’re perfect for smaller gardens or containers. They produce a large harvest all at once, which is great for canning or freezing.
* **Pole Beans:** These beans are climbers and need a trellis or other support to grow. They produce a continuous harvest over a longer period.
Some popular varieties include:
* **Bush:** Blue Lake Bush, Contender, Provider
* **Pole:** Kentucky Wonder, Scarlet Runner, Fortex
I personally love Kentucky Wonder pole beans because they’re super productive and taste amazing! But feel free to experiment and find your favorite.
Preparing for Planting
Okay, now that you’ve chosen your bean variety, let’s get ready for planting.
* **Timing is Key:** Green beans are warm-weather crops, so wait until the danger of frost has passed before planting. The soil temperature should be at least 60°F (16°C). I usually plant mine in late spring or early summer.
* **Sunlight:** Green beans need at least 6-8 hours of sunlight per day. Choose a sunny spot in your garden.
* **Soil:** Green beans prefer well-drained soil that is rich in organic matter. Amend your soil with compost or aged manure before planting. Avoid soils that are overly acidic. A pH of 6.0 to 7.0 is ideal.
* **Support (for Pole Beans):** If you’re growing pole beans, you’ll need to set up a trellis or other support system before planting. A simple A-frame trellis or even a sturdy fence will work. Make sure it’s tall enough to accommodate the mature height of your bean variety.
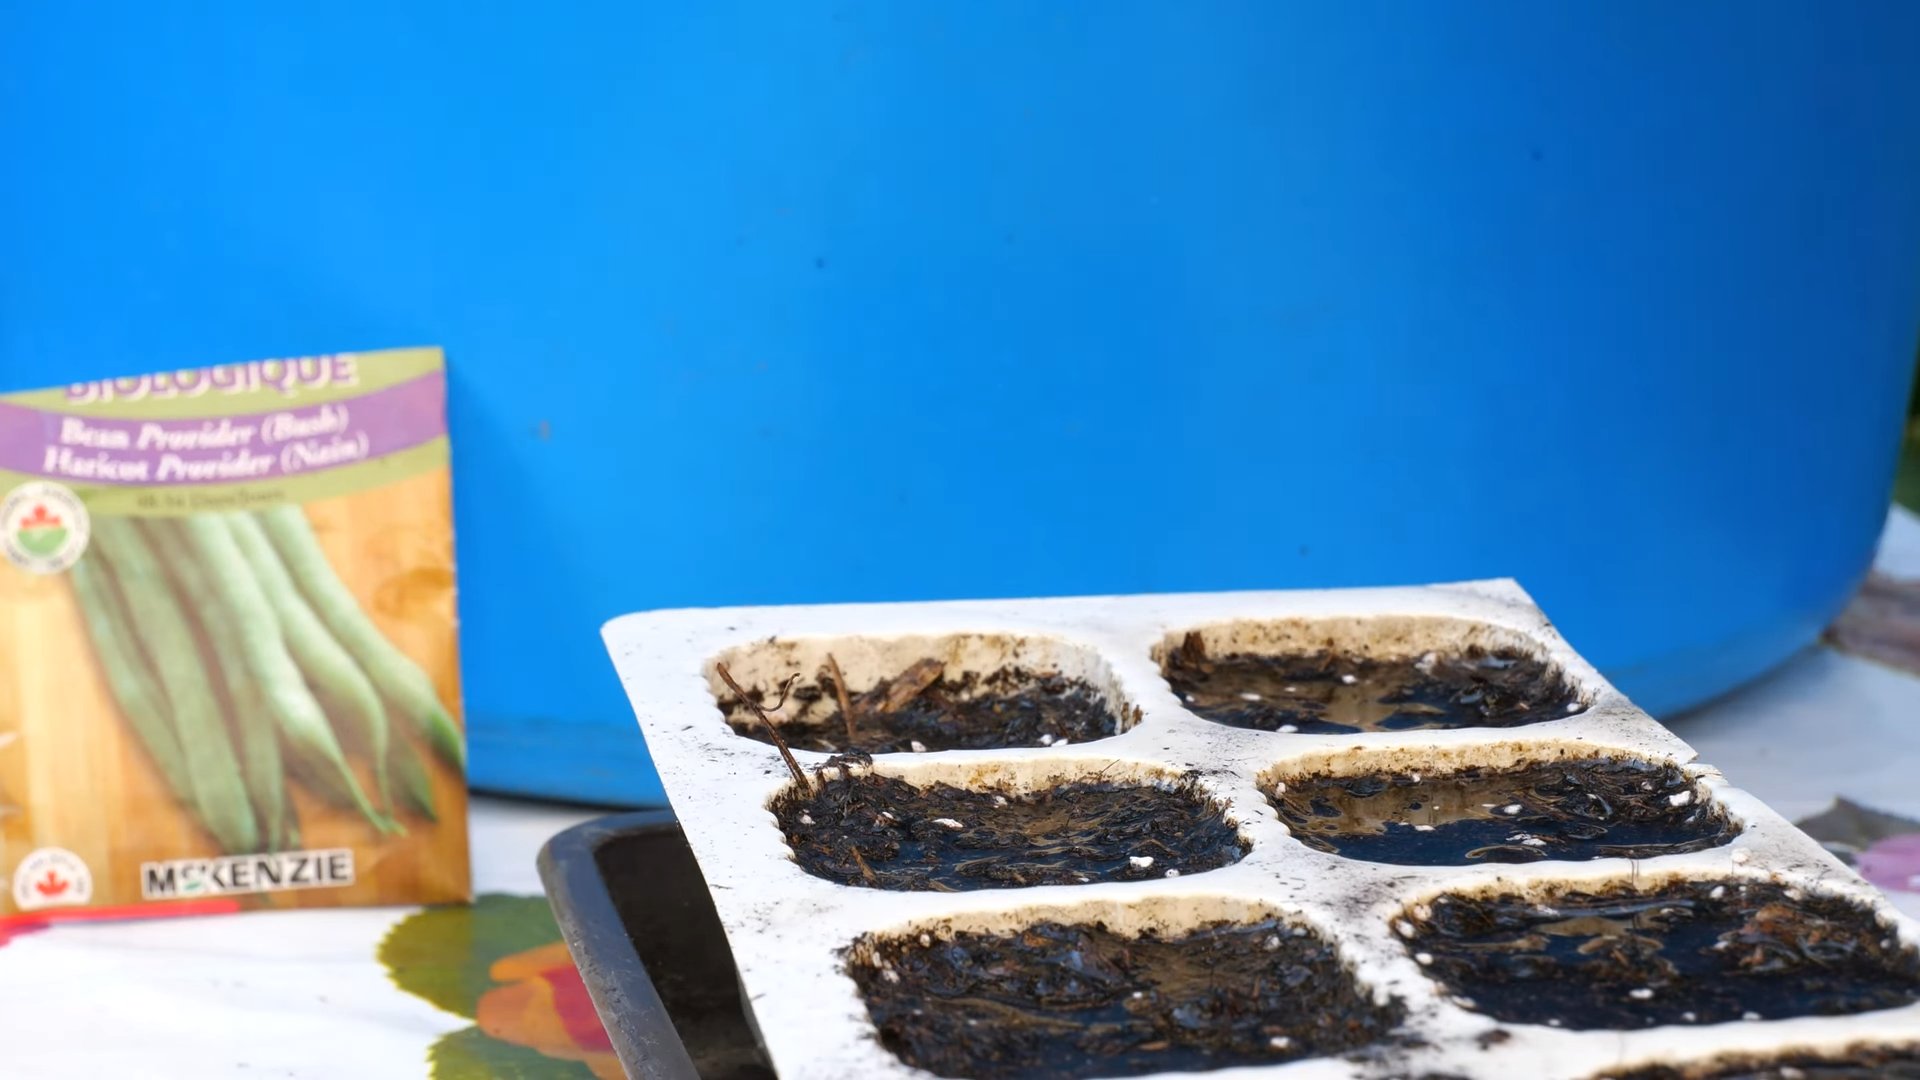
Planting Your Green Beans
Alright, let’s get those beans in the ground!
1. **Prepare the Soil:** Loosen the soil with a garden fork or tiller to a depth of about 12 inches. Remove any rocks, weeds, or debris.
2. **Amend the Soil:** Mix in compost or aged manure to improve soil fertility and drainage. I usually add a couple of inches of compost to the topsoil and work it in.
3. **Planting Bush Beans:** Sow seeds 1 inch deep and 2-3 inches apart in rows that are 18-24 inches apart.
4. **Planting Pole Beans:** Plant seeds 1 inch deep and 4-6 inches apart at the base of your trellis or support system.
5. **Water Thoroughly:** After planting, water the soil gently but thoroughly. Keep the soil consistently moist until the seeds germinate.
6. **Mark Your Rows:** Use plant markers to label your rows with the bean variety and planting date. This will help you keep track of your plants and know when to expect your harvest.
Caring for Your Green Beans
Now that your beans are planted, it’s time to provide them with the care they need to thrive.
* **Watering:** Green beans need consistent moisture, especially during flowering and pod development. Water deeply and regularly, especially during dry spells. Avoid overhead watering, as this can promote fungal diseases. Soaker hoses or drip irrigation are ideal.
* **Weeding:** Keep your bean patch free of weeds, which can compete with your plants for nutrients and water. Hand-pull weeds regularly or use a hoe to cultivate the soil. Be careful not to damage the bean plants’ roots.
* **Fertilizing:** Green beans don’t need a lot of fertilizer, but a side dressing of compost or a balanced fertilizer a few weeks after planting can help boost growth. Avoid fertilizers that are high in nitrogen, as this can promote leafy growth at the expense of pod production.
* **Pest Control:** Keep an eye out for common bean pests, such as aphids, bean beetles, and spider mites. Hand-pick pests off plants or use insecticidal soap or neem oil to control infestations.
* **Supporting Pole Beans:** As your pole beans grow, train them to climb up the trellis or support system. Gently guide the vines and tie them to the support if necessary.
Dealing with Common Problems
Even with the best care, you might encounter some problems while growing green beans. Here are a few common issues and how to address them:
* **Poor Germination:** If your bean seeds aren’t germinating, it could be due to cold soil, poor-quality seeds, or overwatering. Make sure the soil temperature is at least 60°F (16°C) before planting. Use fresh, high-quality seeds. Avoid overwatering, which can cause the seeds to rot.
* **Yellowing Leaves:** Yellowing leaves can be a sign of nutrient deficiency, overwatering, or disease. Check the soil pH and nutrient levels. Make sure the soil is well-drained. Treat any diseases with appropriate fungicides.
* **Bean Beetle Damage:** Bean beetles can skeletonize the leaves of your bean plants. Hand-pick beetles and larvae off plants or use insecticidal soap or neem oil to control infestations.
* **Powdery Mildew:** Powdery mildew is a fungal disease that can cause a white, powdery coating on the leaves of your bean plants. Improve air circulation by spacing plants properly. Water at the base of the plants to avoid wetting the foliage. Treat with a fungicide if necessary.
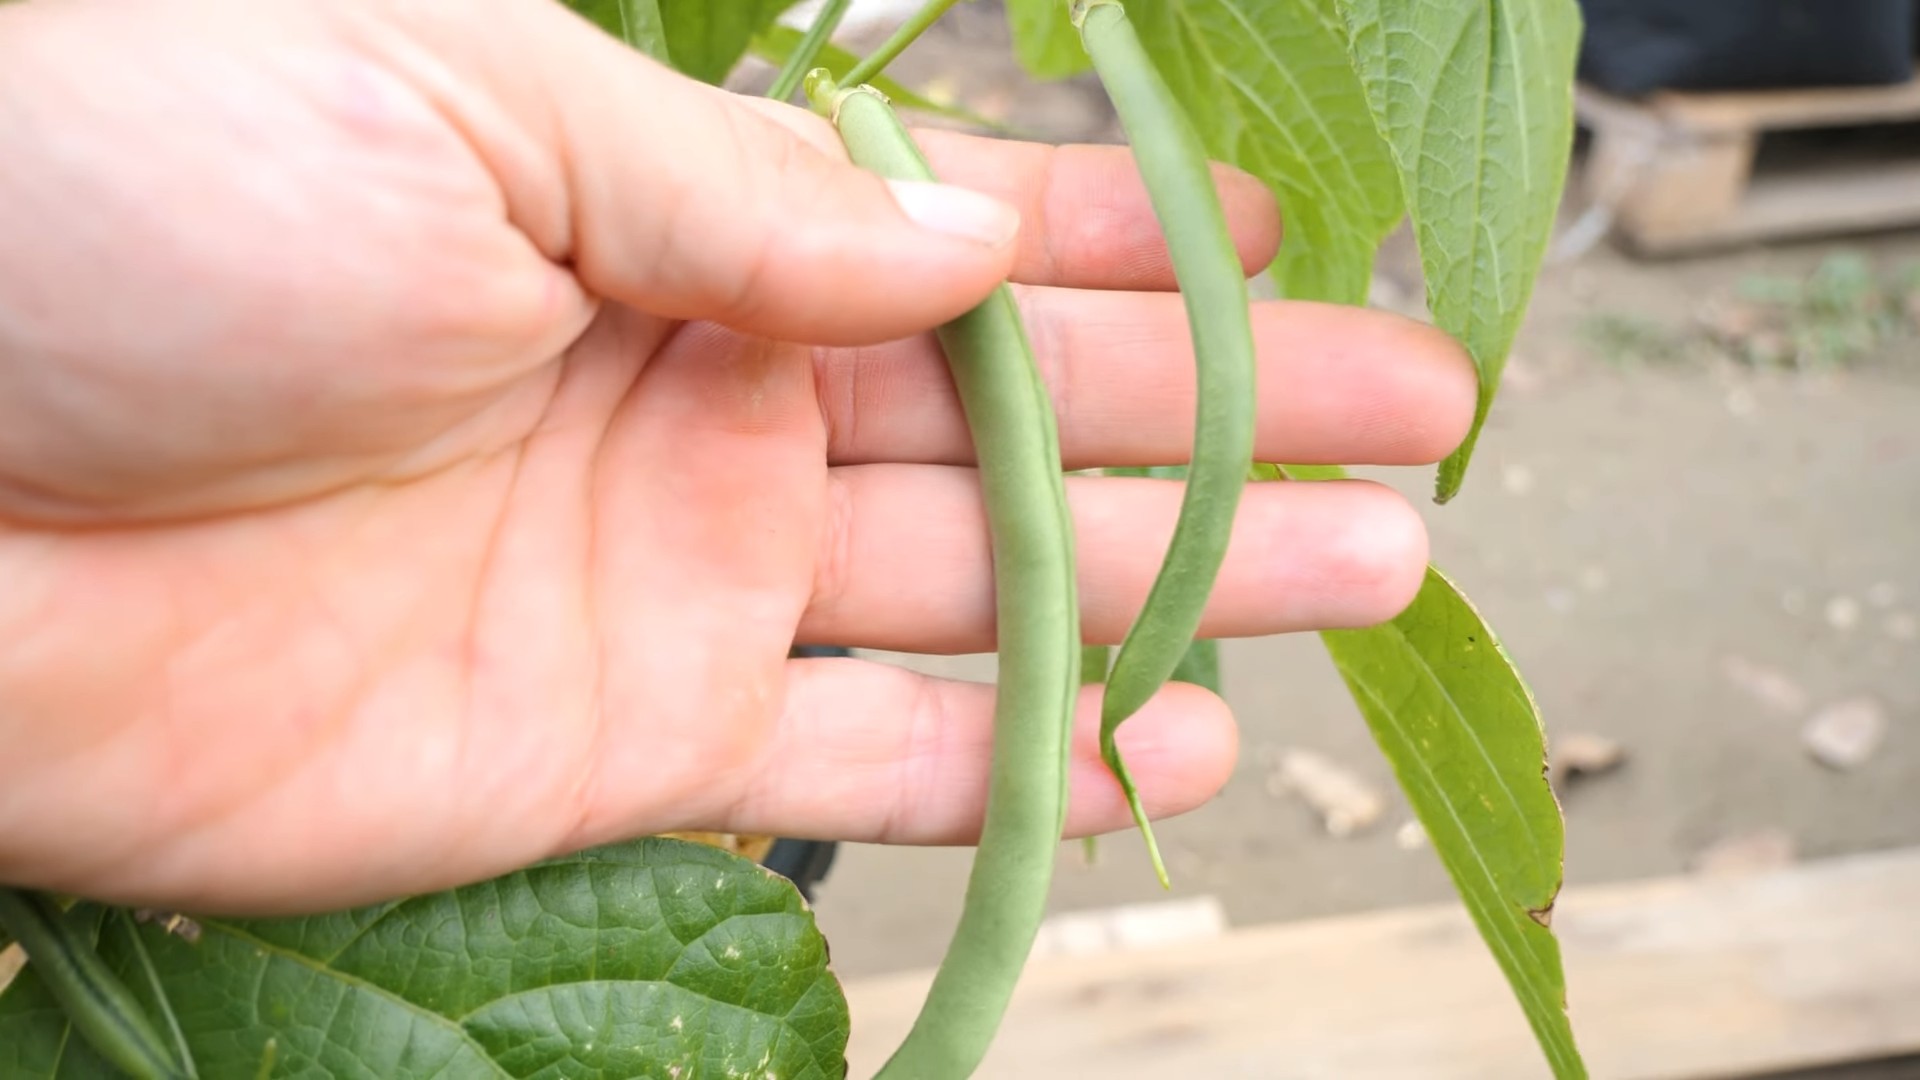
Harvesting Your Green Beans
The moment we’ve all been waiting for – harvest time!
1. **Timing is Everything:** Green beans are usually ready to harvest about 50-60 days after planting. The pods should be firm, crisp, and snap easily when bent. Harvest beans when they are young and tender for the best flavor.
2. **Harvesting Technique:** Gently snap or cut the beans from the plant, being careful not to damage the vines. Harvest regularly to encourage continued production.
3. **Storage:** Freshly harvested green beans can be stored in the refrigerator for up to a week. For longer storage, you can blanch and freeze them.
Enjoying Your Harvest
Now comes the best part – enjoying the fruits (or rather, vegetables) of your labor! Freshly harvested green beans are delicious steamed, sautéed, roasted, or added to salads and soups. I love to simply steam them with a little butter and salt. You can also can or freeze your green beans to enjoy them throughout the year.
Saving Seeds (Optional)
If you want to save seeds from your green beans for next year, allow a few pods to mature fully on the plant. Let them dry completely on the vine. Once the pods are dry and brittle, shell the seeds and store them in an airtight container in a cool, dry place. Keep in mind that hybrid varieties may not produce true-to-type seeds.
Additional Tips for Success
* **Succession Planting:** Plant a new batch of green beans every 2-3 weeks to ensure a continuous harvest throughout the growing season.
* **Companion Planting:** Plant green beans with companion plants such as carrots, cucumbers, and marigolds. These plants can help deter pests and improve soil health. Avoid planting green beans near onions or garlic, as these plants can inhibit their growth.
* **Crop Rotation:** Rotate your crops each year to prevent soilborne diseases and pests from building up. Avoid planting green beans in the same spot for more than two years in a row.
* Mulching: Apply a layer of mulch around your bean plants to help retain moisture, suppress weeds, and regulate soil temperature. Straw, wood chips, or shredded leaves are all good options.
Growing green beans at home is a fun and rewarding experience. With a little planning and care, you can enjoy a bountiful harvest of fresh, delicious beans all season long. Happy gardening!
Conclusion
So, there you have it! Growing green beans at home is not only achievable, but it’s also a deeply rewarding experience. Forget those bland, pre-packaged beans from the grocery store. Imagine stepping out into your own backyard or onto your balcony and harvesting crisp, vibrant green beans bursting with flavor. The difference is truly remarkable.
This DIY trick, focusing on simple techniques and readily available materials, empowers you to cultivate your own supply of fresh, delicious green beans, regardless of your gardening experience or the size of your space. We’ve demystified the process, breaking it down into manageable steps that anyone can follow. From selecting the right variety to providing optimal support, we’ve covered everything you need to know to achieve a bountiful harvest.
But the benefits extend far beyond just taste. Growing your own green beans connects you to the natural world, providing a sense of accomplishment and a deeper appreciation for the food you eat. It’s also a fantastic way to reduce your carbon footprint, minimize your reliance on commercially grown produce, and ensure that you’re consuming healthy, pesticide-free vegetables. Plus, it’s a fun and engaging activity for the whole family!
Don’t be afraid to experiment! Try different varieties of green beans to discover your favorites. Bush beans are perfect for smaller spaces, while pole beans offer a more vertical growing option. Consider companion planting to enhance growth and deter pests. Marigolds, for example, are known to repel bean beetles. You can also try succession planting, sowing new seeds every few weeks, to extend your harvest season.
And the possibilities don’t stop there. Once you’ve mastered the basics, you can explore more advanced techniques like vertical gardening or hydroponics. The key is to start small, be patient, and learn from your experiences.
We are confident that with a little effort and the guidance provided in this article, you’ll be enjoying homegrown green beans in no time. The satisfaction of harvesting your own produce is unparalleled, and the flavor is simply unmatched.
So, what are you waiting for? Grab some seeds, prepare your soil, and embark on your green bean growing adventure today! We encourage you to try this DIY trick and witness the magic of homegrown goodness firsthand.
And most importantly, we want to hear about your experiences! Share your successes, your challenges, and your tips with us in the comments below. Let’s create a community of green bean enthusiasts and inspire others to embrace the joys of homegrown produce. Share pictures of your harvest, your creative growing setups, and your favorite green bean recipes. Together, we can cultivate a greener, healthier, and more flavorful world, one green bean at a time. Let us know how this **grow green beans at home** guide worked for you!
Frequently Asked Questions (FAQs)
What is the best time of year to plant green beans?
The ideal time to plant green beans is in the spring, after the last frost has passed and the soil has warmed up to at least 60°F (15°C). Green beans are sensitive to cold temperatures, so planting too early can stunt their growth or even kill them. In warmer climates, you can also plant a second crop in late summer for a fall harvest. Check your local frost dates to determine the best planting time for your region. You can also start seeds indoors 2-3 weeks before the last expected frost to get a head start on the growing season. Just be sure to harden off the seedlings before transplanting them outdoors.
How much sunlight do green beans need?
Green beans require at least 6-8 hours of direct sunlight per day to thrive. Choose a planting location that receives plenty of sunlight throughout the day. If you’re growing green beans in containers, make sure to place them in a sunny spot. Insufficient sunlight can lead to leggy growth, reduced yields, and increased susceptibility to pests and diseases. If you live in a particularly hot climate, some afternoon shade may be beneficial to prevent the plants from overheating.
What kind of soil is best for growing green beans?
Green beans prefer well-drained, fertile soil with a pH between 6.0 and 7.0. Amend the soil with compost or other organic matter to improve drainage and fertility. Avoid heavy clay soils, as they can become waterlogged and inhibit root growth. Before planting, loosen the soil to a depth of at least 12 inches and remove any rocks or debris. A soil test can help you determine the pH and nutrient levels of your soil and identify any amendments that may be needed.
How often should I water green beans?
Green beans need consistent moisture to produce a good harvest. Water deeply and regularly, especially during hot, dry weather. Aim to keep the soil consistently moist but not waterlogged. Water at the base of the plants to avoid wetting the foliage, which can increase the risk of fungal diseases. Mulching around the plants can help retain moisture and suppress weeds. A good rule of thumb is to water when the top inch of soil feels dry to the touch.
Do green beans need fertilizer?
While green beans don’t require heavy fertilization, a balanced fertilizer can help promote healthy growth and abundant yields. Apply a fertilizer that is low in nitrogen and higher in phosphorus and potassium. Too much nitrogen can lead to excessive foliage growth at the expense of bean production. You can also amend the soil with compost or other organic matter to provide a slow-release source of nutrients. Avoid over-fertilizing, as this can damage the plants.
How do I know when green beans are ready to harvest?
Green beans are typically ready to harvest about 50-60 days after planting. The beans should be firm, crisp, and snap easily when bent. Harvest them when they are about the size of a pencil and before the beans inside the pods become too large and bulge. Regular harvesting encourages the plants to produce more beans. Overripe beans can become tough and stringy.
What are some common pests and diseases that affect green beans?
Common pests that affect green beans include bean beetles, aphids, and spider mites. Diseases include powdery mildew, bean rust, and anthracnose. Inspect your plants regularly for signs of pests or diseases and take action promptly. Organic pest control methods include handpicking pests, using insecticidal soap, and introducing beneficial insects. To prevent diseases, ensure good air circulation, avoid overhead watering, and choose disease-resistant varieties.
Can I grow green beans in containers?
Yes, green beans can be successfully grown in containers. Choose a container that is at least 12 inches deep and wide. Use a well-draining potting mix and provide adequate support for pole beans. Container-grown green beans may require more frequent watering and fertilization than those grown in the ground. Make sure the container has drainage holes to prevent waterlogging.
How do I store green beans after harvesting?
Freshly harvested green beans can be stored in the refrigerator for up to a week. Place them in a plastic bag or container and keep them cool and moist. You can also blanch and freeze green beans for longer-term storage. To blanch, boil the beans for 2-3 minutes, then immediately plunge them into ice water. Drain well and freeze in freezer bags or containers.
Leave a Comment