
Grow Arugula Indoors? Absolutely! Imagine fresh, peppery arugula gracing your salads and sandwiches, even when the snow is falling outside. Forget those sad, wilted greens from the grocery store – with a few simple tricks, you can cultivate a thriving arugula patch right on your windowsill.
For centuries, arugula has been a culinary staple, enjoyed by the Romans who believed it was an aphrodisiac (talk about a spicy salad!). Today, this leafy green is prized for its distinctive flavor and nutritional benefits. But let’s face it, buying fresh arugula can be expensive and sometimes disappointing. That’s where the magic of DIY comes in!
I’m here to show you how easy and rewarding it is to grow arugula indoors. Whether you’re a seasoned gardener or a complete beginner, this guide will provide you with all the tips and tricks you need to succeed. We’ll cover everything from choosing the right container and soil to providing adequate light and water. Say goodbye to bland meals and hello to a constant supply of fresh, flavorful arugula, grown with your own two hands. Let’s get started and unlock the secrets to indoor arugula success!
Grow Your Own Arugula Indoors: A Spicy Green Adventure!
Hey there, fellow plant enthusiasts! Ever crave that peppery bite of fresh arugula but don’t want to brave the grocery store? Well, I’ve got some fantastic news: you can easily grow your own arugula indoors, right in your kitchen! It’s a super rewarding project, and trust me, nothing beats the taste of homegrown greens. Let’s dive in!
What You’ll Need: The Arugula Arsenal
Before we get our hands dirty, let’s gather our supplies. Here’s what you’ll need to become an indoor arugula farmer:
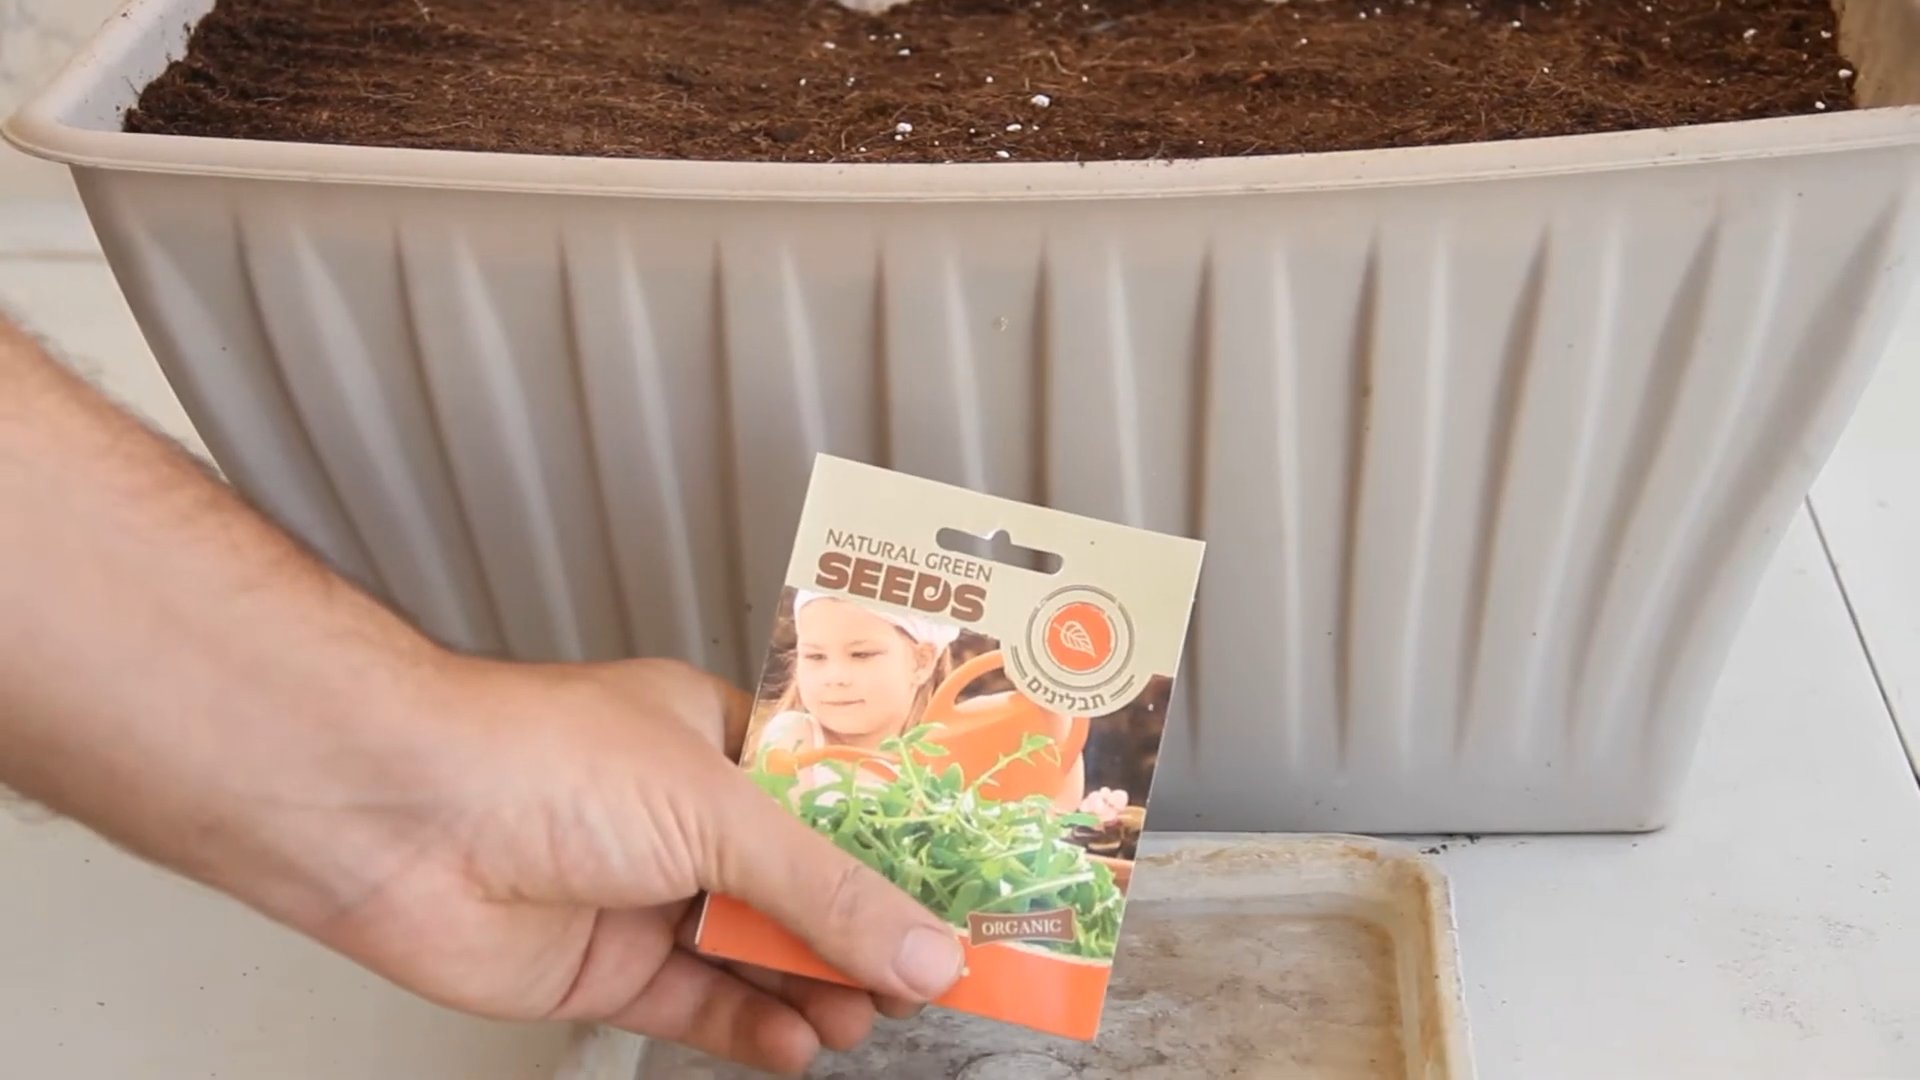
* Arugula Seeds: Obviously! You can find these at most garden centers or online. Look for varieties specifically suited for container gardening if possible.
* Containers: Choose containers that are at least 6 inches deep. I personally love using recycled yogurt containers or plastic bins with drainage holes. You can also use a long rectangular planter for a mini arugula garden.
* Potting Mix: Don’t use garden soil! It’s too heavy and doesn’t drain well. Opt for a high-quality potting mix specifically designed for containers.
* Watering Can or Spray Bottle: Gentle watering is key to happy arugula.
* Grow Lights (Optional, but Recommended): While arugula can tolerate some shade, it thrives with plenty of light. If you don’t have a sunny windowsill, grow lights are a game-changer.
* Spray Bottle with Water: For misting the seedlings.
* Small Shovel or Trowel: For handling the potting mix.
* A Sunny Windowsill or Grow Light Setup: Arugula needs light to grow.
* Optional: Seed Starting Tray: If you want to start the seeds in a tray before transplanting.
Getting Started: Planting Your Arugula Seeds
Okay, now for the fun part! Let’s get those seeds in the soil.
1. Prepare Your Containers: Make sure your containers are clean and have drainage holes. If they don’t, drill a few! Drainage is crucial to prevent root rot.
2. Fill with Potting Mix: Fill your containers with potting mix, leaving about an inch of space at the top. Gently pat down the soil to remove any air pockets.
3. Sow the Seeds: Arugula seeds are tiny, so be careful not to overcrowd them. Sprinkle the seeds evenly over the surface of the soil. Aim for about 1/4 inch spacing between seeds.
4. Cover Lightly: Cover the seeds with a very thin layer of potting mix (about 1/4 inch). Arugula needs light to germinate, so don’t bury them too deep.
5. Water Gently: Use a watering can or spray bottle to gently water the soil. You want to moisten the soil without disturbing the seeds.
6. Provide Light: Place your containers on a sunny windowsill that receives at least 6 hours of sunlight per day. If you’re using grow lights, position them a few inches above the soil surface.
7. Maintain Moisture: Keep the soil consistently moist, but not soggy. Check the soil daily and water when the top inch feels dry to the touch. Misting the seedlings with a spray bottle can also help.
Nurturing Your Arugula: Care and Maintenance
Now that your arugula seeds are planted, it’s time to provide them with the TLC they need to thrive.
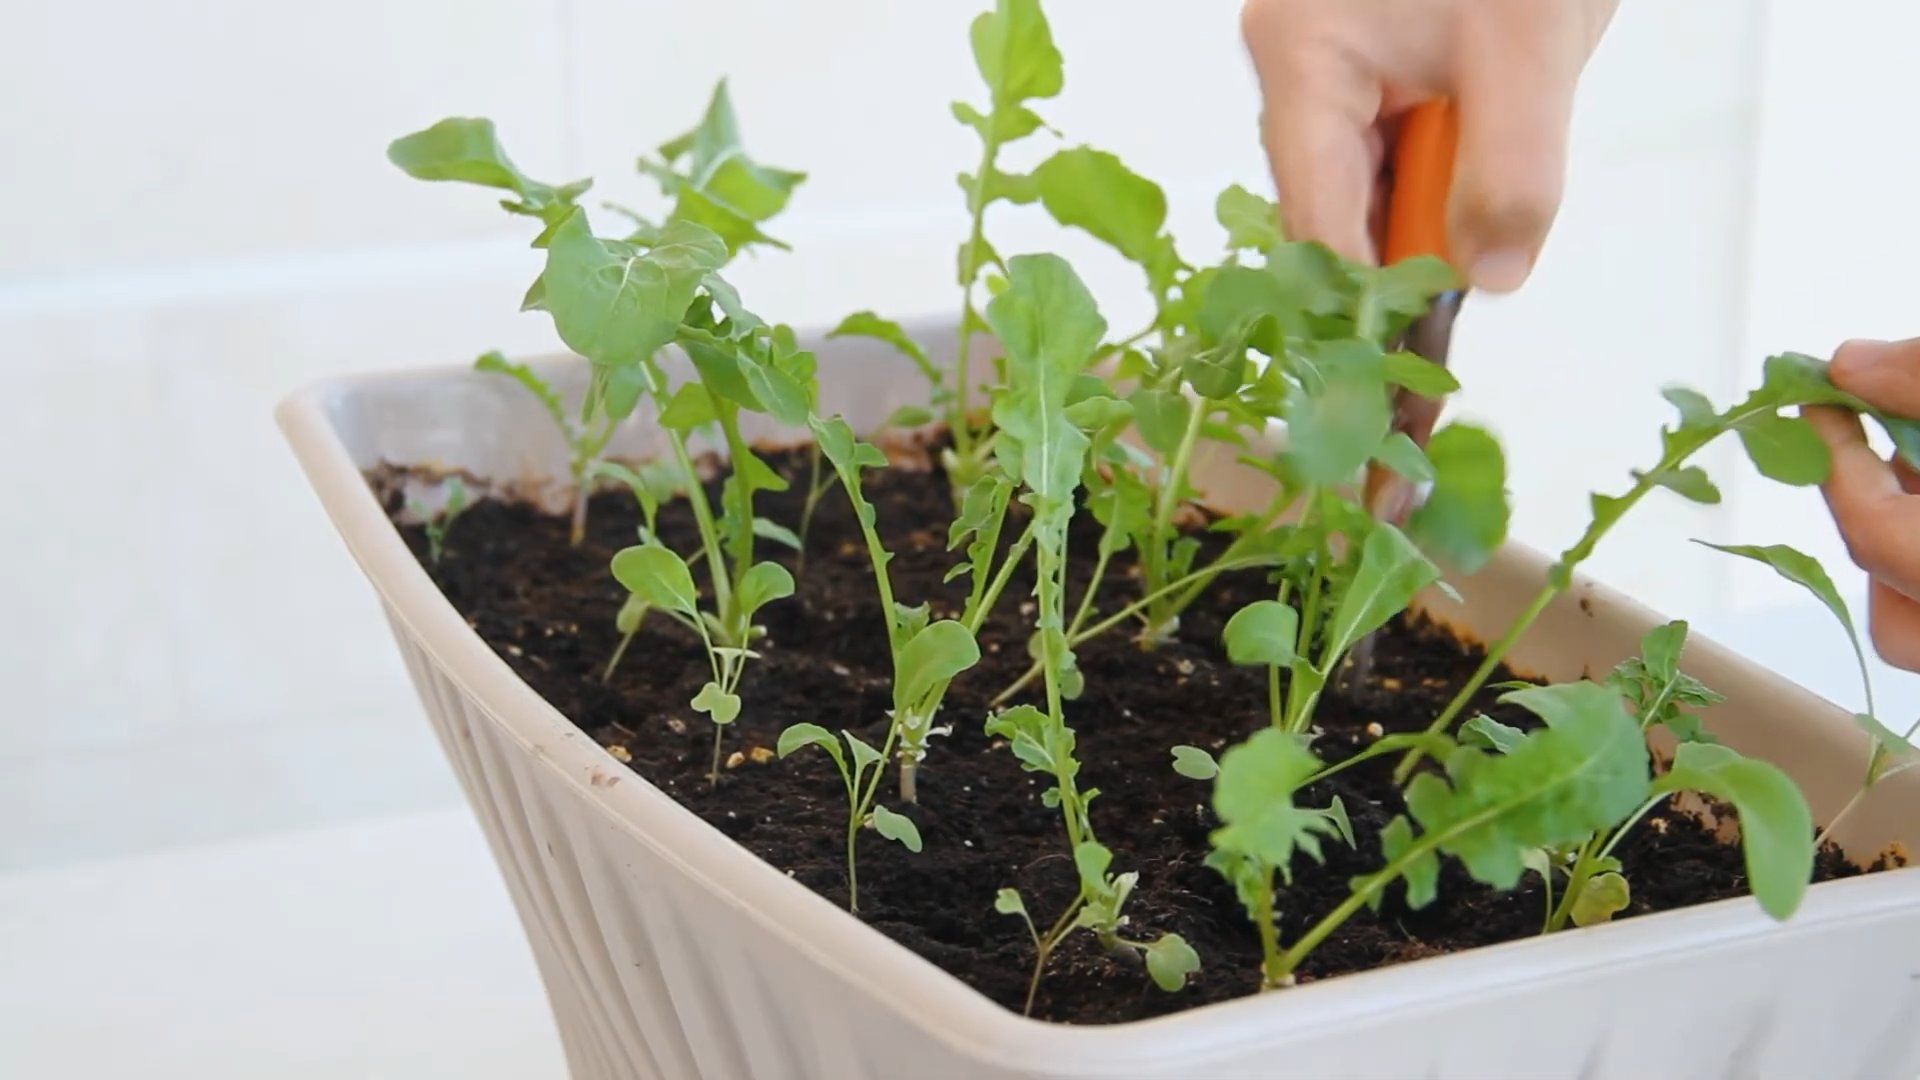
1. Thinning Seedlings (If Necessary): Once your seedlings emerge (usually within 5-7 days), you may need to thin them out if they’re too crowded. Snip off the weaker seedlings at the soil line, leaving about 1-2 inches of space between the remaining plants. This will give them enough room to grow.
2. Watering: Arugula needs consistent moisture, but avoid overwatering. Water when the top inch of soil feels dry. Overwatering can lead to root rot, which is a common problem with indoor plants.
3. Light: Arugula loves light! If you’re using a windowsill, rotate the containers regularly to ensure even growth. If you’re using grow lights, keep them on for about 12-14 hours per day.
4. Fertilizing (Optional): Arugula doesn’t need a lot of fertilizer, but you can give it a boost with a diluted liquid fertilizer every few weeks. Look for a fertilizer that’s specifically designed for leafy greens. Follow the instructions on the fertilizer label carefully.
5. Pest Control: Indoor arugula is generally pest-free, but keep an eye out for aphids or other common garden pests. If you spot any, you can try washing them off with a strong stream of water or using an insecticidal soap.
6. Air Circulation: Good air circulation helps prevent fungal diseases. Make sure your plants have enough space around them and avoid overcrowding. You can also use a small fan to improve air circulation.
Harvest Time: Enjoying Your Homegrown Arugula
The best part of growing your own arugula is, of course, the harvest!
1. When to Harvest: You can start harvesting arugula leaves when they’re about 2-3 inches long. The younger leaves will have a milder flavor, while the older leaves will be more peppery.
2. How to Harvest: Use scissors or your fingers to snip off the outer leaves, leaving the inner leaves to continue growing. This is known as a “cut-and-come-again” harvesting method, which allows you to harvest arugula multiple times from the same plant.
3. Harvest Regularly: Harvesting regularly encourages the plants to produce more leaves. Don’t let the plants get too big or they may become bitter.
4. Storage: Freshly harvested arugula is best used immediately. However, you can store it in the refrigerator for a few days. Wrap the leaves in a damp paper towel and place them in a plastic bag.
Troubleshooting: Common Arugula Problems and Solutions
Even with the best care, you might encounter a few challenges along the way. Here are some common arugula problems and how to fix them:
* Leggy Seedlings: If your seedlings are tall and spindly, they’re not getting enough light. Move them to a sunnier location or use grow lights.
* Yellowing Leaves: Yellowing leaves can be a sign of overwatering, underwatering, or nutrient deficiency. Check the soil moisture and adjust your watering accordingly. If the problem persists, try fertilizing with a diluted liquid fertilizer.
* Slow Growth: Slow growth can be caused by a variety of factors, including insufficient light, poor soil, or lack of nutrients. Make sure your plants are getting enough light and water, and consider fertilizing them.
* Bitter Taste: Arugula can become bitter if it’s exposed to too much heat or stress. Try to keep the plants cool and well-watered. Harvesting regularly can also help prevent bitterness.
Extra Tips for Arugula Success:
* Succession Planting: To ensure a continuous supply of arugula, sow new seeds every few weeks. This is called succession planting.
* Choose the Right Variety: Some arugula varieties are better suited for indoor growing than others. Look for varieties that are compact and bolt-resistant.
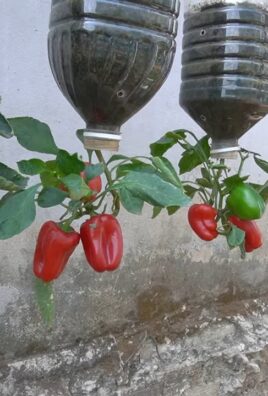
* Experiment with Different Containers: Don’t be afraid to experiment with different types of containers. You can even grow arugula in hanging baskets or vertical gardens.
* Enjoy the Process: Growing your own arugula should be a fun and rewarding experience. Don’t get discouraged if you encounter a few challenges along the way. Just keep learning and experimenting, and you’ll be enjoying fresh, homegrown arugula in no time!
Arugula’s Best Friends: Companion Planting Ideas
While arugula is perfectly happy on its own, it can also benefit from companion planting. Here are a few plants that arugula loves to hang out with:
* Radishes: Radishes are fast-growing and help to break up the soil, making it easier for arugula roots to grow.
* Carrots: Carrots and arugula are a classic combination. The strong scent of arugula can help to deter carrot root flies.
* Marigolds: Marigolds are known for their pest-repelling properties. They can help to keep aphids and other pests away from your arugula plants.
* Garlic: Garlic is another great pest repellent. It can also help to improve the flavor of your arugula.
* Chamomile: Chamomile is a calming herb that can help to reduce stress in arugula plants.
Arugula Recipes: From Garden to Table
Now that you’ve got a bounty of fresh arugula, it’s time to get creative in the kitchen! Here are a few of my favorite arugula recipes:
* Arugula Salad with Lemon Vinaigrette: This is a simple and classic salad that really showcases the peppery flavor of arugula. Just toss arugula with a lemon vinaigrette and top with some shaved Parmesan cheese.
* A
Conclusion
So, there you have it! Growing arugula indoors is not only achievable but also incredibly rewarding. Imagine fresh, peppery arugula leaves just steps away, ready to elevate your salads, sandwiches, and pizzas any time of year. Forget those wilted, overpriced greens from the grocery store; with a little effort, you can cultivate a constant supply of vibrant, flavorful arugula right in your own home.
This DIY trick is a must-try for several compelling reasons. First and foremost, it grants you unparalleled control over the quality of your food. You know exactly what goes into your arugula – no pesticides, no questionable fertilizers, just pure, homegrown goodness. Secondly, it’s a fantastic way to reduce your environmental footprint. By growing your own greens, you’re minimizing transportation costs and packaging waste associated with store-bought produce. Finally, and perhaps most importantly, it’s incredibly satisfying! There’s something truly special about nurturing a plant from seed to harvest and enjoying the fruits (or, in this case, the leaves) of your labor.
But don’t stop there! Once you’ve mastered the basics of growing arugula indoors, feel free to experiment with different varieties. Try spicier arugula types for an extra kick, or milder varieties for a more subtle flavor. You can also explore companion planting by growing arugula alongside other herbs like basil or chives. Consider using different types of containers, from traditional pots to vertical planters, to maximize your growing space and add a touch of greenery to your home. Another fun variation is to succession plant your arugula seeds every few weeks to ensure a continuous harvest throughout the year. You can even try growing arugula microgreens for an even faster and more concentrated burst of flavor.
We wholeheartedly encourage you to give this DIY trick a try. It’s a simple, affordable, and incredibly rewarding way to bring fresh, healthy greens into your life. Don’t be intimidated if you’re a beginner gardener; arugula is a relatively easy plant to grow, and with a little patience and attention, you’ll be enjoying homegrown salads in no time.
Once you’ve embarked on your indoor arugula growing journey, we’d love to hear about your experience! Share your tips, tricks, and photos in the comments below. Let us know what worked well for you, what challenges you encountered, and any creative variations you’ve tried. Together, we can create a community of indoor gardeners and inspire others to embrace the joys of growing their own food. So, grab some seeds, find a sunny spot, and get ready to enjoy the delicious taste of homegrown arugula!
Frequently Asked Questions (FAQ)
What is the best time of year to start growing arugula indoors?
The beauty of growing arugula indoors is that you can do it year-round! Unlike outdoor gardening, you’re not limited by seasonal weather conditions. As long as you can provide adequate light and temperature, you can start growing arugula indoors any time of the year. However, if you live in a region with very short days during the winter, you might want to supplement with a grow light to ensure optimal growth.
How much light does arugula need when grown indoors?
Arugula thrives in bright light. Ideally, it needs at least 6 hours of direct sunlight per day. If you don’t have a sunny windowsill, you can use a grow light to provide the necessary illumination. LED grow lights are a great option because they are energy-efficient and don’t produce excessive heat. Place the grow light a few inches above the arugula seedlings and adjust the height as they grow.
What type of soil is best for growing arugula indoors?
Arugula prefers well-draining soil that is rich in organic matter. A good potting mix specifically formulated for vegetables or herbs is ideal. You can also amend your own potting mix by adding compost or other organic materials to improve drainage and fertility. Avoid using garden soil, as it can be too heavy and may contain pests or diseases.
How often should I water my indoor arugula plants?
Water your arugula plants regularly, keeping the soil consistently moist but not waterlogged. Check the soil moisture by sticking your finger about an inch into the soil. If it feels dry, it’s time to water. Avoid overwatering, as this can lead to root rot. Water at the base of the plant to avoid wetting the leaves, which can increase the risk of fungal diseases.
How long does it take for arugula to germinate and be ready for harvest?
Arugula seeds typically germinate within 5-7 days. You can start harvesting the leaves when they are about 2-3 inches long, which is usually around 3-4 weeks after planting. Harvest the outer leaves first, allowing the inner leaves to continue growing. This cut-and-come-again method will provide you with a continuous harvest for several weeks.
Can I grow arugula in a container? What size container is best?
Yes, arugula grows very well in containers. Choose a container that is at least 6 inches deep and wide to allow for adequate root growth. Make sure the container has drainage holes to prevent waterlogging. You can grow several arugula plants in a single container, spacing them about 2-3 inches apart.
What are some common pests and diseases that affect arugula, and how can I prevent them?
Arugula is generally resistant to pests and diseases, but it can be susceptible to aphids, flea beetles, and fungal diseases like powdery mildew. To prevent pests, inspect your plants regularly and remove any pests by hand or with a strong spray of water. You can also use insecticidal soap or neem oil if necessary. To prevent fungal diseases, ensure good air circulation around your plants and avoid overwatering. If you notice any signs of disease, remove the affected leaves immediately.
How do I harvest arugula, and how long will it keep after harvesting?
Harvest arugula by snipping off the outer leaves with scissors or by gently pulling them off the plant. Harvest in the morning when the leaves are crisp and fresh. Arugula leaves are best used immediately after harvesting, but they can be stored in the refrigerator for up to a week. Wrap the leaves in a damp paper towel and store them in a plastic bag or container.
Can I grow arugula from seed or do I need to buy seedlings?
Growing arugula from seed is very easy and cost-effective. You can purchase arugula seeds from most garden centers or online retailers. Simply sow the seeds directly into your potting mix, cover them lightly with soil, and keep the soil moist. Seedlings are also available, but growing from seed is generally preferred because it allows you to choose from a wider variety of arugula types.
Is arugula a cut-and-come-again crop?
Yes, arugula is an excellent cut-and-come-again crop. This means that you can harvest the outer leaves as needed, and the plant will continue to produce new leaves from the center. This allows you to enjoy a continuous harvest of fresh arugula for several weeks. To encourage continued growth, be sure to fertilize your plants regularly with a balanced liquid fertilizer.

Leave a Comment