
Growing peppers in small spaces can feel like a daunting task, especially if you’re dreaming of a vibrant garden but are limited by a tiny balcony, a compact patio, or even just a sunny windowsill. But fear not, fellow gardening enthusiasts! I’m here to tell you that a bountiful pepper harvest is absolutely within your reach, no matter how limited your square footage may be.
For centuries, peppers have been cherished across cultures, from the fiery chilies of South America, where they originated, to the sweet bell peppers that grace our salads today. They’ve been used not only for their culinary prowess but also for their medicinal properties and even as ornamental plants. Now, you can bring that rich history and vibrant flavor right to your own home, even if you’re short on space.
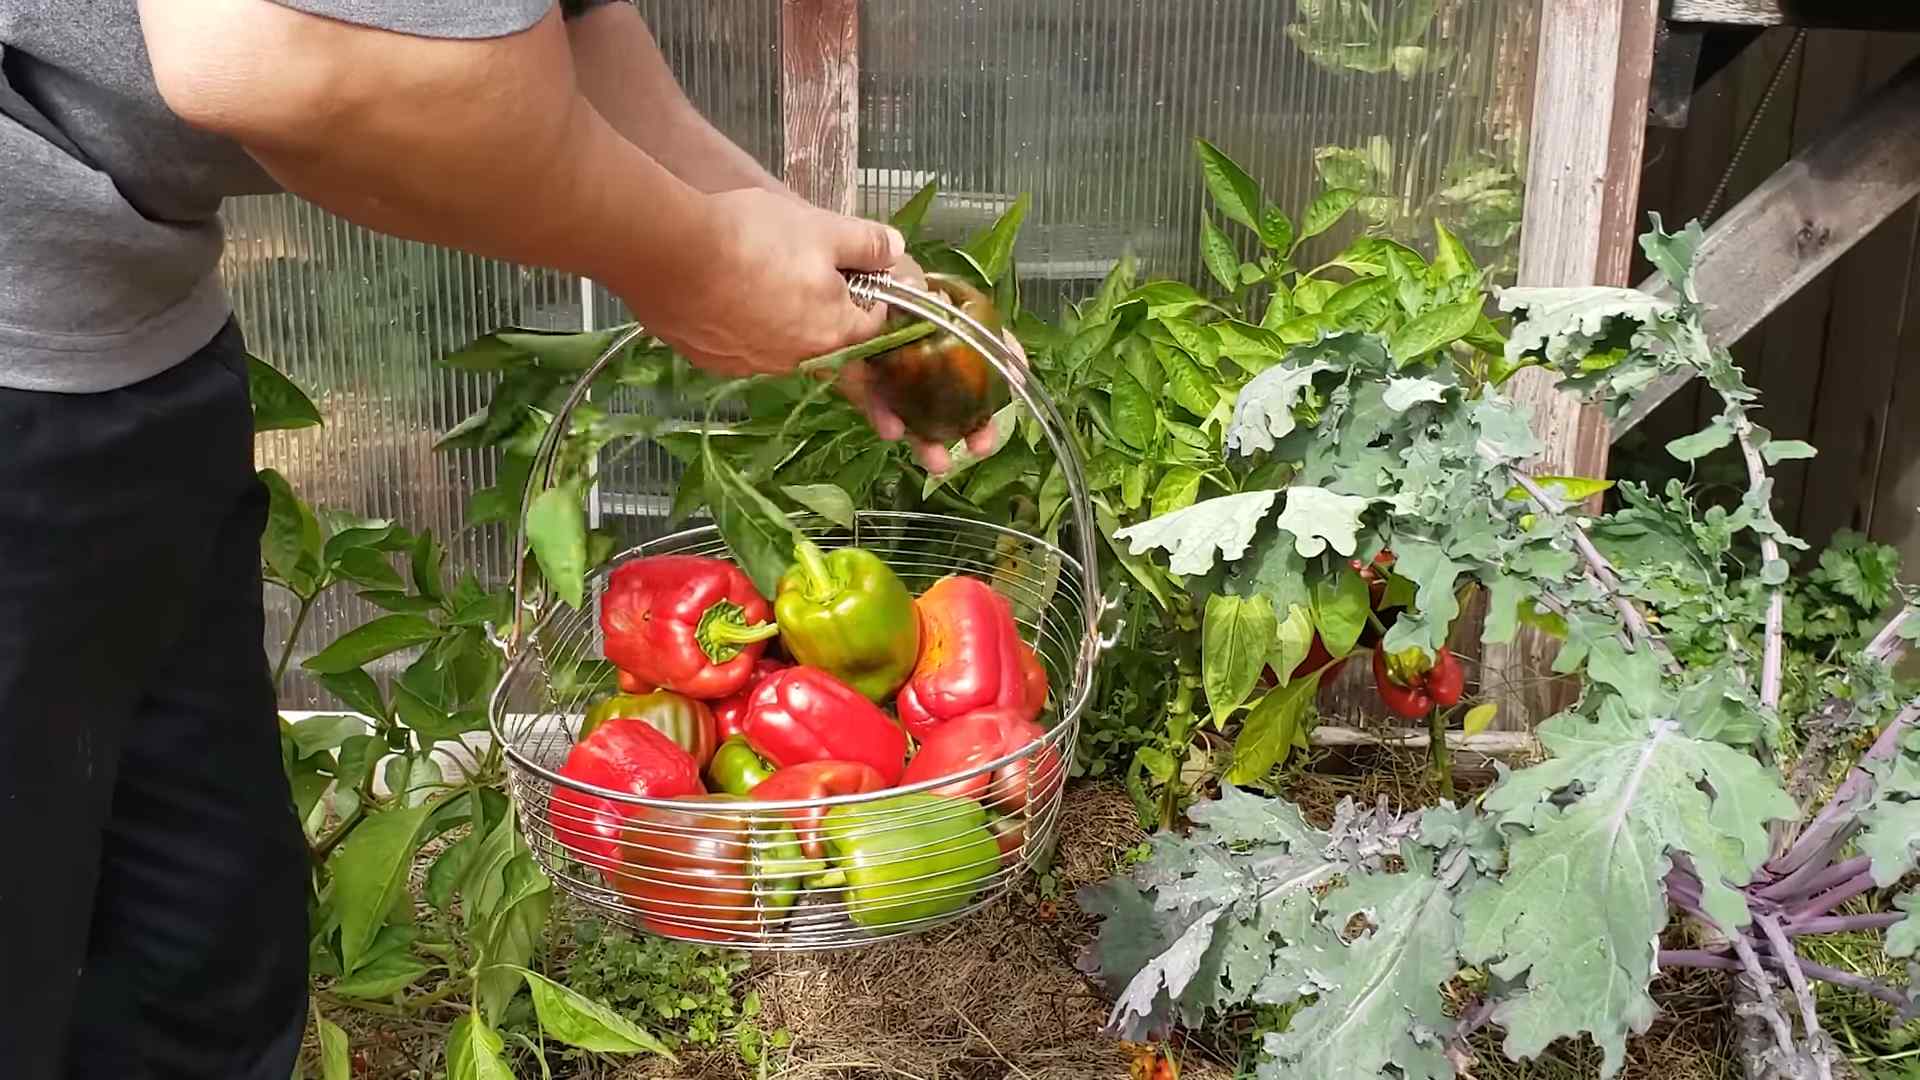
Why should you embrace the challenge of growing peppers in small spaces? Well, imagine the satisfaction of plucking fresh, sun-ripened peppers right from your own plants, knowing exactly where they came from and how they were grown. Think of the money you’ll save by reducing your grocery bills, and the joy of sharing your homegrown bounty with friends and family. Plus, gardening is a fantastic stress reliever and a wonderful way to connect with nature, even in the heart of the city. This DIY guide is packed with clever tricks and hacks to help you maximize your yield, choose the right varieties, and create the perfect environment for your pepper plants to thrive, no matter how small your garden may be. Let’s get started!
Growing Peppers in Small Spaces: A DIY Vertical Garden Guide
Hey there, fellow gardening enthusiasts! So, you’re itching to grow some fiery peppers but are short on space? Don’t worry, I’ve got you covered! I’m going to walk you through creating a fantastic vertical pepper garden that’s perfect for balconies, patios, or even a sunny corner indoors. This project is all about maximizing your yield without sacrificing precious square footage. Let’s get started!
Materials You’ll Need
Before we dive in, let’s gather our supplies. This is crucial for a smooth and enjoyable DIY experience. Trust me, nothing’s worse than realizing you’re missing a key ingredient halfway through!
* A sturdy vertical structure: This could be a pallet, a tiered planter, a repurposed shelving unit, or even a DIY tower made from PVC pipes. I’m going to focus on using a pallet for this guide, as it’s readily available and relatively inexpensive.
* Heavy-duty landscape fabric or burlap: This will line the pallet and create pockets for the soil.
* Staple gun and staples: Essential for securing the landscape fabric to the pallet.
* Potting soil: Choose a high-quality potting mix that drains well. Peppers love well-draining soil!
* Pepper seedlings: Select your favorite pepper varieties! Consider the size of the mature plant when choosing. Smaller varieties like chili peppers or compact bell peppers are ideal for vertical gardens.
* Gloves: Protect your hands from dirt and staples.
* Measuring tape: For accurate measurements when cutting the landscape fabric.
* Scissors or a utility knife: For cutting the landscape fabric.
* Watering can or hose: For watering your peppers.
* Fertilizer: A balanced fertilizer to feed your pepper plants.
* Optional: Wood sealant: To protect the pallet from the elements and extend its lifespan.
* Optional: Decorative elements: Paint, stencils, or other decorations to personalize your vertical garden.
Preparing the Pallet
Okay, first things first, we need to get our pallet ready. This step is crucial for ensuring the longevity and safety of your vertical garden.
1. Inspect the Pallet: Carefully examine the pallet for any loose nails, splinters, or signs of rot. Remove any hazards to prevent injuries. If the pallet is heavily damaged, it’s best to find a different one.
2. Clean the Pallet: Thoroughly clean the pallet with soap and water to remove any dirt, debris, or potential contaminants. Let it dry completely before proceeding.
3. Sand the Pallet (Optional): If the pallet is rough or has splinters, lightly sand it down to create a smoother surface. This will also make it easier to paint or seal.
4. Seal the Pallet (Optional): Apply a wood sealant to protect the pallet from moisture and prevent rot. This is especially important if you plan to keep your vertical garden outdoors. Follow the manufacturer’s instructions for application and drying time. I highly recommend this step, as it significantly extends the life of your pallet.
5. Decide on Orientation: Determine which way you want to orient your pallet. Will it stand vertically, or will you lay it horizontally? Consider the space you have available and the amount of sunlight each orientation will receive. I prefer a vertical orientation for maximizing space and sunlight exposure.
Creating the Planting Pockets
This is where the magic happens! We’re going to transform the pallet into a series of individual planting pockets.
1. Measure and Cut the Landscape Fabric: Measure the width and depth of each section of the pallet where you want to create a planting pocket. Add a few extra inches to each measurement to allow for overlap and secure stapling. Cut the landscape fabric into appropriately sized pieces. I usually cut pieces that are about 12 inches wide and 18 inches long for each pocket.
2. Create the First Pocket: Starting at the bottom of the pallet, fold the landscape fabric in half to create a double layer. This will provide extra strength and prevent the soil from leaking out. Position the folded fabric against the back of the pallet section, ensuring that the bottom edge is flush with the bottom of the section.
3. Staple the Fabric: Using the staple gun, securely staple the landscape fabric to the pallet. Start by stapling along the bottom edge, then staple along the sides, creating a pocket. Make sure the staples are close together to prevent the fabric from tearing. I usually place staples about an inch apart.
4. Repeat for Remaining Pockets: Repeat steps 2 and 3 for each section of the pallet where you want to create a planting pocket. Overlap the fabric slightly between each pocket to prevent soil from spilling out. Work your way up the pallet, creating a series of individual planting pockets.
5. Reinforce the Pockets (Optional): For added security, you can reinforce the pockets by adding an extra layer of landscape fabric or burlap. This is especially helpful if you plan to grow larger pepper varieties.
Planting Your Peppers
Now for the fun part – planting your pepper seedlings!
1. Fill the Pockets with Potting Soil: Carefully fill each planting pocket with high-quality potting soil. Leave about an inch of space at the top of each pocket to allow for watering. Gently pat down the soil to remove any air pockets.
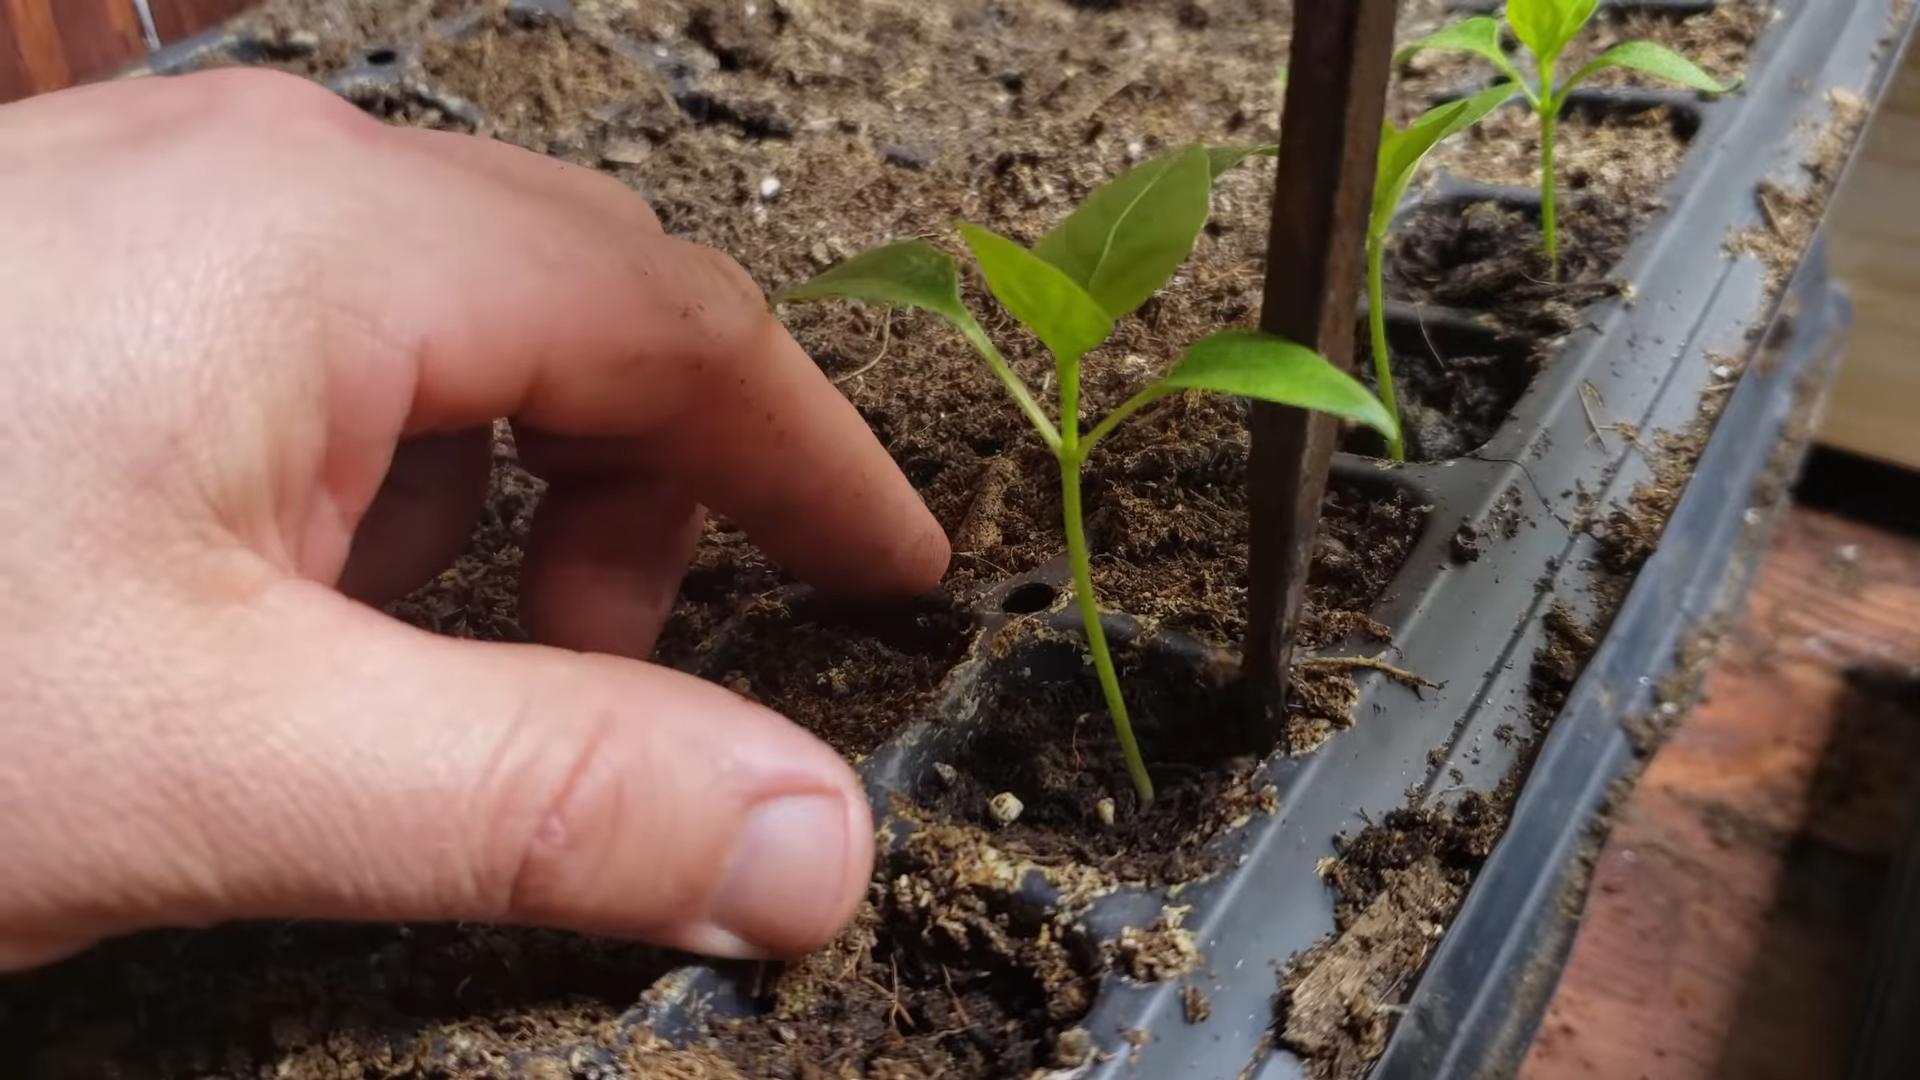
2. Prepare the Seedlings: Gently remove the pepper seedlings from their containers. Loosen the roots slightly to encourage them to spread out.
3. Plant the Seedlings: Dig a small hole in the center of each planting pocket and carefully place the pepper seedling into the hole. Make sure the top of the root ball is level with the surface of the soil.
4. Backfill with Soil: Gently backfill the hole with potting soil, pressing down lightly to secure the seedling in place.
5. Water Thoroughly: Water the newly planted seedlings thoroughly, ensuring that the soil is evenly moist.
6. Add Fertilizer: Apply a balanced fertilizer according to the manufacturer’s instructions. This will provide the pepper plants with the nutrients they need to thrive.
Caring for Your Vertical Pepper Garden
Maintaining your vertical pepper garden is essential for a bountiful harvest.
1. Watering: Water your pepper plants regularly, especially during hot, dry weather. Check the soil moisture by sticking your finger into the soil. If the top inch of soil is dry, it’s time to water. Water deeply, ensuring that the water reaches the roots. Be careful not to overwater, as this can lead to root rot.
2. Fertilizing: Fertilize your pepper plants every 2-3 weeks with a balanced fertilizer. Follow the manufacturer’s instructions for application rates. You can also use a liquid fertilizer for foliar feeding.
3. Sunlight: Pepper plants need at least 6-8 hours of sunlight per day. Place your vertical garden in a sunny location that receives plenty of direct sunlight. If you’re growing your peppers indoors, you may need to supplement with grow lights.
4. Pruning: Prune your pepper plants regularly to encourage bushier growth and increased fruit production. Remove any dead or yellowing leaves. You can also pinch off the tips of the branches to promote branching.
5. Pest Control: Keep an eye out for pests such as aphids, spider mites, and whiteflies. If you notice any pests, treat them promptly with an appropriate insecticide or organic pest control method. I prefer using neem oil for organic pest control.
6. Support: As your pepper plants grow, they may need support to prevent them from toppling over. You can use stakes, trellises, or cages to provide support.
7. Harvesting: Harvest your peppers when they are fully ripe and have reached their desired color. Use scissors or pruning shears to cut the peppers from the plant. Regular harvesting will encourage the plant to produce more peppers.
Choosing the Right Pepper Varieties
Selecting the right pepper varieties is crucial for success in a small space. Consider the size of the mature plant, the amount of sunlight available, and your personal preferences.
* Compact Bell Peppers: These are smaller varieties of bell peppers that are well-suited for container gardening.
* Chili Peppers: Many chili pepper varieties are compact and productive, making them ideal for vertical gardens.
* Jalapeños: Jalapeños are relatively easy to grow and produce a good yield in a small space.
* Thai Peppers: Thai peppers are small, prolific, and add a spicy kick to any dish.
* Ornamental Peppers: These peppers are grown for their colorful foliage and fruits, adding visual appeal to your vertical garden.
Troubleshooting Common Problems
Even with the best care, you may encounter some problems while growing peppers. Here are some common issues and how to address them:
* Yellowing Leaves: This can be caused by overwatering, underwatering, nutrient deficiencies, or pests. Check the soil moisture, fertilize regularly,
Conclusion
So, there you have it! Growing peppers in small spaces doesn’t have to be a pipe dream. It’s an achievable reality with a little planning, the right techniques, and a whole lot of pepper-loving enthusiasm. We’ve explored how to maximize your yield, even if you’re working with a balcony, patio, or just a sunny windowsill. From choosing the right compact varieties to mastering container gardening and vertical growing methods, you’re now equipped with the knowledge to cultivate a thriving pepper patch, no matter how limited your square footage.
The beauty of this DIY approach lies not only in its practicality but also in its adaptability. Feel free to experiment with different container sizes, soil mixes, and even companion plants to discover what works best for your specific environment and pepper preferences. Consider adding marigolds to your containers to deter pests naturally, or interplanting with herbs like basil to enhance the flavor of your peppers.
Don’t be afraid to get creative with your vertical gardening solutions. Repurposed pallets, hanging baskets, and even stacked planters can transform a small space into a pepper paradise. Remember to provide adequate support for your plants as they grow, especially for heavier varieties like bell peppers.
Why is this DIY trick a must-try? Because it empowers you to enjoy fresh, homegrown peppers regardless of your living situation. Imagine the satisfaction of harvesting your own spicy jalapeños for homemade salsa, or adding sweet bell peppers to your stir-fries, all grown with your own two hands. It’s a rewarding experience that connects you to your food and adds a touch of green to your urban landscape. Plus, growing your own peppers is often more cost-effective than buying them from the store, especially if you’re a frequent pepper consumer.
We encourage you to embrace this DIY project and embark on your own pepper-growing adventure. Start small, learn as you go, and don’t be discouraged by initial setbacks. Gardening is a journey of continuous learning, and every mistake is an opportunity to improve.
And most importantly, we want to hear about your experiences! Share your successes, your challenges, and your creative solutions in the comments below. Let’s build a community of small-space pepper growers and inspire each other to cultivate thriving gardens, no matter the size of our plots. Show us your pepper plants, tell us about your favorite varieties, and let’s celebrate the joy of growing our own food. Remember, even a small space can yield a bountiful harvest with the right approach to growing peppers in small spaces. So, get your hands dirty, plant those seeds, and prepare to enjoy the delicious rewards of your labor!
Frequently Asked Questions (FAQ)
What are the best pepper varieties for small spaces?
Choosing the right pepper variety is crucial for success in small-space gardening. Compact or dwarf varieties are ideal because they don’t require as much space to grow and produce a good yield. Some excellent choices include:
* ‘Patio Bell’ peppers: These are specifically bred for container gardening and produce small, sweet bell peppers.
* ‘Mini Belle’ peppers: Similar to Patio Bell, these are even smaller and perfect for very limited spaces.
* ‘Jalapeño M’: A compact jalapeño variety that delivers the classic spicy flavor in a smaller package.
* ‘Thai Hot’ peppers: These peppers are small and prolific, adding a fiery kick to your dishes.
* ‘Sweet Palermo’: While not technically a dwarf variety, Sweet Palermo peppers are relatively compact and produce long, sweet peppers.
When selecting your varieties, consider your taste preferences and the amount of sunlight your space receives.
What size container do I need for growing peppers?
The ideal container size depends on the pepper variety you choose. Generally, a container that is at least 5 gallons in size is recommended for most pepper plants. Larger varieties like bell peppers may benefit from a 7-10 gallon container. Smaller varieties like Thai Hot peppers can thrive in 3-5 gallon containers.
Ensure that your container has adequate drainage holes to prevent waterlogging, which can lead to root rot. You can also use fabric pots, which allow for better air circulation and drainage.
What type of soil is best for growing peppers in containers?
Peppers thrive in well-draining, nutrient-rich soil. A good potting mix specifically formulated for vegetables is ideal. Avoid using garden soil in containers, as it can become compacted and doesn’t drain well.
You can also create your own potting mix by combining equal parts of:
* Peat moss or coconut coir
* Perlite or vermiculite
* Compost or well-rotted manure
Adding a slow-release fertilizer to your potting mix will provide your pepper plants with a steady supply of nutrients throughout the growing season.
How much sunlight do peppers need?
Peppers need at least 6-8 hours of direct sunlight per day to thrive. If you’re growing peppers indoors, you may need to supplement with grow lights, especially during the winter months.
Place your pepper plants in the sunniest spot in your garden or on your balcony. If you’re using grow lights, position them about 6-12 inches above the plants.
How often should I water my pepper plants?
Water your pepper plants regularly, especially during hot, dry weather. Check the soil moisture by sticking your finger about an inch into the soil. If the soil feels dry, it’s time to water.
Avoid overwatering, as this can lead to root rot. Water deeply, allowing the water to drain out of the bottom of the container.
Do I need to fertilize my pepper plants?
Yes, peppers are heavy feeders and benefit from regular fertilization. Use a balanced fertilizer specifically formulated for vegetables, following the instructions on the label.
You can also use organic fertilizers like compost tea or fish emulsion. Fertilize your pepper plants every 2-3 weeks during the growing season.
How do I prevent pests and diseases from affecting my pepper plants?
Regularly inspect your pepper plants for signs of pests or diseases. Common pests that affect peppers include aphids, spider mites, and whiteflies. You can control these pests with insecticidal soap or neem oil.
To prevent diseases, ensure that your plants have good air circulation and avoid overwatering. You can also use a copper fungicide to prevent fungal diseases.
How do I harvest my peppers?
Harvest your peppers when they have reached their mature size and color. Use a sharp knife or pruning shears to cut the peppers from the plant, leaving a small stem attached.
The time it takes for peppers to mature depends on the variety. Bell peppers typically take 60-90 days to mature, while jalapeños take 70-85 days.
Can I grow peppers indoors year-round?
Yes, you can grow peppers indoors year-round if you provide them with adequate light, warmth, and humidity. Use grow lights to supplement natural sunlight, and maintain a temperature of 70-80°F during the day and 60-70°F at night.
You may also need to increase the humidity around your plants by using a humidifier or placing them on a tray of pebbles filled with water.
What are some common problems when growing peppers in small spaces and how can I fix them?
Some common problems include:
* Lack of Sunlight: Move plants to a sunnier location or supplement with grow lights.
* Overwatering/Underwatering: Adjust watering schedule based on soil moisture. Ensure proper drainage.
* Pest Infestation: Use insecticidal soap or neem oil. Consider introducing beneficial insects.
* Nutrient Deficiency: Fertilize regularly with a balanced fertilizer.
* Blossom End Rot: Caused by calcium deficiency. Add calcium to the soil or use a calcium-rich fertilizer.
By addressing these common issues promptly, you can ensure a successful and bountiful pepper harvest, even in the smallest of spaces.
Leave a Comment